


在我们处理很多很繁冗数据的时候,我们用到了listview去装载数据,但可显示的区域有限,这时候我们就需要用到我们的下拉刷新去加载更多的数据了。这个效果是仿制android5.0的效果在额外多了一个粘性效果动画,更加的酷了。

下面 我们还是先来看 一下 项目的结构。
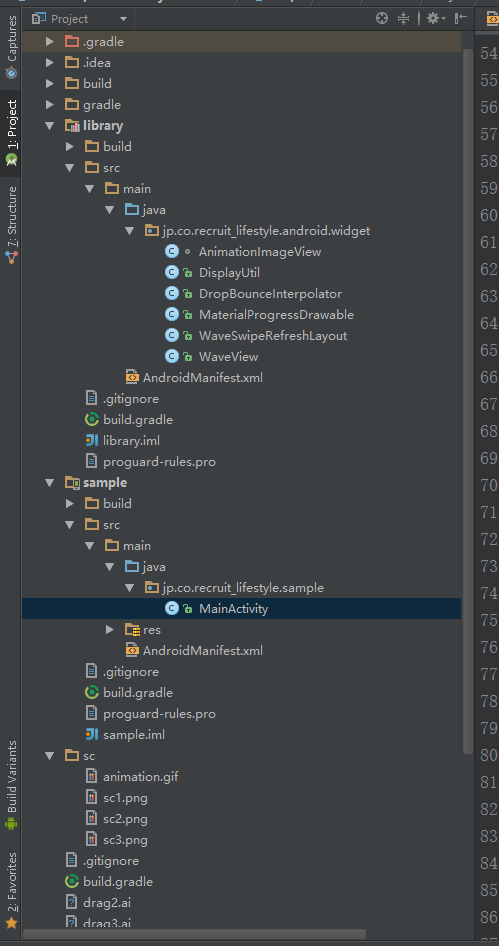
上面的是我们加入的工具类 那里的代码都是人家封装好的了 我们关键看 怎么用就好了,站在巨人的肩膀总是轻松的。我们看一下 怎么使用这个 刷新的 主类把
MainActivity
package jp.co.recruit_lifestyle.sample;

import android.graphics.Color;
import android.os.Bundle;
import android.os.Handler;
import android.support.v7.app.AppCompatActivity;
import android.view.Menu;
import android.view.MenuItem;
import android.view.Window;
import android.view.WindowManager;
import android.widget.ArrayAdapter;
import android.widget.ListView;
import java.util.ArrayList;
import jp.co.recruit_lifestyle.android.widget.WaveSwipeRefreshLayout;

public class MainActivity extends AppCompatActivity implements WaveSwipeRefreshLayout.OnRefreshListener {

  private ListView mListview;

  private WaveSwipeRefreshLayout mWaveSwipeRefreshLayout;

  @Override
  protected void onCreate(Bundle savedInstanceState) {
    /**设置没有标题栏*/
    requestWindowFeature(Window.FEATURE_NO_TITLE);
    //getWindow().addFlags(WindowManager.LayoutParams.FLAG_FULLSCREEN);
    //透明状态栏
    getWindow().addFlags(WindowManager.LayoutParams.FLAG_TRANSLUCENT_STATUS);
    //透明导航栏
    getWindow().addFlags(WindowManager.LayoutParams.FLAG_TRANSLUCENT_NAVIGATION);
    super.onCreate(savedInstanceState);
    setContentView(R.layout.activity_main);
    initView();
    setSampleData();
  }

  private void initView() {
    mWaveSwipeRefreshLayout = (WaveSwipeRefreshLayout) findViewById(R.id.main_swipe);
    //设置 下拉在转的圈圈的颜色            第一个颜色 是 第一圈带箭头的 第二个颜色是不带箭头的
    mWaveSwipeRefreshLayout.setColorSchemeColors(Color.CYAN, Color.RED);
    mWaveSwipeRefreshLayout.setOnRefreshListener(this);
    /**红色0x000000ff
     绿色0x0000ff00
     蓝色0x00ff0000
     黄色0x0000ffff
     青色0x00ffff00
     品红0x00ff00ff
     黑色0x00000000
     白色0x00ffffff
     灰色0x00808080
     草绿0x006bdec7
     紫色0x00c000c0*/
    //mWaveSwipeRefreshLayout.setWaveColor(0x0000ff00);
    //mWaveSwipeRefreshLayout.setBackgroundColor(0x00000000);

    //设置水滴落下的最大高度
    mWaveSwipeRefreshLayout.setMaxDropHeight(500);

    mListview = (ListView) findViewById(R.id.main_list);
  }

  private void setSampleData() {
    ArrayList<String> sampleArrayStr = new ArrayList<>();
    for (int i = 0; i < 60; i++) {
      sampleArrayStr.add("" );
    }
    ArrayAdapter<String> adapter = new ArrayAdapter<>(getApplicationContext(), android.R.layout.simple_list_item_1, sampleArrayStr);
    mListview.setAdapter(adapter);
  }

  private void refresh() {
    new Handler().postDelayed(new Runnable() {
      @Override
      public void run() {
        // 更新が終了したらインジケータ非表示
        mWaveSwipeRefreshLayout.setRefreshing(false);
      }
    }, 3000);
  }

  @Override
  protected void onResume() {
    mWaveSwipeRefreshLayout.setRefreshing(false);
    refresh();
    super.onResume();
  }

  @Override
  public void onRefresh() {
    refresh();
  }


}
mWaveSwipeRefreshLayout.set****();你可以去设置更多你想要自己设置的东西了。
我们的布局也非常简单 就是 view+view +自定义的刷新类+listview的形式来实现的
<LinearLayout
    xmlns:android="http://schemas.android.com/apk/res/android"
    xmlns:tools="http://schemas.android.com/tools"
    android:id="@+id/main_layout"
    android:layout_width="match_parent"
    android:layout_height="match_parent"
    android:orientation="vertical"
    tools:context=".MainActivity"
    >

  <View
      android:layout_width="match_parent"
      android:layout_height="25dip"
      android:background="@color/primary_dark"
      />

  <RelativeLayout
      android:layout_width="match_parent"
      android:layout_height="0dp"
      android:layout_weight="1"
      >

    <android.support.v7.widget.Toolbar
        android:layout_height="wrap_content"
        android:layout_width="match_parent"
        android:minHeight="?attr/actionBarSize"
        android:background="@color/primary"
        android:id="@+id/toolbar"
        />

    <View
        android:layout_width="match_parent"
        android:layout_height="5dp"
        android:background="@drawable/toolbar_dropshadow"
        android:layout_below="@+id/toolbar"
        />


    <jp.co.recruit_lifestyle.android.widget.WaveSwipeRefreshLayout
        android:layout_width="match_parent"
        android:layout_height="match_parent"
        android:id="@+id/main_swipe"
        android:layout_below="@+id/toolbar"
        >

      <ListView
          android:id="@+id/main_list"
          android:layout_width="match_parent"
          android:layout_height="match_parent"
          />

    </jp.co.recruit_lifestyle.android.widget.WaveSwipeRefreshLayout>

  </RelativeLayout>

</LinearLayout>
通过人家封装好的工具类我们花一点时间就可以实现 跟别人与众不同的下拉控件了。
大家 有问题可以 进群:166120952 进行 讨论
下载地址:http://download.csdn.net/detail/ningzhouxu/9619348
现在上传的资源大部分都是 android studio 来进行编译的了。么么哒


 352
352

 被折叠的 条评论
为什么被折叠?
被折叠的 条评论
为什么被折叠?
 到【灌水乐园】发言


