技术路线为threebox+tween.js
一、初始化地图场景
mapboxgl.accessToken = ''
let map
let tb

map = new mapboxgl.Map({
  container: 'map2',
  style: 'mapbox://styles/mapbox/dark-v11',
  zoom: 12,
  center: [120.64088192016314, 31.41941143463331],
  pitch: 60,
  bearing: 0,
  antialias: true,
});

map.on('load', () => {
  addMapLine()
});


function addMapLine() {
  map.addLayer({
      id: 'custom_layer',
      type: 'custom',
      renderingMode: '3d',
      onAdd: function (map, mbxContext) {
        tb = new Threebox(
          map,
          mbxContext,
          {defaultLights: true}
        );
        let obj3D = draw();
        tb.add(obj3D);
      },
      render: function (gl, matrix) {
        if (map) {
          map.triggerRepaint();
        }
        tb.update();
        TWEEN.update();
      }
    }
  )
}
二、实现二维线飞线流光效果(无高度)
function draw() {
  // 创建对象
  const lineGroup = new THREE.Group();
  lineGroup.name = 'lineGroup';
  // 创建轨迹线
  const points = getPoints()
  const lineGeom = new THREE.BufferGeometry().setFromPoints(points);
  const material = new THREE.LineBasicMaterial({
    color: 0x006666
  });
  const lineObject = new THREE.Line(lineGeom, material);

  // 创建移动的线
  const index = 20; //取点索引位置
  const num = 10; //从线上获取点数量
  const points2 = points.slice(index, index + num); //从线上获取一段
  const flyLineGeom = new THREE.BufferGeometry();
  flyLineGeom.setFromPoints(points2);

  const colorArr = [];
  for (let i = 0; i < points2.length; i++) {
    const color1 = new THREE.Color(0x006666); // 线颜色
    const color2 = new THREE.Color(0xffff00); // 飞线颜色
    // 飞线渐变色
    let color = color1.lerp(color2, i / 5)
    colorArr.push(color.r, color.g, color.b);
  }
  // 设置几何体顶点颜色数据
  flyLineGeom.attributes.color = new THREE.BufferAttribute(new Float32Array(colorArr), 3);
  flyLineGeom.attributes.position.needsUpdate = true;

  const material2 = new THREE.LineBasicMaterial({
    vertexColors: THREE.VertexColors
  });

  const curveFlyObject = new THREE.Line(flyLineGeom, material2);
  lineGroup.add(lineObject, curveFlyObject)

  // 创建动画
  let tween = new TWEEN.Tween({index: 1})
    .to({index: 150}, 5000)
    .onUpdate(function (t) {
      let id = Math.ceil(t.index);
      let pointsList = points.slice(id, id + 10); //从线上获取一段
      flyLineGeom && flyLineGeom.setFromPoints(pointsList);
      flyLineGeom.attributes.position.needsUpdate = true;
    })
    .repeat(Infinity)
  tween.start();

  return lineGroup
}

function getPoints() {
  // 定义多段折线的点
  let points = [
    {x: 120.64088192, y: 31.5294114},
    {x: 120.55088192, y: 31.524114},
    {x: 120.43588192, y: 31.3214114},
    {x: 120.7288192, y: 31.4124114}
  ];
  // 定义内插的点数
  let numPoints = 50;
  // 计算每个内插点的坐标
  let interpolatedPoints = [];

  for (let i = 0; i < points.length - 1; i++) {
    let p1 = points[i];
    let p2 = points[i + 1];
    let dx = (p2.x - p1.x) / numPoints;
    let dy = (p2.y - p1.y) / numPoints;

    for (let j = 0; j < numPoints; j++) {
      let x = p1.x + j * dx;
      let y = p1.y + j * dy;
      let pos = tb.utils.lnglatsToWorld([[...[x, y], 0]])
      interpolatedPoints.push(pos[0]);
    }
  }
  return interpolatedPoints
}
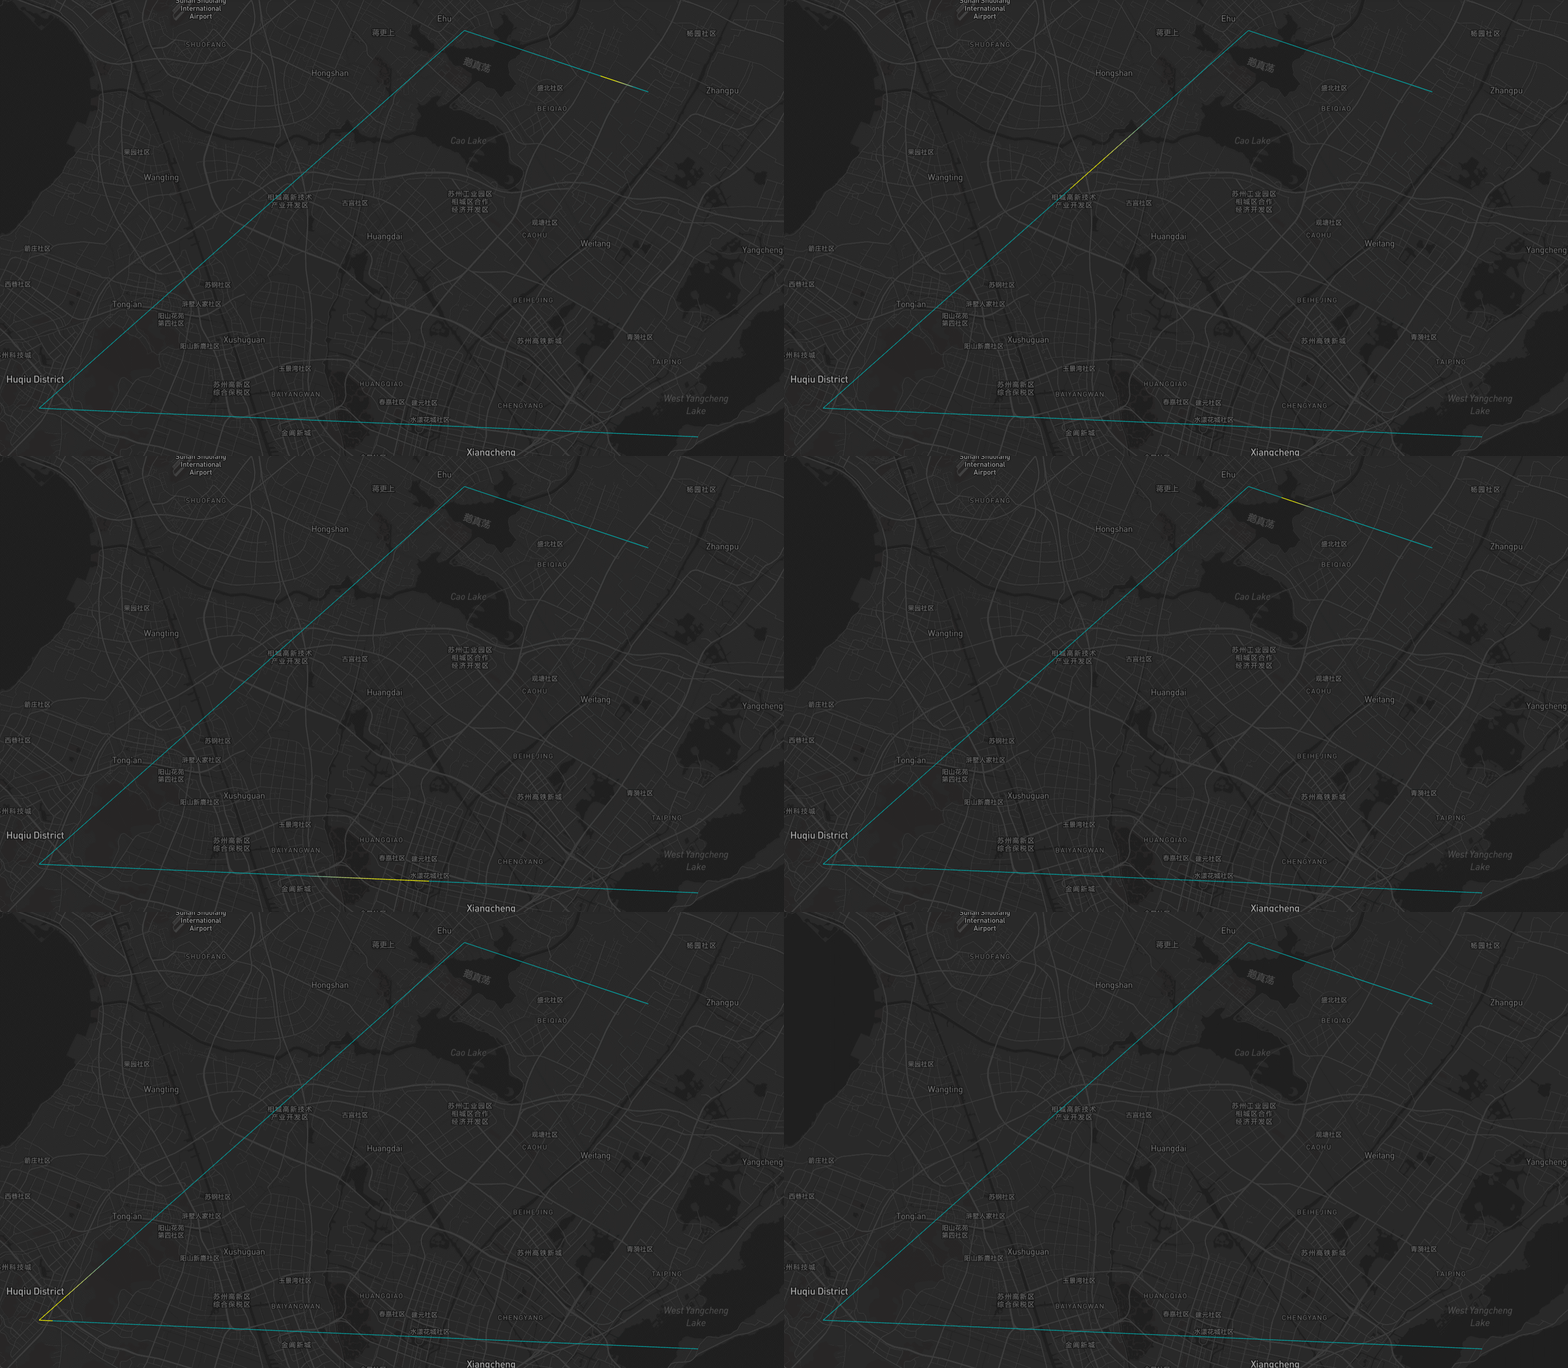
内插点是为了给飞线预设点位,若仅按照几个折点实现的效果并不好。效果如下:

三、实现三维曲线飞线流光效果
function draw() {
  const lineGroup = new THREE.Group();
  lineGroup.name = 'lineGroup';
  let point1 = [120.6, 31.41]
  let point2 = [120.7, 31.40]
  let point3 = [120.8, 31.39]
  let point4 = [120.9, 31.38]
  let point5 = [121, 31.37]


  const point11 = tb.utils.lnglatsToWorld([[...point1, 0]])
  const point22 = tb.utils.lnglatsToWorld([[...point2, 0]])
  const point33 = tb.utils.lnglatsToWorld([[...point3, 0]])
  const point44 = tb.utils.lnglatsToWorld([[...point4, 0]])
  const point55 = tb.utils.lnglatsToWorld([[...point5, 0]])

  const pointInLine = [
    new THREE.Vector3(point11[0].x, point11[0].y, 0),
    new THREE.Vector3(point22[0].x, point22[0].y, 120),
    new THREE.Vector3(point33[0].x, point33[0].y, 20),
    new THREE.Vector3(point44[0].x, point44[0].y, 80),
    new THREE.Vector3(point55[0].x, point55[0].y, 0)
  ];

  // 创建轨迹线
  const curve = new THREE.CatmullRomCurve3(pointInLine);
  const points = curve.getSpacedPoints(100);
  const lineGeom = new THREE.BufferGeometry().setFromPoints(points);

  const material = new THREE.LineBasicMaterial({
    color: 0x006666
  });
  const curveObject = new THREE.Line(lineGeom, material);

  // 创建移动的线
  const index = 20; //取点索引位置
  const num = 10; //从曲线上获取点数量
  const points2 = points.slice(index, index + num); //从曲线上获取一段
  const flyLineGeom = new THREE.BufferGeometry();
  flyLineGeom.setFromPoints(points2);

  // 操作颜色
  const colorArr = [];
  for (let i = 0; i < points2.length; i++) {
    const color1 = new THREE.Color(0x006666); // 线颜色
    const color2 = new THREE.Color(0xffff00); //飞痕颜色
    // 飞痕渐变色
    let color = color1.lerp(color2, i / 5)
    colorArr.push(color.r, color.g, color.b);
  }
  // 设置几何体顶点颜色数据
  flyLineGeom.attributes.color = new THREE.BufferAttribute(new Float32Array(colorArr), 3);
  flyLineGeom.attributes.position.needsUpdate = true;

  const material2 = new THREE.LineBasicMaterial({
    vertexColors: THREE.VertexColors, //使用顶点本身颜色
  });

  const curveFlyObject = new THREE.Line(flyLineGeom, material2);
  lineGroup.add(curveObject, curveFlyObject)

  // 创建动画
  let tween = new TWEEN.Tween({index: 1})
    .to({index: 100}, 3000)
    .onUpdate(function (t) {
      let id = Math.ceil(t.index);
      let pointsList = points.slice(id, id + 10); //从曲线上获取一段
      flyLineGeom && flyLineGeom.setFromPoints(pointsList);
      flyLineGeom.attributes.position.needsUpdate = true;
    })
    .repeat(Infinity)
  tween.start();

  return lineGroup
}
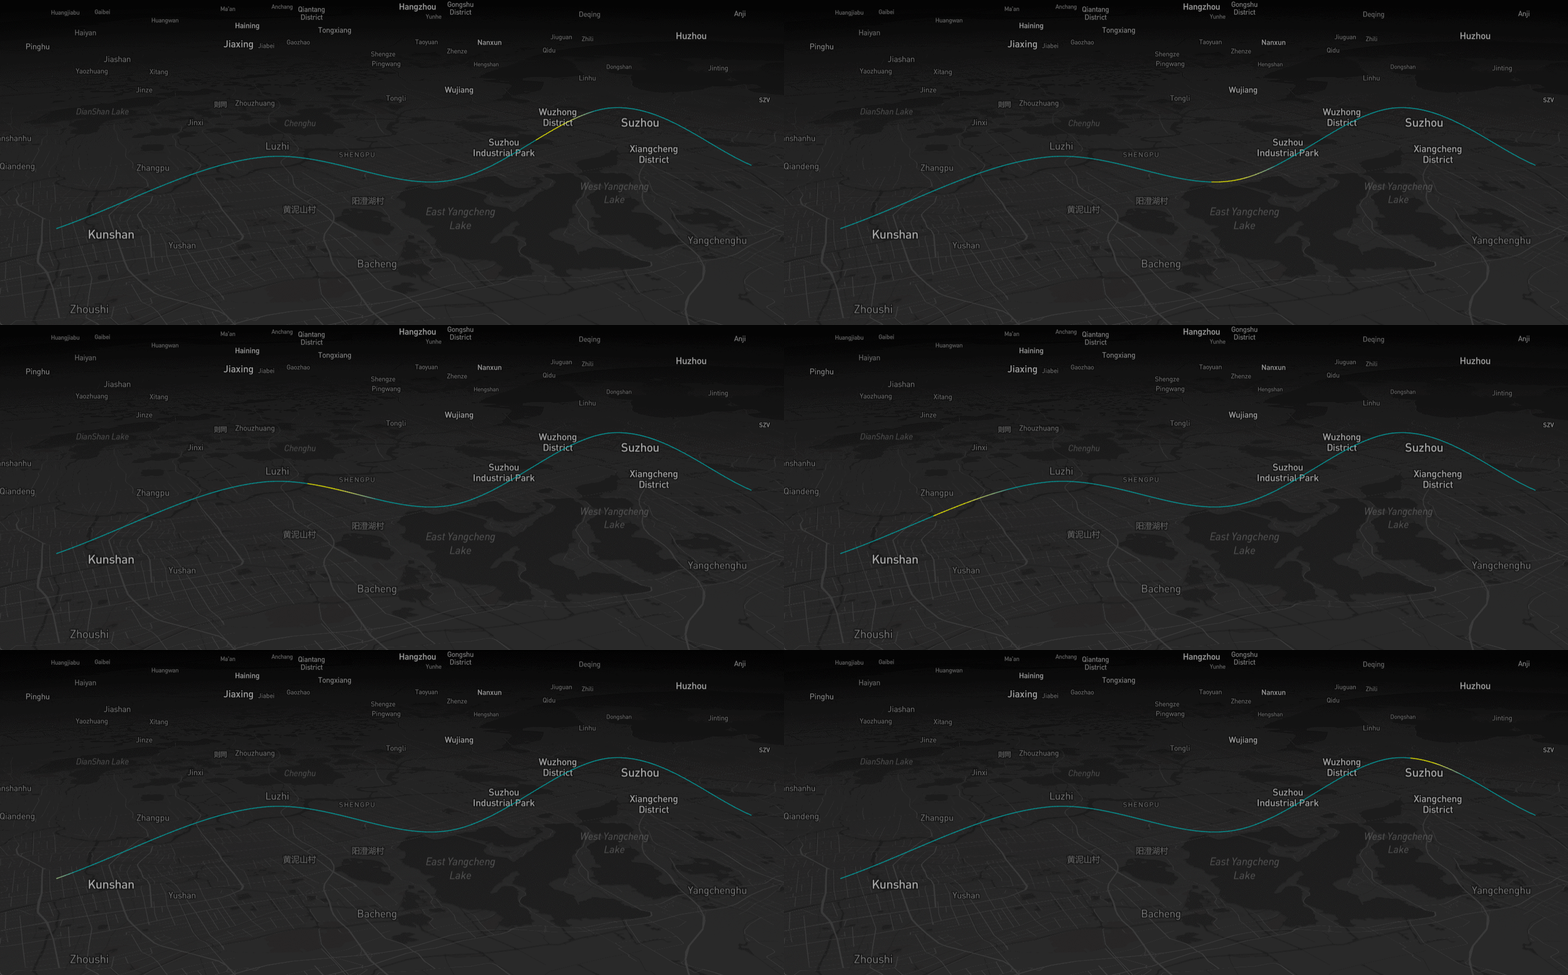
实现效果如下:

三维曲线参考大佬的文档:mapbox-gl添加threejs飞线_mapbox three_迦南giser的博客-CSDN博客


 1958
1958


 被折叠的 条评论
为什么被折叠?


