


一、
首先下载和导入FontAwesome 的TrueType 文件到项目。你可以从
上下载FontAwesome 的assets。下载了FontAwesome之后,只需要位于fonts目录的 fontawesome-webfont.ttf。
二、
在你的安卓项目中,导航到 app > src > main。 main 目录应该包含了一个叫 assets的文件夹。如果没有就创建一个。在assets 文件夹中创建另一个fonts文件夹,并把fontawesome-webfont.ttf 添加到这个文件夹。
三、
创建一个帮助类
现在你已经成功的把FontAwesome 字体文件包含在了自己的安卓项目里,是时候使用它了。我们会创建一个帮助类来让事情变得简单点。这个类要使用到android.graphics.Typeface。Typeface类指定typeface 以及一个字体的特征。它用于指明text在绘制(以及测量)的时候该如何显示。
创建一个新的名叫FontManager的java类:
public class FontManager {

    public static final String ROOT = "fonts/",
    FONTAWESOME = ROOT + "fontawesome-webfont.ttf";

    public static Typeface getTypeface(Context context, String font) {
        return Typeface.createFromAsset(context.getAssets(), font);
    }

}
图标一般都是包含在一个ViewGroup,比如一个RelativeLayout或者LinearLayout中。所以,在FontManager类中写一个方法,爬遍指定xml parent 并且递归的覆盖每个TextView的字体。
public class FontManager {

    // ...

    public static void markAsIconContainer(View v, Typeface typeface) {
        if (v instanceof ViewGroup) {
            ViewGroup vg = (ViewGroup) v;
            for (int i = 0; i < vg.getChildCount(); i++) {
                View child = vg.getChildAt(i);
                markAsIconContainer(child,typeface);
            }

        } else if (v instanceof TextView) {
            ((TextView) v).setTypeface(typeface);
        }
    }

}
假设你的布局文件是这样的:
<LinearLayout xmlns:android="http://schemas.android.com/apk/res/android"
    xmlns:tools="http://schemas.android.com/tools"
    android:layout_width="match_parent"
    android:layout_height="match_parent"
    android:orientation="vertical"
     android:id="@+id/icons_container"
    tools:context="${relativePackage}.${activityClass}" >

    <TextView
        android:layout_width="match_parent"
        android:layout_height="wrap_content"
        android:gravity="center"
        android:layout_weight="1" />

    <TextView
        android:layout_width="match_parent"
        android:layout_height="wrap_content"
        android:gravity="center"
        android:layout_weight="1" />

    <TextView
        android:layout_width="match_parent"
        android:layout_height="wrap_content"
        android:gravity="center"
        android:layout_weight="1" />

</LinearLayout>
要把这三个TextView标记为图标,在重写的onCreate方法中,添加如下代码片段:
Typeface iconFont = FontManager.getTypeface(getApplicationContext(), FontManager.FONTAWESOME);
FontManager.markAsIconContainer(findViewById(R.id.icons_container), iconFont);
四、
使用你想要的图标
在该网站中选择你喜欢的图标,查看它的Unicode 字符
在项目中,进入 values 文件夹并创建一个新的文件:icons.xml。这个文件将被作为字典使用,它将把Unicode 字符和相应的图标用可读的名字匹配起来。这意味着我们需要为每个图标创建一个入口。
<resources>
<string name="fa_icon_areachart"></string>
<string name="fa_icon_piechart"></string>
<string name="fa_icon_linechart"></string>
</resources>
下一步就是在布局的TextView里面引用这些字符串。这是最终的样子:
<LinearLayout xmlns:android="http://schemas.android.com/apk/res/android"
    xmlns:tools="http://schemas.android.com/tools"
    android:layout_width="match_parent"
    android:layout_height="match_parent"
    android:orientation="vertical"
     android:id="@+id/icons_container"
    tools:context="${relativePackage}.${activityClass}" >

    <TextView
        android:layout_width="match_parent"
        android:layout_height="wrap_content"
        android:gravity="center"
        android:textColor="#9b59b6"
        android:textSize="45sp"
        android:text="@string/fa_icon_areachart"
        android:layout_weight="1" />

    <TextView
        android:layout_width="match_parent"
        android:layout_height="wrap_content"
        android:text="@string/fa_icon_piechart"
        android:textColor="#9b59b6"
        android:textSize="45sp"
        android:gravity="center"
        android:layout_weight="1" />

    <TextView
        android:layout_width="match_parent"
        android:layout_height="wrap_content"
        android:text="@string/fa_icon_linechart"
        android:gravity="center"
        android:textColor="#9b59b6"
        android:textSize="45sp"
        android:layout_weight="1" />

</LinearLayout>
五、
改变图标的大小很简单,你只需改变textSize属性就是了。改变图标的颜色也一样简单,编辑textColor属性就是了。
<TextView
android:layout_width="match_parent"
android:layout_height="wrap_content"
android:gravity="center"
android:layout_weight="1"
android:textSize="45sp"
android:textColor="#9b59b6"
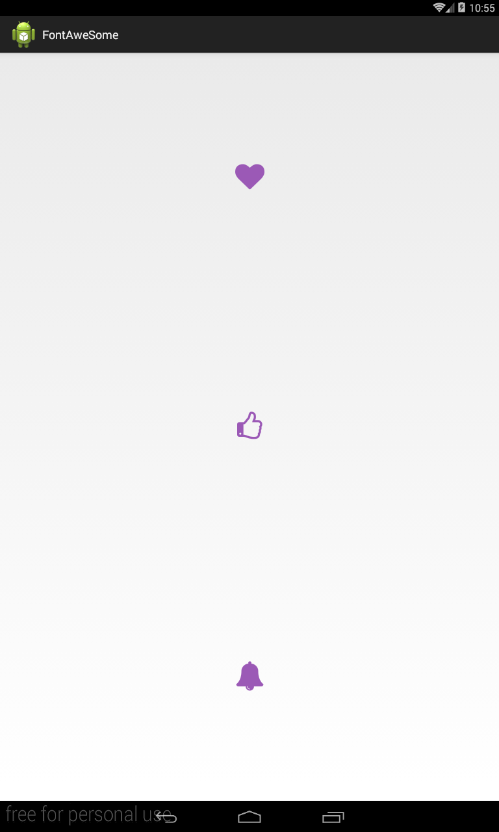
android:text="@string/fa_icon_areachart" />最终效果如下


 401
401

 被折叠的 条评论
为什么被折叠?
被折叠的 条评论
为什么被折叠?
 到【灌水乐园】发言


