


,让我们详细介绍这个轮胎X光图缺陷分类数据集,并提供使用YOLOv8进行训练的代码。
数据集介绍
数据集概述
- 数据集名称:Tire X-ray Defect Classification Dataset (TXDCD)
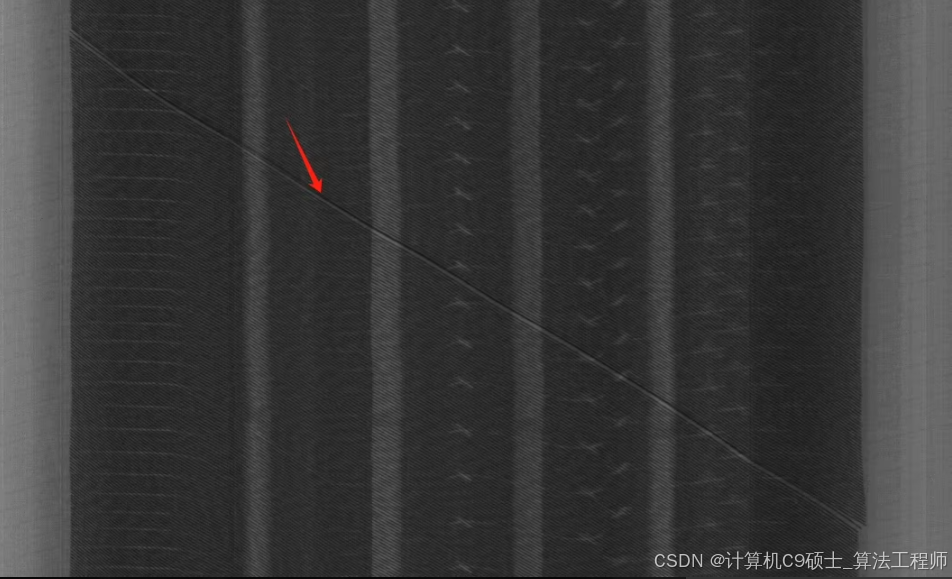
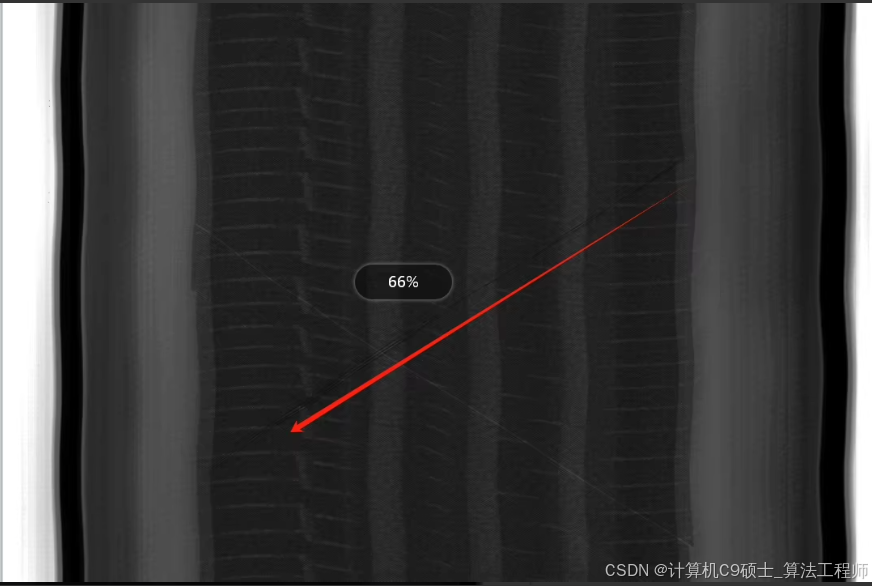
- 数据类型:X光图像
- 目标类别:6类
- Normal - 正常
- Defect1 - 缺陷1
- Defect2 - 缺陷2
- Defect3 - 缺陷3
- Defect4 - 缺陷4
- Defect5 - 缺陷5
- 样本数量:具体数量未给出,假设为N张图片
- 标注格式:分类任务,每个图像有一个类别标签
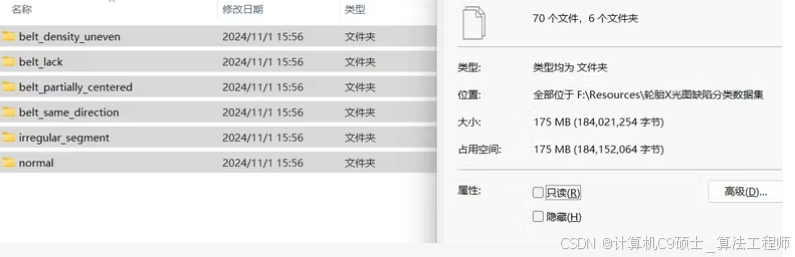
数据集目录结构
TXDCD/
├── images/
│   ├── train/
│   │   ├── normal/
│   │   ├── defect1/
│   │   ├── defect2/
│   │   ├── defect3/
│   │   ├── defect4/
│   │   └── defect5/
│   └── val/
│       ├── normal/
│       ├── defect1/
│       ├── defect2/
│       ├── defect3/
│       ├── defect4/
│       └── defect5/
└── data.yaml
数据集配置文件
创建一个data.yaml文件,配置数据集的路径和类别信息:
path: ./TXDCD  # 数据集路径
train: images/train  # 训练集图像路径
val: images/val  # 验证集图像路径

nc: 6  # 类别数
names: ['Normal', 'Defect1', 'Defect2', 'Defect3', 'Defect4', 'Defect5']  # 类别名称
YOLOv8训练代码
-
安装YOLOv8库和依赖项:
git clone https://github.com/ultralytics/ultralytics.git cd ultralytics pip install -r requirements.txt -
训练模型:
from ultralytics import YOLO

def train_model(data_yaml_path, model_config, epochs, batch_size, img_size, augment):
    # 加载模型
    model = YOLO(model_config)

    # 训练模型
    results = model.train(
        data=data_yaml_path,
        epochs=epochs,
        batch=batch_size,
        imgsz=img_size,
        augment=augment
    )

    # 保存模型
    model.save("runs/train/tire_xray_defect_classification/best.pt")

if __name__ == "__main__":
    data_yaml_path = 'TXDCD/data.yaml'
    model_config = 'yolov8s-cls.yaml'  # 使用分类模型配置文件
    epochs = 100
    batch_size = 16
    img_size = 640
    augment = True

    train_model(data_yaml_path, model_config, epochs, batch_size, img_size, augment)
详细解释
-
安装YOLOv8和依赖项:
- 克隆YOLOv8仓库并安装所有必要的依赖项。
-
训练模型:
- 导入YOLOv8库。
- 加载模型配置文件(注意使用分类模型配置文件
yolov8s-cls.yaml)。 - 调用
model.train方法进行训练。 - 保存训练后的最佳模型。
运行训练脚本
将上述脚本保存为一个Python文件(例如train_yolov8_txcdc.py),然后运行它。
python train_yolov8_txcdc.py
评估模型
- 评估模型:
from ultralytics import YOLO

def evaluate_model(data_yaml_path, weights_path, img_size, conf_threshold):
    # 加载模型
    model = YOLO(weights_path)

    # 评估模型
    results = model.val(
        data=data_yaml_path,
        imgsz=img_size,
        conf=conf_threshold
    )

    # 打印评估结果
    print(results)

if __name__ == "__main__":
    data_yaml_path = 'TXDCD/data.yaml'
    weights_path = 'runs/train/tire_xray_defect_classification/best.pt'
    img_size = 640
    conf_threshold = 0.4

    evaluate_model(data_yaml_path, weights_path, img_size, conf_threshold)
详细解释
- 评估模型:
- 导入YOLOv8库。
- 加载训练好的模型权重。
- 调用
model.val方法进行评估。 - 打印评估结果。
运行评估脚本
将上述脚本保存为一个Python文件(例如evaluate_yolov8_txcdc.py),然后运行它。
python evaluate_yolov8_txcdc.py
一键运行脚本
为了实现一键运行,可以将训练和评估脚本合并到一个主脚本中,并添加命令行参数来控制运行模式。
import argparse
from ultralytics import YOLO

def train_model(data_yaml_path, model_config, epochs, batch_size, img_size, augment):
    # 加载模型
    model = YOLO(model_config)

    # 训练模型
    results = model.train(
        data=data_yaml_path,
        epochs=epochs,
        batch=batch_size,
        imgsz=img_size,
        augment=augment
    )

    # 保存模型
    model.save("runs/train/tire_xray_defect_classification/best.pt")

def evaluate_model(data_yaml_path, weights_path, img_size, conf_threshold):
    # 加载模型
    model = YOLO(weights_path)

    # 评估模型
    results = model.val(
        data=data_yaml_path,
        imgsz=img_size,
        conf=conf_threshold
    )

    # 打印评估结果
    print(results)

def main(mode):
    data_yaml_path = 'TXDCD/data.yaml'
    model_config = 'yolov8s-cls.yaml'  # 使用分类模型配置文件
    epochs = 100
    batch_size = 16
    img_size = 640
    conf_threshold = 0.4
    augment = True

    if mode == 'train':
        train_model(data_yaml_path, model_config, epochs, batch_size, img_size, augment)
    elif mode == 'eval':
        weights_path = 'runs/train/tire_xray_defect_classification/best.pt'
        evaluate_model(data_yaml_path, weights_path, img_size, conf_threshold)
    else:
        print("Invalid mode. Use 'train' or 'eval'.")

if __name__ == "__main__":
    parser = argparse.ArgumentParser(description="Train or evaluate YOLOv8 on the Tire X-ray Defect Classification Dataset.")
    parser.add_argument('mode', type=str, choices=['train', 'eval'], help="Mode: 'train' or 'eval'")
    args = parser.parse_args()

    main(args.mode)
详细解释
-
命令行参数:
- 使用
argparse库添加命令行参数,控制脚本的运行模式(训练或评估)。
- 使用
-
主函数:
- 根据传入的模式参数,调用相应的训练或评估函数。
运行主脚本
将上述脚本保存为一个Python文件(例如main_yolov8_txcdc.py),然后运行它。
训练模型
python main_yolov8_txcdc.py train
评估模型
python main_yolov8_txcdc.py eval
总结
通过以上步骤,你可以准备好轮胎X光图缺陷分类数据集,并使用YOLOv8进行训练和评估。


 被折叠的 条评论
为什么被折叠?
被折叠的 条评论
为什么被折叠?
 到【灌水乐园】发言


