


AutoID Network Navigator软件的链接
链接:https://pan.baidu.com/s/1EYf5NFCcJVjmwEUFVc1IDA
提取码:baol
AutoID Network Navigator可以用来对扫码枪的ip和各参数进行调整
1.设置前的准备
扫码枪的默认ip是192.168.100.1,所以需要先把电脑IP更改为192.168.100.xxx
2.搜索扫码枪
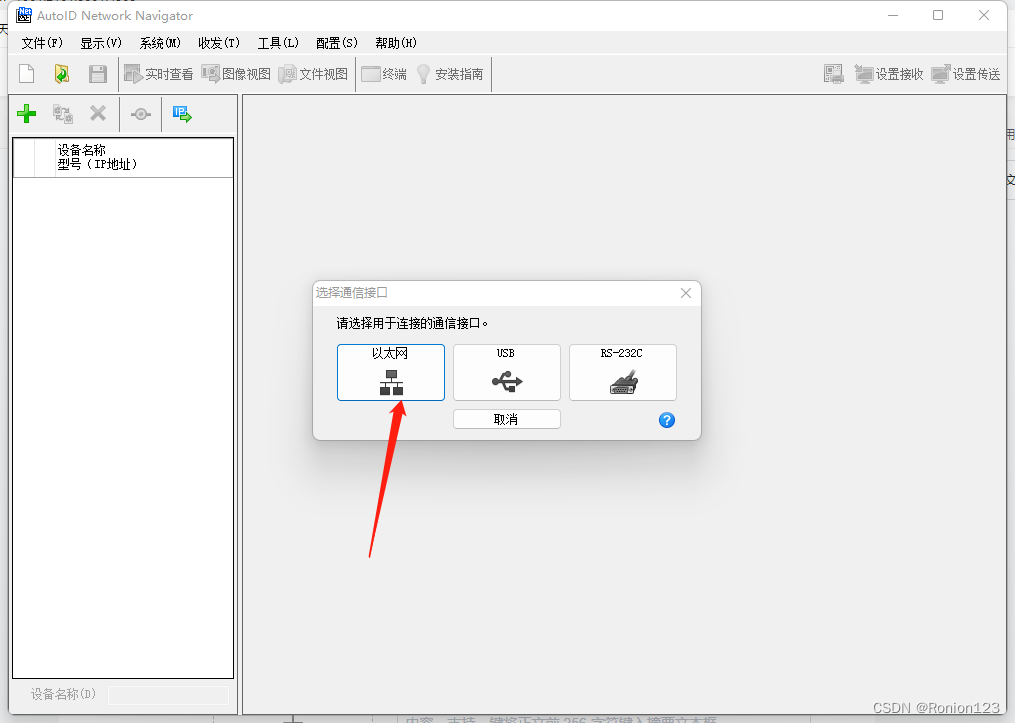
更改电脑IP后打开软件点击绿色的+号
选择以太网
出现局域网设置弹窗,若为你设置的192.168.100.xxx就点击ok
然后点击自动检索,检索出来和电脑连接的扫码枪选中后登录
3.设置扫码枪
登陆后点击以太网更改扫码枪IP
点击启动设置Wirard
顺序:通过触发命令ON-电脑-tcp-默认端口就行
设置完成后右上角设置传送
然后重启软件,更改电脑IP,注意不要和扫码枪IP相撞
4.设置扫码枪扫描区域
重启软件再次连接扫码枪,在读取界面先点击自动对焦,
监视器可以手动调整位置,让扫码枪能够精准扫到二维码
当可以持续完整的读取到条码时,点击调整,调整完毕后右上角设置发送
5.设置扫码枪的扫描命令
测试读码时会一直读到ER,READ,00,需要再操作模式下调整完毕后才会变成条码
将出发ON命令改为READ
将触发OFF命令改为END
将读取精准字符串改为空
注意这一步需要上位机代码做出相应的代码指令
最后设置传送,扫码枪就设置完毕了


 1413
1413

 被折叠的 条评论
为什么被折叠?
被折叠的 条评论
为什么被折叠?
 到【灌水乐园】发言


