


springcloud+eureka+config 读取git配置信息;
先在 git 里保存 name 信息, 然后通过 ConfigServer 去获取 , 接着不同的视图微服务实例再去 ConfigServer 里获取
1.在git上添加文件
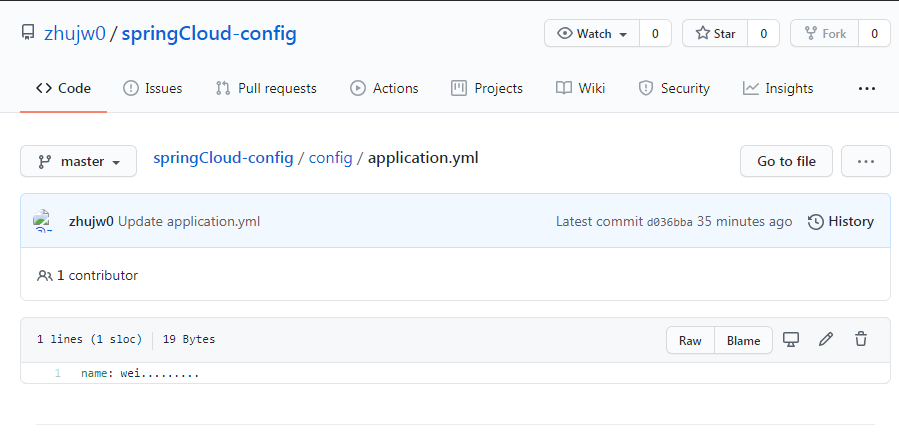
2.服务端:在原有项目上新建config-server子项目
需要jar包 spring-cloud-config-server 启动类添加注解 @EnableConfigServer
application.yml
server:
  port: 8085
#  servlet:
#    context-path:   #访问项目前缀
spring:
  application:
    name: config-server   #服务注册中心的名称
  cloud:
    config:
      label: master
      server:
        git:
          uri: https://github.com/zhujw0/springCloud-config/
          search-paths: config

eureka:
  client:
    service-url:
      defaultZone: http://www.eureka-server.com:1111/eureka/  #对应Eureka-server中的url
  instance:
    hostname: www.client.com
pom.xml
<?xml version="1.0" encoding="UTF-8"?>
<project xmlns="http://maven.apache.org/POM/4.0.0"
         xmlns:xsi="http://www.w3.org/2001/XMLSchema-instance"
         xsi:schemaLocation="http://maven.apache.org/POM/4.0.0 http://maven.apache.org/xsd/maven-4.0.0.xsd">
    <parent>
        <artifactId>wei</artifactId>
        <groupId>com.hncg</groupId>
        <version>0.0.1-SNAPSHOT</version>
    </parent>
    <modelVersion>4.0.0</modelVersion>

    <artifactId>config-server</artifactId>

    <dependencies>
        <dependency>
            <groupId>org.springframework.cloud</groupId>
            <artifactId>spring-cloud-config-server</artifactId>
        </dependency>
    </dependencies>

</project>
package com;
import org.springframework.boot.SpringApplication;
import org.springframework.boot.autoconfigure.SpringBootApplication;
import org.springframework.cloud.config.server.EnableConfigServer;
/**
* 配置中心
*/
@SpringBootApplication
@EnableConfigServer
public class ConfigServerApplication {
public static void main(String[] args) {
SpringApplication.run(ConfigServerApplication.class,args);
}
}
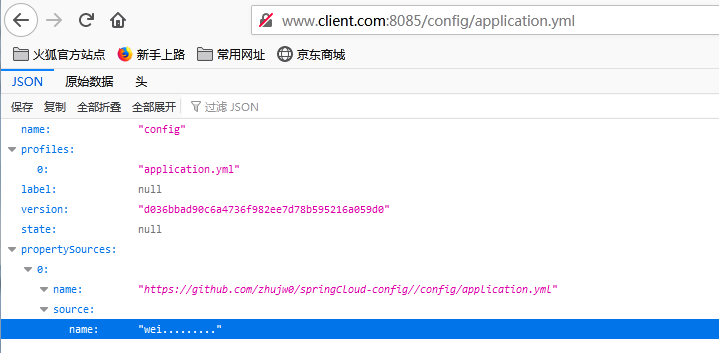
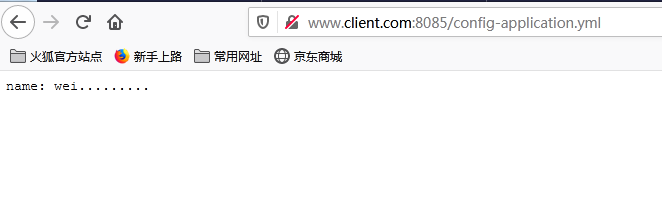
2.启动Eureka-Server注册中心,在启动config-server配置中心,访问 http://www.eureka-server.com:1111/

3.访问如下,配置服务器就准备好了
二,配置客户端,从config-server中读取配置做展示
1.在原有的Eureka-Client1 中添加jar包 spring-cloud-config-client
<?xml version="1.0" encoding="UTF-8"?>
<project xmlns="http://maven.apache.org/POM/4.0.0"
         xmlns:xsi="http://www.w3.org/2001/XMLSchema-instance"
         xsi:schemaLocation="http://maven.apache.org/POM/4.0.0 http://maven.apache.org/xsd/maven-4.0.0.xsd">
    <parent>
        <artifactId>wei</artifactId>
        <groupId>com.hncg</groupId>
        <version>0.0.1-SNAPSHOT</version>
    </parent>
    <modelVersion>4.0.0</modelVersion>

    <artifactId>Eureka-Client1</artifactId>

    <dependencies>
        <dependency>
            <groupId>org.springframework.cloud</groupId>
            <artifactId>spring-cloud-config-client</artifactId>
        </dependency>
    </dependencies>

</project>
2.添加 bootstrap.yml 文件(bootstrap优先级高于application),eureka的配置要在config的上面,否则会报错,因为你还没在Eureka注册就去Eureka查找配置中心
eureka:
  client:
    service-url:
      defaultZone: http://www.eureka-server.com:1111/eureka/  #对应Eureka-server中的url
  instance:
    hostname: www.client.com

spring:
  cloud:
    config:
#      profile: pro
      label: master
      discovery:
        enabled: true
        service-id: config-server #对应config-server中的spring.application.name
      uri: http://www.client.com:8085  #config-server的访问 hostname+port
      name: application #配置文件名称
application.yml 文件
server:
  port: 8081
  servlet:
    context-path: /client1  #访问项目前缀
#eureka:
#  client:
#    service-url:
#      defaultZone: http://www.eureka-server.com:1111/eureka/  #对应Eureka-server中的url
#  instance:
#    hostname: www.client.com

spring:
  application:
    name: eureka-client1   #服务注册中心的名称
3.测试从git中获取配置信息
package com.controller;

import org.springframework.beans.factory.annotation.Value;
import org.springframework.web.bind.annotation.RequestMapping;
import org.springframework.web.bind.annotation.RestController;

@RestController
public class ConfigController {

    @Value("${name}")
    private String name;

    @RequestMapping("/configtest")
    public String configTest(){

        return "获取git上的配置:"+name;
    }

}
4.启动Eureka-Server注册中心,启动Config-Server配置中心,启动Eureka-Client1 访问http://www.client.com:8081/client1/configtest
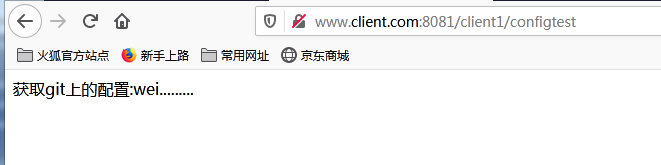

5.修改git上的信息,刷新http://www.client.com:8081/client1/configtest 不会跟着修改需要重启 (通过 rabbitMQ 动态刷新)


 6388
6388


 被折叠的 条评论
为什么被折叠?
被折叠的 条评论
为什么被折叠?
 到【灌水乐园】发言


