


本人大学毕业进入一家公司工作,岗位是QT,接触到的第一个大任务是关于mapbox的,到现在也有几个月了,学习到了许多mapbox的功能,遇到了很多问题,费了很久才克服,现在我将我的学习成功总计下来,让其他人可以走个捷径。
	mapboxgl.accessToken = 'pk.eyJ1IjoiZGVlcGNhbDIwMTkiLCJhIjoiY2xoZW4zemdzMW1mODNsbm9jcnJ1ajZrMyJ9.pIydl0fWOo4qpRL4nKkukA';
    const map = new mapboxgl.Map({
        container: 'map',
        style: 'mapbox://styles/mapbox/streets-v12',
        center: [108.942413, 34.260424],
        zoom: 9
    });
这是mapbox的最基础的样式,里面有底图名称,密钥,style和中心点,zoom是基础缩放。
第一个功能是切换底图,比如百度,高德,mapbox的各个style(2D,3D...)等。
// 切换地图样式
function changeMapStyle(style) {
  if (style === 'mapbox-3D') {
    map.setStyle('mapbox://styles/mapbox/light-v11', { pitch: 45, bearing: -17.6 });
    map.once('style.load', () => {
      // 添加用于显示建筑物的3D图层
      map.addLayer({
        'id': 'add-3d-buildings',
        'source': 'composite',
        'source-layer': 'building',
        'filter': ['==', 'extrude', 'true'],
        'type': 'fill-extrusion',
        'minzoom': 15,
        'paint': {
          'fill-extrusion-color': '#aaa',
          'fill-extrusion-height': [
            'interpolate',
            ['linear'],
            ['zoom'],
            15,
            0,
            15.05,
            ['get', 'height']
          ],
          'fill-extrusion-base': [
            'interpolate',
            ['linear'],
            ['zoom'],
            15,
            0,
            15.05,
            ['get', 'min_height']
          ],
          'fill-extrusion-opacity': 0.6
        }
      },
      'waterway-label');
    });
  } else if (style === 'mapbox-3D-2') {
    // 三维地形图
    map.setStyle('mapbox://styles/mapbox-map-design/ckhqrf2tz0dt119ny6azh975y');
    map.on('style.load', () => {
        map.addSource('mapbox-dem', {
            'type': 'raster-dem',
            'url': 'mapbox://mapbox.mapbox-terrain-dem-v1',
            'tileSize': 512,
            'maxzoom': 14
        });
        map.setTerrain({ 'source': 'mapbox-dem', 'exaggeration': 1.5 });
    });
}

else if (style === 'amap-vector') {
    // 高德卫星图
    map.setStyle({
      "version": 8,
      "sources": {
        "raster-tiles": {
          "type": "raster",
          "tiles": [
            "http://wprd01.is.autonavi.com/appmaptile?x={x}&y={y}&z={z}&lang=zh_cn&size=1&scl=1&style=6"
          ],
          "tileSize": 256
        }
      },
      "layers": [{
        "id": "simple-tiles",
        "type": "raster",
        "source": "raster-tiles",
        "minzoom": 0,
        // "maxzoom": 18
      }]
    });
  }  else if (style === 'GD-2D') {
    // 高德矢量图
    map.setStyle({
      "version": 8,
      "sources": {
        "raster-tiles": {
          "type": "raster",
          "tiles": [
            "http://wprd01.is.autonavi.com/appmaptile?x={x}&y={y}&z={z}&lang=zh_cn&size=1&scl=1&style=7"
          ],
          "tileSize": 256
        }
      },
      "layers": [{
        "id": "simple-tiles",
        "type": "raster",
        "source": "raster-tiles",
        "minzoom": 0,
        // "maxzoom": 18
      }]
    });
  }else if (style === 'baidu-2D') {
    // 百度矢量图
    <!-- map.setStyle({ -->
      <!-- "version": 8, -->
      <!-- "sources": { -->
        <!-- "raster-tiles": { -->
          <!-- "type": "raster", -->
          <!-- "tiles": [ -->
            <!-- "script type=”text/javascript” src="http://api.map.baidu.com/api?v=2.0&ak=mr1E96du5x5IjoLr8QGDKZBBlG5CDY2D" -->
          <!-- ], -->
          <!-- "tileSize": 256 -->
        <!-- } -->
      <!-- }, -->
      <!-- "layers": [{ -->
        <!-- "id": "simple-tiles", -->
        <!-- "type": "raster", -->
        <!-- "source": "raster-tiles", -->
        <!-- "minzoom": 0, -->
        <!-- // "maxzoom": 18 -->
      <!-- }] -->
    <!-- }); -->
  }else if(style === 'offline'){
      map.setStyle({
            "version": 8,
            "name": "Mapbox Streets",
            "sprite": "http://localhost:82/mapboxoffline/images/sprite",//图标
            "glyphs": "http://localhost:82/mapboxoffline/font/{fontstack}/{range}.pbf",//字体文件
            "sources": {
                "osm-tiles": {
                    "type": "raster",
                    "tiles": ["http://localhost:82/mapboxoffline/tile/{z}/{x}/{y}.png"],
                    'tileSize': 256
                },
            },
            "layers": [{
                "id": "simple-tiles",
                "type": "raster",
                "source": "osm-tiles",
                "minzoom": 0,
                "maxzoom": 22
            }]


    });
    console.log(map);
  }else if(style === 'offline-gaode'){
      map.setStyle({
            "version": 8,
            "name": "Mapbox Streets",
            "sprite": "http://localhost:82/mapboxoffline/images/sprite",//图标
            "glyphs": "http://localhost:82/mapboxoffline/font/{fontstack}/{range}.pbf",//字体文件
            "sources": {
                "osm-tiles": {
                    "type": "raster",
                    "tiles": ["http://localhost:82/mapboxoffline/tile-gaode/{z}/{x}/{y}.png"],
                    'tileSize': 256
                },
            },
            "layers": [{
                "id": "simple-tiles",
                "type": "raster",
                "source": "osm-tiles",
                "minzoom": 0,
                "maxzoom": 22
            }]


    });
    console.log(map);
  }
  else {
    map.setStyle(style);
  }
}
改底图就相当于改mapbox的style, map.setStyle便会让底图发送变化,map.addLayer是mapbox的一个方法,作用是添加新图层,添加的图层可以是各个格式。
我将各个底图 map.setStyle 放入到了函数中,根据参数的不同可以切换不同的底图。
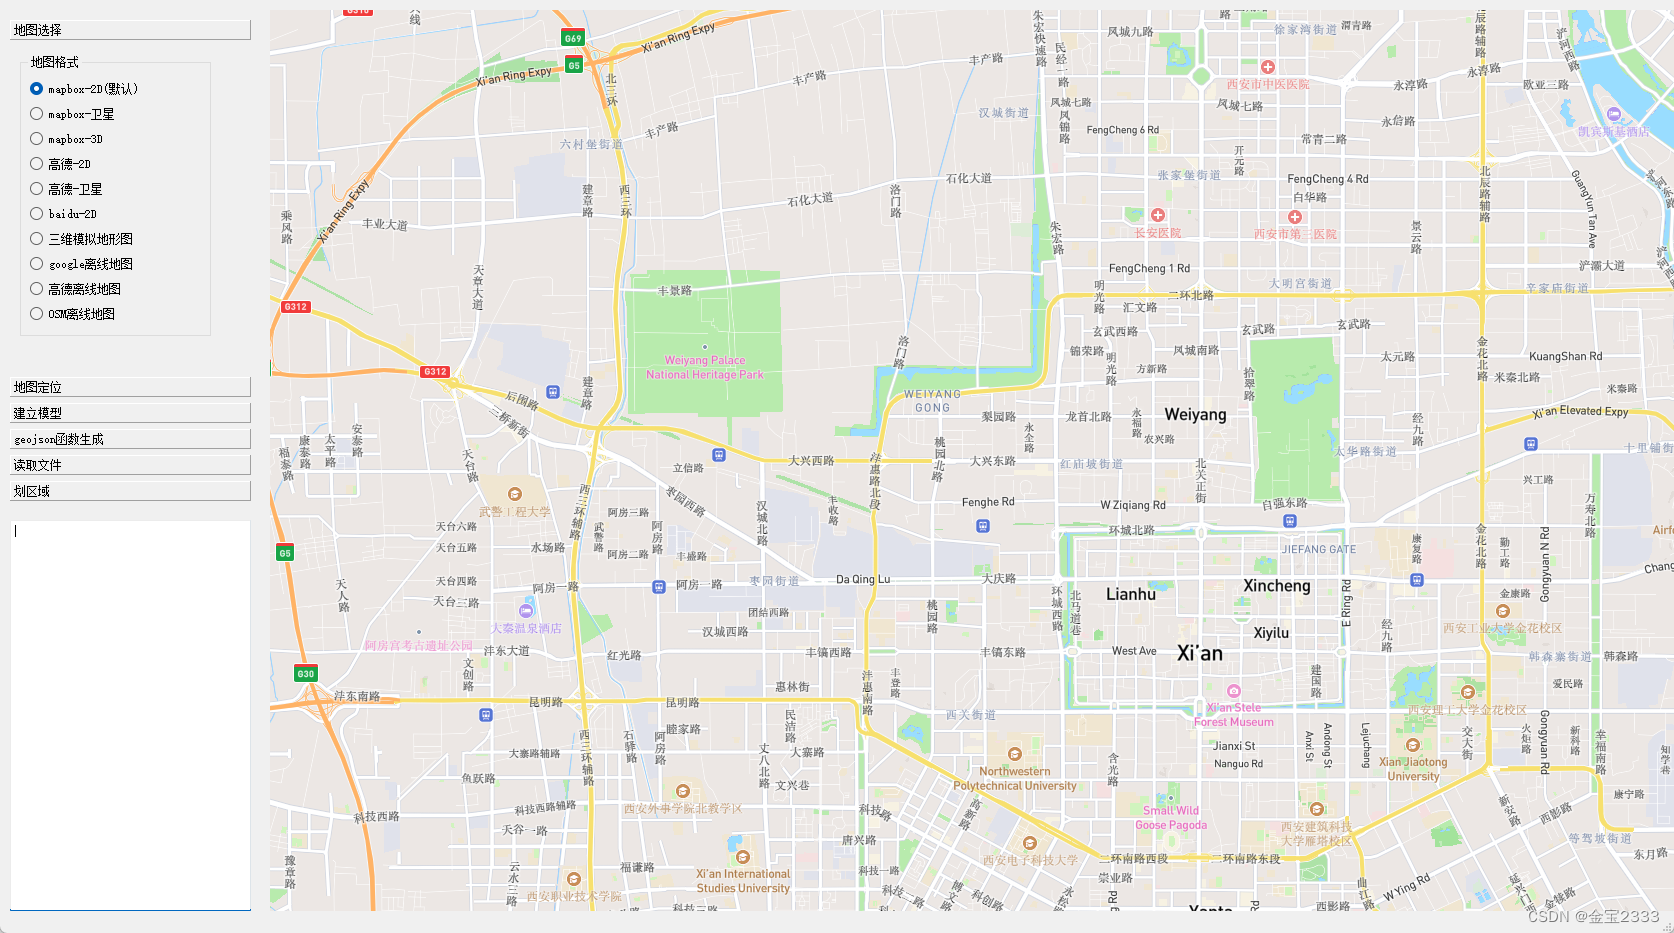
这是在QT中的效果。


 2万+
2万+


 被折叠的 条评论
为什么被折叠?
被折叠的 条评论
为什么被折叠?
 到【灌水乐园】发言


