


自定义插件之全局Loading
ElementPlus的默认全局Loading
如果完整引入了 Element Plus,那么 app.config.globalProperties 上会有一个全局方法$loading,同样会返回一个 Loading 实例。
| 名称 | 说明 | 类型 | 默认 |
|---|---|---|---|
| target | Loading 需要覆盖的 DOM 节点。 可传入一个 DOM 对象或字符串; 若传入字符串,则会将其作为参数传入 document.querySelector以获取到对应 DOM 节点 | string / HTMLElement | document.body |
| body | 同 v-loading 指令中的 body 修饰符 | boolean | false |
| fullscreen | 同 v-loading 指令中的 fullscreen 修饰符 | boolean | true |
| lock | 同 v-loading 指令中的 lock 修饰符 | boolean | false |
| text | 显示在加载图标下方的加载文案 | string | — |
| spinner | 自定义加载图标类名 | string | — |
| background | 遮罩背景色 | string | — |
| customClass | Loading 的自定义类名 | string | — |
指令的方式使用
<template>
   <div class="box" v-loading="isLoading">
      content
   </div>
   <el-button type="primary" @click="showDivLoading">显示loading</el-button>
</template>

<script setup lang="ts">
// 显示局部loading
let isLoading = ref(false)

const showDivLoading = () => {
  isLoading.value = !isLoading.value
}

</script>

<style scoped>
.box {
  width: 200px;
  height: 200px;
  border: 1px solid;
}
</style>
函数式调用
<template>
  <el-button type="primary" @click="showLoading">showLoading</el-button>
</template>

<script setup lang="ts">
import {getCurrentInstance} from 'vue'
// 获取当前实例
const {proxy} = getCurrentInstance()

// 显示全局loading
const showLoading = () => {
  const loading = proxy.$loading()
  setTimeout(() => {
    loading.close()
  }, 2000)
}
</script>
自定义全局Loading
我们自己动手来实现一个和ElementPlus一样的Loading,同时支持函数调用和指令调用
添加MyLoading.vue
<template>
  <transition enter-active-class="animate__animated animate__fadeIn"
              leave-active-class="animate__animated animate__fadeOut">
    <div class="root-box" v-if="show">
      <div class="wrap">
        <img src="../assets/images/loading.gif"/>
      </div>
    </div>
  </transition>
</template>

<script setup>
let show = ref(false)

const showLoading = () => {
  show.value = true
}
const hideLoading = (callback) => {
  show.value = false
  callback && setTimeout(() => callback(), 500)
}

defineExpose({
  show,
  showLoading,
  hideLoading
})

</script>

<style scoped lang="scss">
.animate__animated.animate__fadeIn {
  --animate-duration: 0.5s;
}

.animate__animated.animate__fadeOut {
  --animate-duration: 0.5s;
}

.root-box {
  position: absolute;
  left: 0;
  top: 0;
  bottom: 0;
  right: 0;
  margin: 0;
  background-color: rgba(255, 255, 255, 0.9);
  z-index: 2000;
  display: flex;
  justify-content: center;
  align-items: center;

  .wrap {
    width: 100px;
    height: 100px;
    display: flex;
    justify-content: center;
    align-items: center;
    overflow: hidden;

    img {
      width: 100%;
      transform: scale(2.5);
    }
  }
}
</style>
添加MyLoading.ts
import type {App, VNode,} from "vue"
import {createVNode, render, cloneVNode} from "vue"
import MyLoading from "@/components/MyLoading.vue"

export default {
    install(app: App) {
        // 使用vue底层的createVNode方法将组件渲染为虚拟节点
        const VNode: VNode = createVNode(MyLoading)
        // 使用render函数将组件挂载到body中
        render(VNode, document.body)
        // 定义全局方法设置组件的显示和隐藏
        app.config.globalProperties.$showLoading = VNode.component?.exposed.showLoading
        app.config.globalProperties.$hideLoading = VNode.component?.exposed.hideLoading

        const weakMap = new WeakMap()

        // 自定义Loading指令
        app.directive("zx-loading", {
            mounted(el) {
                if (weakMap.get(el)) return
                //  记录当前绑定元素的position
                weakMap.set(el, window.getComputedStyle(el).position)
            },
            updated(el: HTMLElement, binding: { value: Boolean }) {
                const oldPosition = weakMap.get(el);
                // 如果不是position: relative或者absolute,就设置为relative
                // 这里的目的是确保loading组件正确覆盖当前绑定的元素
                if (oldPosition !== 'absolute' && oldPosition !== 'relative') {
                    el.style.position = 'relative'
                }
                // 克隆一份loading元素,
                // 作用是当页面上有多个zx-loading时,每个dom都维护一份属于自己的loading,不会冲突
                const newVNode = cloneVNode(VNode)
                // 挂载当前节点
                render(newVNode, el)
                // 判断绑定的值
                if (binding.value) {
                    newVNode.component?.exposed.showLoading()
                } else {
                    newVNode.component?.exposed.hideLoading(() => {
                        // 还原布局方式
                        el.style.position = oldPosition
                    })
                }
            }
        })
    }
}
在上面的文件中定义了两个全局函数和一个自定义指令
- $showLoading:全局显示一个Loading
- $hideLoading:关闭全局的Loading
- zx-loading:自定义指令
在main.ts中挂载
在 main.ts 中去挂载我们自定义的 Loading
import {createApp} from 'vue'
import MyLoading from "@/utils/MyLoading";

const app = createApp(App)
// 引入自定义的全局Loading
app.use(MyLoading)

app.mount('#app')
使用方法一:函数式使用
调用全局方法弹出Loading
<template>
    <!--自定义全局loading-->
    <el-button type="primary" @click="showMyLoading">显示自定义的全局loading</el-button>
</template>

<script setup lang="ts">
import {getCurrentInstance} from 'vue'
// 获取当前实例
const {proxy} = getCurrentInstance()

// 全局显示自定义loading
const showMyLoading = () => {
  proxy.$showLoading()
  setTimeout(() => {
    proxy.$hideLoading()
  }, 2000)
}
</script>
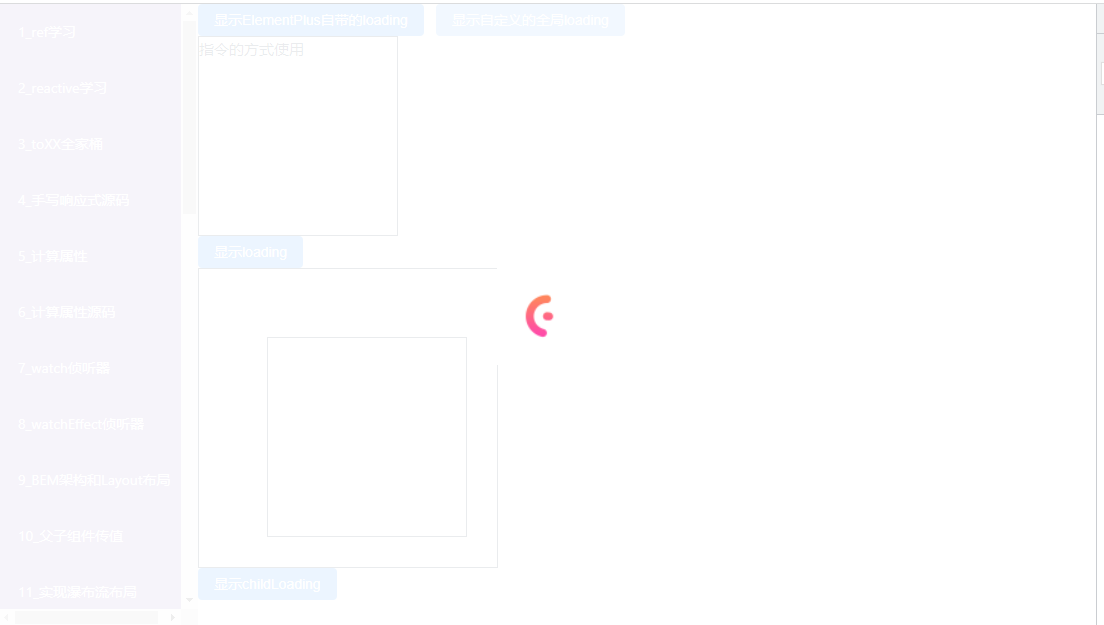
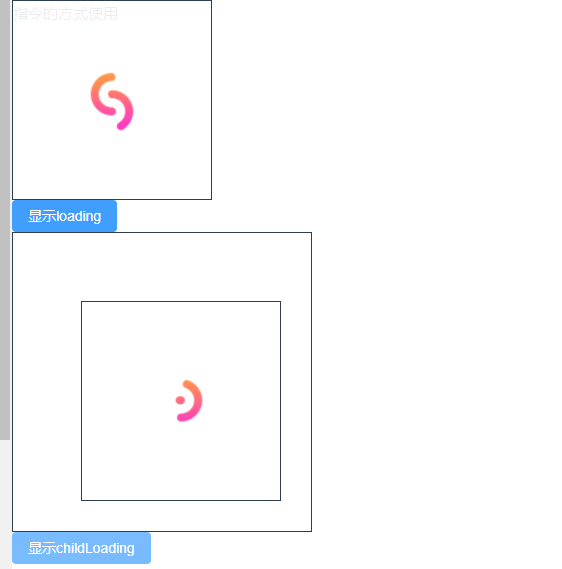
使用方法二:指令式使用
<template>
  <div>
    <!--自定义的loading指令使用-->
    <div class="box" v-zx-loading="isLoading">
      指令的方式使用
    </div>
    <el-button type="primary" @click="showDivLoading">显示loading</el-button>

	<!--自定义的loading指令使用-->
    <div class="parent">
      <div class="child" v-zx-loading="childLoading">
      </div>
    </div>
    <el-button type="primary" @click="showChildLoading">显示childLoading</el-button>
  </div>
</template>

<script setup lang="ts">
// 显示局部loading
let isLoading = ref(false)
const showDivLoading = () => {
  isLoading.value = !isLoading.value
}

const childLoading = ref(false)
const showChildLoading = () => {
  childLoading.value = !childLoading.value
}
</script>

<style scoped lang="scss">
.box {
  width: 200px;
  height: 200px;
  border: 1px solid;
}

.parent {
  position: relative;
  width: 300px;
  height: 300px;
  border: 1px solid;
  padding: 30px;

  .child {
    position: absolute;
    right: 30px;
    bottom: 30px;
    width: 200px;
    height: 200px;
    border: 1px solid;
  }
}
</style>
use函数源码实现
添加 MyUse.ts
import type {App} from "vue"
import {app} from "@/main"

// 定义一个接口,声明install方法必传
interface Use {
    install: (app: App, ...options: any[]) => void
}

const installList = new Set()

export default function myUse<T extends Use>(plugin: T, ...options: any[]) {
    // 判断这个插件是否已经注册过了,如果注册过了则报错
    if (installList.has(plugin)) {
        console.error("Plugin already installed")
        return
    }
    // 调用插件身上的install方法,并传入main.ts导出的app
    plugin.install(app, ...options)
    installList.add(plugin)
}
使用自定义的myUse方法注册我们自定义的Loading
import {createApp} from 'vue'

// 自定义全局Loading
import MyLoading from "@/utils/MyLoading";
// 自定义app.use方法
import myUse from "@/utils/MyUse";


export const app = createApp(App)
// 引入自定义的全局Loading
myUse(MyLoading)

app.mount('#app')


 2433
2433


 被折叠的 条评论
为什么被折叠?
被折叠的 条评论
为什么被折叠?
 到【灌水乐园】发言


