


1.准备工作
准备2台服务器root→root(ip配置如图):
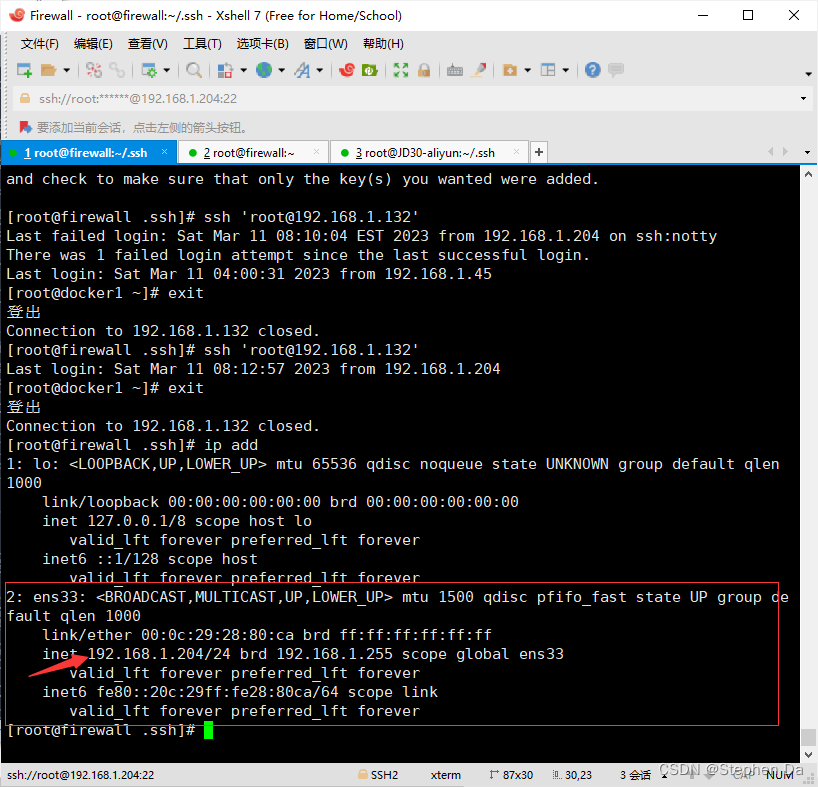
A:192.168.1.204:
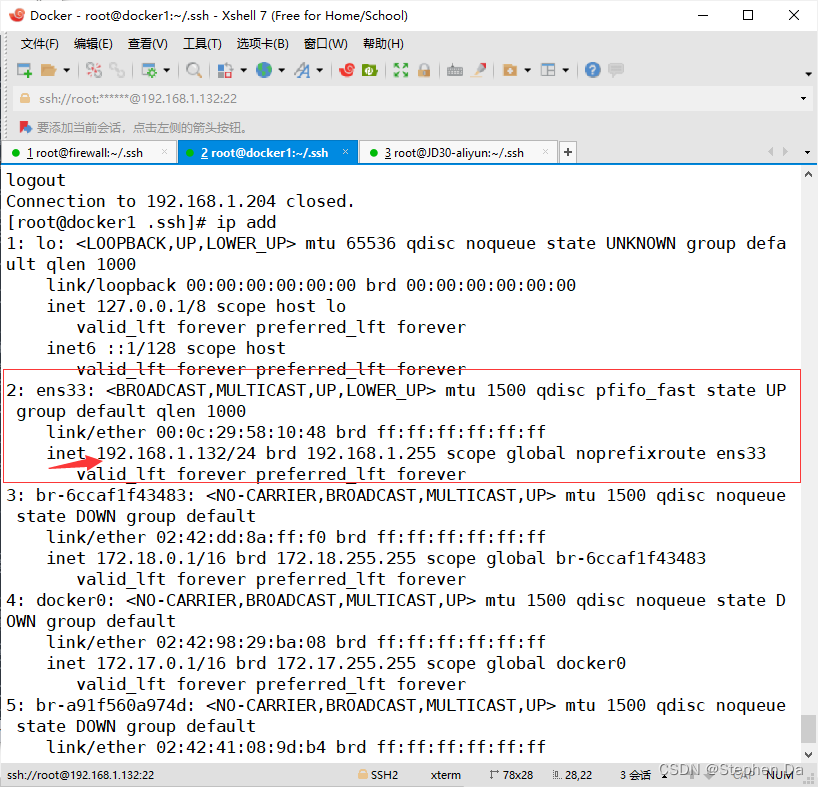
B:192.168.1.132
2.生成密钥对
在192.168.1.204上使用root用户生成密钥对,密钥对会在用户的家目录下。执行ssh-keygen -t rsa,
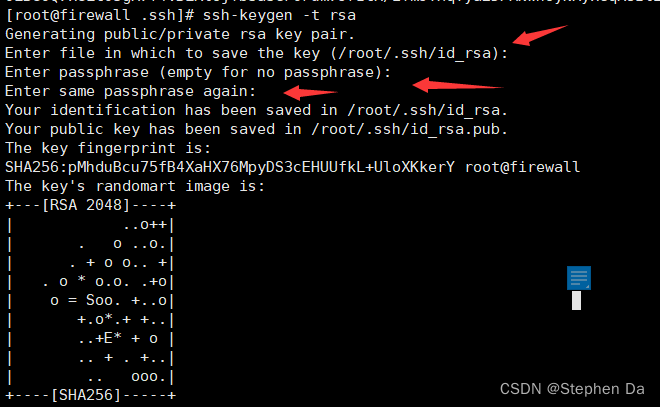
注意箭头提示:三次都什么都不用输按Enter键进入下一步。
[root@firewall .ssh]# ssh-keygen -t rsa
Generating public/private rsa key pair.
Enter file in which to save the key (/root/.ssh/id_rsa):
Enter passphrase (empty for no passphrase):
Enter same passphrase again:
Your identification has been saved in /root/.ssh/id_rsa.
Your public key has been saved in /root/.ssh/id_rsa.pub.
The key fingerprint is:
SHA256:pMhduBcu75fB4XaHX76MpyDS3cEHUUfkL+UloXKkerY root@firewall
The key's randomart image is:
+---[RSA 2048]----+
|            ..o++|
|       .   o ..o.|
|      . + o o.. +|
|   . o * o.o. .+o|
|    o = Soo. +..o|
|       +.o*.+ +..|
|       ..+E* + o |
|       .. + . +..|
|        ..   ooo.|
+----[SHA256]-----+
你可以进一步查看其权限
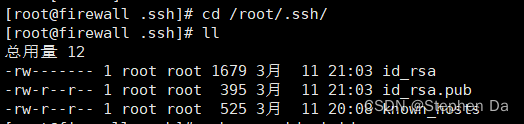
不建议修改密钥文件的权限,不然会导致密钥失效!
3.上传公钥到对方的服务器
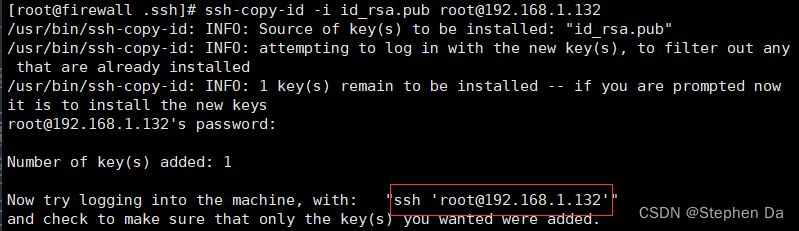
上传公钥到对方的服务器,要求对方的服务器运行root用户登录。执行ssh-copy-id -i id_rsa.pub root@192.168.1.132
[root@firewall .ssh]# ssh-copy-id -i id_rsa.pub root@192.168.1.132
/usr/bin/ssh-copy-id: INFO: Source of key(s) to be installed: "id_rsa.pub"
/usr/bin/ssh-copy-id: INFO: attempting to log in with the new key(s), to filter out any that are already installed
/usr/bin/ssh-copy-id: INFO: 1 key(s) remain to be installed -- if you are prompted now it is to install the new keys
root@192.168.1.132's password:

Number of key(s) added: 1

Now try logging into the machine, with:   "ssh 'root@192.168.1.132'"
and check to make sure that only the key(s) you wanted were added.
如图即成功添加!
4.验证
验证登录是否需要密码。执行上述提示的命令。ssh 'root@192.168.1.132'
[root@firewall .ssh]# ssh 'root@192.168.1.132'
Last failed login: Sat Mar 11 08:10:04 EST 2023 from 192.168.1.204 on ssh:notty
There was 1 failed login attempt since the last successful login.
Last login: Sat Mar 11 04:00:31 2023 from 192.168.1.45
[root@docker1 ~]# exit
登出
即成功建立了一种“信任关系”,不过目前只是单向信任关系!
5.建立双向的免密通道
想要完成真正的免密通道,即“双向信任关系”。需要在第二台服务器上对第一台同样的操作。所以不再赘述,直接上代码了。
[root@docker1 .ssh]# ssh 'root@192.168.1.204'
root@192.168.1.204's password:
Last login: Sat Mar 11 18:07:58 2023 from 192.168.1.132
[root@firewall ~]# exit
logout
Connection to 192.168.1.204 closed.
[root@docker1 .ssh]# ssh-keygen -t rsa
Generating public/private rsa key pair.
Enter file in which to save the key (/root/.ssh/id_rsa):
Enter passphrase (empty for no passphrase):
Enter same passphrase again:
Your identification has been saved in /root/.ssh/id_rsa.
Your public key has been saved in /root/.ssh/id_rsa.pub.
The key fingerprint is:
SHA256:RDFLfPW4UcgGCjyZhR5lYIkZ+40kcQpgZkpu1BnPzFk root@docker1
The key's randomart image is:
+---[RSA 2048]----+
|.Bo.===EO..+...  |
|O  +B*@=.+. ++   |
|.o  +B.o+. .o .  |
|.    +.+     o   |
|      o S   .    |
|                 |
|                 |
|                 |
|                 |
+----[SHA256]-----+

[root@docker1 .ssh]# ssh-copy-id -i id_rsa.pub root@192.168.1.204
/usr/bin/ssh-copy-id: INFO: Source of key(s) to be installed: "id_rsa.pub"
/usr/bin/ssh-copy-id: INFO: attempting to log in with the new key(s), to filter out any that are already installed
/usr/bin/ssh-copy-id: INFO: 1 key(s) remain to be installed -- if you are prompted now it is to install the new keys
root@192.168.1.204's password:

Number of key(s) added: 1

Now try logging into the machine, with:   "ssh 'root@192.168.1.204'"
and check to make sure that only the key(s) you wanted were added.

[root@docker1 .ssh]# ssh 'root@192.168.1.204'
Last login: Sat Mar 11 21:22:22 2023 from 192.168.1.132
[root@firewall ~]# exit
logout
Connection to 192.168.1.204 closed.
6.总结
完成以上步骤后,不管是互相登录或者是传输文件,都不用每次输入密码了,大大提高了工作效率!
比如传输文件就可以执行scp相关语句:
[root@firewall .ssh]# scp 'root@192.168.1.132':/etc/passwd  .
passwd                                                                                     100% 1217   561.0KB/s   00:00


 3万+
3万+


 被折叠的 条评论
为什么被折叠?
被折叠的 条评论
为什么被折叠?
 到【灌水乐园】发言


