


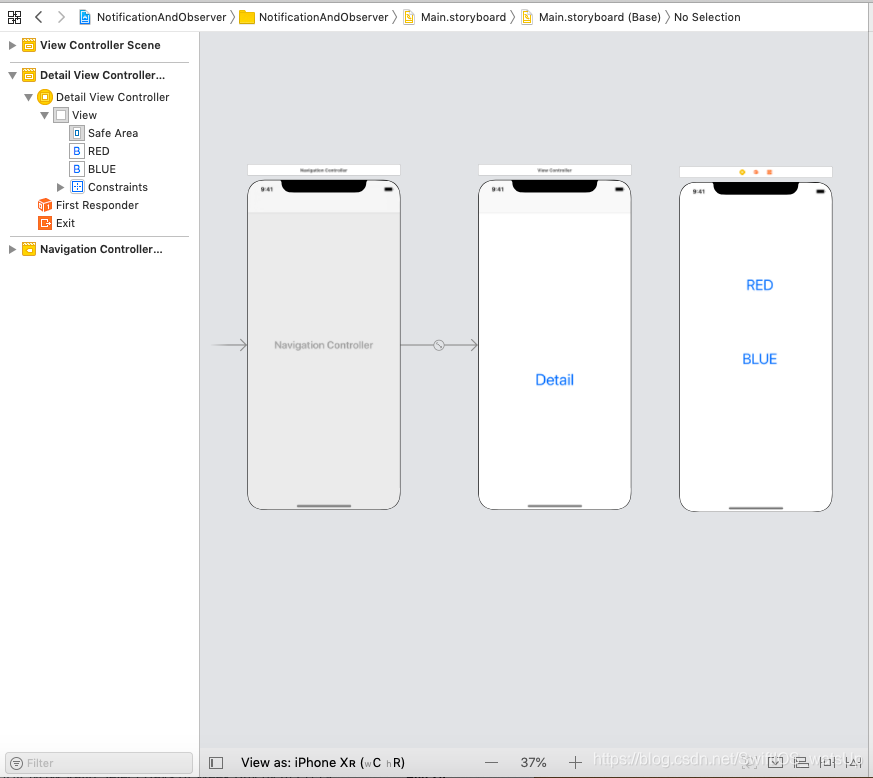
本篇会介绍Notification 和 observer 的基础用法,这里我先基本设定两个viewController,一个viewController,一个是detailViewController。我们的最终目的是点击Detail按键,去到detailViewController,点击RED,viewController的背景颜色会变成红色,点击blue,背景颜色变成蓝色。
下面是viewController里的代码
import UIKit

let redNotificationName = "redNo"
let blueNotificationName = "blueNO"

class ViewController: UIViewController {

    let red = Notification.Name(rawValue: redNotificationName)
    let blue = Notification.Name(rawValue: blueNotificationName)


    override func viewDidLoad() {
        super.viewDidLoad()
        createNotification()
    }

    @IBAction func detailButton(_ sender: Any) {
        guard let detailVC = storyboard?.instantiateViewController(withIdentifier: "DetailViewController") as? DetailViewController else { return }
        self.present(detailVC, animated: true, completion: nil)
    }

    func createNotification() {
        NotificationCenter.default.addObserver(self, selector: #selector(ViewController.updateColorNotification(notification:)), name: red, object: nil)
        NotificationCenter.default.addObserver(self, selector: #selector(ViewController.updateColorNotification(notification:)), name: blue, object: nil)

    }

    @objc func updateColorNotification(notification: NSNotification) {
        if notification.name == red {
            view.backgroundColor = .red
        } else if notification.name == blue {
            view.backgroundColor = .blue
        }
    }
}
首先我们先需要给红色和蓝色每个一个名字(这个经常会被使用,所以写在最上方,这样detailView也可以用,可以想象成token),接下来我们还需要两个不同颜色的notification name,方便我们之后使用。这之后我们需要一个createNotification的function,并在notification center里添加我们想要的observer。在addObserver的default里,我们还需要一个selector,这里就需要创建一个function(可以想像成一个方法),于是这里就有了updateColorNotification这个function。这里因为selector需要用objc的方法来写,我们就需要在function的前面加上@objc。在updateFunction里,就可以把我想要的结果写进去。
DetailViewController
import UIKit

    class DetailViewController: UIViewController {

        override func viewDidLoad() {
            super.viewDidLoad()

        }

        @IBAction func red(_ sender: Any) {
            dismiss(animated: true, completion: nil)
            NotificationCenter.default.post(name: Notification.Name(redNotificationName), object: nil)
        }


         @IBAction func blue(_ sender: Any) {
            dismiss(animated: true, completion: nil)
            NotificationCenter.default.post(name: Notification.Name(blueNotificationName), object: nil)
         }
    }
在DetailView里,我只需要在点击red的时候,post一个notification name,这里就用在viewController里创建的redNotificationName。当用户点击button的时候,notificationCenter就会接收到这个token,并作出对应的指令。
总结:
因为notification and observer是一个一对多的communication,我们就需要创建多个对应的token,这样当我post到notification center的时候就可以作出相对应指令


 505
505


 被折叠的 条评论
为什么被折叠?
被折叠的 条评论
为什么被折叠?
 到【灌水乐园】发言


