


在Spring4之后 要使用注解开发 必须保证aop包导入了
使用注解需要导入context约束 增加 注解的支持
<?xml version="1.0" encoding="UTF-8"?>
<beans xmlns="http://www.springframework.org/schema/beans"
       xmlns:xsi="http://www.w3.org/2001/XMLSchema-instance"
       xmlns:context="http://www.springframework.org/schema/context"
       xsi:schemaLocation="http://www.springframework.org/schema/beans
        https://www.springframework.org/schema/beans/spring-beans.xsd
        http://www.springframework.org/schema/context
        https://www.springframework.org/schema/context/spring-context.xsd">

    <!--开启注解的支持-->
    <context:annotation-config/>

</beans>
@Component:组件放在类上 说明这个类被Spring管理了 就是bean
import org.springframework.stereotype.Component;

//等价于<bean id="user" class="com.kero.pojo.User"/>
@Component
public class User {
    public String name = "xxx";
}
@Value
import org.springframework.beans.factory.annotation.Value;
import org.springframework.stereotype.Component;

//等价于<bean id="user" class="com.kero.pojo.User"/>
@Component
public class User {
    @Value("xxx")
//等价于<property name="name" value="xxx"/>
    public String name;
}


或者


import org.springframework.beans.factory.annotation.Value;
import org.springframework.stereotype.Component;

//等价于<bean id="user" class="com.kero.pojo.User"/>
@Component
public class User {

    public String name;
    @Value("xxx")
    public void setName(String name) {
        this.name = name;
    }
}
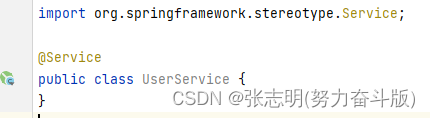
@Component有几个衍生的注解 我们在Web开发中会按照MVC三层架构分层
·dao[@Repository]
·service[@Service]
·controller[@Controller]
这四个注解功能一样 都是代表将某个类注册到Spring中 装配Bean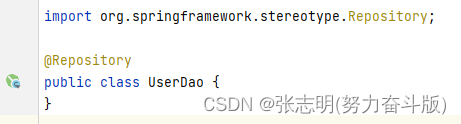

注解的作用域 @Scope
@Scope 放在类上,默认是单例模式
@Scope(prototype)是原型模式,每次创建的都是一个新的对象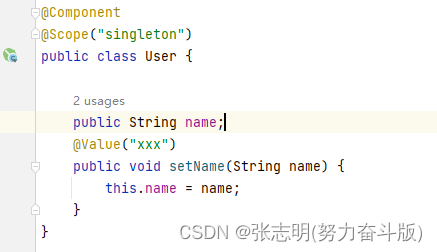
其作用等价于
补充:
@Scope("singleton") 或者 @Scope 单例模式 下面代码输出结果为true
@Scope("prototype") 下面代码输出结果为false
import com.kero.pojo.User;
import org.springframework.context.ApplicationContext;
import org.springframework.context.support.ClassPathXmlApplicationContext;

public class MyTest {
    public static void main(String[] args) {
       ApplicationContext context = new ClassPathXmlApplicationContext("applicationContext.xml");
        User user = context.getBean("user", User.class);
        User user2 = context.getBean("user", User.class);
        System.out.println(user==user2);
    }
}
xml vs 注解
·xml更加万能 适用于任何场合 维护简单方便
·注解 不是自己类使用不聊 维护相对复杂
最佳实践:xml用来管理bean
注解只负责完成属性的注入
我们在使用的过程中 需要注意 使用以下代码
<!--指定要扫描的包 这个包下的注解就会生效->-->
    <context:component-scan base-package="com.kero"/>
    <!--开启注解的支持-->
    <context:annotation-config/>
针对最佳实践的例子
<?xml version="1.0" encoding="UTF-8"?>
<beans xmlns="http://www.springframework.org/schema/beans"
       xmlns:xsi="http://www.w3.org/2001/XMLSchema-instance"
       xmlns:context="http://www.springframework.org/schema/context"
       xsi:schemaLocation="http://www.springframework.org/schema/beans
        https://www.springframework.org/schema/beans/spring-beans.xsd
        http://www.springframework.org/schema/context
        https://www.springframework.org/schema/context/spring-context.xsd">

<!--指定要扫描的包 这个包下的注解就会生效->-->
    <context:component-scan base-package="com.kero"/>
    <!--开启注解的支持-->
    <context:annotation-config/>

    <bean id="user" class="com.kero.pojo.User" scope="prototype"/>


</beans>
import org.springframework.beans.factory.annotation.Value;


public class User {
    @Value("XXX")
    public String name;
    public void setName(String name) {
        this.name = name;
    }
}


 107
107


 被折叠的 条评论
为什么被折叠?
被折叠的 条评论
为什么被折叠?
 到【灌水乐园】发言


