


实现的功能:通过传入数独图片从而获取数独结果并展示在web界面
首先看一下效果图
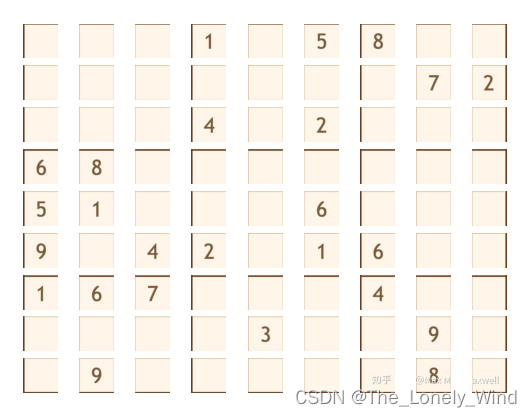
第一步:打开数独界面,输入一张数独图片(嗯~网站搭建略显粗糙,就是简单的通过post请求上传一张图片)
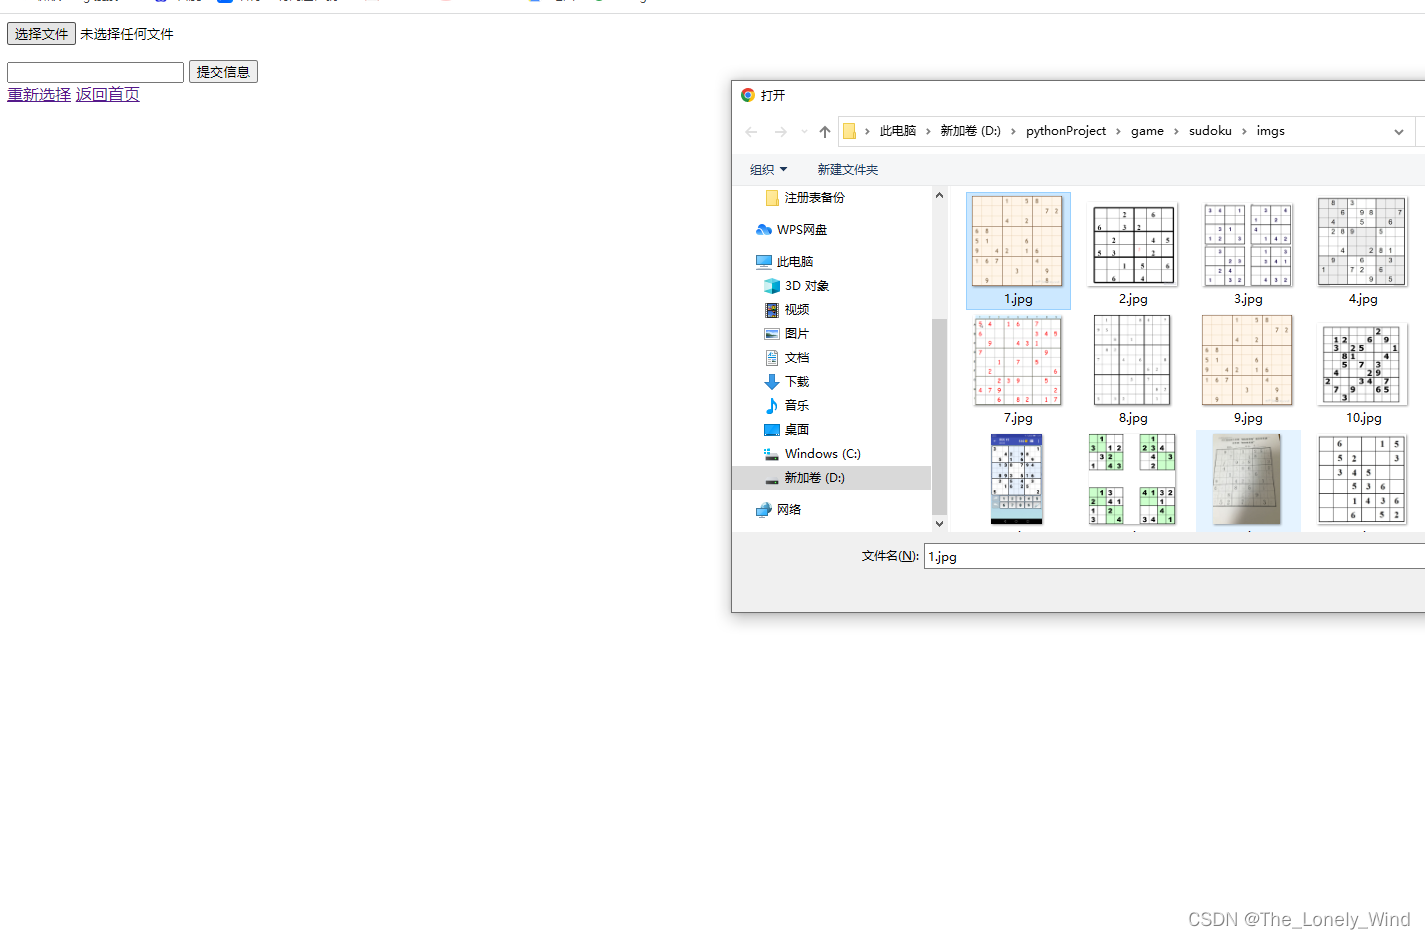
第二步,点击提交,然后默默等待结果就可以啦
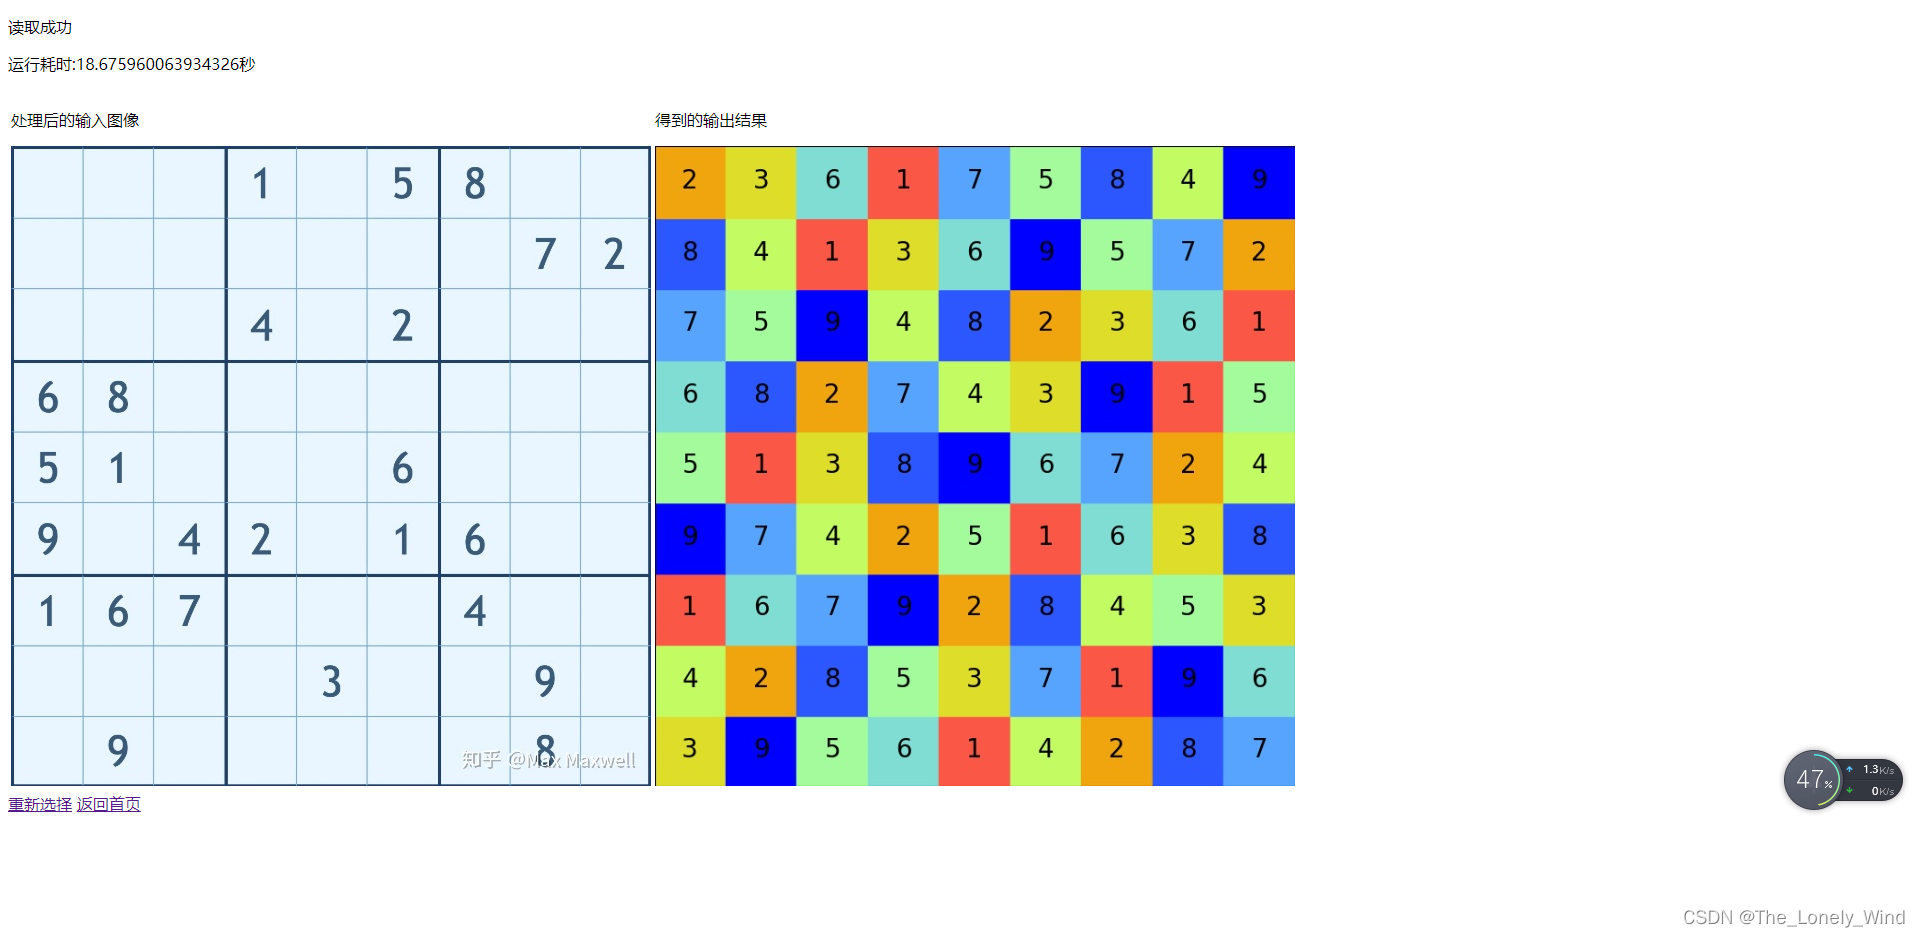 对结果稍稍做了一下美化,效果还算一般般吧
要实现这样的小程序需要什么样的操作呢
一、首先你需要编写一个解密数独的程序,代码如下,简单来讲就是通过不断尝试暴力求解。(简单粗暴)完整的源码链接在文末
class Sudoku(object):
    def __init__(self, matrix):
        self.in_matrix = matrix
        self.matrix = matrix
        self.index_list = self.__get_index()  # 获取待解密的数值列表[raw,line,[values]]

    def get_result(self):
        out = self.__check()  # 初步检查数独是否符合要求
        if out is False:
            print("不是正确的数独!")
            return self.in_matrix, False
        result, index = self.__try_values(0)
        while result is not True:  # 如果尝试失败,再尝试上一个值
            result, index = self.__try_values(index - 1)
            if result is False and index == 0:  # 如果第一个值都尝试完但是还没解出来,表示无解
                print("此数独无解!")
                return self.in_matrix, False

        return self.matrix, True
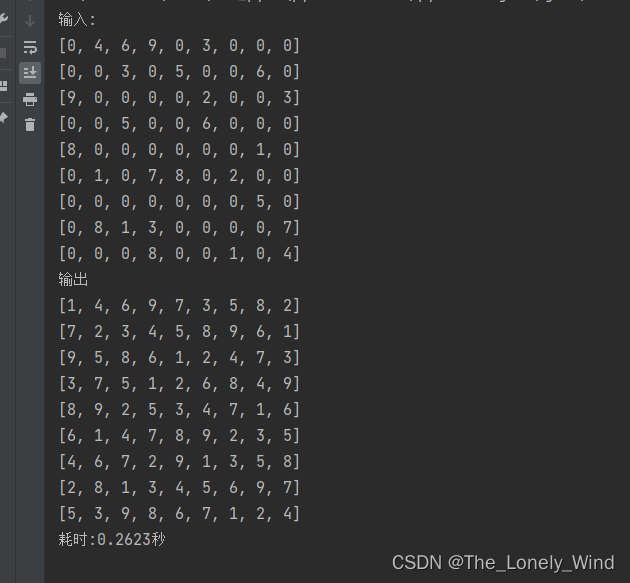
让我们运行一个例子,结果如下
第二步、也是最重要的部分,如何通过图片直接得到数独的输入而不是自己手动去敲呢,毕竟9*9=81个数独输入完全手敲人都要麻了,对此,我们可以采用深度学习模型去训练一个可以自动识别数独输入图片的模型,在此,作者选用了VGG去训练一个自己的分类网络模型
1.众所周知,要训练模型,数据肯定是必须的,如果一张一张的去网上下载图片,对于一个程序员来说肯定是不允许的,所以在此采用爬虫简单获取了所需要的训练数据
爬虫抓取图片可以参考基于Python爬取Bing图片_钱彬 (Qian Bin)的博客-CSDN博客_爬取bing的数据解扣子
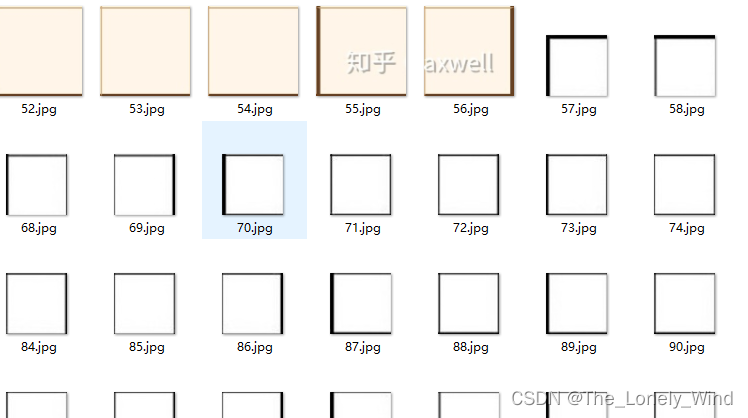
下载的图片数据如下:
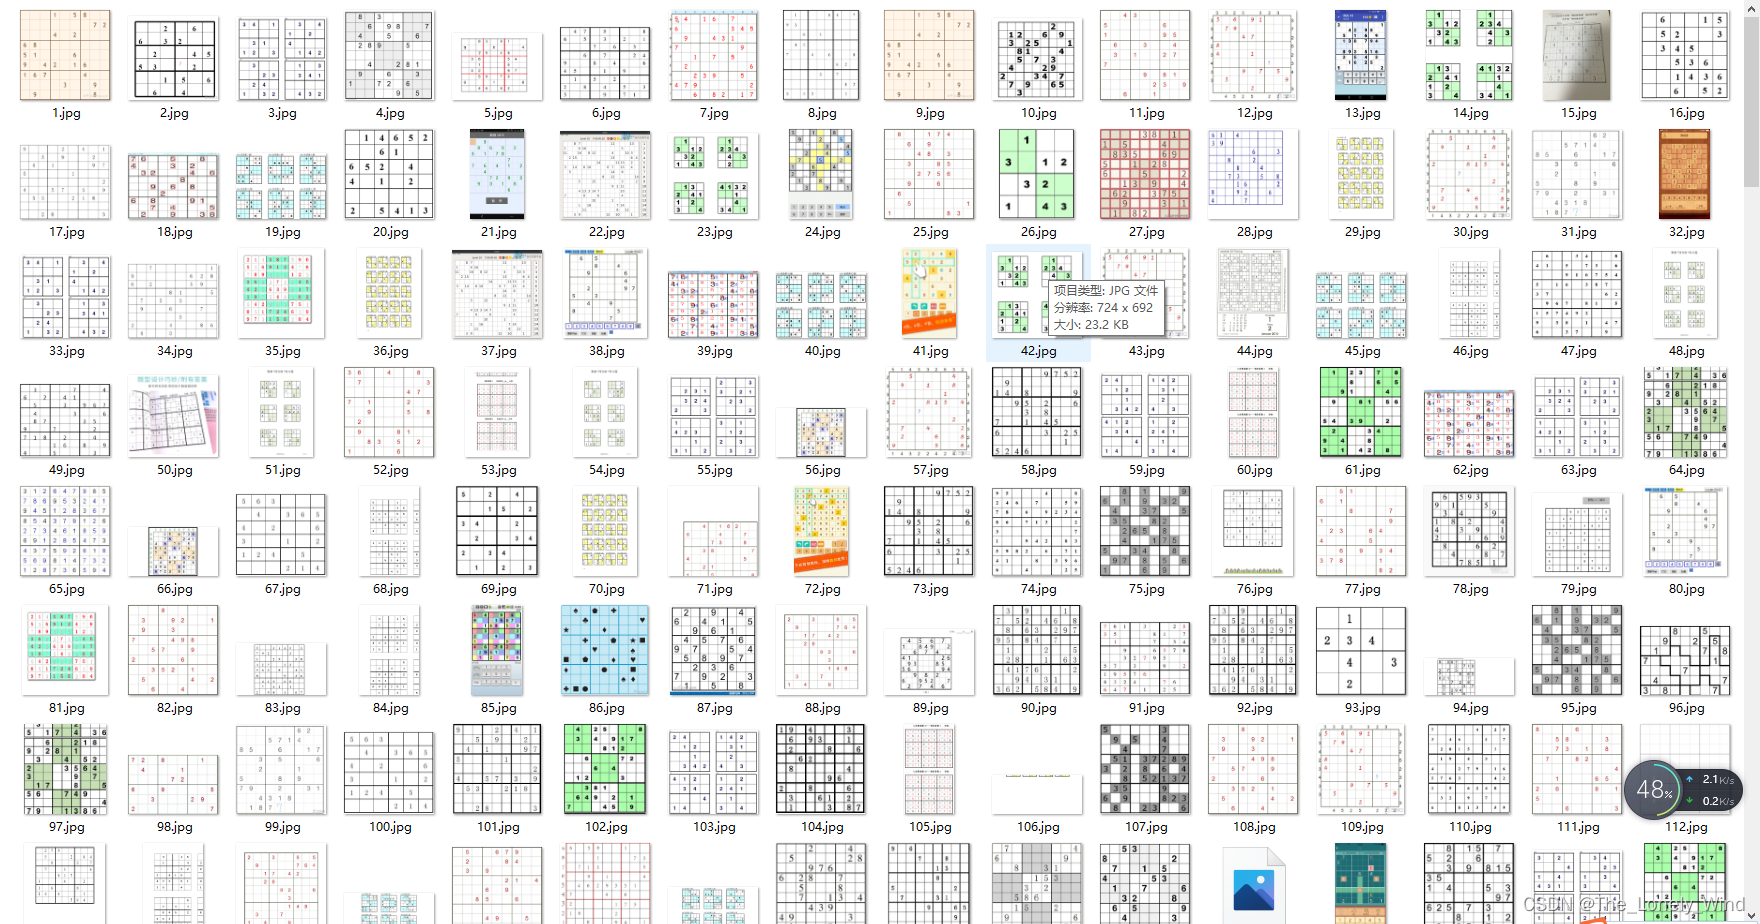
很明显,我们所需的爬虫图片是9*9的方格,但是部分图片并不符合我们的要求,对此,我们需要对数据做筛选,为了保证模型输入的图片符合要求,需要训练一个模型用来检查数据数据是否符合要求
2.将数据划分为符合要求和不符合要求的两个类别,分别放在两个文件夹
开始训练一个数据检查模型
VGG模型的训练可以参考这位博主:神经网络学习小记录19——微调VGG分类模型训练自己的数据(猫狗数据集)_Bubbliiiing的博客-CSDN博客_神经网络微调
3.得到符合要求的数据后我们要如何将图片转化为数独程序的输入呢,对此,我们可以使用opencv对图像进行一些简单的处理,将图片切分成9*9的方格,每一个方格表示一个输入数据,数据的处理过程如下:
1)使用边缘检测将数独图片的矩形框提取出来
2)将图片裁剪为9*9的小方格
3)将每一种数字作为一个类别进行训练
裁剪方式效果如下
得到的结果:

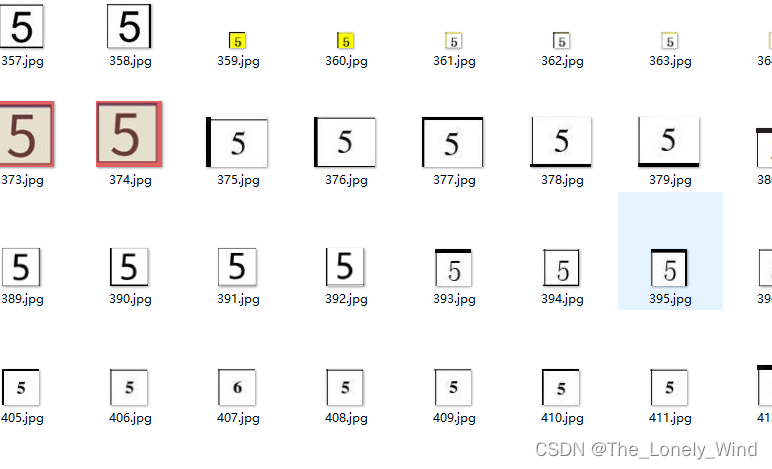
数据集目录结构,每一个标签代表一种数值,0表示空数据

最后就和上面的步骤一样,再次训练一个模型即可
第三步、将训练完成的模型部署到web端
1.首先我们需要搭建一个网站用来展示我们的模型,在此,我选择了html文本,搭建一个通过post请求上传图片的功能
可以参考:Flask实现图片的上传、下载及展示_Java知音_的博客-CSDN博客_vue flask 后台图像下载显示
<!DOCTYPE html>
<html lang="en">
<head>
    <meta charset="UTF-8">
    <title>Title</title>
</head>
    <body>
        <div>
            <form method="post" action="http://localhost:5000/get_result" enctype="multipart/form-data">
            <input type="file" size="30" name="photo"/>
            <br>
            <input type="text" class="txt_input" name="name" style="margin-top:15px;"/>
            <input type="submit" value="提交信息" class="button-new" style="margin-top:15px;"/>
            </form>
        </div>
      <a href="http://127.0.0.1:5000/app">重新选择</a>
    <a href="http://127.0.0.1:5000/">返回首页</a>
    </body>
</html>
结果展示
<!DOCTYPE html>
<html lang="en">
<head>
    <meta charset="UTF-8">
    <title>Title</title>
</head>
<body>
    <p>读取成功</p>
    <p>运行耗时:{{ time }}秒</p>
<table><tr>
<td><p>处理后的输入图像</p>
    <img src="data:;base64,{{ img_in}}"></td>
<td> <p>得到的输出结果 </p>
    <img src="data:;base64,{{ result_out }}"></td>
</tr></table>
    <a href="http://127.0.0.1:5000/app">重新选择</a>
    <a href="http://127.0.0.1:5000/">返回首页</a>
</body>
</html>
2.将我们的模型部署到web端,将post请求的图片解码并传入我们的模型,经过预处理和模型预测得到最后的输出结果,然后经过处理后展示在web界面
主程序
@app.route('/get_result', methods=['POST'], strict_slashes=False)
def api_upload():
    t1 = time.time()
    data_file = request.files['photo']
    if data_file and allowed_file(data_file.filename):
        pil_img = Image.open(data_file)
        pil_img = pil_img.convert('RGB')
        img = np.asarray(pil_img)
        detect_img = img_detect.img_detect(img)
        img_in = return_img_stream(detect_img, SIZE)
        detect = detect_model.inference(detect_img)
        if detect == 1:
            cut_imgs = img_cut.img_cut(detect_img)
            pred = num_model.inference(cut_imgs)
            # result_in = show_result(pred)
            # result_in = return_img_stream(result_in, SIZE)
            sudo = Sudoku(pred)
            result, msg = sudo.get_result()
            if msg is False:
                return render_template('error_request.html', img_in=img_in, error="此数独无解")
            img_result = show_result(result)
            img_out = img_detect.img_detect(img_result)
            result_out = return_img_stream(img_out, SIZE)
            t2 = time.time()
            return render_template('show_result.html', img_in=img_in, result_out=result_out, time=str(t2 - t1))
        else:
            return render_template('error_request.html', img_in=img_in, error="图片不符合解密要求")
    else:
        return render_template('error_format.html', error="图片格式错误")
将结果转化为图片展示
def show_result(result):
    result.reverse()
    plt.figure(figsize=(9, 9))  # 设置画布大小
    ax = plt.gca()  # 获取画布
    x_major_locator = MultipleLocator(1)  # 定义刻度值
    y_major_locator = MultipleLocator(1)
    ax.xaxis.set_major_locator(x_major_locator)  # 设置刻度值
    ax.yaxis.set_major_locator(y_major_locator)
    cm = plt.cm.get_cmap('rainbow', 10)  # 分为7级
    ax.set(xlim=(0, 9), ylim=(0, 9))  # 设置想x,y刻度值区间
    plt.xticks([])  # 隐藏想坐标值
    plt.yticks([])
    for i, rows in enumerate(result):
        for j, value in enumerate(rows):
            plt.scatter(j + 0.5, i + 0.5, marker=',', s=3100,
                        c=value, vmin=0, vmax=9, cmap=cm)  # 画像素块
            ax.text(j + 0.5, i + 0.5, value, size=20, va="center", ha="center")  # 写文字
    fig = plt.gcf().canvas  # 获取当前图像并添加画布
    ag = fig.switch_backends(FigureCanvasAgg)
    ag.draw()
    A = np.asarray(ag.buffer_rgba())
    pil_img = Image.fromarray(A)
    pil_img = pil_img.convert('RGB')
    img = np.asarray(pil_img)
    return img


 1215
1215


 被折叠的 条评论
为什么被折叠?
被折叠的 条评论
为什么被折叠?
 到【灌水乐园】发言


