


目录
引言
SpringMVC是一种基于Java实现MVC模型的轻量级Web框架,SpringMVC是表现层(web层)的框架,也是spring框架的一部分,用于表现层功能开发。
使用SpringMVC
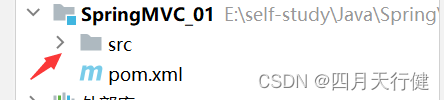
1、新建模块
如下

注意:有些人可能出现无src文件的情况,这是因为下载太慢!
如何解决上述问题?引入国内镜像
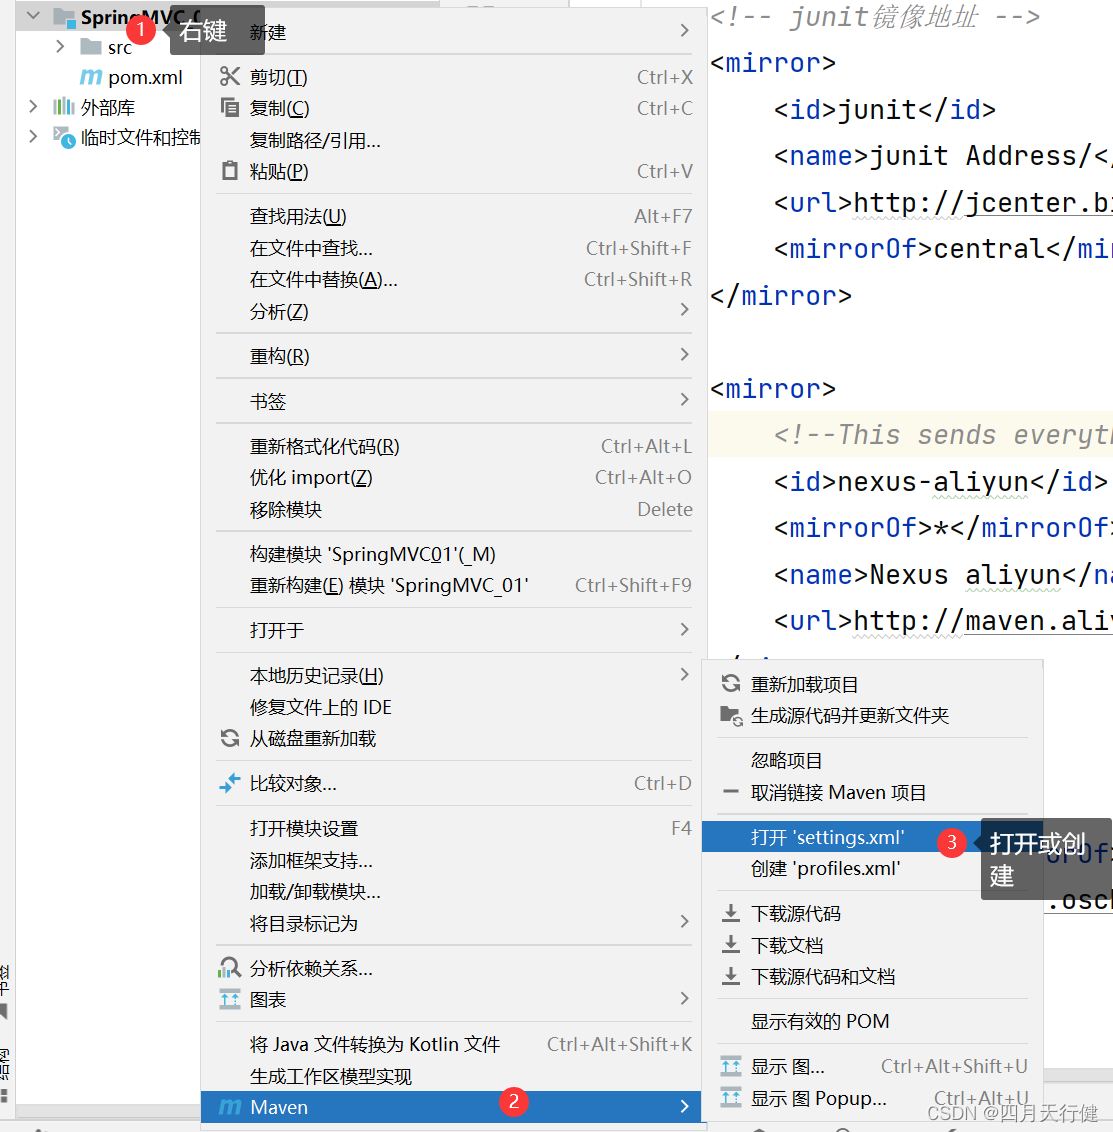
setting.xml文件替换为以下内容:
<?xml version="1.0" encoding="UTF-8"?>
<settings xmlns="http://maven.apache.org/SETTINGS/1.0.0"
          xmlns:xsi="http://www.w3.org/2001/XMLSchema-instance"
          xsi:schemaLocation="http://maven.apache.org/SETTINGS/1.0.0 http://maven.apache.org/xsd/settings-1.0.0.xsd">
    <mirrors>

        <mirror>
            <id>alimaven</id>
            <name>aliyun maven</name>
            <url>http://maven.aliyun.com/nexus/content/groups/public/</url>
            <mirrorOf>central</mirrorOf>
        </mirror>

        <mirror>
            <id>uk</id>
            <mirrorOf>central</mirrorOf>
            <name>Human Readable Name for this Mirror.</name>
            <url>http://uk.maven.org/maven2/</url>
        </mirror>

        <mirror>
            <id>CN</id>
            <name>OSChina Central</name>
            <url>http://maven.oschina.net/content/groups/public/</url>
            <mirrorOf>central</mirrorOf>
        </mirror>

        <mirror>
            <id>ne
最低0.47元/天 解锁文章


 1万+
1万+

 被折叠的 条评论
为什么被折叠?
被折叠的 条评论
为什么被折叠?
 到【灌水乐园】发言


