


在这篇文章里,我们将使用Ubuntu SDK从零开始来创建一个“中国天气”的Scope应用。通过这个过程,让开发者了解Scope在Ubuntu上的开发流程,以及对Scope有更深的认识。该应用完全使用std C++来完成的。更多关于Scope的知识,可以在网址:http://developer.ubuntu.com/scopes/。我们开发应用的最终显示图为:


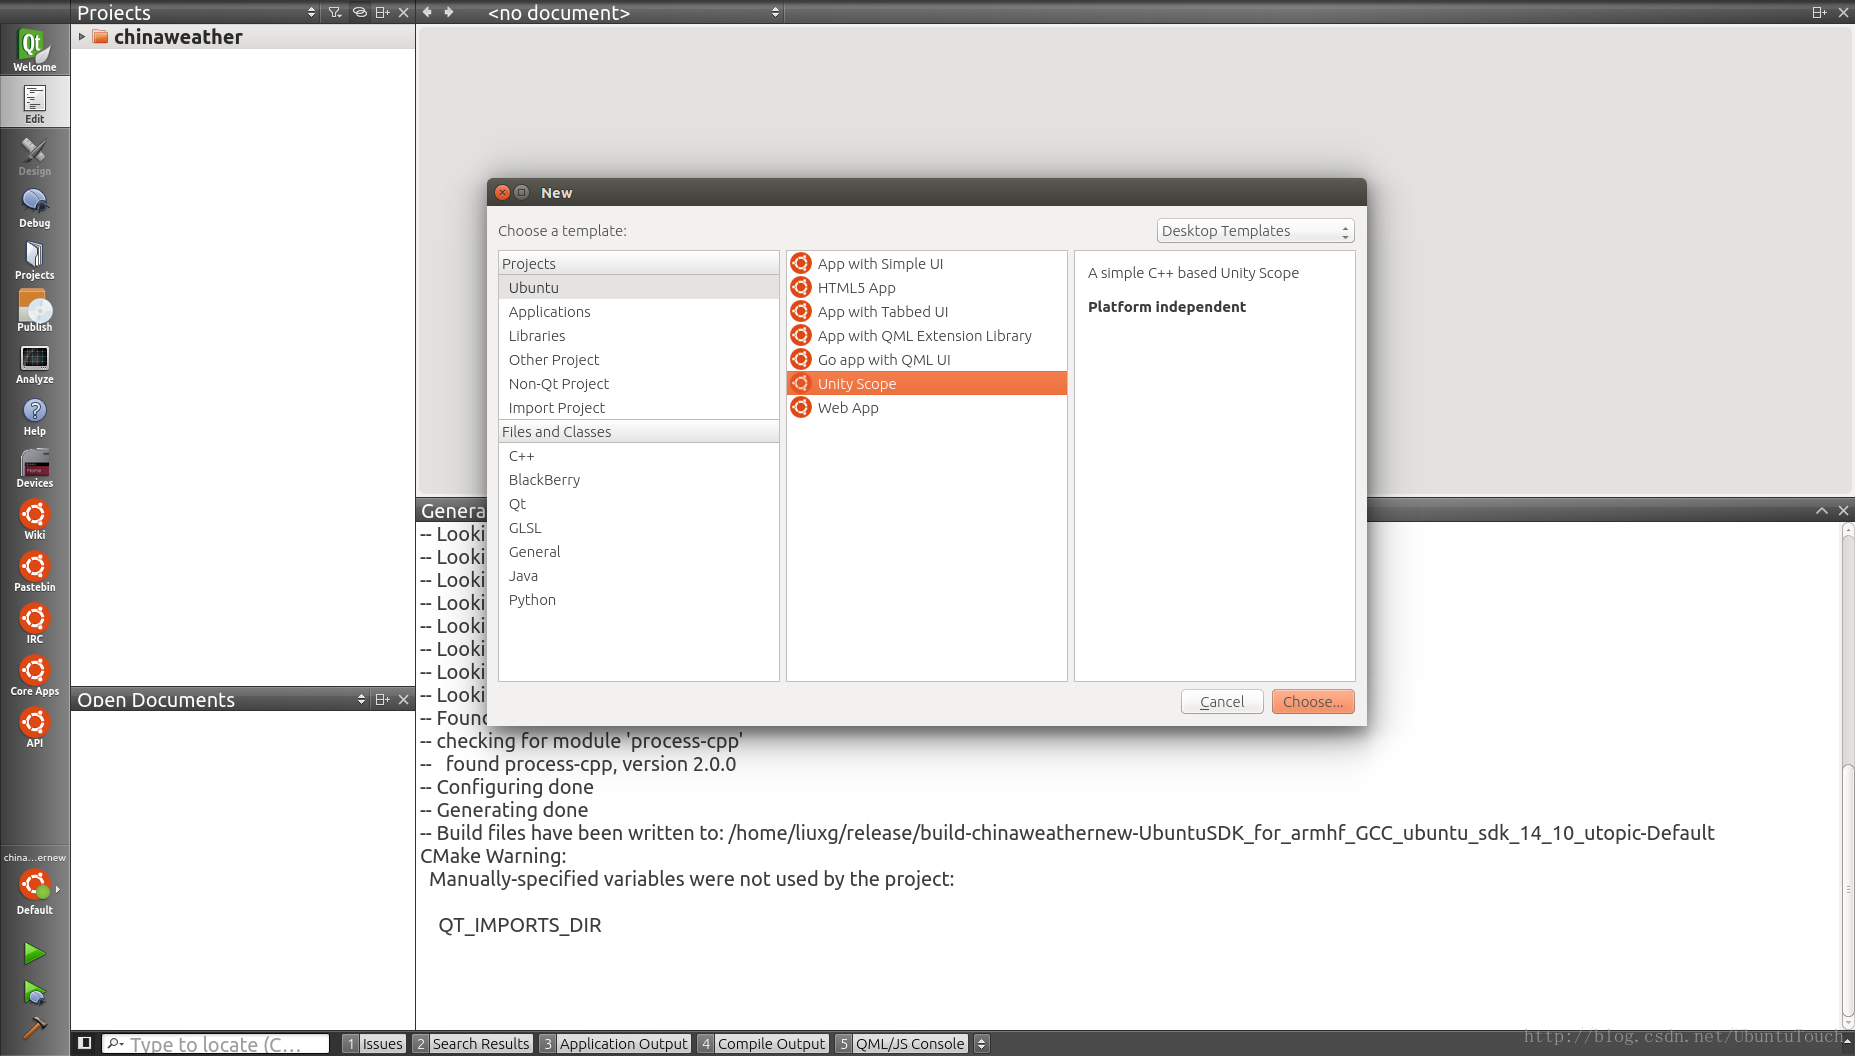
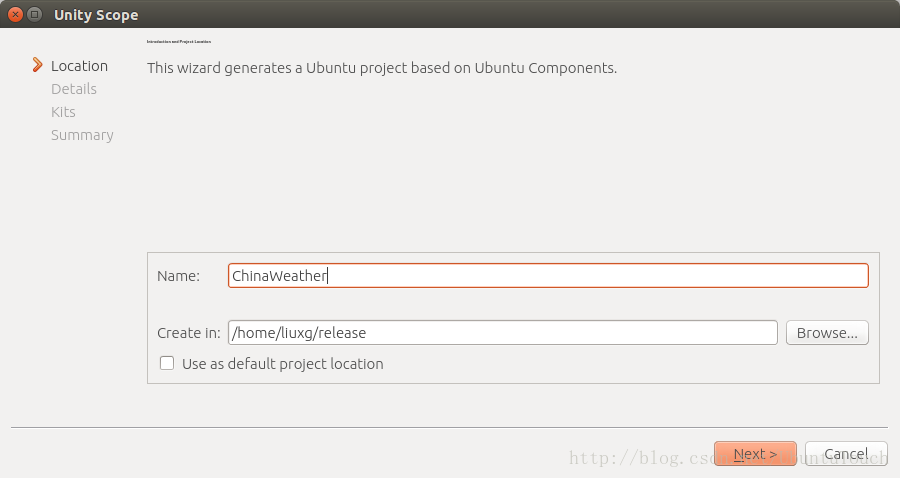
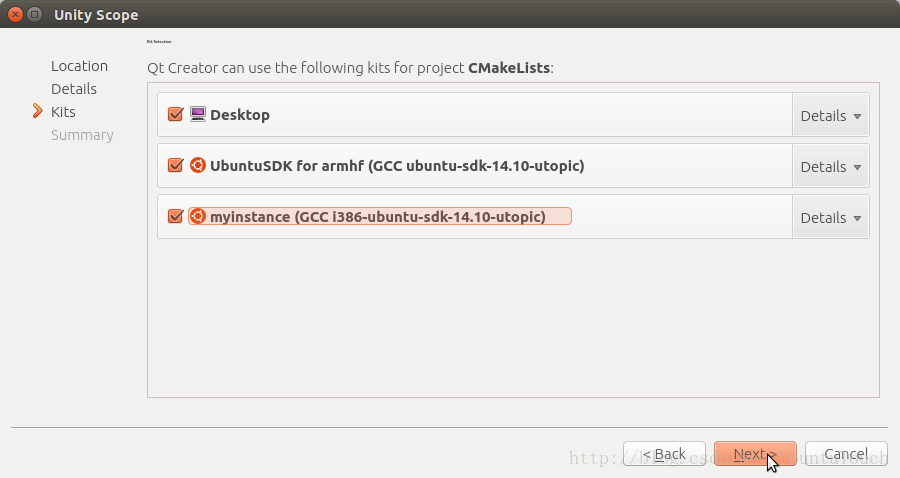
1)启动Ubuntu SDK来创建一个基本的Scope应用


2)完成我们的Client API代码
{"error":0,"status":"success","date":"2014-09-29","results":[{"currentCity":"北京","pm25":"42","index":[{"title":"穿衣","zs":"较冷","tipt":"穿衣指数","des":"建议着大衣、呢外套加毛衣、卫衣等服装。体弱者宜着厚外套、厚毛衣。因昼夜温差较大,注意增减衣服。"},{"title":"洗车","zs":"较不宜","tipt":"洗车指数","des":"较不宜洗车,未来一天无雨,风力较大,如果执意擦洗汽车,要做好蒙上污垢的心理准备。"},{"title":"旅游","zs":"适宜","tipt":"旅游指数","des":"天气较好,温度适宜,但风稍微有点大。这样的天气适宜旅游,您可以尽情地享受大自然的无限风光。"},{"title":"感冒","zs":"易发","tipt":"感冒指数","des":"昼夜温差大,风力较强,易发生感冒,请注意适当增减衣服,加强自我防护避免感冒。"},{"title":"运动","zs":"较适宜","tipt":"运动指数","des":"天气较好,但风力较大,推荐您进行室内运动,若在户外运动请注意避风保暖。"},{"title":"紫外线强度","zs":"弱","tipt":"紫外线强度指数","des":"紫外线强度较弱,建议出门前涂擦SPF在12-15之间、PA+的防晒护肤品。"}],"weather_data":[{"date":"周一 09月29日 (实时:23℃)","dayPictureUrl":"http://api.map.baidu.com/images/weather/day/duoyun.png","nightPictureUrl":"http://api.map.baidu.com/images/weather/night/qing.png","weather":"多云转晴","wind":"北风4-5级","temperature":"23 ~ 10℃"},{"date":"周二","dayPictureUrl":"http://api.map.baidu.com/images/weather/day/duoyun.png","nightPictureUrl":"http://api.map.baidu.com/images/weather/night/yin.png","weather":"多云转阴","wind":"微风","temperature":"18 ~ 12℃"},{"date":"周三","dayPictureUrl":"http://api.map.baidu.com/images/weather/day/zhenyu.png","nightPictureUrl":"http://api.map.baidu.com/images/weather/night/zhenyu.png","weather":"阵雨","wind":"微风","temperature":"15 ~ 12℃"},{"date":"周四","dayPictureUrl":"http://api.map.baidu.com/images/weather/day/duoyun.png","nightPictureUrl":"http://api.map.baidu.com/images/weather/night/duoyun.png","weather":"多云","wind":"微风","temperature":"23 ~ 13℃"}]}]}首先,我们可以看到API是工作的。没有任何问题。显示的架构是json格式的。我们下面来修改架构中的“ Client”类来完成对所得到的json格式的内容进行解析。首先,我们删除整个“Client::Current Client::weather(const string& query)”函数,因为这个是我们不需要的。为了能够编译,我们也删除或注释掉在query.cpp文件run函数中的部分内容,这样我们可以集中精力来完成这个Client API的设计。我们只留下最基本的部分以帮助我们来完成如下的设计。
void Query::run(sc::SearchReplyProxy const& reply) {
    try {
        // Start by getting information about the query
        const sc::CannedQuery &query(sc::SearchQueryBase::query());

        // Trim the query string of whitespace
        string query_string = alg::trim_copy(query.query_string());

        Client::Forecast forecast;
        if (query_string.empty()) {
            // If there is no search string, get the forecast for London
            forecast = client_.forecast_daily("北京");
        } else {
            // otherwise, get the forecast for the search string
            forecast = client_.forecast_daily(query_string);
        }

        // Register a category for the forecast
        auto forecast_cat = reply->register_category("forecast",
                                                     "7 day forecast", "", sc::CategoryRenderer(WEATHER_TEMPLATE));

        // For each of the forecast days
        for (const auto &weather : forecast.weather) {
            // Create a result
            sc::CategorisedResult res(forecast_cat);
        }

    } catch (domain_error &e) {
        // Handle exceptions being thrown by the client API
        cerr << e.what() << endl;
        reply->error(current_exception());
    }
}#ifndef API_CONFIG_H_
#define API_CONFIG_H_
#include <memory>
#include <string>
namespace api {
struct Config {
typedef std::shared_ptr<Config> Ptr;
/*
* The root of all API request URLs
*/
std::string apiroot { "http://api.map.baidu.com" };
/*
* The custom HTTP user agent string for this library
*/
std::string user_agent { "chineweather 0.1; (foo)" };
};
}
#endif /* API_CONFIG_H_ */
virtual Forecast forecast_daily(const std::string &query);这是因为我们的百度API中不需要天数。为了能够使得我们的数据结构和我们上面百度天气API接口返回的数据相匹配,我们对“client.h”做了修改:
class Client {
public:
    /**
     * Information about a City
     */
    struct City {
        unsigned int id;
        std::string name;
        std::string country;
    };

    /**
     * Weather information for a day.
     */
    struct Weather {
        std::string date;
        std::string dayPictureUrl;
        std::string nightPictureUrl;
        std::string weather;
        std::string wind;
        std::string temperature;
        std::string uri;
    };

    /**
     * A list of weather information
     */
    typedef std::deque<Weather> WeatherList;

    /**
     * Forecast information about a city
     */
    struct Forecast {
        City city;
        std::string pmIndex;
        WeatherList weather;
    };

    Client(Config::Ptr config);

    virtual ~Client() = default;

    /**
     * Get the weather forecast for the specified location and duration
     */
    virtual Forecast forecast_daily(const std::string &query);

    /**
     * Cancel any pending queries (this method can be called from a different thread)
     */
    virtual void cancel();

    virtual Config::Ptr config();

protected:
    void get(const core::net::Uri::Path &path,
             const core::net::Uri::QueryParameters ¶meters,
             Json::Value &root);

    /**
     * Progress callback that allows the query to cancel pending HTTP requests.
     */
    core::net::http::Request::Progress::Next progress_report(
            const core::net::http::Request::Progress& progress);

    /**
     * Hang onto the configuration information
     */
    Config::Ptr config_;

    /**
     * Thread-safe cancelled flag
     */
    std::atomic<bool> cancelled_;
};

}
特别值得注意的是,我们修改了weather的数据结构。这个和我们从百度API中返回的数据结构是一样的:
{"date":"周一 09月29日 (实时:23℃)","dayPictureUrl":"http://api.map.baidu.com/images/weather/day/duoyun.png","nightPictureUrl":"http://api.map.baidu.com/images/weather/night/qing.png","weather":"多云转晴","wind":"北风4-5级","temperature":"23 ~ 10℃"}下面我们来看一看在client.cpp文件中的“get"函数。这是一个标准的函数接口。它是通过http来访问所需要访问输入参数所提供的地址,并得到相应的内容。这个内容可以是json或xml形式的。这个函数,我们不需要做任何的改变。
void Client::get(const net::Uri::Path &path, const net::Uri::QueryParameters ¶meters, json::Value &root)我们来修改forecast_daily函数,如下:
Client::Forecast Client::forecast_daily(const string& query) {
    json::Value root;

    // Build a URI and get the contents
    // The fist parameter forms the path part of the URI.
    // The second parameter forms the CGI parameters.
    get( { "telematics", "v3", "weather" },
    { { "location", query },
      { "output", "json" }, { "ak", "DdzwVcsGMoYpeg5xQlAFrXQt" } }, root);
    // e.g. http://api.map.baidu.com/telematics/v3/weather?location=%1&output=json&ak=DdzwVcsGMoYpeg5xQlAFrXQt

    Forecast result;

    //    // Iterate through the weather data
    string date = root["date"].asString();
    cerr << "date: "  << date << endl;

    int indexofYear = date.find_first_of("-", 0);
    cerr << "indexofYear: " << indexofYear << endl;

    string year = date.substr(0, indexofYear);
    cerr << "year: " << year << endl;

    int indexofMonth = date.find("-", indexofYear+1);
    cerr << "indexofMonth: " << indexofMonth << endl;

    string month = date.substr(indexofYear + 1, indexofMonth-indexofYear-1);
    cerr << "month: " << month << endl;

    string day = date.substr(indexofMonth +1, date.length()-indexofMonth);
    cerr << "day: " << day << endl;

    std::locale::global(std::locale(""));

    // current date/time based on current system
    time_t now = time(0);

    tm *localtm = localtime(&now);

    localtm->tm_year = stoi( year ) - 1900;
    localtm->tm_mon = stoi( month );
    localtm->tm_mday = stoi( day );

    json::Value results = root["results"];
    for (json::ArrayIndex index = 0; index < results.size(); ++index) {
        json::Value item = results.get(index, json::Value());

        // Extract the first weather item
        result.city.name = item["currentCity"].asString();

        cerr << "city name: " << result.city.name << endl;

        result.pmIndex = item["pm25"].asString();
        cerr << "PM index: " << result.pmIndex  << endl;

        json::Value weathers = item["weather_data"];

        for ( json::ArrayIndex i = 0; i < weathers.size(); i ++ ) {
            json::Value weather = weathers.get(i, json::Value());

            localtm->tm_mday++;

            time_t newtime = mktime(localtm);
            tm *newlocaltm = localtime(&newtime);
            char buffer[256];
            strftime(buffer, sizeof(buffer), "%a %Y年%b%d ", newlocaltm);

            string date = buffer;
            cerr << "date: " << date << endl;

            string dayPictureUrl = weather["dayPictureUrl"].asString();
            cerr << "dayPictureUrl: " << dayPictureUrl << endl;

            string nightPictureUrl = weather["nightPictureUrl"].asString();
            cerr << "nightPictureUrl: " << nightPictureUrl << endl;

            string weather1 = weather["weather"].asString();
            cerr << "weather: " << weather1 << endl;

            string temperature = weather["temperature"].asString();
            cerr << "temperature: " << temperature << endl;

            string wind = weather["wind"].asString();
            cerr << "wind: " << wind << endl;

            cerr << "====================================" << endl;

            result.weather.emplace_back(
                        Weather { date,
                                  dayPictureUrl,
                                  nightPictureUrl,
                                  weather1,
                                  wind,
                                  temperature,
                                  URI
                        }
                        );

        }
    }

    return result;
}#define URI "http://www.weather.com.cn/html/weather/101010100.shtml"
3)代码讲解
src/scope/scope.cpp
这个文件定义了一个unity::scopes::ScopeBase的类。它提供了客户端用来和Scope交互的起始接口。
- 这个类定义了“start", "stop"及"run"来运行scope。绝大多数开发者并不需要修改这个类的大部分实现。在我们的例程中,我们将不做任何的修改
- 它也同时实现了另外的两个方法:search 和 preview。我们一般来说不需要修改这俩个方法的实现。但是他们所调用的函数在具体的文件中必须实现
注意:我们可以通过研究Scope API的头文件来对API有更多的认识。更多的详细描述,开发者可以在http://developer.ubuntu.com/api/scopes/sdk-14.10/查看。
src/scope/query.cpp
这个文件定义了一个unity::scopes::SearchQueryBase类。
这个类用来产生由用户提供的查询字符串而生产的查询结果。这个结果可能是基于json或是xml的。这个类可以用来进行对返回的结果处理并显示。
- 得到由用户输入的查询字符串
- 向web services发送请求
- 生成搜索的结果(根据每个不同而不同)
- 创建搜索结果category(比如不同的layout-- grid/carousel)
- 根据不同的搜寻结果来绑定不同的category以显示我们所需要的UI
- 推送不同的category来显示给最终用户
创建并注册CategoryRenderers
在本例中,我们创建了两个JSON objects. 它们是最原始的字符串,如下所示,它有两个field:template及components。template是用来定义是用什么layout来显示我们所搜索到的结果。这里我们选择的是”grid"及小的card-size。components项可以用来让我们选择预先定义好的field来显示我们所需要的结果。这里我们添加了"title"及“art"。
std::string CR_GRID = R"(
    {
        "schema-version" : 1,
        "template" : {
            "category-layout" : "grid",
            "card-size": "medium"
        },
        "components" : {
            "title" : "title",
            "art" : {
                "field": "art",
                "aspect-ratio": 1.6,
                "fill-mode": "fit"
            }
        }
    }
这是一个grid的layout,同时我们可以显示一个title及一个图片(art)。 我们在文件的开始部分加入如上的的template的定义。
更多关于 CategoryRenderer 类的介绍可以在 docs找到。
我们为每个JSON Object创建了一个CategoryRenderer,并同时向reply object注册。我们修改我们的run方法来实现显示:
void Query::run(sc::SearchReplyProxy const& reply) {
    try {
        // Start by getting information about the query
        const sc::CannedQuery &query(sc::SearchQueryBase::query());

        // Trim the query string of whitespace
        string query_string = alg::trim_copy(query.query_string());

        Client::Forecast forecast;

        cerr << "query_string: " << query_string;

        if (query_string.empty()) {
            // If there is no search string, get the forecast for London
            forecast = client_.forecast_daily("北京");
        } else {
            // otherwise, get the forecast for the search string
            forecast = client_.forecast_daily(query_string);
        }

        // Register a category for the forecast
        auto forecast_cat = reply->register_category("Chineweather",
                                                     forecast.city.name,
                                                     "", sc::CategoryRenderer(CR_GRID));

        // For each of the forecast days
        for (const auto &weather : forecast.weather) {

            // Create a result
            sc::CategorisedResult res(forecast_cat);

            // Set the rest of the attributes
            res.set_art(weather.dayPictureUrl);
            stringstream ss(stringstream::in | stringstream::out);
            ss << "白天: " << weather.date;


            res.set_title(ss.str());

            // We must have a URI
            res.set_uri(weather.uri);
            res.set_dnd_uri(weather.uri);

            // Add some extra data, and they will be shown in the preview
            res["weather"] = sc::Variant(weather.weather);
            res["temperature"] = sc::Variant(weather.temperature);
            res["wind"] = sc::Variant(weather.wind);

            // Push the result
            if (!reply->push(res)) {
                // If we fail to push, it means the query has been cancelled.
                // So don't continue;
                return;
            }

            res.set_art(weather.nightPictureUrl);
            ss.str(std::string());
            ss << "夜晚: " << weather.date;
            res.set_title(ss.str());

            // We must have a URI
            res.set_uri(weather.uri);
            res.set_dnd_uri(weather.uri);

            // Push the result
            if (!reply->push(res)) {
                // If we fail to push, it means the query has been cancelled.
                // So don't continue;
                return;
            }

        }

    } catch (domain_error &e) {
        // Handle exceptions being thrown by the client API
        cerr << e.what() << endl;
        reply->error(current_exception());
    }
}


src/scope/preview.cpp
这个文件定义了一个unity::scopes::PreviewQueryBase类。
这个类定义了一个widget及一个layout来展示我们搜索到的结果。这是一个preview结i果,就像它的名字所描述的那样。
- 定义在preview时所需要的widget
- 让widget和搜索到的数据field一一对应起来
- 定义不同数量的layout列(由屏幕的尺寸来定)
- 把不同的widget分配到layout中的不同列中
- 把reply实例显示到layout的widget中
大多数的代码在“run"中实现。跟多关于这个类的介绍可以在http://developer.ubuntu.com/api/scopes/sdk-14.10/previewwidgets/找到。
Preview
Preview需要来生成widget并连接它们的field到CategorisedResult所定义的数据项中。它同时也用来为不同的显示环境(比如屏幕尺寸)生成不同的layout。根据不同的显示环境来生成不同数量的column。
Preview Widgets
这是一组预先定义好的widgets。每个都有一个类型。更据这个类型我们可以生成它们。你可以在这里找到Preview Widget列表及它们提供的的field类型。
这个例子使用了如下的widgets
- header:它有title及subtitle field
- image:它有source field有来显示从哪里得到这个art
- text:它有text field
- action:用来展示一个有"Open"的按钮。当用户点击时,所包含的URI将被打开
如下是一个例子,它定义了一个叫做“headerId"的PreviewWidget。第二个参数是它的类型"header"。
- PreviewWidget w_header("headerId", "header");
最终的程序如下:
#include <scope/preview.h>

#include <unity/scopes/ColumnLayout.h>
#include <unity/scopes/PreviewWidget.h>
#include <unity/scopes/PreviewReply.h>
#include <unity/scopes/Result.h>
#include <unity/scopes/VariantBuilder.h>

#include <iostream>

namespace sc = unity::scopes;

using namespace std;
using namespace scope;
using namespace unity::scopes;

Preview::Preview(const sc::Result &result, const sc::ActionMetadata &metadata) :
    sc::PreviewQueryBase(result, metadata) {
}

void Preview::cancelled() {
}

void Preview::run(sc::PreviewReplyProxy const& reply) {
    //
    // This preview handler just reuses values of the original result via
    // add_attribute_mapping() calls, but it could also do another network
    // request for more details if needed.
    //

    // Client can display Previews differently depending on the context
    // By creates two layouts (one with one column, one with two) and then
    // adding widgets to them differently, Unity can pick the layout the
    // scope developer thinks is best for the mode
    sc::ColumnLayout layout1col(1), layout2col(2);

    // add columns and widgets (by id) to layouts.
    // The single column layout gets one column and all widets
    layout1col.add_column({"headerId", "artId", "tempId", "windId", "actionsId"});

    // The two column layout gets two columns.
    // The first column gets the art and header widgets (by id)
    layout2col.add_column({"artId", "headerId"});
    // The second column gets the info and actions widgets
    layout2col.add_column({"infoId", "windId", "actionsId"});

    // Push the layouts into the PreviewReplyProxy intance, thus making them
    // available for use in Preview diplay
    reply->register_layout({layout1col, layout2col});

    //Create some widgets
    // header type first. note 'headerId' used in layouts
    // second field ('header) is a standard preview widget type
    PreviewWidget w_header("headerId", "header");
    // This maps the title field of the header widget (first param)  to the
    // title field in the result to be displayed in this preview, thus providing
    // the result-specific data to the preview for display
    w_header.add_attribute_mapping("title", "title"); // attribute, result field name
    // Standard subtitle field here gets our 'artist' key value
    w_header.add_attribute_mapping("subtitle", "weather");

    PreviewWidget w_art("artId", "image");
    w_art.add_attribute_mapping("source", "art"); // // key, result field name

    PreviewWidget w_info("tempId", "text");
    w_info.add_attribute_mapping("text", "temperature");

    PreviewWidget w_wind("windId", "text");
    w_wind.add_attribute_mapping("text", "wind");

    Result result = PreviewQueryBase::result();
//    QString urlString(result["uri"].get_string().c_str());
    cerr << "[Details] GET " << result["uri"].get_string() << endl;

    // Create an Open button and provide the URI to open for this preview result
    PreviewWidget w_actions("actionsId", "actions");
    VariantBuilder builder;
    builder.add_tuple({
            {"id", Variant("open")},
            {"label", Variant("Open")},
            {"uri", Variant(result["uri"].get_string())} // uri set, this action will be handled by the Dash
        });
    w_actions.add_attribute_value("actions", builder.end());

    // Bundle out widgets as required into a PreviewWidgetList
    PreviewWidgetList widgets({w_header, w_art, w_info, w_wind, w_actions});
    // And push them to the PreviewReplyProxy as needed for use in the preview
    reply->push(widgets);
}


4)调试Scope


 1372
1372

 被折叠的 条评论
为什么被折叠?
被折叠的 条评论
为什么被折叠?
 到【灌水乐园】发言


