


导入依赖
<dependency>
        <groupId>io.springfox</groupId>
        <artifactId>springfox-boot-starter</artifactId>
        <version>3.0.0</version>
</dependency>
写配置类
package cn.itsp.demo.config;

import org.springframework.context.annotation.Bean;
import org.springframework.context.annotation.Configuration;
import org.springframework.web.servlet.config.annotation.EnableWebMvc;
import springfox.documentation.builders.ApiInfoBuilder;
import springfox.documentation.builders.PathSelectors;
import springfox.documentation.builders.RequestHandlerSelectors;
	import springfox.documentation.oas.annotations.EnableOpenApi;
import springfox.documentation.service.ApiInfo;
import springfox.documentation.spi.DocumentationType;
import springfox.documentation.spring.web.plugins.Docket;


@Configuration//告诉Spring容器,这是一个配置类
@EnableWebMvc//不加上报错Failed to start bean 'documentationPluginsBootstrapper'
@EnableOpenApi//启动Swagger3功能,也可以@EnableSwagger2【非阻断式升级留下的】
public class Swagger3Config {

@Bean
public Docket createRestApi() {
    return new Docket(DocumentationType.OAS_30)
            //把写好的配置信息给进去,做一个配置
            .apiInfo(apiInfo())
            .select()
            // 配置swagger显示的controller,cn包下所有api都交给swagger代理,如果不配置则默认扫描所有后端接口
            .apis(RequestHandlerSelectors.basePackage("cn"))
            .paths(PathSelectors.any()).build();
}


//API文档页面显示信息
private ApiInfo apiInfo() {
    return new ApiInfoBuilder()
            .title("演示Demo")
            .description("Swagger3演示项目")
            .version("1.0")
            .build();
}
}
启动项目,访问url:
swagger-ui/index.html
这里因为我配置了tomcat服务端口为80【http默认端口】

所以直接访问
http://localhost/swagger-ui/index.html
如果没有修改端口,请访问
http://localhost:8080/swagger-ui/index.html
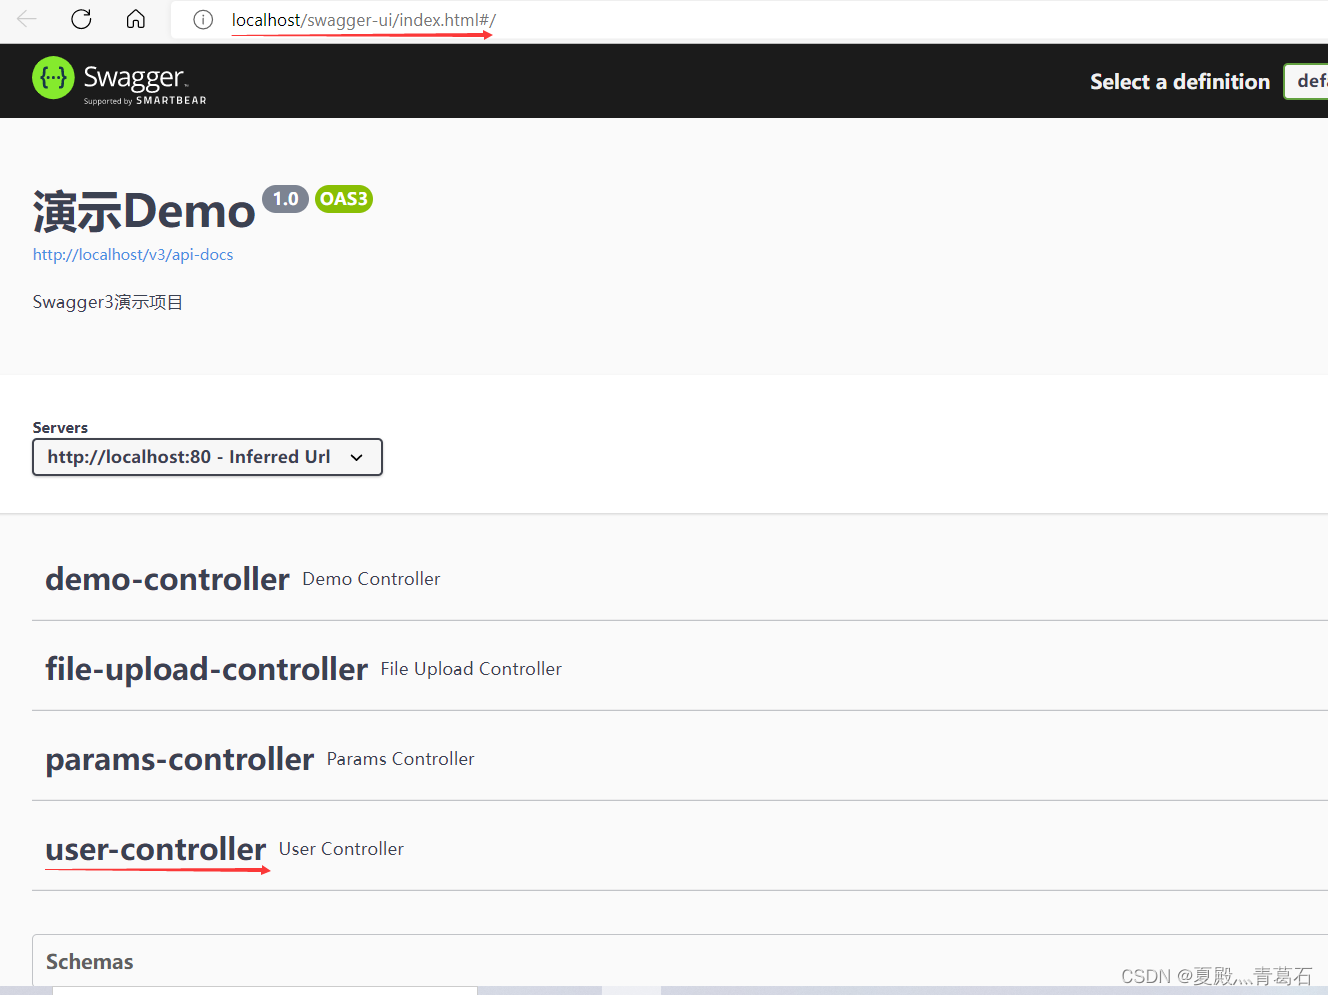
这里可以看见之前写的RESTful规范的API
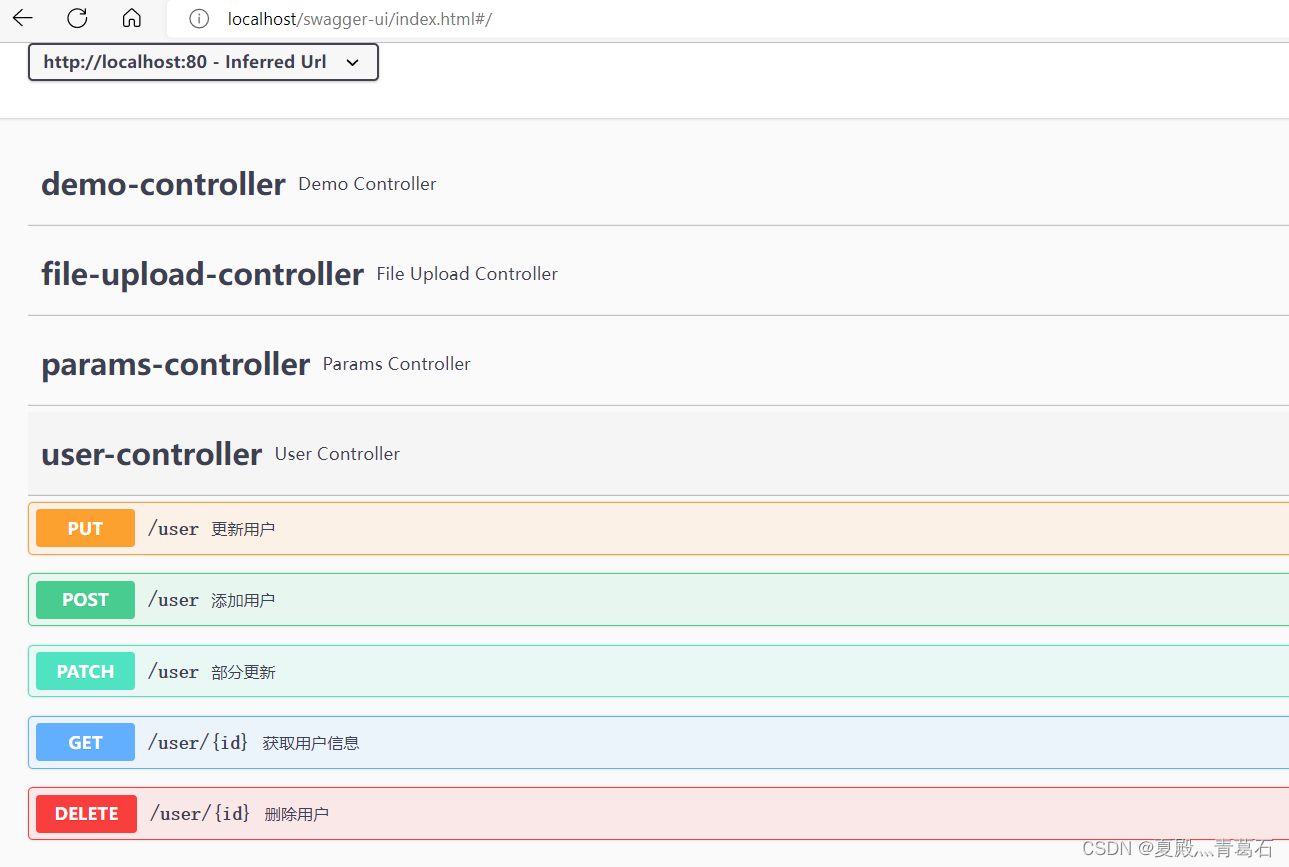
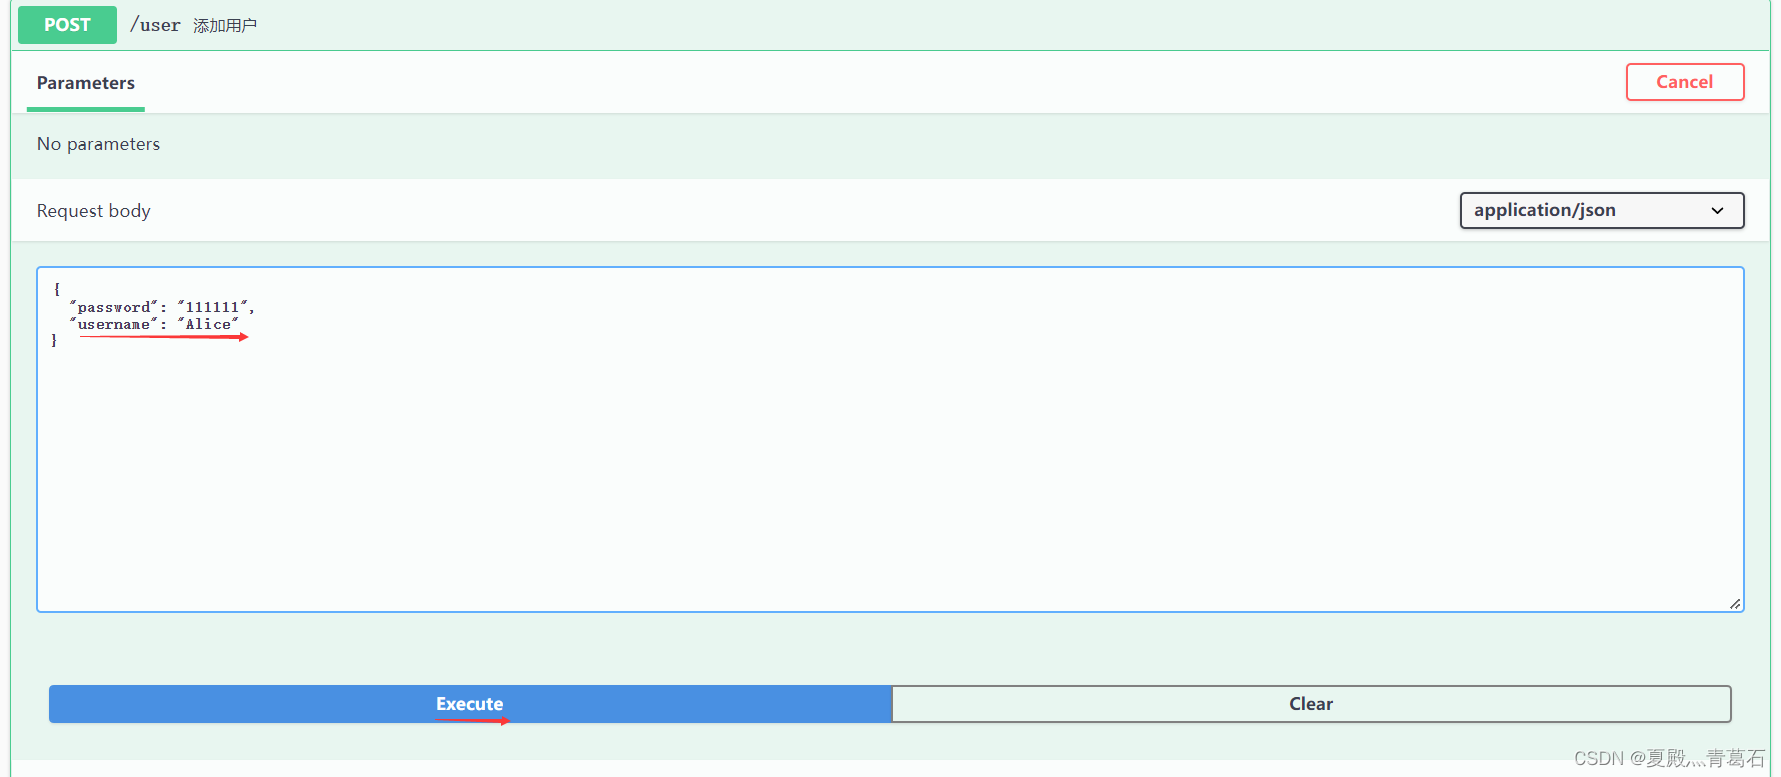
在Swagger UI页面可以直接测试这些接口

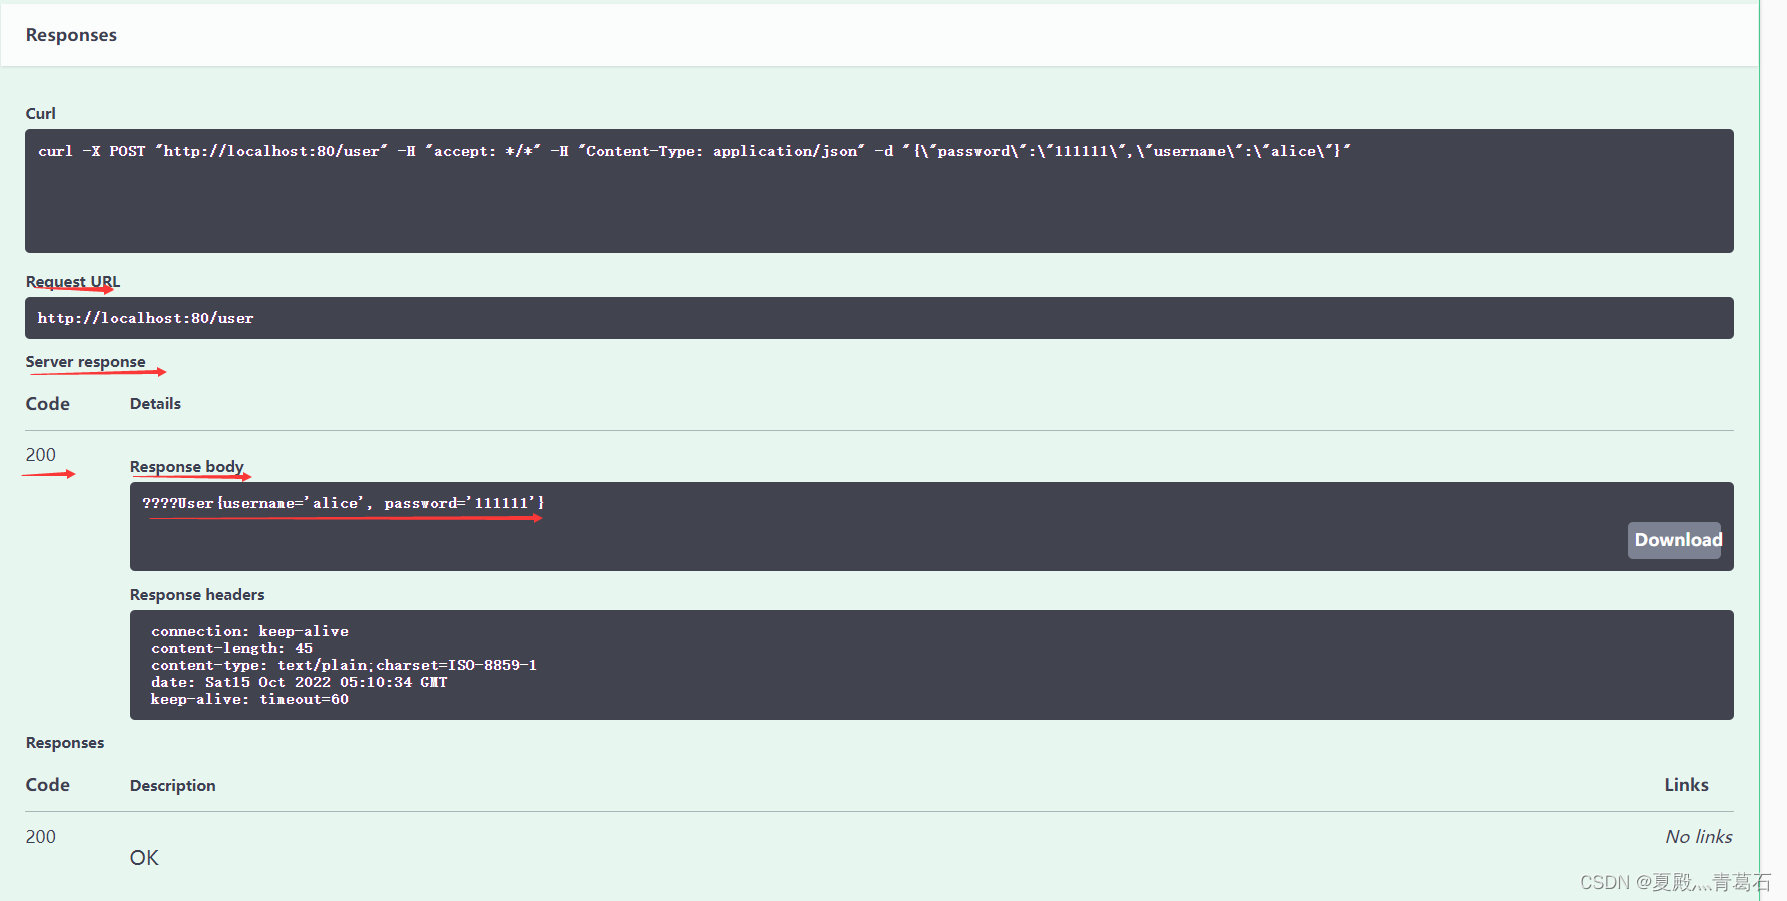
请求通过,可以看见响应信息


 651
651


 被折叠的 条评论
为什么被折叠?
被折叠的 条评论
为什么被折叠?
 到【灌水乐园】发言


