


环境配置方法:点这里
环境配置完毕后,需要进行标注工作和训练任务,以下分两个部分进行。
图片标注
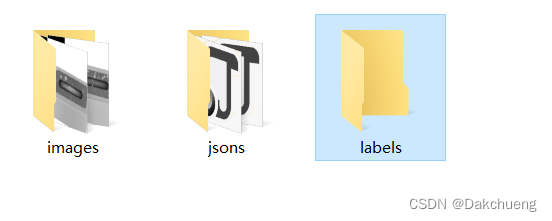
1、按照以下的格式,将图片放入images中。(不限制文件夹路径)
2、然后下载labelme标注工具,链接;如果没有下载到或者没有积分,可以联系我发给你。labelme标注工具的使用可以参考:链接
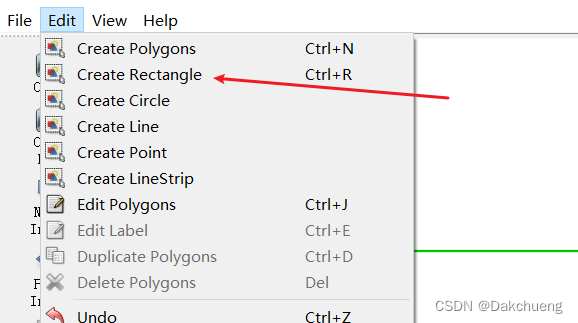
3、目标检测的话,需要选择创建rectangle。然后就可以直接画矩形框。
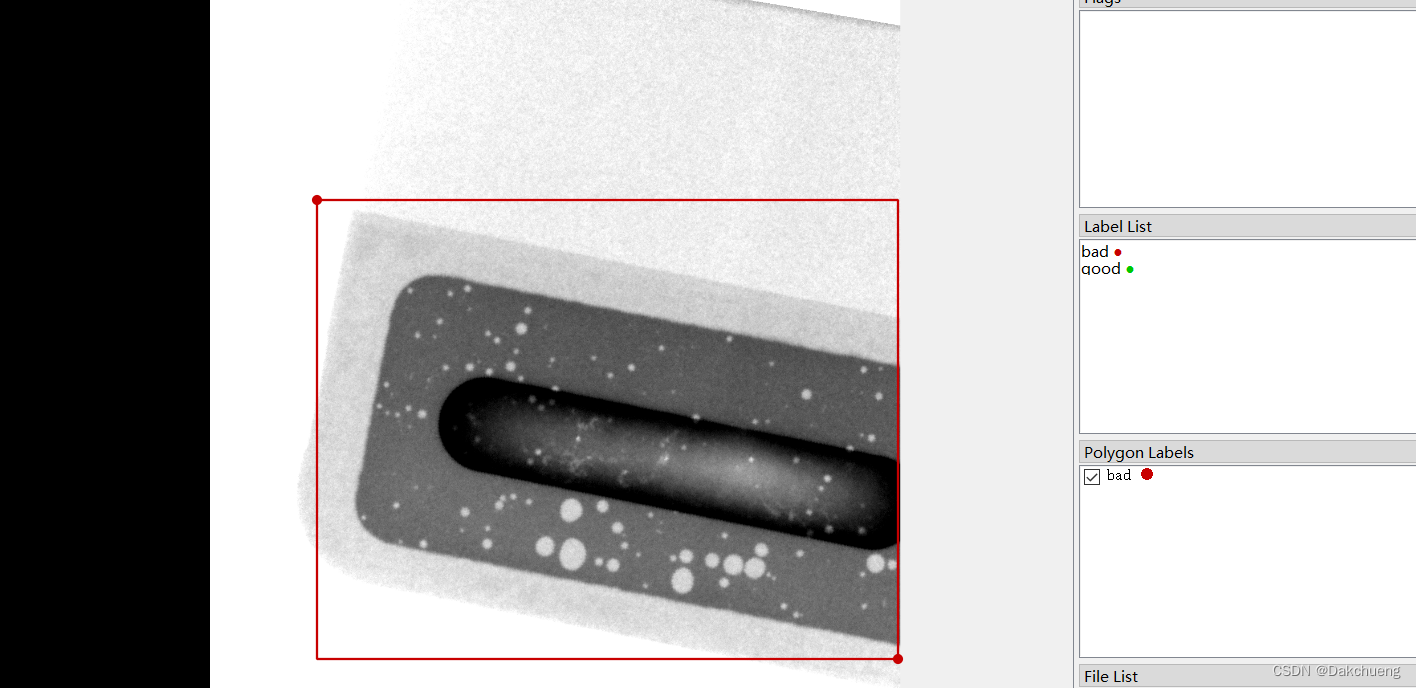
3、然后我们把图片分成两个标签进行标注,一种是bad,一种是good。

jsons转txt格式
import json
import os


def convert(img_size, box):
    dw = 1. / (img_size[0])
    dh = 1. / (img_size[1])
    x = (box[0] + box[2]) / 2.0 - 1
    y = (box[1] + box[3]) / 2.0 - 1
    w = box[2] - box[0]
    h = box[3] - box[1]
    x = abs(x * dw)
    w = abs(w * dw)
    y = abs(y * dh)
    h = abs(h * dh)
    return (x, y, w, h)


def decode_json(json_floder_path, json_name, txt_floder_path, classes):
    txt_name = txt_floder_path + '\\' + json_name[0:-5] + '.txt'
    txt_file = open(txt_name, 'w')

    json_path = os.path.join(json_floder_path, json_name)
    data = json.load(open(json_path, 'r', encoding='gb2312'))

    img_w = data['imageWidth']
    img_h = data['imageHeight']

    for i in data['shapes']:

        label_name = i['label']
        if (i['shape_type'] == 'rectangle'):
            x1 = int(i['points'][0][0])
            y1 = int(i['points'][0][1])
            x2 = int(i['points'][1][0])
            y2 = int(i['points'][1][1])

            bb = (x1, y1, x2, y2)
            bbox = convert((img_w, img_h), bb)
            txt_file.write(str(classes[label_name]) + " " + " ".join([str(a) for a in bbox]) + '\n')

print('json to txt over!')


if __name__ == "__main__":

    json_floder_path = 'E:\\WDX\\CODE\\python\\TOOL\\FPC\\jsons'
    txt_floder_path = 'E:\\WDX\\CODE\\python\\TOOL\\FPC\\labels'
    classes = {'bad': 0, 'good': 1}  # 多少类就写多少
    json_names = os.listdir(json_floder_path)
    for json_name in json_names:
        decode_json(json_floder_path, json_name, txt_floder_path, classes)
模型训练
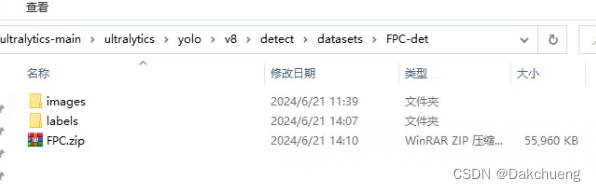
1、在datasets文件夹下创建文件夹FPC-det,将images文件夹和labels文件夹放在其中。
2、然后在下面文件夹中增加ymal文件(可复制其他的,改一下里面路径就可以)


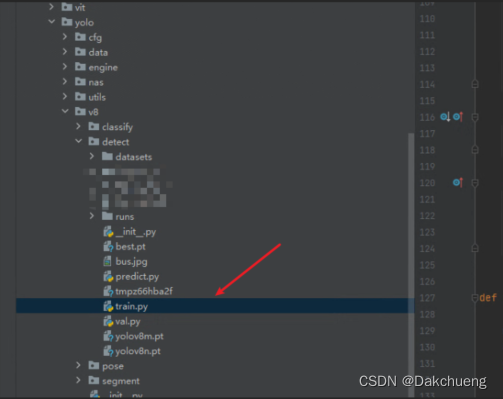
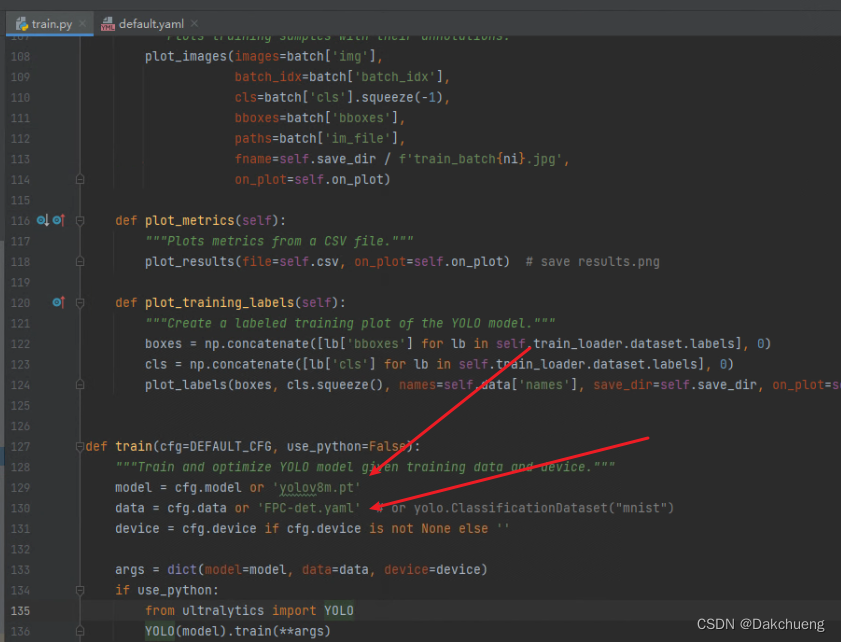
3、在detect文件夹下找到train文件,打开修改以下内容。
4、另外找到default.ymal文件,修改epochs,batch和workers根据显卡,自己调整。

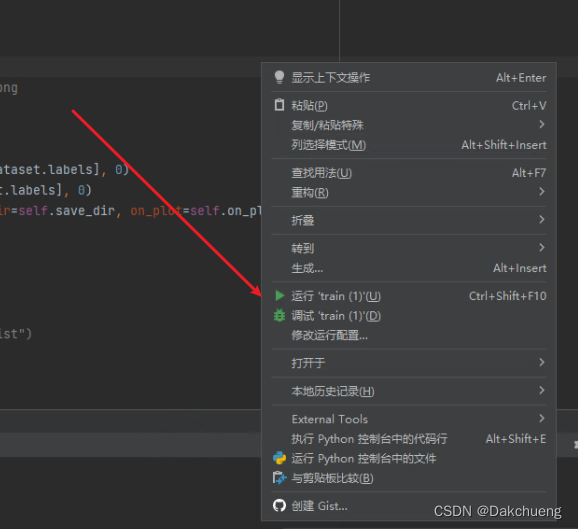
5、然后右击train.py文件,运行。

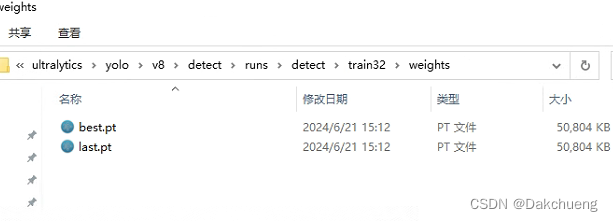
6、训练完成,会生成best.pt;至此,检测模型训练完成


 435
435

 被折叠的 条评论
为什么被折叠?
被折叠的 条评论
为什么被折叠?
 到【灌水乐园】发言


