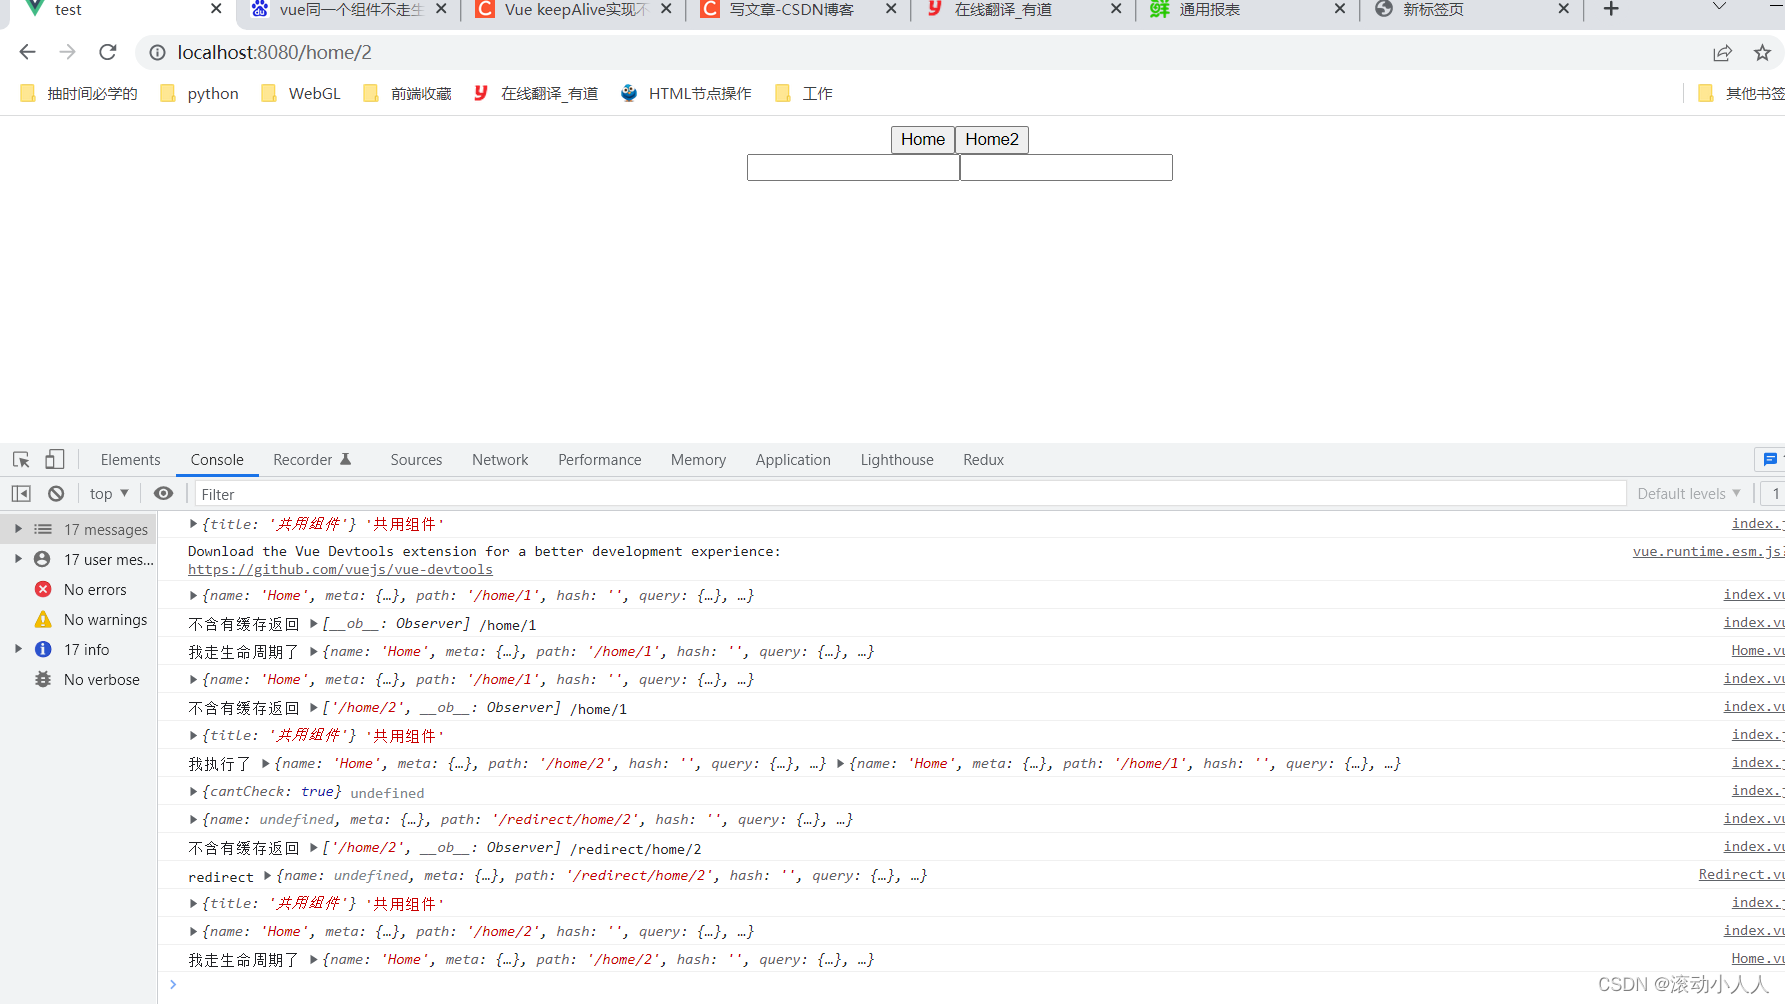
背景:后端根据不同路由返回不同数据,使用一个组件去渲染页面
需求:一,每次新路由进入的同一个组件都要走生命周期,获取后端数据。二,第二次点击需要缓存数据,希望之前输入的数据还在。
难点说明:
1,由于vue设计时,同一个组件二次进入是不会再次走生命周期,目的是为了提高渲染效率等
2,keepAlive缓存同一个组件 会出现不生效的问题
解决:
关于一:解决方法网上但部分是根据路由在添加一个时间作为key来解决。
但我今天的解决办法是一二一起解决。
首先,先解决为什么keepAlive不能缓存同一个组件?
这里查看源码:keep-Alive.js 的render函数。由于key是相同的,所以每次缓存都会返回相同的vnode节点
  render () {
    const slot = this.$slots.default
    const vnode: VNode = getFirstComponentChild(slot)
    const componentOptions: ?VNodeComponentOptions = vnode && vnode.componentOptions
    if (componentOptions) {
      const name: ?string = getComponentName(componentOptions)
      const { include, exclude } = this
      if (
        // 不再白名单里面的
        (include && (!name || !matches(include, name))) ||
        // 在黑名单里面的
        (exclude && name && matches(exclude, name))
      ) {
        return vnode
      }

      const { cache, keys } = this
      // 这里的key 就是为什么不能缓存同一个组件的关键
      const key: ?string = vnode.key == null ? componentOptions.Ctor.cid + (componentOptions.tag ? `::${componentOptions.tag}` : '')
        : vnode.key
      if (cache[key]) {
        vnode.componentInstance = cache[key].componentInstance
        remove(keys, key)
        keys.push(key)
      } else {
        cache[key] = vnode
        keys.push(key)
        // prune oldest entry
        if (this.max && keys.length > parseInt(this.max)) {
          pruneCacheEntry(cache, keys[0], keys, this._vnode)
        }
      }

      vnode.data.keepAlive = true
    }
    return vnode || (slot && slot[0])
  }
所以这里我们需要重新构建一个新的keep-alive ,目的是能够随心所欲的使用key去缓存不同的vnode节点。
目录结构:
外层代码:
<style scoped>
.page-view {
  height: 100%;
}
</style>
<script type="text/jsx">
import BlKeepAlive from "./BlKeepAlive";
export default {
  name: "PageView",
  functional: true,
  props: {
    include: {
      type: Array,
      default: () => [],
    },
  },
  render(h, context) {
    const { include } = context.props;
    return (
      <BlKeepAlive include={include}>
        <transition mode="out-in">
          <router-view />
        </transition>
      </BlKeepAlive>
    );
  },
};
</script>
BlKeepAlive代码
<script>
function isEmpty(...str) {
  return str.some((i) => i === undefined || i === null || i === "");
}
function getFirstComponentChild(children) {
  if (Array.isArray(children)) {
    return children.find(
      (c) =>
        !isEmpty(c) &&
        (!isEmpty(c.componentOptions) || (c.isComment && c.asyncFactory))
    );
  }
}
function removeCache(cache, key) {
  const cached = cache[key];
  cached && cached.componentInstance && cached.componentInstance.$destroy();
  delete cache[key];
}
function getRouterViewCacheKey(route) {
 // 这里可以控制自己想要的key
 return route.path
}
export default {
  name: "bl-keep-alive",
  abstract: true,
  props: {include: Array},
  created() {
    this.cache = Object.create(null);
  },
  beforeDestroy() {
    for (const key of Object.keys(this.cache)) {
      removeCache(this.cache, key);
    }
  },
  render() {
    const slot = this.$slots.default;
    const vnode = getFirstComponentChild(slot);
    let componentOptions = vnode && vnode.componentOptions;
    if (componentOptions) {
      const child =
        componentOptions.tag === "transition"
          ? componentOptions.children[0]
          : vnode;
      componentOptions = child && child.componentOptions;
      if (componentOptions) {
        const key = getRouterViewCacheKey(this.$route)
        const { cache,include } = this;

        if (include && !include.includes(key)) {
           console.log('不含有缓存返回',include,key)
          return vnode
        }

        if (cache[key]) {
          child.componentInstance = cache[key].componentInstance;
        } else {
          cache[key] = child;
        }
        child.data.keepAlive = true;
      }
    }

    return vnode || (slot && slot[0]);
  },
};
</script>
然后:解决从新加载页面和起到缓存作用,还有一个关键点,需要在路由 beforeEach中做一个中转跳转。就是对于相同组件,每次进入都需要先跳转到中转页面,在从中转页面跳回目标页面。
这样不经可以让同一个组件走生命周期,在缓存时也会正确返回缓存页面。
路由:
import Vue from "vue";
import VueRouter from "vue-router";
const Home = () => import("../views/Home.vue");
const Redirect = () => import("../views/Redirect");

Vue.use(VueRouter);

const routes = [
  {
    path: "/home/:id",
    name: "Home",
    meta: {
      title: "共用组件",
    },
    component: Home,
  },
  {
    path: "/redirect",
    name: "Redirect",
    component: Redirect,
    children: [
      {
        path: '*',
        component: Redirect,
        meta: {
          cantCheck: true
        }
      }
    ]
  },
];

const router = new VueRouter({
  mode: "history",
  base: process.env.BASE_URL,
  routes,
});

/**
 * @description: 在进入路由前验证各种状态
 * @param {type}
 * @return:
 */
router.beforeEach((to, from, next) => {
  console.log(to.meta,to.meta.title)
  if (to.meta.title !== undefined && to.meta.title === from.meta.title) {
    next(`/redirect${to.path}`);
  } else {
    next();
  }
});

export default router;
路由beforeEach,先判断是否是同一个组件,如果是先回重定向到redirect页面。
重定向Redirect代码:
<script>
  function replaceAll(str, substr, replacement) {
    if (str == null) return str
    return str.replace(new RegExp(substr, 'gm'), replacement)
  }
  export default {
    mounted() {
      const {path} = this.$route
      this.$router.replace(`${replaceAll(path, '/redirect', '')}`)
    },
    render: h => h()
  }
</script>
至此:核心代码都写完了,重写keepAlive和增加了一个重定向。这样就可以解决同一个组件,根据不同的路由,第一次进入刷新,第二次进入缓存
后面贴出调用代码:这里是demo所以我直接在app里面写了
<template>
  <div id="app">
    <div id="nav">
      <router-link to="/home/1">
        <button @click="goUrl('/home/1')">Home</button>
      </router-link>
      <router-link to="/home/2">
        <button @click="goUrl('/home/2')">Home2</button></router-link
      >
    </div>

    <bl-page-view :include="myInclude">
      <router-view />
    </bl-page-view>
  </div>
</template>
<script>
import BIPaveView from "./components/BIPaveView/index.vue";

export default {
  name: "App",
  components: {
    "bl-page-view": BIPaveView,
  },
  data() {
    return {
      myInclude: [],
    };
  },
  methods: {
    goUrl(url) {
      let arr=[].concat(this.myInclude)
      if (!arr.includes(url)) {
        arr.push(url);
      }
       this.myInclude=arr
    },
  },
};
</script>

<style lang="less">
#app {
  font-family: Avenir, Helvetica, Arial, sans-serif;
  -webkit-font-smoothing: antialiased;
  -moz-osx-font-smoothing: grayscale;
  text-align: center;
  color: #2c3e50;
}
</style>
公共组件
<template>
  <div class="home">
    <input
      v-for="(item, index) in inputArr"
      :key="index"
      type="text"
      v-model="item.num"
    />
  </div>
</template>

<script>
export default {
  name: "Home",
  data() {
    return {
      inputArr: [],
      pageCode: 1,
    };
  },

  created() {
    console.log("我走生命周期了", this.$route);
    this.pageCode = this.$route.params.id * 1;
    this.clearData();
    this.getNewData();
  },
  methods: {
    clearData() {
      this.inputArr = [];
    },
    getNewData() {
      let ss = {
        1: [{ num: "" }],
        2: [{ num: "" }, { num: "" }],
      };
      this.inputArr = ss[this.pageCode];
    },
  },
};
</script>
实现效果:
视频暂时未审核:https://live.csdn.net/v/191810
不知这个地址你们可以访问不。反正就是演示了第一次加载后,输入数据再次进入会缓存


 921
921


 被折叠的 条评论
为什么被折叠?


