


 本文通过一个完整的案例介绍如何在Google Colab上利用GPU对Cifar10数据集进行图像分类,详细讲解数据预处理、Inception网络模型搭建、训练过程和结果分析,最终模型在训练集、验证集和测试集上的准确率分别为99.78%、97.15%和97.07%。
本文将用一个完整的案例向大家介绍Google Colab的用法,一起来薅资本主义的羊毛~
代码可直接在colab服务器上完美运行!
Google Colab 传送门 (需要梯子)
Cifar10图像分类
由于Cifar10数据集较大,且本文中的训练模型的总参数多达142万,
即使在本地使用GPU(MX150)训练,每次运行仍需接6-8小时,不利于程序的后续调整,
故本程序借助Google Colab(约30min-1h)利用GPU加速在云端运行。
最终模型在(最佳的一次参数:batch=256,factor=0.1,patience=5,62s, 35epoch)
训练集上的准确率为:99.78%
验证集上的准确率为:97.15%
测试集上的准确率为:97.07%
在几大经典图像识别数据集(MNIST / CIFAR10 / CIFAR100 / STL-10 / SVHN / ImageNet)中,
对于 CIFAR10 数据集而言,目前业内 State-of-Art 级别的模型所能达到的最高准确率是 96.53%。
注:由于暂时无法在Colab中引用本地图片,本文中所有图片均已上传至GitHub,用网络链接的形式进行展示。
打印Colab目前连接使用的机器(GPU)信息
# 检查并安装第三官方库
!ln -sf /opt/bin/nvidia-smi /usr/bin/nvidia-smi
!pip install gputil
!pip install psutil
!pip install humanize
import psutil
import humanize
import os
import GPUtil as GPU
GPUs = GPU.getGPUs()
gpu = GPUs[0]
def printm():
 process = psutil.Process(os.getpid())
 print("Gen RAM Free: " + humanize.naturalsize( psutil.virtual_memory().available ), " | Proc size: " + humanize.naturalsize( process.memory_info().rss))
 print("GPU RAM Free: {0:.0f}MB | Used: {1:.0f}MB | Util {2:3.0f}% | Total {3:.0f}MB".format(gpu.memoryFree, gpu.memoryUsed, gpu.memoryUtil*100, gpu.memoryTotal))

#打印相关信息
printm()
Requirement already satisfied: gputil in /usr/local/lib/python3.6/dist-packages (1.4.0)
Requirement already satisfied: psutil in /usr/local/lib/python3.6/dist-packages (5.4.8)
Requirement already satisfied: humanize in /usr/local/lib/python3.6/dist-packages (0.5.1)
Gen RAM Free: 13.0 GB  | Proc size: 114.5 MB
GPU RAM Free: 11441MB | Used: 0MB | Util   0% | Total 11441MB
建立Ipynb与Google云盘的连接
将训练所得模型以及日志文件储存在自己的云盘文件中,同时方便以后使用云盘上的本地数据集/本地模板库。
登录代码:(一次性)
# 安装相关文件
!apt-get install -y -qq software-properties-common python-software-properties module-init-tools
!add-apt-repository -y ppa:alessandro-strada/ppa 2>&1 > /dev/null
!apt-get update -qq 2>&1 > /dev/null
!apt-get -y install -qq google-drive-ocamlfuse fuse
# 账号信息授权
from google.colab import auth
auth.authenticate_user()
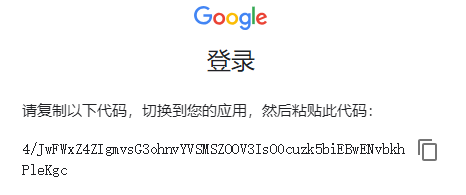
#授权码1
#4/JwE_0WWiynLrN7mj3bfRDFe6R4jhjc2hKcSb59vXE816ZAyt2kCyjXM
# 账号密码授权
from oauth2client.client import GoogleCredentials
creds = GoogleCredentials.get_application_default()
import getpass
!google-drive-ocamlfuse -headless -id={
creds.client_id} -secret={
creds.client_secret} < /dev/null 2>&1 | grep URL
vcode = getpass.getpass()
!echo {
vcode} | google-drive-ocamlfuse -headless -id={
creds.client_id} -secret={
creds.client_secret}
#授权码2
#4/JwHPn1brf-kYZU5L6pmu4XsF7Ckdhs-h9aXh93BLCYk-bMQKa1r-dks
E: Package 'python-software-properties' has no installation candidate
Selecting previously unselected package google-drive-ocamlfuse.
(Reading database ... 131304 files and directories currently installed.)
Preparing to unpack .../google-drive-ocamlfuse_0.7.3-0ubuntu1~ubuntu18.04.1_amd64.deb ...
Unpacking google-drive-ocamlfuse (0.7.3-0ubuntu1~ubuntu18.04.1) ...
Setting up google-drive-ocamlfuse (0.7.3-0ubuntu1~ubuntu18.04.1) ...
Processing triggers for man-db (2.8.3-2ubuntu0.1) ...
Please, open the following URL in a web browser: https://accounts.google.com/o/oauth2/auth?client_id=32555940559.apps.googleusercontent.com&redirect_uri=urn%3Aietf%3Awg%3Aoauth%3A2.0%3Aoob&scope=https%3A%2F%2Fwww.googleapis.com%2Fauth%2Fdrive&response_type=code&access_type=offline&approval_prompt=force
··········
Please, open the following URL in a web browser: https://accounts.google.com/o/oauth2/auth?client_id=32555940559.apps.googleusercontent.com&redirect_uri=urn%3Aietf%3Awg%3Aoauth%3A2.0%3Aoob&scope=https%3A%2F%2Fwww.googleapis.com%2Fauth%2Fdrive&response_type=code&access_type=offline&approval_prompt=force
Please enter the verification code: Access token retrieved correctly.
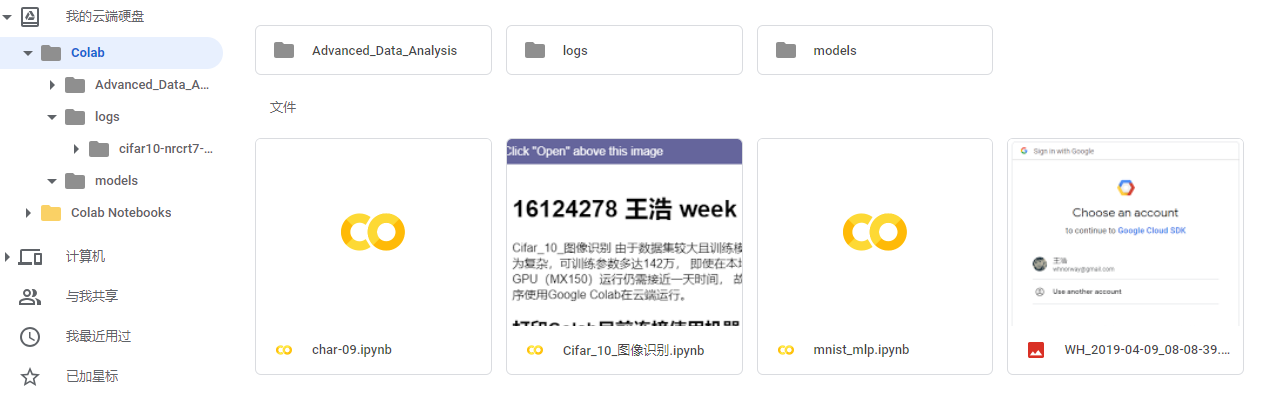
Google云盘工作文件夹设置
显示工作目录下的内容(和linux系统下命令基本相同)
ubuntu18.04.1
# 指定Google Drive云端硬盘的根目录,名为wh_drive
!mkdir -p wh_drive
!google-drive-ocamlfuse wh_drive


# 指定当前的工作文件夹
import os
os.chdir("wh_drive/Colab")


# 显示工作目录下的内容
! ls
Advanced_Data_Analysis	mnist_mlp.ipynb		     WH_2019-04-09_08-08-39.png
char-09.ipynb		models
logs			old_Cifar_10_图像识别.ipynb
Cifar10数据集介绍
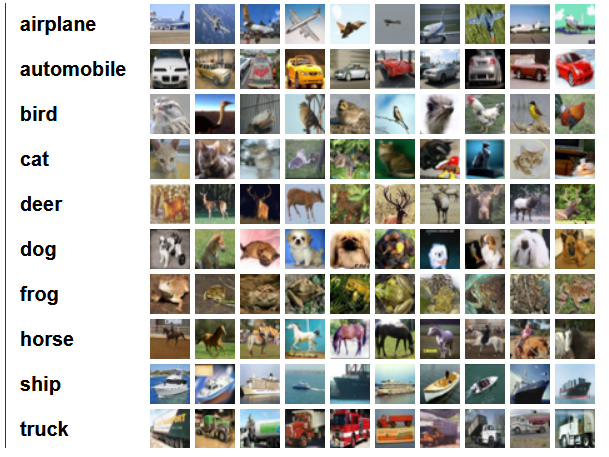
该数据集共有60000张彩色图像,这些图像是32*32,分为10个类,每类6000张图。这里面有50000张用于训练,构成了5个训练批,每一批10000张图;另外10000用于测试,单独构成一批。测试批的数据里,取自10类中的每一类,每一类随机取1000张。抽剩下的就随机排列组成了训练批。注意一个训练批中的各类图像并不一定数量相同,总的来看训练批,每一类都有5000张图。
下面这幅图就是列举了10各类,每一类展示了随机的10张图片:
Cifar10数据集下载
服务器网速很快(6-10MB/s),不需要从云盘中读取数据集,直接下载到Colab服务器运行即可
import pandas as pd
import numpy as np
%matplotlib inline
import matplotlib.pyplot as plt

#设置随机种子
np.random.seed(161)

from keras.datasets import cifar10

#读取数据集
(x_train, y_train), (x_test, y_test) = cifar10.load_data()

#归一化
x_train = x_train / 255.0
x_test = x_test / 255.0
Using TensorFlow backend.


Downloading data from https://www.cs.toronto.edu/~kriz/cifar-10-python.tar.gz
170500096/170498071 [==============================] - 26s 0us/step
Cifar10数据预处理
将彩色图片转为灰度图片:
灰度值 = 0.2989 * 红色 + 0.5870 * 绿色 + 0.1140 * 蓝色
#选取彩色通道,将图片转换为灰度图
x_train_gray = np.dot(x_train[:,:,:,:3], [0.299, 0.587, 0.114])
x_test_gray = np.dot(x_test[:,:,:,:3], [0.299, 0.587, 0.114])
#大小统一为32*32像素
x_train_gray = x_train_gray.reshape(-1,32,32,1)
x_test_gray = x_test_gray.reshape(-1,32,32,1)
from keras.utils.np_utils import to_categorical
y_train_cat = to_categorical(y_train)
y_test_cat = to_categorical(y_test)
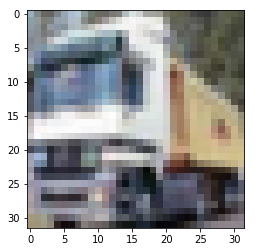
plt.imshow(x_train[1])
plt.show()
plt.imshow(x_train_gray[1,:,:,0], cmap='gray')
plt.show()

 最低0.47元/天 解锁文章


 541
541

 被折叠的 条评论
为什么被折叠?
被折叠的 条评论
为什么被折叠?
 到【灌水乐园】发言


