


前言
现在的手机应用,特别是聊天工具,例如 QQ,微信,十有八九是离不开底部栏,也就是底部导航栏,本人刚开始学安卓,近期在学习底部栏同时写博客一来是为了巩固学习做的笔记,二来也是帮助和我一样正在学习安卓的同学一起进步,虽然谷歌已经不推荐用TabActivity但对于广大新手朋友们的学习还是有必要了解一下的。
TabHost 的实现方式一
1.不继承 TabActivity
2.在布局文件中定义 TabHost
首先,我们先来看看TabHost布局中各个组件的含义
TabHost :盛放tab选项卡的容器.
TabWidget :用来显示选项卡
FrameLayout :用来显示对应选项卡的内容
有了上面一点认识后我们看看布局文件代码
<?xml version="1.0" encoding="utf-8"?>
<TabHost xmlns:android="http://schemas.android.com/apk/res/android"
    android:id="@+id/tabhost"
    android:layout_width="fill_parent"
    android:layout_height="fill_parent">
    <LinearLayout
        android:orientation="vertical"
        android:layout_width="fill_parent"
        android:layout_height="fill_parent">

        <FrameLayout
            android:layout_weight="1"
            android:id="@android:id/tabcontent"
            android:layout_width="fill_parent"
            android:layout_height="fill_parent">
            <include android:id="@+id/left" layout="@layout/tab_left" />
            <include android:id="@+id/right" layout="@layout/tab_right" />

        </FrameLayout>
        <TabWidget
            android:id="@android:id/tabs"
            android:layout_width="fill_parent"
            android:layout_height="wrap_content" />
    </LinearLayout>
</TabHost>
注意了!!在这里系统是默认了 TabHost的 id 为 tabhost ,TabWidget的 id 为 tabs ,FrameLayout的 id 为 tabcontent,而且需要注意的是 @android:id 而不是* @+id* 如果设了自己命名的 id 是显示不出来的(系统就是这么霸道!!)同学们可能还有个疑问,为什么还要有一个 LinearLayout线性布局包裹呢?原因是不加的话FrameLayout会填充整个屏幕从而导致每个tab对应的内容出现在屏幕的左上角而与选项卡重叠,下面贴上layout文件中的 tab_left.xml,tab_right.xml也是如此我就不重复了
tab_left.xml
<?xml version="1.0" encoding="utf-8"?>
<LinearLayout xmlns:android="http://schemas.android.com/apk/res/android"
    android:layout_width="fill_parent"
    android:layout_height="fill_parent">
    <TextView
        android:text="left"
        android:layout_width="fill_parent"
        android:layout_height="fill_parent" />
</LinearLayout>
JAVA代码步骤如下
package com.example.administrator.tabradio;

import android.app.Activity;
import android.os.Bundle;
import android.support.v4.app.Fragment;
import android.support.v4.app.FragmentTabHost;
import android.widget.TabHost;
public class MainActivity extends Activity {
    @Override
    public void onCreate(Bundle savedInstanceState) {
        super.onCreate(savedInstanceState);
        setContentView(R.layout.activity_main);

        //获取tabhost
       TabHost tabHost = (TabHost) this.findViewById(R.id.tabhost);
       tabHost.setup();//实例化了tabWidget和tabContent,否则会空指针报错

        //添加第一个tab
        tabHost.addTab(tabHost.newTabSpec("left")
                .setIndicator("左")
                .setContent(R.id.left));

        //添加第二tab
        tabHost.addTab(tabHost.newTabSpec("right")
                .setIndicator("右")
                .setContent(R.id.right));
        //默认显示第一页
        tabHost.setCurrentTab(0);
    }
}
这里解释下代码,首先我们用 TabHost tabHost = (TabHost) this.findViewById(R.id.tabhost)从布局中获取到自定义的 tabhost,然后因为我们并没有继承 TabActivity所以要使用setup()初始化,大家有没有发现我在TabHost用的id是自定义的“@+id”而不是系统默认的 “@android:id”,当你用系统默认的id时则可以直接使用 TabHost tabhost = getTabhost();代替setup()初始化和获取语句
其次我们再看看 newTabSpec(String tag) 表示的是用 tag 取名,其方法 setIndicator(…..)可以用来设置 tab 选项卡的文字标题和图片,该方法有以下三种形式,我们用的第一种
<1> setIndicator(CharSequence label)—-指定一个label作为tab的指示器—–比如代码中 setIndicator(“左”);这个左就是显示在选项卡上面的文字
<2> setIndicatior(View view)—-指定一个view作为tab的指示器
<3> setIndicator(CharSequence label,Drawable icon)—-指定一个label和icon作为tab的指示器—-比如setIndicatior(“tab”,this.getResource().getDrawable(R.drawable.×××));
看图如下
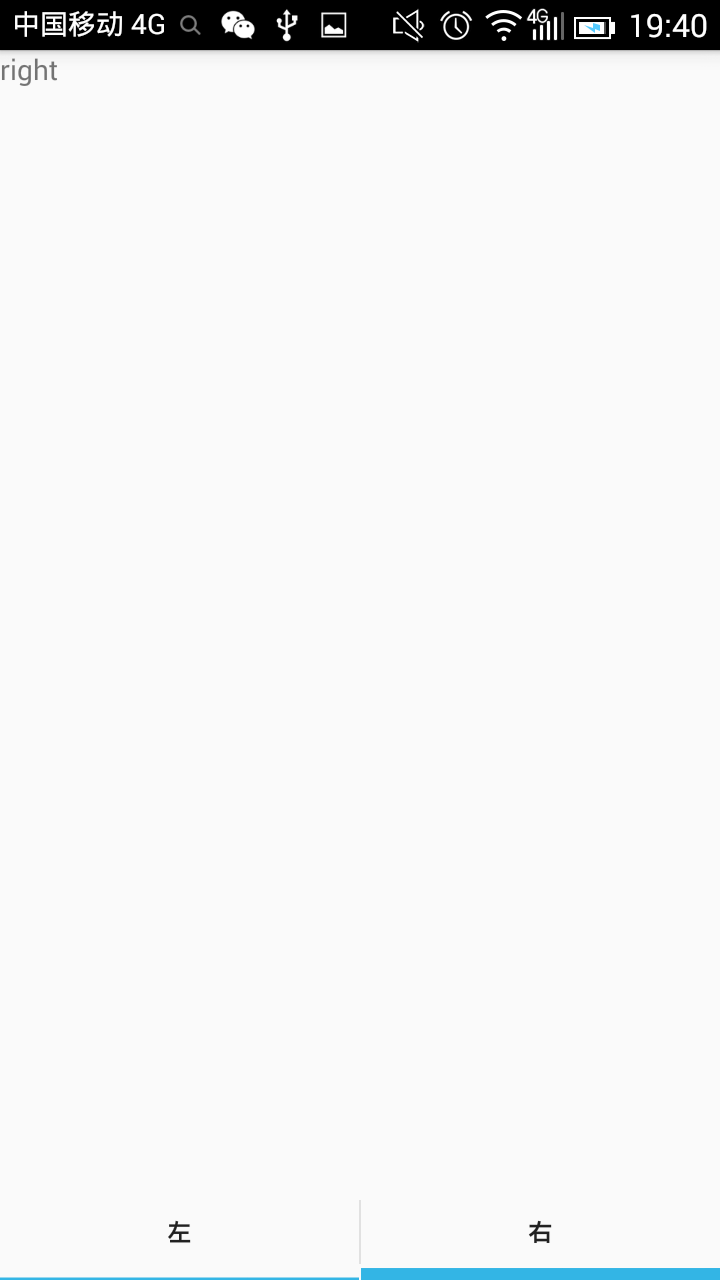
有些朋友需要也可以将选项卡放置在顶部,只需要将布局代码中的TabWidget放置在FrameLayout即可,此时 FrameLayout 中 android:layout_weight=”1”(权重)便无关紧要, 但如果是要实现在底部除了要把 TabWidget 放在底部之外还要添加权重否则无法成功
另外实现了代码的同学可能会发现标签图片显示不了,解决图片不能显示的解决方法有俩个:
- 在mainifests文件中将 android:theme 改为 android:theme=”@android:style/Theme.Black”
- 使用空字符串,也就是setIndicatior(“”,this.getResources().getDrawable(R.drawable.xxx));
在点击选项卡的时候下面会有一条选中边边,想去掉的同学可以在xml文件中TabWidget设置layout_marginBottom为负数即可
TabHost的实现方式二
1.继承TabActivity
2.用getTabHost()获取TabHost
3.其他的基本上跟第一种是一样的
package com.example.administrator.tabradio;

import android.annotation.TargetApi;
import android.app.Activity;
import android.app.TabActivity;
import android.content.Intent;
import android.net.Uri;
import android.os.Build;
import android.os.Bundle;
import android.support.v4.app.Fragment;
import android.support.v4.app.FragmentTabHost;
import android.view.LayoutInflater;
import android.view.View;
import android.widget.ImageView;
import android.widget.TabHost;
import android.widget.TabWidget;
import android.widget.TextView;

import com.google.android.gms.appindexing.Action;
import com.google.android.gms.appindexing.AppIndex;
import com.google.android.gms.common.api.GoogleApiClient;

public class MainActivity extends TabActivity {
    @Override
    public void onCreate(Bundle savedInstanceState) {
        super.onCreate(savedInstanceState);
        setContentView(R.layout.activity_main);
        TabHost tabHost = getTabHost();
       // LayoutInflater.from(this).inflate(R.layout.activity_main,tabHost.getTabContentView(),true);
        //添加第一个tab
        tabHost.addTab(tabHost.newTabSpec("left")
                .setIndicator("左",this.getResources().getDrawable(R.drawable.iconfont_user))
                .setContent(R.id.left));

        //添加第二tab
        tabHost.addTab(tabHost.newTabSpec("right")
                .setIndicator("右",this.getResources().getDrawable(R.drawable.iconfont_user))
                .setContent(R.id.right));
            //默认显示right页,参数是newTabSpec时给的名字
            tabHost.setCurrentTabByTag("right");
        //默认显示left页,参数是标签添加顺序,tab从0开始
        // tabHost.setCurrentTab(0);
    }
}
代码格式稍微变换了一下,但和第一种方法没差,把握好倆者的区别方能运筹帷幄。


 264
264

 被折叠的 条评论
为什么被折叠?
被折叠的 条评论
为什么被折叠?
 到【灌水乐园】发言


