


一、安装前准备工作,下载
Oracle地址:http://www.oracle.com/technetwork/database/enterprise-edition/downloads/index.html
下载如下版本
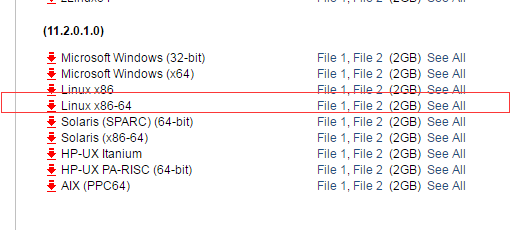
下载完成后:
linux.x64_11gR2_database_1of2.zip
linux.x64_11gR2_database_2of2.zip
二、配置-增加oracle用户和相关用户组
1、切换到root用户
su - root
2、增加用户组
groupadd oinstall
groupadd dba
groupadd oper
groupadd asmadmin
3、增useradd -g oinstall -G dba,oper,asmadmin oracle置oracle用户和密码
passwd oracle
三、系统配置
1、修改/etc/sysctl.conf
fs.aio-max-nr = 1048576
fs.file-max = 6815744
kernel.shmall = 2097152
kernel.shmmax = 4294967295
kernel.shmmni = 4096
kernel.sem = 250 32000 100 128
net.ipv4.ip_local_port_range = 9000 65500
net.core.rmem_default = 262144
net.core.rmem_max = 4194304
net.core.wmem_default = 262144
net.core.wmem_max = 1048576
使其生效:/sbin/sysctl -p
2、修改/etc/security/limits.conf文件
oracle  soft    nproc   2047
oracle  hard    nproc   16384
oracle  soft    nofile  4096
oracle  hard    nofile  65536
oracle  soft    stack   10240
3、修改host
vim /etc/hosts
192.168.101.31  neemotech.com   neemotech
4、修改hostname
vim /etc/hostname
修改hostname
neemotech5、登录oracle用户,配置oracle的环境变量
su - oracle
修改当前oracle的.bash_profile配置文件,配置oracle的环境
TMP=/tmp;export TMP
TMPDIR=$TMP;export TMPDIR
ORACLE_HOSTNAME=neemotech.com;export ORACLE_HOSTNAME
ORACLE_UNQNAME=orcl;export ORACLE_UNQNAME
ORACLE_BASE=/home/oracle/app/oracle;export ORACLE_BASE
ORACLE_HOME=$ORACLE_BASE/product/11.2.0/db_1;export ORACLE_HOME
ORACLE_SID=orcl;export ORACLE_SID
PATH=/usr/sbin:$PATH;export PATH
PATH=$ORACLE_HOME/bin:$PATH;export PATH
LD_LIBRARY_PATH=$ORACLE_HOME/lib:/lib:/usr/lib;export LD_LIBRARY_PATH
CLASSPATH=$ORACLE_HOME/jlib:$ORACLE_HOME/rdbms/jlib;export CLASSPATH
6,、创建安装路径并授权给oracle用户
mkdir -p /home/oracle/app/oracle/product/11.2.0/db_1
chown -R oracle:oinstall /home/oracle
chmod -R 775 /home/oracle
7、Disable secure linux by editing the “/etc/selinux/config” file, making sure the SELINUX flag is set as follows. It requires REBOOT to be effective !!!
vim /etc/selinux/config
SELINUX=permissive
In Centos Linux 7 /tmp data is stored on tmpfs which consumes memory and is too small. To revert it back to storage just run following command and REBOOT machine to be effective.
systemctl mask tmp.mount四、添加依赖包
1、使用官网源添加-添加oracle的yum源
 cd /etc/yum.repos.d
wget http://public-yum.oracle.com/public-yum-ol6.repo
2、使用yum安装
接下来,使用 yum install 命令安装 oracle-rdbms-server-11gR2-preinstall RPM。 期间会显示了安装过程如何检查依赖关系,然后下载和安装所需软件包。
yum install oracle-rdbms-server-11gR2-preinstall五、安装
设置DISPLAY环境变量执行runInstaller安装,再次啰嗦一下DISPLAY=IP地址是你连接Linux系统的IP地址后面加上”:0.0”
[oracle@neemotech ~]$ export DISPLAY=192.168.2.77:0.0
[oracle@neemotech ~]$ cd /soft/database/     #进入安装包的解压目录
[oracle@neemotech database]$ ./runInstaller  #运行
下面都是界面化安装,期间会报一些错误,参考如下几个博客就可以:
http://www.oracle.com/technetwork/cn/articles/servers-storage-admin/ginnydbinstallonlinux6-1845247-zhs.html
http://www.jianshu.com/p/2fda26a7edf1
http://popartx.com/2016/05/10/Oracle11Ginstall/
http://www.oracle.com/technetwork/database/enterprise-edition/downloads/index.html


 1027
1027


 被折叠的 条评论
为什么被折叠?
被折叠的 条评论
为什么被折叠?
 到【灌水乐园】发言


