


无密码的其他配置项在:https://blog.csdn.net/Xeon_CC/article/details/132064295
elasticsearch.yml配置文件:
注意,这里的elastic-cert.p12文件是根据elastic-stack-ca.p12来生成的,所以要先生成elastic-stack-ca.p12。
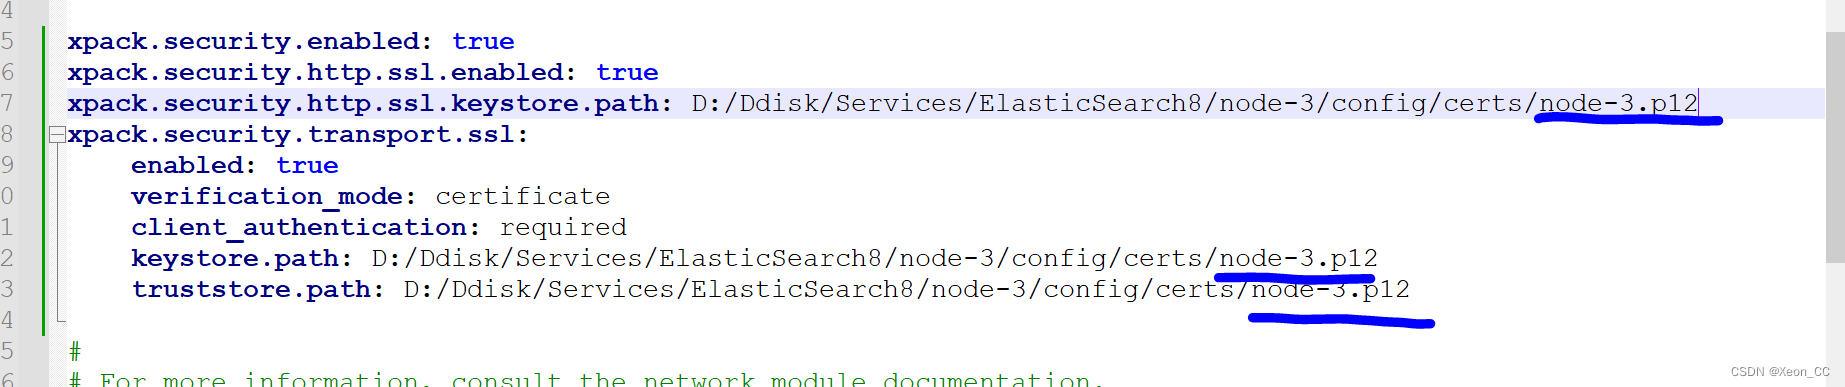
xpack.security.enabled: true
xpack.security.http.ssl.enabled: true
xpack.security.http.ssl.keystore.path: /path/to/elastic-cert.p12
xpack.security.transport.ssl:
    enabled: true
    verification_mode: certificate
    client_authentication: required
    keystore.path: /path/to/elastic-cert.p12
    truststore.path: /path/to/elastic-cert.p12
证书的密码:
abcd1234

所有用户的密码:
bcda1234

生成证书
elasticsearch-certutil ca --out /path/to/elastic-stack-ca.p12 --pass abcd1234

如果你不想生成单独的证书,也就是三个节点共用一个证书,请不要执行这行命令,这行命令将被下文所提到的证书生成方式代替。
elasticsearch-certutil cert --ca /path/to/elastic-stack-ca.p12

输入指定路径
/path/to/elastic-cert.p12

注意:设置密码这一步,三个节点都要执行。
设置密码
elasticsearch-keystore add xpack.security.http.ssl.keystore.secure_password
elasticsearch-keystore add xpack.security.http.ssl.truststore.secure_password
elasticsearch-keystore add xpack.security.transport.ssl.truststore.secure_password
elasticsearch-keystore add xpack.security.transport.ssl.keystore.secure_password

查看密码
elasticsearch-keystore show xpack.security.http.ssl.keystore.secure_password
elasticsearch-keystore show xpack.security.http.ssl.truststore.secure_password
elasticsearch-keystore show xpack.security.transport.ssl.truststore.secure_password
elasticsearch-keystore show xpack.security.transport.ssl.keystore.secure_password

如果你希望集群共享一个整数,那么三个节点,确保elastic-stack-ca.p12证书文件是复制到每个节点的。

设置为false
xpack.security.http.ssl.enabled: false
修改密码
elasticsearch-setup-passwords interactive

最后,配置文件改回去
xpack.security.http.ssl.enabled: true

最后在elasticsearch-head访问:https://192.168.0.111:9200/?auth_user=xxx&auth_password=xxx
查看证书过期时间:
#生成pem文件
openssl pkcs12 -in /path/to/your/elastic-stack-ca.p12 -clcerts -nokeys -out extracted_certificate.pem

#通过pem文件查看证书过期时间:
openssl x509 -in /path/to/your/extracted_certificate.pem -noout -enddate
在上面的“生成证书”这个步骤中的第二行命令,可以换为以下的步骤,安全性会更高,注意,确保存在elastic-stack-ca.p12文件,也就上述“生成证书”步骤中的第一行命令生成的文件。
首先随便选择一个节点:在任何目录下创建instances.yml,并键入如下内容:
instances:
  - name: "node-1"
    dns:
      - "localhost"
    ip:
      - "192.168.1.105"
  - name: "node-2"
    dns:
      - "localhost"
    ip:
      - "192.168.1.105"
  - name: "node-3"
    dns:
      - "localhost"
    ip:
      - "192.168.1.105"
如果要配置公网域名:
instances:
  - name: "node-1"
    dns: ["abc.cde.com", "localhost"]
    ip: ["192.168.1.123"]
  - name: "node-2"
    dns: ["abc.cde.com", "localhost"]
    ip: ["192.168.1.123"]
  - name: "node-3"
    dns: ["abc.cde.com", "localhost"]
    ip: ["192.168.1.123"]
比如我放在config目录下
elasticsearch-certutil cert --in config/instances.yml --out config/certs/certificates.zip --ca config/certs/elastic-stack-ca.p12 --pass abcd1234
然后,解压certificates.zip文件,会得到node-1、node-2、node-3文件夹
把node-1.p12、node-2.p12、node-3.p12复制到每个对应es节点中的config/certs目录下,certs目录如果没有则自己新建。
最后更改elasticsearch.yml配置文件
把这些证书文件替换为各自的证书文件。
这种配置方式的安全性要更高,推荐使用这种每个节点的证书都不同的方式。
如何用python通过SSL证书连接ES集群?
在每一个节点执行一下命令:
使用openssl配置客户端证书
openssl pkcs12 -in node-1.p12 -out node-1.crt -nokeys -nodes
openssl pkcs12 -in node-2.p12 -out node-2.crt -nokeys -nodes
openssl pkcs12 -in node-3.p12 -out node-3.crt -nokeys -nodes
然后,合并证书;
type node-1.crt node-2.crt node-3.crt > combined_ca.crt
最后在python中使用combined_ca.crt文件,把服务器生成的这个文件拷贝到python项目的目录中。
es = Elasticsearch(
    ['https://192.168.1.105:9201', 'https://192.168.1.105:9202', 'https://192.168.1.105:9203'],  # 你可以指定一个或多个节点
    http_auth=('elastic', 'your_password'),
    scheme='https',
    use_ssl=True,
    ca_certs='combined_ca.crt', # 指定证书的路径。
    verify_certs=True  # 设置为True意味着客户端将验证服务器的证书
)

index_name='abccc_2023-08-09'
if not es.indices.exists(index=index_name):
    body = {
        "settings": {
            "number_of_shards": 3,
        },
        "mappings": {
            "properties": {
                "location": {
                    "type": "geo_shape"
                },
                "geo_loctn": {
                    "type": "geo_point"
                }
            }
        }
    }

    es.indices.create(index=index_name, body=body)
    print('create es index ...')
如果能创建索引,说明验证成功。


 9253
9253


 被折叠的 条评论
为什么被折叠?
被折叠的 条评论
为什么被折叠?
 到【灌水乐园】发言


