


github上项目地址:https://github.com/604982372/InputConflict.git
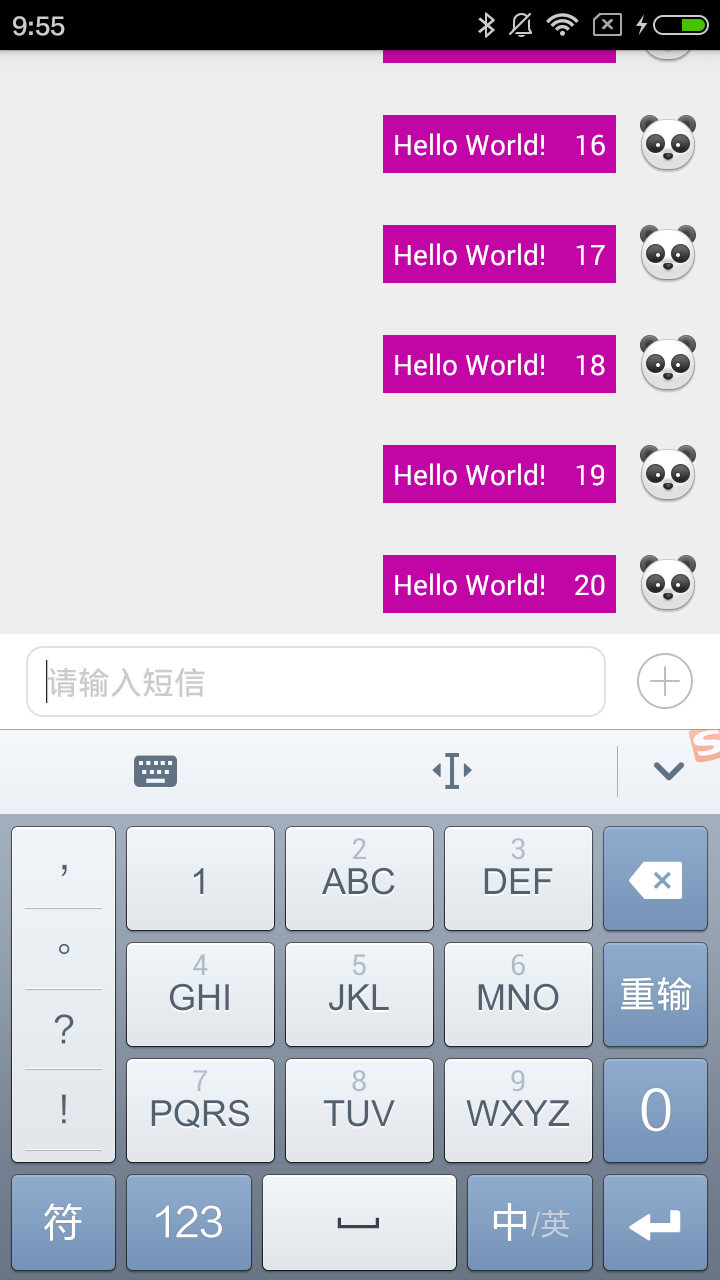
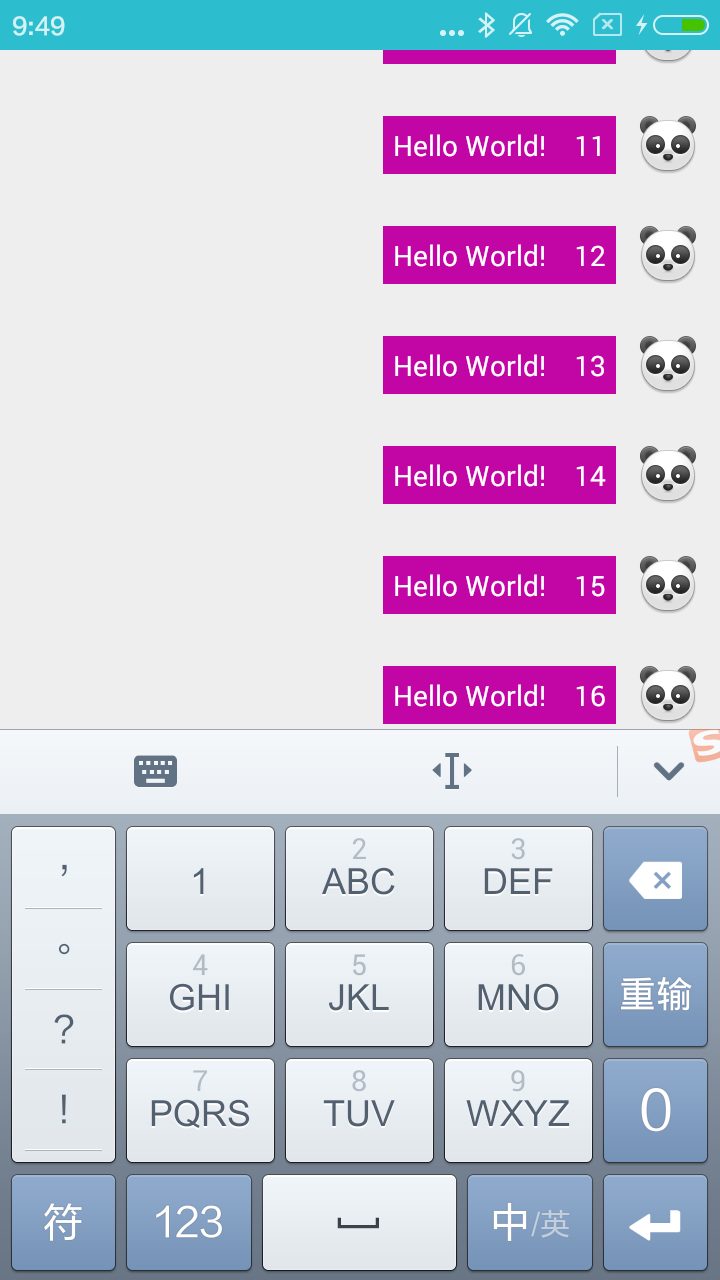
即时通讯的聊天界面表情跟输入法切换的功能困扰了我很久,在网上找各路大神的demo,无奈发现改了个主题或者设置下标题栏颜色,冲突还是出来了。最终决定自己研究一个能够适配各种主题、无论设置标题栏颜色与否都能处理冲突的demo。先来看看效果图(左边的不设置标题栏颜色,右边的图设置标题栏颜色)。


1.去除是否设置状态栏干扰因素:android:fitsSystemWindows="true"。
fitsSystemWindows 是在 android 4.4 中引入的。 System windows 顾名思义就是系统窗口,系统在这里显示系统一些属性和操作区域,比如 最上方的状态栏,以及没有实体按键的最下方的虚拟导航栏。
大部分的时候,你的应用都不会在状态栏和导航栏下面显示内容,如果你需要在他们下面显示内容,则需要确保你应用的可交互控件(比如按钮)不要显示在系统窗口下面了。 android:fitsSystemWindows=“true” 默认行为就是通过在 View 上设置和系统窗口一样高度的边框(padding )来确保你的内容不会出现到系统窗口下面。使用 fitsSystemWindows 有如下几点需要注意:
·fitsSystemWindows 按照深度优先的方式其作用,所以使用该属性的 View 的顺序是有要求的,如果第一个 View 使用了 inset (系统窗口的尺寸)则会导致其他 View 尺寸不一样。
·Inset 总是相对于全屏幕的,Inset 可能在 View layout 之前就已经应用了,所以在设置 View 的 padding 之前 View 并不知道其具体相对于系统窗口的位置。
·View 的其他 padding 值被重新改写了,在使用 fitsSystemWindows 为 true 的View 上设置 padding 值(paddingLeft/paddingTop/ 等)是没有效果的。
实际效果:
当status bar为透明或半透明时(4.4以上),系统会设置view的paddingTop值为一个适合的值(status bar的高度)让view的内容不被上拉到状态栏,当在不占据status bar的情况下(4.4以下)会设置paddingTop值为0(因为没有占据status bar所以不用留出空间)。
提示:如果android:fitsSystemWindows不设置或者设置为false,在4.4手机运行在设置状态栏的情况下将会出现下图有图中的情况
2.将覆盖在主题中设置的值,设置除"stateUnspecified"和"adjustUnspecified"以外的值。
各值的含义:
(1)stateUnspecified:软键盘的状态并没有指定,系统将选择一个合适的状态或依赖于主题的设置
(2)stateUnchanged:当这个activity出现时,软键盘将一直保持在上一个activity里的状态,无论是隐藏还是显示
(3)stateHidden:用户选择activity时,软键盘总是被隐藏
(4)stateAlwaysHidden:当该Activity主窗口获取焦点时,软键盘也总是被隐藏的
(5)stateVisible:软键盘通常是可见的
(6)stateAlwaysVisible:用户选择activity时,软键盘总是显示的状态
(7)adjustUnspecified:默认设置,通常由系统自行决定是隐藏还是显示
(8)adjustResize:该Activity总是调整屏幕的大小以便留出软键盘的空间
(9)adjustPan:当前窗口的内容将自动移动以便当前焦点从不被键盘覆盖和用户能总是看到输入内容的部分
3.通过监听键盘打开或关闭来切换表情栏和输入法
private class KeyboardOnGlobalChangeListener implements ViewTreeObserver.OnGlobalLayoutListener {
        int mScreenHeight = 0;
        Rect mRect = new Rect();

        private int getScreenHeight() {
            if (mScreenHeight > 0) {
                return mScreenHeight;
            }
            mScreenHeight = ((WindowManager) getContext().getSystemService(Context.WINDOW_SERVICE))
                    .getDefaultDisplay().getHeight();
            return mScreenHeight;
        }

        @Override
        public void onGlobalLayout() {
            // 获取当前页面窗口的显示范围
            getWindowVisibleDisplayFrame(mRect);
            int screenHeight = getScreenHeight();
            int keyboardHeight = screenHeight - mRect.bottom; // 输入法的高度
            boolean isActive = false;
            if (Math.abs(keyboardHeight) > screenHeight / 5) {
                isActive = true; // 超过屏幕五分之一则表示弹出了输入法
            }
            mIsKeyboardActive = isActive;
            onKeyboardStateChanged(mIsKeyboardActive, keyboardHeight);
        }
    }
private void onKeyboardStateChanged(boolean isActive, int keyboardHeight) {
if (isActive) {
mSwitchBtn.setFocusable(false);
mSwitchBtn.setFocusableInTouchMode(false);
mEditText.requestFocus();
if (mSwitchBtn.isSelected()) { // 表情打开状态下
mPanelView.setVisibility(View.GONE);
mSwitchBtn.setSelected(false);
}
SPUtils.saveInt(mContext, COLUMN_NAME, keyboardHeight);
ViewGroup.LayoutParams params = mPanelView.getLayoutParams();
if (!(params.height == keyboardHeight)) {
params.height = keyboardHeight;
mPanelView.setLayoutParams(params);
}
} else {
if (mSwitchBtn.isSelected()) {
return;
}
}
}4.通过设置输入模式和延时隐藏控件来避免闪烁的情况
 if (mSwitchBtn.isSelected()) {
                                mSwitchBtn.setBackgroundResource(R.drawable.icon_key);
                                // 设置为不会调整大小,以便输入弹起时布局不会改变。若不设置此属性,输入法弹起时布局会闪一下
                                ((Activity) mContext).getWindow().setSoftInputMode(WindowManager.LayoutParams.SOFT_INPUT_ADJUST_NOTHING);
                                mPanelView.setVisibility(View.VISIBLE);
                            } else {
                                mSwitchBtn.setBackgroundResource(R.drawable.icon_more);
                                imm.toggleSoftInput(InputMethodManager.SHOW_IMPLICIT, InputMethodManager.HIDE_IMPLICIT_ONLY);
                                mSwitchBtn.postDelayed(new Runnable() {
                                    @Override
                                    public void run() { // 输入法弹出之后,重新调整
                                        mPanelView.setVisibility(View.GONE);
                                        ((Activity) mContext).getWindow().setSoftInputMode(WindowManager.LayoutParams.SOFT_INPUT_ADJUST_RESIZE
                                                | WindowManager.LayoutParams.SOFT_INPUT_STATE_VISIBLE);
                                    }
                                }, 250); // 延迟一段时间,等待输入法完全弹出*/
                            }
5.使用方式,在布局文件中使用即可:
<?xml version="1.0" encoding="utf-8"?>
<LinearLayout
    android:id="@+id/activity_chat_ll"
    xmlns:android="http://schemas.android.com/apk/res/android"
    xmlns:app="http://schemas.android.com/apk/res-auto"
    android:layout_width="match_parent"
    android:layout_height="match_parent"
    android:clipToPadding="true"
    android:fitsSystemWindows="true"
    android:orientation="vertical">

    <View
        android:layout_width="match_parent"
        android:layout_height="60dp"
        android:background="@color/colorAccent"
        android:visibility="gone"
    />

    <cn.xiwu.inputconflict.MyView.InputConflictView
        android:id="@+id/keyboard_layout"
        android:layout_width="wrap_content"
        android:layout_height="match_parent"
        android:orientation="vertical"
        app:editText="@+id/chat_input_et"
        app:listView="@+id/lv_chatting"
        app:panelView="@+id/panel_view"
        app:switchBtn="@+id/add_menu_btn">
        <ListView
            android:id="@+id/lv_chatting"
            android:layout_width="match_parent"
            android:layout_height="0dp"
            android:layout_weight="1"
            android:background="#eeeeee"
            android:cacheColorHint="#00000000"
            android:divider="@null"
            android:dividerHeight="10px"
            android:listSelector="#00000000"
            android:scrollbarStyle="outsideOverlay"
            android:transcriptMode="normal"/>

        <LinearLayout
            android:id="@+id/input_all_ll"
            android:layout_width="match_parent"
            android:layout_height="wrap_content"
            android:background="@android:color/white"
            android:minHeight="42dp"
            android:orientation="horizontal"
            android:paddingBottom="6dp"
            android:paddingLeft="10dp"
            android:paddingRight="10dp"
            android:paddingTop="6dp"
        >
            <EditText
                android:id="@+id/chat_input_et"
                android:layout_width="0dp"
                android:layout_height="wrap_content"
                android:layout_gravity="bottom"
                android:layout_marginLeft="3dp"
                android:layout_marginRight="6dp"
                android:layout_weight="1"
                android:background="@drawable/bg_chat_input"
                android:clickable="true"
                android:hint="请输入短信"
                android:maxLines="3"
                android:minHeight="34dp"
                android:paddingBottom="7dp"
                android:paddingLeft="10dp"
                android:paddingRight="10dp"
                android:paddingTop="7dp"
                android:textColorHint="#cecaca"
                android:textSize="16sp"/>
            <FrameLayout
                android:layout_width="wrap_content"
                android:layout_height="match_parent">
                <TextView
                    android:id="@+id/send_msg_tv"
                    android:layout_width="56dp"
                    android:layout_height="34dp"
                    android:layout_centerInParent="true"
                    android:layout_gravity="bottom"
                    android:background="@drawable/bg_chat_shape"
                    android:clickable="true"
                    android:gravity="center"
                    android:text="发送"
                    android:textColor="#fff"
                    android:visibility="gone"/>
                <ImageButton
                    android:id="@+id/add_menu_btn"
                    android:layout_width="wrap_content"
                    android:layout_height="wrap_content"
                    android:layout_gravity="center"
                    android:layout_marginLeft="8dp"
                    android:layout_marginRight="5dp"
                    android:adjustViewBounds="true"
                    android:background="@drawable/icon_more"
                    android:gravity="center"/>
            </FrameLayout>
        </LinearLayout>
        <include
            android:id="@+id/panel_view"
            layout="@layout/panel_view"
            android:layout_width="match_parent"
            android:layout_height="200dp"
            android:visibility="gone"/>
    </cn.xiwu.inputconflict.MyView.InputConflictView>
</LinearLayout>


 7662
7662

 被折叠的 条评论
为什么被折叠?
被折叠的 条评论
为什么被折叠?
 到【灌水乐园】发言


