


方法 / 步骤
1.下载Prometheus并安装
下载地址:https://prometheus.io/download/
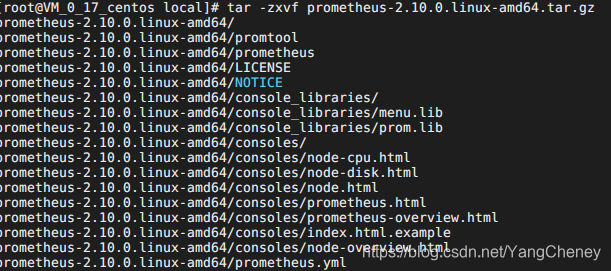
下载并解压:
prometheus-2.10.0.linux-amd64.tar.gz

# tar -zxvf prometheus-2.10.0.linux-amd64.tar.gz
可以本地下载安后,上传到linux服务(如果下载比较慢,博主另一篇文章有相应的解决方案)
在linux服务下创建一个文件夹 ,命名为:prometheus,输入命令按回车键即可
mkdir prometheus-2.10.0
上传本地下载好的prometheus压缩包到新建的文件夹里面,并解压
进入目录:
cd /usr/local/prometheus-2.10.0

修改配置文件:
# my global config
global:
scrape_interval: 15s # Set the scrape interval to every 15 seconds. Default is every 1 minute.
evaluation_interval: 15s # Evaluate rules every 15 seconds. The default is every 1 minute.
# scrape_timeout is set to the global default (10s).
#external_labels:
#monitor: 'my-monitor'
# Alertmanager configuration
alerting:
alertmanagers:
- static_configs:
- targets:
# - alertmanager:9093
# Load rules once and periodically evaluate them according to the global 'evaluation_interval'.
#rule_files:
# - "first_rules.yml"
# - "second_rules.yml"
# A scrape configuration containing exactly one endpoint to scrape:
# Here it's Prometheus itself.
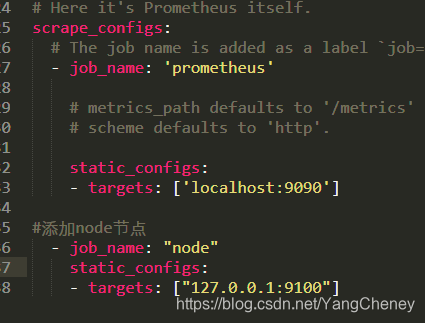
scrape_configs:
# The job name is added as a label `job=<job_name>` to any timeseries scraped from this config.
- job_name: 'prometheus'
# metrics_path defaults to '/metrics'
# scheme defaults to 'http'.
static_configs:
- targets: ['localhost:9090']
启动prometheus服务:
./prometheus --config.file=prometheus.yml &
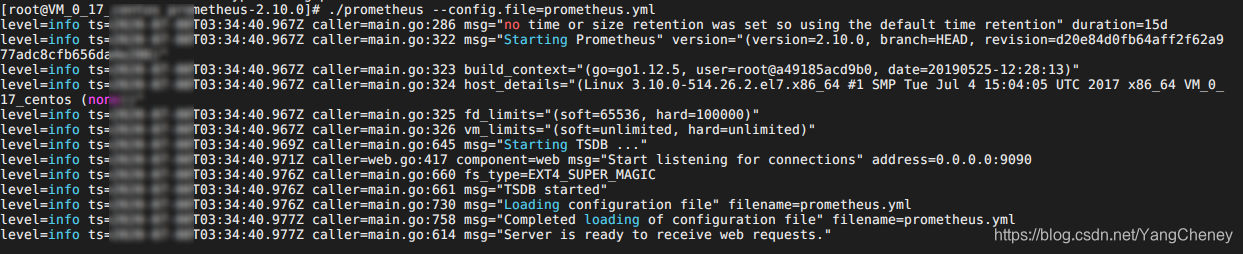
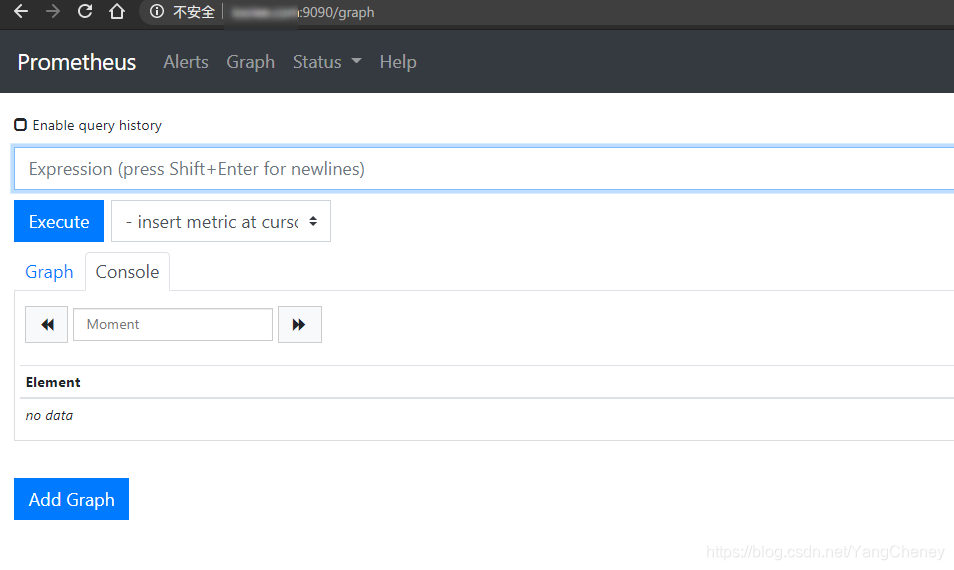
IP+端口就可以访问了(IP指的是linux服务的ip)
2.部署node_exporter
Node_exporter收集机器的系统数据,这里采用prometheus官方提供的exporter,除node_exporter外,官方还提供consul,memcached,haproxy,mysqld等exporter,具体可查看官网。
这里部署node节点服务并且接入到prometheus服务中。
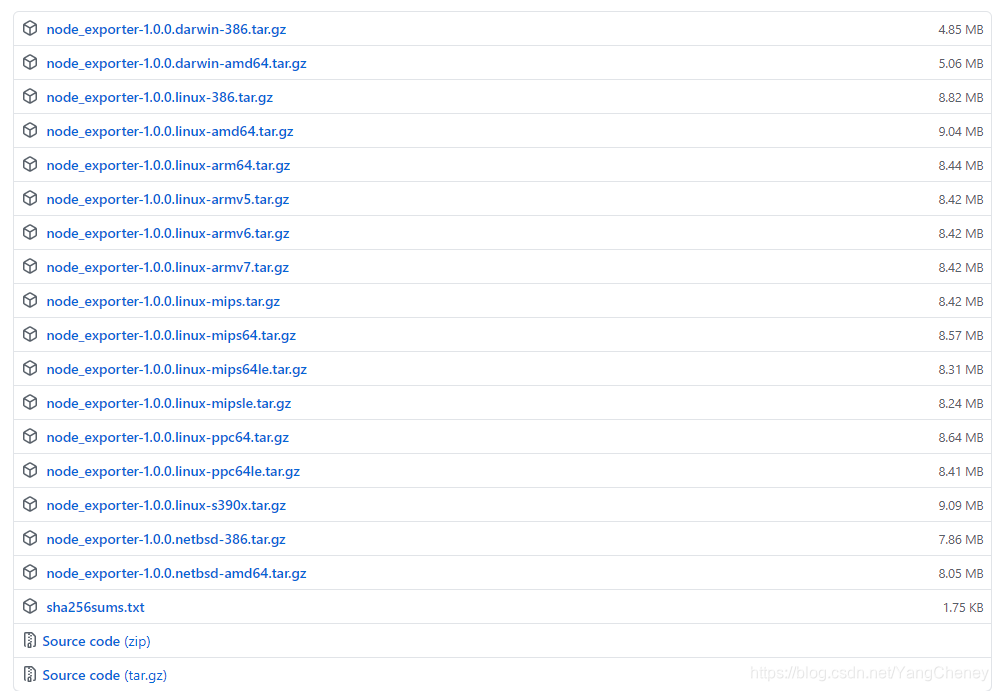
- 下载离线安装包:
https://github.com/prometheus/node_exporter/releases/tag/v1.0.0
- 解压到服务器的prometheus 并且启动

./node_exporter
或者后台启动:
./node_exporter &

启动成功
将node_exporter 的服务接入到prometheus
在prometheus中的 prometheus.yml添加如下配置:
#添加node节点
  - job_name: "node"
    static_configs:
    - targets: ["127.0.0.1:9100"]
重启prometheus;
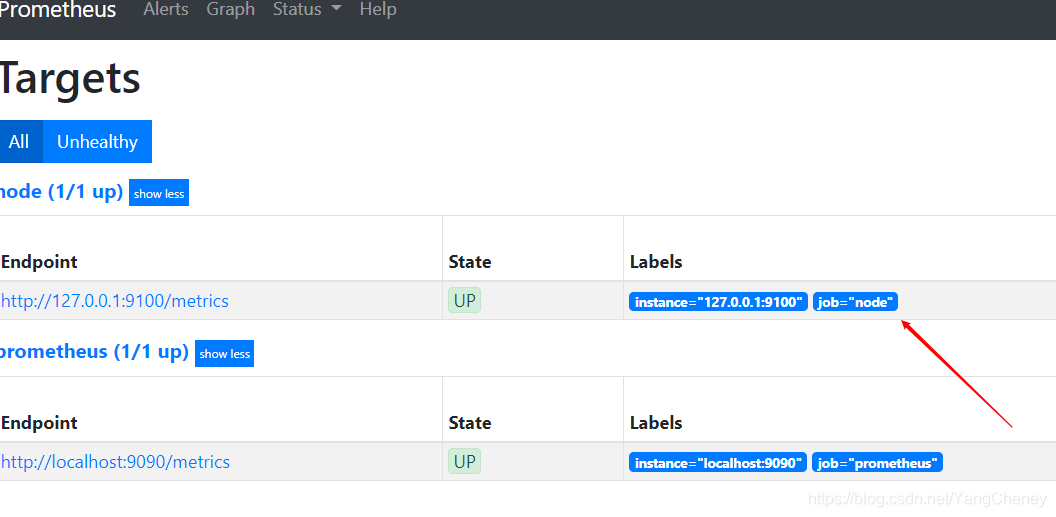
指标数据已经接入!
为 Prometheus 添加 HTTP Basic Auth
Prometheus 的 Node Exporter 并没有提供任何认证支持。不过,借助 Nginx 作为反向代理服务器,我们可以很容易地为 Node Exporter 添加 HTTP Basic Auth 功能。
首先,启动 Node Exporter,监听 9090 端口。
然后,在 /etc/nginx (可能你的 Nginx 配置目录在其他路径,请做相应修改)目录下,使用 apache2-utils 提供的 htpasswd 工具创建一个用户文件,需要填入用户名和密码:
$ htpasswd -c .htpasswd yuankun
New password:
Re-type new password:
Adding password for user yuankun
接下来,在 Nginx 配置文件中添加下面的配置,这里我们使用 19090 作为代理端口:
http {
  server {
    listen 0.0.0.0:19090;
    location / {
      proxy_pass http://localhost:9090/;

      auth_basic "Prometheus";
      auth_basic_user_file ".htpasswd";
    }
  }
保存配置文件,然后重新载入 Nginx 服务。此时在浏览器中访问 server:19090,浏览器会要求你输入用户名和密码。
最后一步是修改 prometheus.yml 文件,将我们的 Node Exporter 服务添加进去:
 job_name: 'node-exporter'
    static_configs:
      - targets: ['your-ip:9090']
    basic_auth:
      username: yuankun
      password: your-password
参考资料 & 致谢
【1】linux服务安装启动prometheus
【2】为 Prometheus 添加 HTTP Basic Auth
【3】prometheus学习系列四: Prometheus详述
【4】Prometheus监控安装及使用(一)


 4564
4564

 被折叠的 条评论
为什么被折叠?
被折叠的 条评论
为什么被折叠?
 到【灌水乐园】发言


