最近常用pycharm连接远程服务器调试,有时候会碰到数据量过大、传输慢的问题。就打算直接结合linux服务器上的vim编辑器和python命令行,在mobaxterm里调试。本篇文章总结的是我目前vim编辑器的设置方案和常用指令
文章目录
插件
| 用途 | 名称 |
|---|---|
| 管理其它插件 | vunble |
| 自动补全括号 | auto-pairs |
| 状态栏 | vim-powerline |
| 缩进线 | indentLine |
| 目录 | nerdtree |
| 代码检查 | vim-flake8, syntastic |
vundle
mkdir -p ~/.vim/bundle
git clone https://github.com/gmarik/Vundle.vim.git ~/.vim/bundle/Vundle.vim
然后vim ~/.vimrc,如果没有这个文件也正常,系统会自动创建一个。添加如下内容 (这个文件的注释是用)
syntax on  "允许用定制语法高亮配色方案替换默认方案
set tabstop=4  "制表符占空格数
set softtabstop=4   "将连续数量的空格视为一个制表符
set shiftwidth=4   "自动缩进所使用的空白数

set nocompatible  "设置不兼容模式,否则vim功能不全

set rtp+=~/.vim/bundle/Vundle.vim   "Vundle.vim路径
call vundle#begin()  "所有的插件都应该放在这句话之下

Plugin 'gmarik/Vundle.vim'

call vundle#end()  "所有的插件都应该放在这句话之上

filetype off  "文件类型侦测
filetype plugin indent on  "适应不同语言的智能缩进
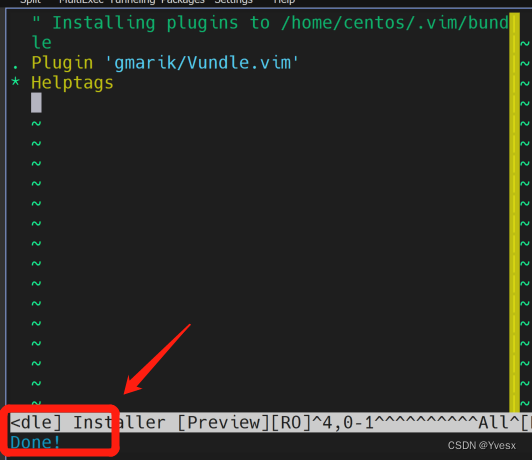
保存退出。输入vim运行vim,输入:PluginInstall等待其安装完成
auto-pairs
采用git + vim的方法安装。
git clone git://github.com/jiangmiao/auto-pairs.git ~/.vim/bundle/auto-pairs
~/.vimrc中加入插件的名字
Plugin 'jiangmiao/auto-pairs'
网上也有方法在~/.vimrc中添加几行:
inoremap ( ()<Esc>i
inoremap [ []<Esc>i
inoremap < <><Esc>i
inoremap { {}<Esc>i
inoremap ' ''<Esc>i
inoremap " ""<Esc>i
inoremap { {<CR>}<Esc>O
这种方式的缺点是如果复制粘贴的内容也带引号、括号,就会粘贴出来一堆多余的括号引号,还得删就比较麻烦
vim-powerline, indentLine, nerdtree, vim-flake8, syntastic
都是采用Vundle安装的。在~/.vimrc中加入插件的名字,然后:PluginInstall安装的
Plugin 'Lokaltog/vim-powerline'  "状态栏"
Plugin 'Yggdroot/indentLine'  "缩进线"
Plugin 'scrooloose/nerdtree'  "目录"
Plugin 'nvie/vim-flake8'  "语法检查"
Plugin 'vim-syntastic/syntastic'  "语法检查"
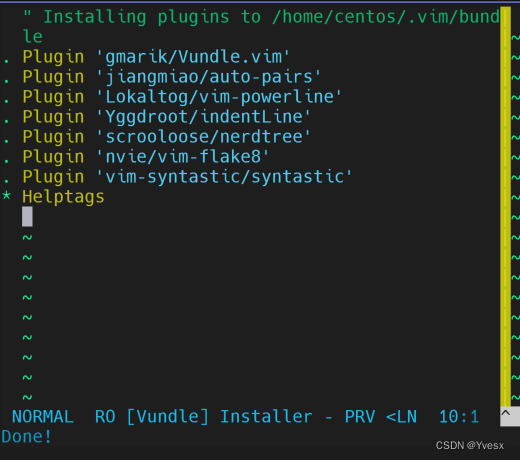
vim-powerline设置
let g:Powerline_colorscheme='solarized256'
let g:minBufExplForceSyntaxEnable = 1
set laststatus=2
变成这样,底部出现了状态栏:

indentLine
indentline的效果是缩进线,但是问题是如果复制,会把缩进线也复制过来。所以设置为不默认显示,需要的时候输入:IndentLinesToggle即可
let g:indentLine_enabled=0
出现缩进线的效果图:

nerdtree
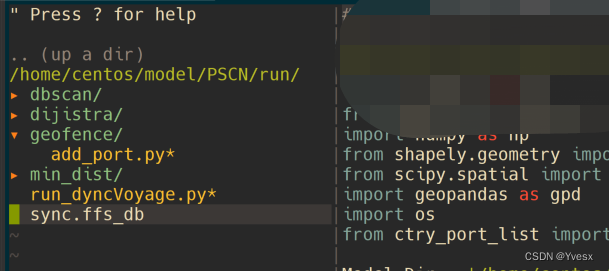
使用方法是命令模式输入:NERDTree,会出现目录树,进行常用的增添修改的操作:
ctrl + ww  # 切换窗口
s  # 以竖屏方式打开文件,buffer,可保存编辑
通过上下移动光标,使用enter键进行选择,可以查看、编辑系统中的其它文件。如果想要进行创建、删除等操作,先在目录树下输入m进入manu
!  # 执行文件
a  # 添加文件
m  # 文件改名
d  # 删除文件
c  # 复制文件
p  # 显示路径
l  # 列出文件列表
s  # 执行操作系统的其它命令
vim-flake8
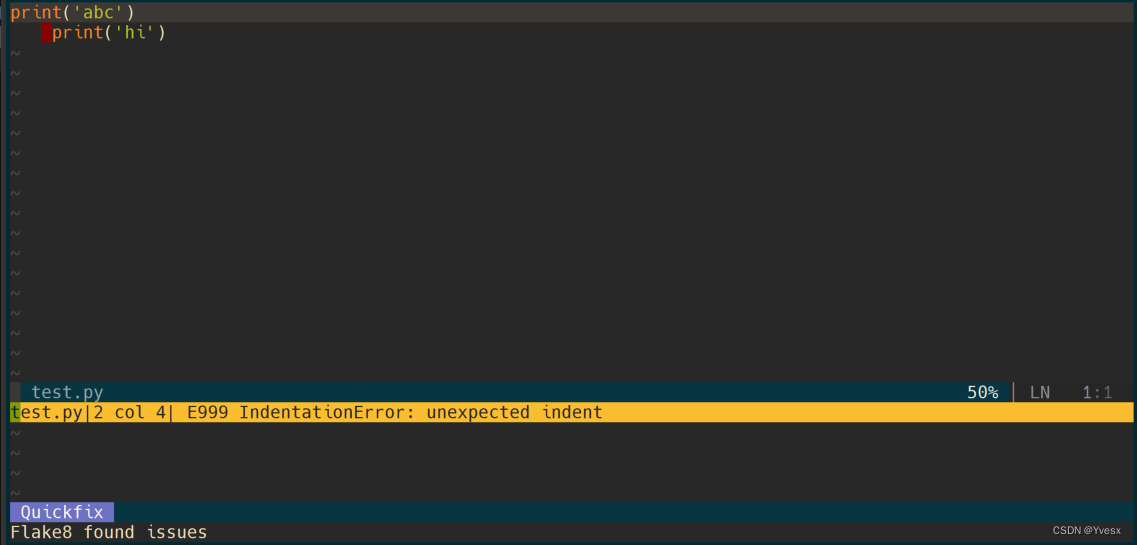
静态检查python语法中的错误。
先用PluginInstall安装了,但是还需要一些额外的操作才能用
conda activate py37
conda install flake8

mkdir -p ~/.vim/pack/flake8/start/
cd ~/.vim/pack/flake8/start/
git clone https://github.com/nvie/vim-flake8.git
配置
autocmd BufWritePost *.py call flake8#Flake8()
let g:flake8_show_in_file=1
let g:flake8_error_marker='EE'
使用的时候按F7,就可以自动检查错误,enter键可以跳转到有错的行
syntastic
先用flake8了,这个还没探索。貌似也是检查语法错误的
配色方案
系统自带方案
配色方案保存在/usr/share/vim/vim74/colors/下。如果想实验一下,建议vim一个文档,命令行输入:colorscheme blue,blue是一种配色方案的名字,可以看看这个配色方案的效果。
如果想永久设置为vim的默认方案,~/.vimrc中添加:colorscheme blue
所有方案:

solarized
solarized 是一种流行于多个软件和平台上的配色。这里只安装它的vim版本。不同软件、平台的安装方式不一样。
在官网上下载zip到服务器上解压
wget http://ethanschoonover.com/solarized/files/solarized.zip
unzip solarized.zip
mkdir ~/.vim/colors
cp ~/model/solarized/vim-colors-solarized/colors/solarized.vim ~/.vim/colors/
~/.vimrc中添加:
set background=dark
colorscheme solarized
个人感觉solarized的python语法高亮怪怪的。
darcula
pycharm中使用的配色方案,本来想保存自己的习惯。但是用官网上的安装方法都失败了。
gruvbox+使用True Color support
看了知乎上的配色推荐,看中了gruvbox,github官网
安装仍然是用Vundle。Plugin 'morhetz/gruvbox', :PluginInstall
但是并没有出现官网上应该有的效果:

这是因为没有使用True Color support。我先去升级了一下vim(7升级到9)(见我的博客)。升级后~/.vimrc文件不会更改。然后在~/.vimrc添加:
"Use 24-bit (true-color) mode in Vim/Neovim when outside tmux.
"If you're using tmux version 2.2 or later, you can remove the outermost $TMUX check and use tmux's 24-bit color support
"(see < http://sunaku.github.io/tmux-24bit-color.html#usage > for more information.)
if (empty($TMUX))
  if (has("nvim"))
    "For Neovim 0.1.3 and 0.1.4 < https://github.com/neovim/neovim/pull/2198 >
    let $NVIM_TUI_ENABLE_TRUE_COLOR=1
  endif
  "For Neovim > 0.1.5 and Vim > patch 7.4.1799 < https://github.com/vim/vim/commit/61be73bb0f965a895bfb064ea3e55476ac175162 >
  "Based on Vim patch 7.4.1770 (`guicolors` option) < https://github.com/vim/vim/commit/8a633e3427b47286869aa4b96f2bfc1fe65b25cd >
  " < https://github.com/neovim/neovim/wiki/Following-HEAD#20160511 >
  if (has("termguicolors"))
    set termguicolors
  endif
endif
然后根据手册,~/.vimrc里又添加了两个配置
let g:gruvbox_italic=1  # 允许斜体
let g:gruvbox_italicize_comments=1  # 注释斜体
效果:
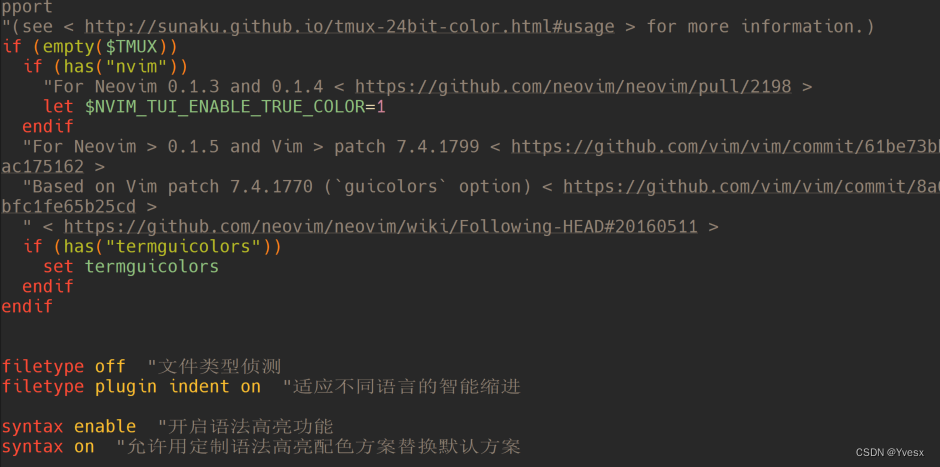
还是比较满意的。
最后是一张平时调试代码的效果图
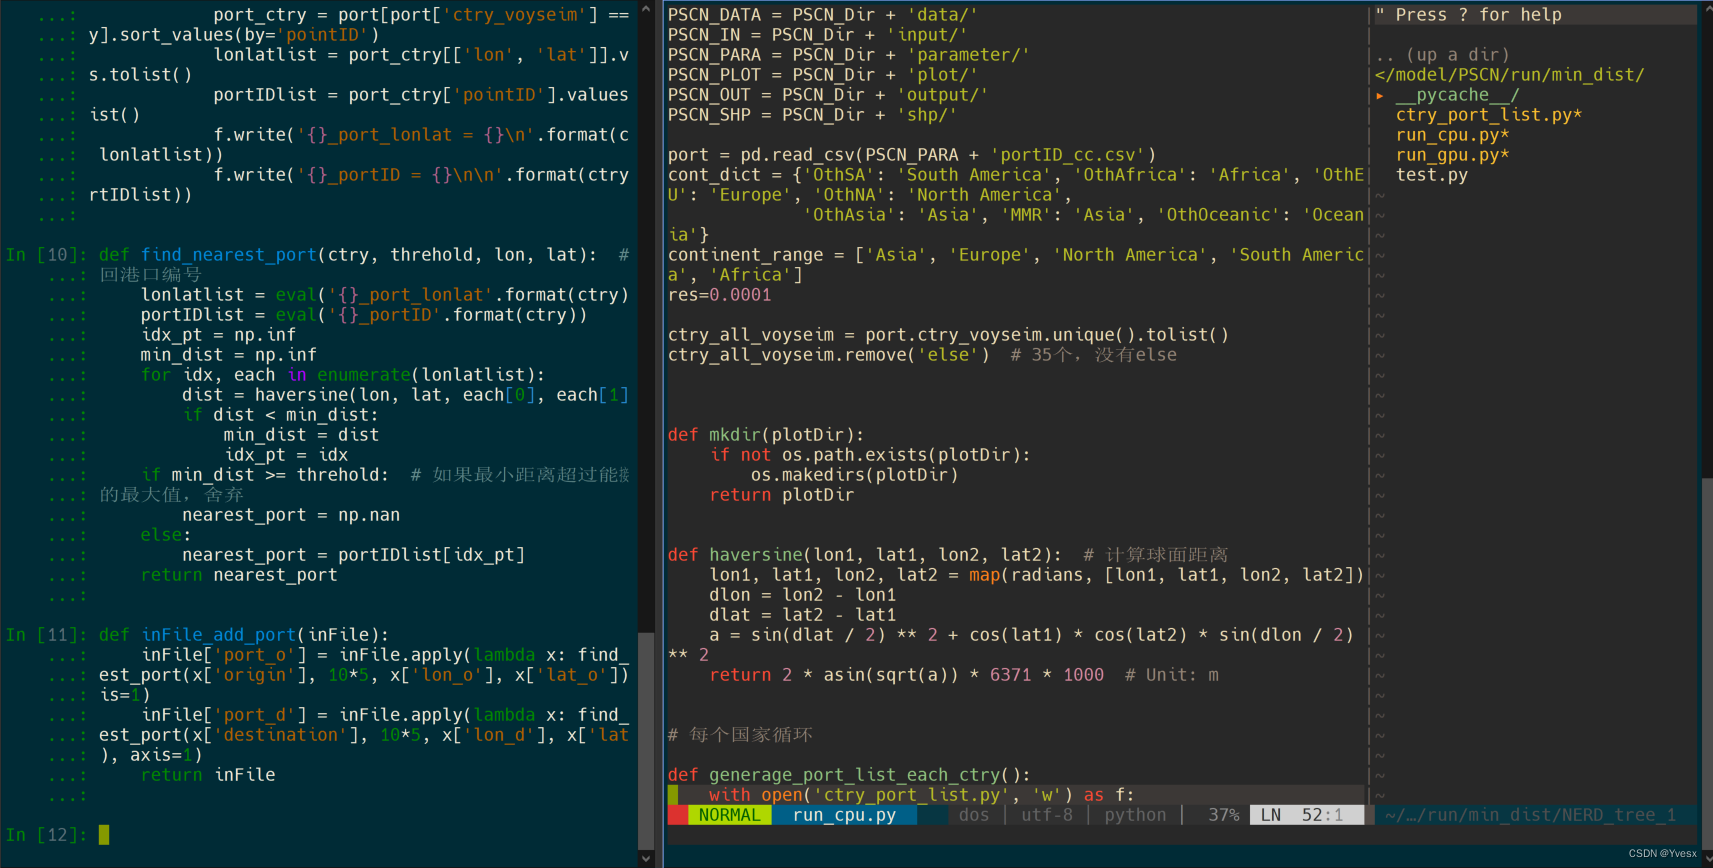


 341
341


 被折叠的 条评论
为什么被折叠?


