


在前面给大家讲了Quartz 2D在iOS开发中的价值以及它的强大就是自定义UI控件那么在项目开发中我们还会用到很多Quartz 2D的技术这个确实值得我们深入研究!
1>图片水印
2>裁剪图片
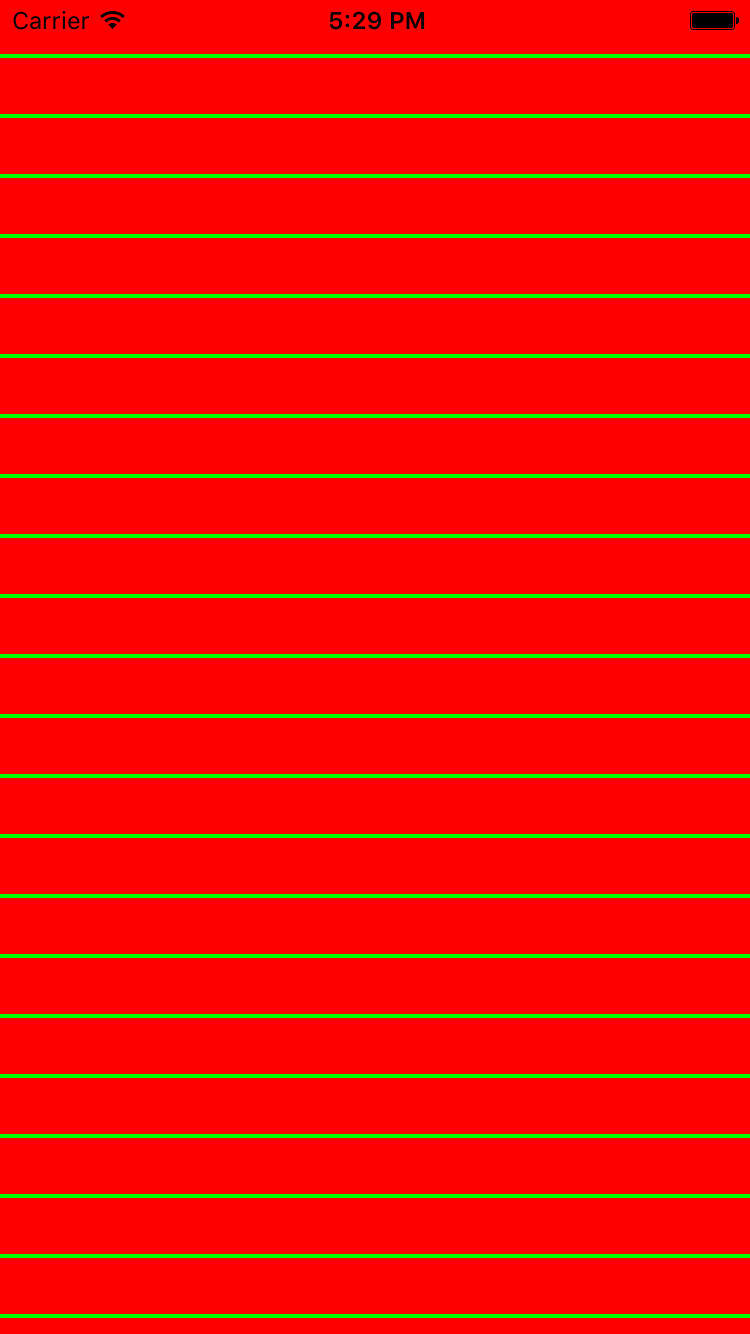
3>条纹背景

//
// ViewController.h
// Quartz 2D高级用法
//
// Created by 周昭 on 16/4/8.
// Copyright © 2016年 Jordan Zhou. All rights reserved.
//
#import <UIKit/UIKit.h>
@interface ViewController : UIViewController
@end
//
// ViewController.m
// Quartz 2D高级用法
//
// Created by 周昭 on 16/4/8.
// Copyright © 2016年 Jordan Zhou. All rights reserved.
//
#import "ViewController.h"
@interface ViewController ()
@property (nonatomic, weak) UIImageView *iconView;
@end
@implementation ViewController
- (void)viewDidLoad {
[super viewDidLoad];
// 1.添加一个头像imageView
// [self setUpIconImgView];
// 2.水印照片
// [self testWater];
// 3.裁剪图片
// [self clipCirle];
// 4.屏幕截图
// [self captureWithView];
// 5.条纹背景
// [self setUpTextView];
}
/**
* 添加一个头像imageView
*/
- (void)setUpIconImgView
{
UIImageView *iconView = [[UIImageView alloc] init];
CGFloat iconViewX = self.view.frame.size.width * 0.5;
CGFloat iconViewY = self.view.frame.size.height * 0.5;
CGFloat iconViewW = 100;
CGFloat iconViewH = 100;
iconView.center = CGPointMake(iconViewX, iconViewY);
iconView.bounds = CGRectMake(0, 0, iconViewW, iconViewH);
[self.view addSubview:iconView];
self.iconView = iconView;
}
/**
* 添加水印的照片
*/
- (void)testWater
{
UIImage *bgImage = [UIImage imageNamed:@"jordan"];
// 上下文 : 基于位图(bitmap),所有的东西需要绘制到一张新的图片上去
// 1.创建一个基于位图的上下文(开启一个基于位图的上下文)
// size:新图片的尺寸
// opaque:YES:不透明, NO:透明
// 这行代码过后.就相当于常见一张新的bitmap,也就是新的UIImage对象
UIGraphicsBeginImageContextWithOptions(bgImage.size, NO, 0.0);
// 2.画背景
[bgImage drawInRect:CGRectMake(0, 0, bgImage.size.width, bgImage.size.height)];
// 3.画右下角的水印
UIImage *waterImage = [UIImage imageNamed:@"logo"];
CGFloat scale = 0.2;
CGFloat margin = 5;
CGFloat waterImageW = waterImage.size.width * scale;
CGFloat waterImageH = waterImage.size.height * scale;
CGFloat waterImageX = bgImage.size.width - waterImageW - margin;
CGFloat waterImageY = bgImage.size.height - waterImageH - margin;
[waterImage drawInRect:CGRectMake(waterImageX, waterImageY, waterImageW, waterImageH)];
// 4.从上下文中取得制作完成的UIImage对象
UIImage *newImage = UIGraphicsGetImageFromCurrentImageContext();
#pragma mark ---- 写到这里同学们难道不觉得像这样的我们传一张图片它返回一张新的图片我们不应该写一个属于自己的分类吗?同学们去的分类里面可以查找!
// 5.结束上下文
UIGraphicsEndImageContext();
// 6.显示到UIImageView
self.iconView.image = newImage;
// 7.将image对象压缩成PNG格式的二进制数据
NSData *data = UIImagePNGRepresentation(newImage);
// UIImageJPEGRepresentation(<#UIImage * _Nonnull image#>, <#CGFloat compressionQuality#>)
// 8.写入文件
NSString *path = [[NSSearchPathForDirectoriesInDomains(NSDocumentDirectory, NSUserDomainMask, YES) lastObject] stringByAppendingPathComponent:@"new.png"];
[data writeToFile:path atomically:YES];
}
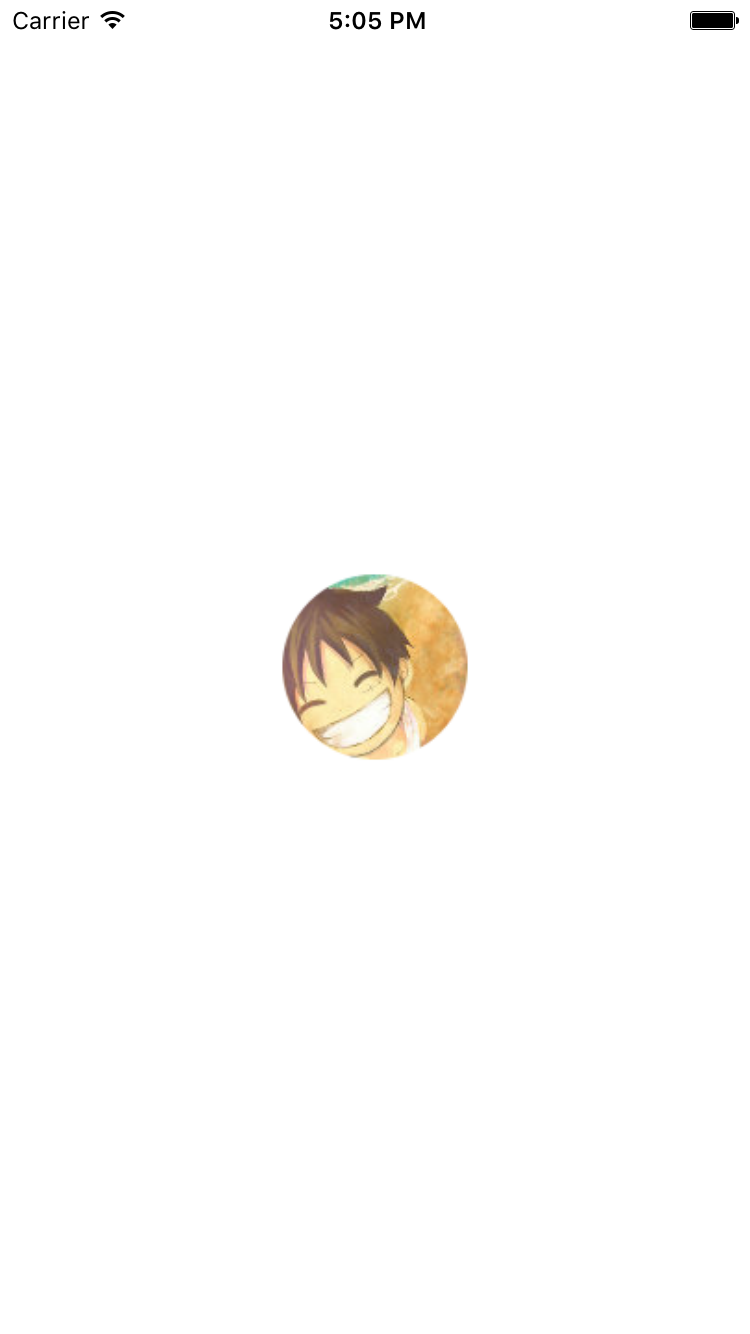
/**
* 裁剪图片
*/
- (void)clipCirle
{
// 1.加载原图
UIImage *oldImage = [UIImage imageNamed:@"logo"];
// 2.开启上下文
CGFloat borderW = 2; // 圆环的宽度
CGFloat imageW = oldImage.size.width + 2 * borderW;
CGFloat imageH = oldImage.size.height + 2 * borderW;
CGSize imageSize = CGSizeMake(imageW, imageH);
UIGraphicsBeginImageContextWithOptions(imageSize, NO, 0.0);
// 3.取得当前的上下文
CGContextRef ctx = UIGraphicsGetCurrentContext();
// 4.画边框(大圆)
[[UIColor whiteColor] set];
CGFloat bigRadius = imageW * 0.5; // 大圆半径
CGFloat centerX = bigRadius; // 圆心
CGFloat centerY = bigRadius;
CGContextAddArc(ctx, centerX, centerY, bigRadius, 0, M_PI * 2, 0);
CGContextFillPath(ctx); // 画圆
// 5.小圆
CGFloat smallRadius = bigRadius - borderW;
CGContextAddArc(ctx, centerX, centerY, smallRadius, 0, M_PI * 2, 0);
// 裁剪(后面画的东西才会受裁剪的影响)
CGContextClip(ctx);
// 6.画图
[oldImage drawInRect:CGRectMake(borderW, borderW, oldImage.size.width, oldImage.size.height)];
// 7.取图
UIImage *newImage = UIGraphicsGetImageFromCurrentImageContext();
#pragma mark ---- 写到这里同学们难道不觉得像这样的我们传一张图片它返回一张新的图片我们不应该写一个属于自己的分类吗?
// 8.结束上下文
UIGraphicsEndImageContext();
// 9.显示图片
self.iconView.image = newImage;
// 10.写出文件
NSData *data = UIImagePNGRepresentation(newImage);
NSString *path = [[NSSearchPathForDirectoriesInDomains(NSDocumentDirectory, NSUserDomainMask, YES) lastObject] stringByAppendingPathComponent:@"new.png"];
[data writeToFile:path atomically:YES];
}
/**
* 屏幕截图按钮
*/
- (void)captureWithView
{
UIButton *captureBtn = [UIButton buttonWithType:UIButtonTypeSystem];
CGFloat captureBtnX = 10;
CGFloat captureBtnY = 50;
CGFloat captureBtnW = 50;
CGFloat captureBtnH = 50;
captureBtn.frame = CGRectMake(captureBtnX, captureBtnY, captureBtnW, captureBtnH);
captureBtn.backgroundColor = [UIColor blueColor];
[captureBtn setTitle:NSLocalizedString(@"截图", nil) forState:UIControlStateNormal];
[captureBtn addTarget:self action:@selector(capture) forControlEvents:UIControlEventTouchUpInside];
[self.view addSubview:captureBtn];
}
/**
* 截图
*/
- (void)capture
{
dispatch_after(dispatch_time(DISPATCH_TIME_NOW, (int64_t)(1.0 * NSEC_PER_SEC)), dispatch_get_main_queue(), ^{
// 1.开启上下文
UIGraphicsBeginImageContextWithOptions(self.view.frame.size, NO, 0.0);
// 2.将控制器view的layer渲染到上下文
[self.view.layer renderInContext:UIGraphicsGetCurrentContext()];
// 3.取出图片
UIImage *newImage = UIGraphicsGetImageFromCurrentImageContext();
// 4.结束上下文
UIGraphicsEndImageContext();
// 2.写文件
NSData *data = UIImagePNGRepresentation(newImage);
NSString *path = [[NSSearchPathForDirectoriesInDomains(NSDocumentDirectory, NSUserDomainMask, YES) lastObject] stringByAppendingPathComponent:@"new.png"];
[data writeToFile:path atomically:YES];
});
}
/**
* 条纹背景
*/
- (void)setUpTextView
{
UITextView *textView = [[UITextView alloc] initWithFrame:[UIScreen mainScreen].bounds];
// 1.创建一行背景图片
CGFloat rowW = self.view.frame.size.width;
// CGFloat rowH = 40;
CGFloat rowH = 30;
UIGraphicsBeginImageContextWithOptions(CGSizeMake(rowW, rowH), NO, 0.0);
CGContextRef ctx = UIGraphicsGetCurrentContext();
// 画矩形框
[[UIColor redColor] set];
CGContextAddRect(ctx, CGRectMake(0, 0, rowW, rowH));
CGContextFillPath(ctx);
// 2.画线
[[UIColor greenColor] set];
CGFloat lineWidth = 2;
CGContextSetLineWidth(ctx, lineWidth);
CGFloat dividerX = 0;
CGFloat dividerY = rowH - lineWidth;
CGContextMoveToPoint(ctx, dividerX, dividerY);
CGContextAddLineToPoint(ctx, rowW - dividerX, dividerY);
CGContextStrokePath(ctx);
// 3.取图
UIImage *newImage = UIGraphicsGetImageFromCurrentImageContext();
// 4.结束上下文
UIGraphicsEndImageContext();
// 5.设置为背景
textView.backgroundColor = [UIColor colorWithPatternImage:newImage];
[self.view addSubview:textView];
}
@end


 1899
1899


 被折叠的 条评论
为什么被折叠?
被折叠的 条评论
为什么被折叠?
 到【灌水乐园】发言


