


1.安装“微信小程序开发工具”扩展

2.安装“vscode weapp api”扩展

3.安装“vscode wxml”扩展

4.安装“vscode-wechat”扩展

5.在终端执行命令:
vue create -p dcloudio/uni-preset-vue uniapp-testuniapp-test就是我这里的项目名称了
6.如果遇到了这个错误:
 ERROR  Failed fetching remote preset dcloudio/uni-preset-vue:
     ERROR  RequestError: connect ETIMEDOUT 20.205.243.166:443
    RequestError: connect ETIMEDOUT 20.205.243.166:443
        at ClientRequest.<anonymous> (E:\nodejs\node_global\node_modu    at Object.onceWrapper (node:events:628:26)
        at ClientRequest.emit (node:events:513:28)
        at TLSSocket.socketErrorListener (node:_http_client:494:9)
        at TLSSocket.emit (node:events:513:28)
        at emitErrorNT (node:internal/streams/destroy:157:8)
        at emitErrorCloseNT (node:internal/streams/destroy:122:3)
        at processTicksAndRejections (node:internal/process/task_queues:83:21)
请将镜像网切换成淘宝镜像网:
执行:
npm config set registry https://registry.npm.taobao.org/然后再执行5中的命令
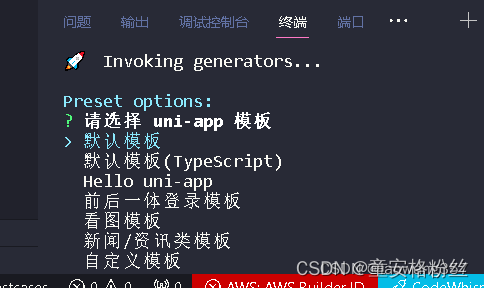
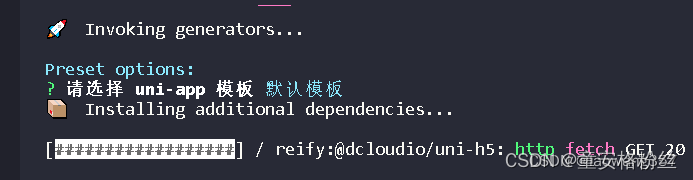
7.然后选择默认模板
等待安装:
出现这样就是代表创建成功了:

先cd uniapp-test这个文件夹:

8.package.json更改

在这里修改:

改成:"serve": "npm run dev:mp-weixin"(目的:运行在微信开发者工具中)
如果不修改"serve": "npm run dev:h5",那就可以直接运行(执行指令:npm run serve)在h5网页端
出现successfully代表在网页端运行成功了

9.更改之后执行npm run serve
出现这个代表运行成功:

10.打开微信开发者工具应用(vscode中的那个项目要在运行状态):
若没有这个应用,请先安装这个应用
然后点这个大加号:

然后打开这个目录,我的项目名称是uniapp-test,找到dist路径下的dev:E:\VScode\codeDate\miniproTest\uniapp-test\dist\dev
然后选择mp-weixin文件夹:


填写完appid后,点击不使用云服务,再点击确定
然后就运行成功了:


 8839
8839


 被折叠的 条评论
为什么被折叠?
被折叠的 条评论
为什么被折叠?
 到【灌水乐园】发言


