


安装文档:https://www.oceanbase.com/docs/common-oceanbase-database-cn-1000000000642554
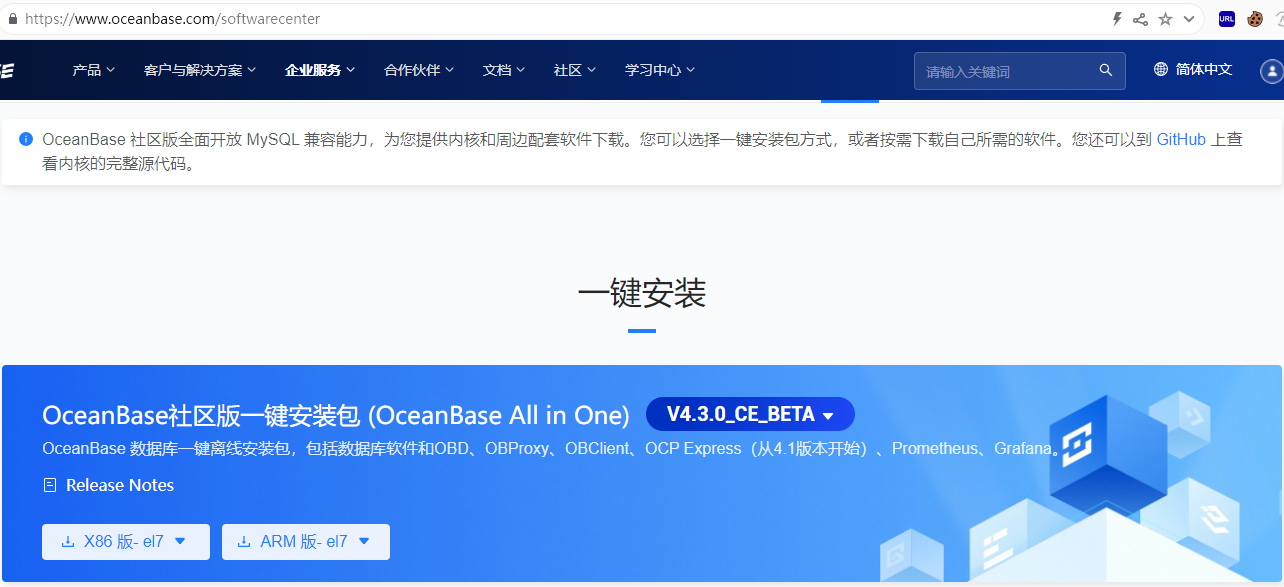
软件下载
https://www.oceanbase.com/softwarecenter
安装obd
yum install -y yum-utils
yum-config-manager --add-repo https://mirrors.aliyun.com/oceanbase/OceanBase.repo
yum install -y ob-deploy
source /etc/profile.d/obd.sh
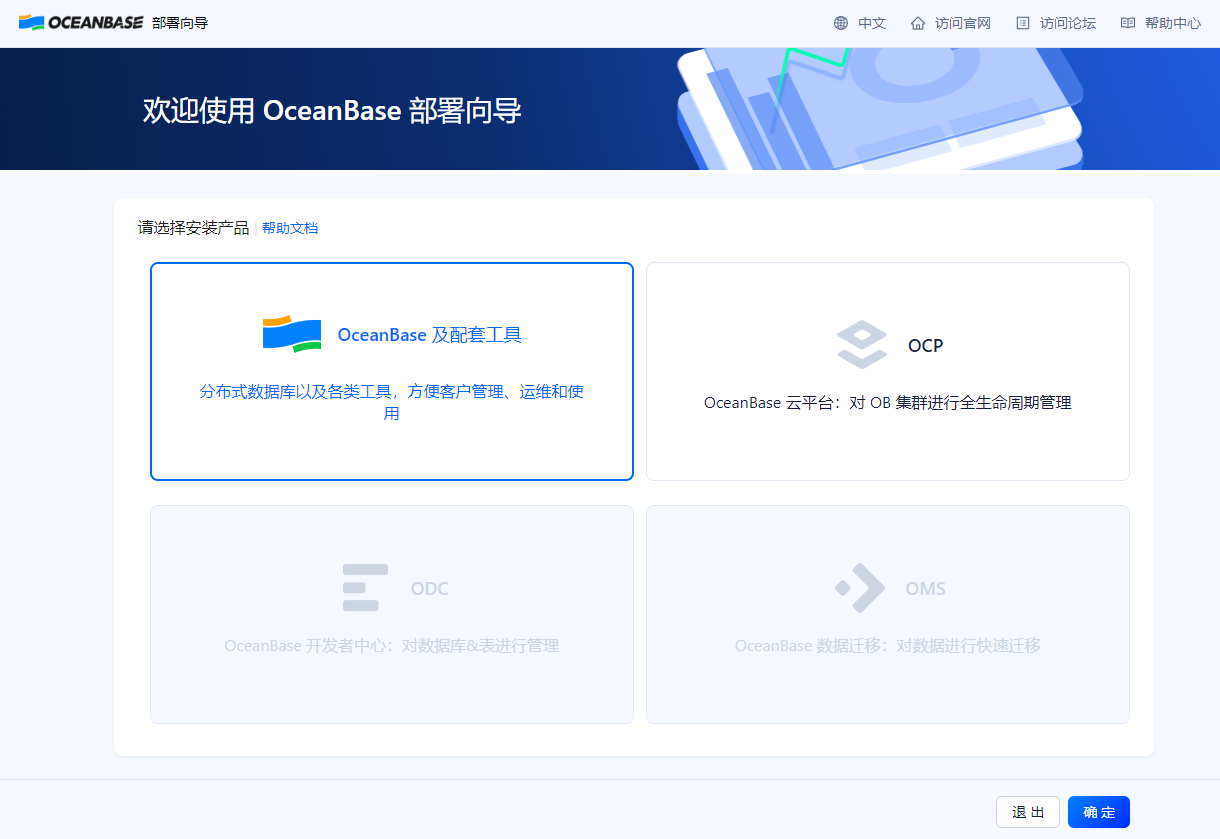
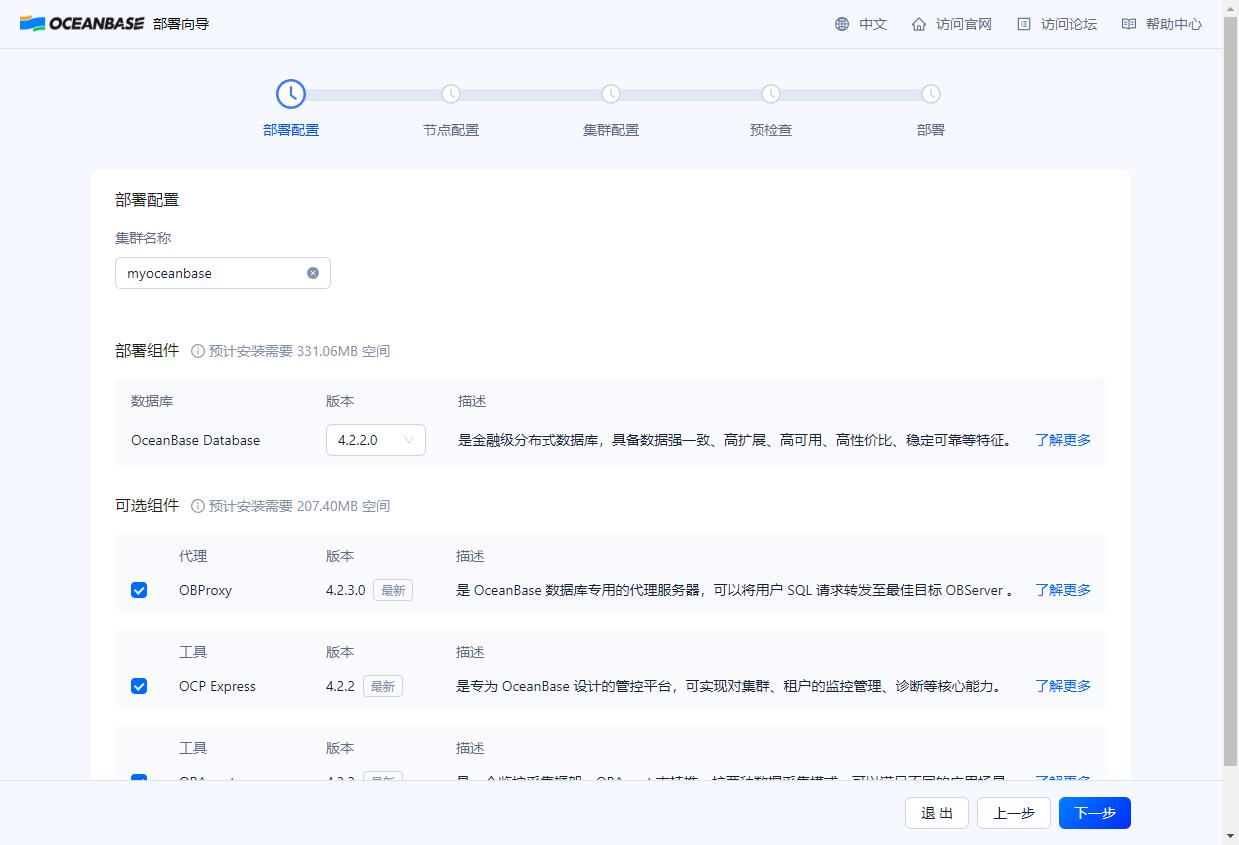
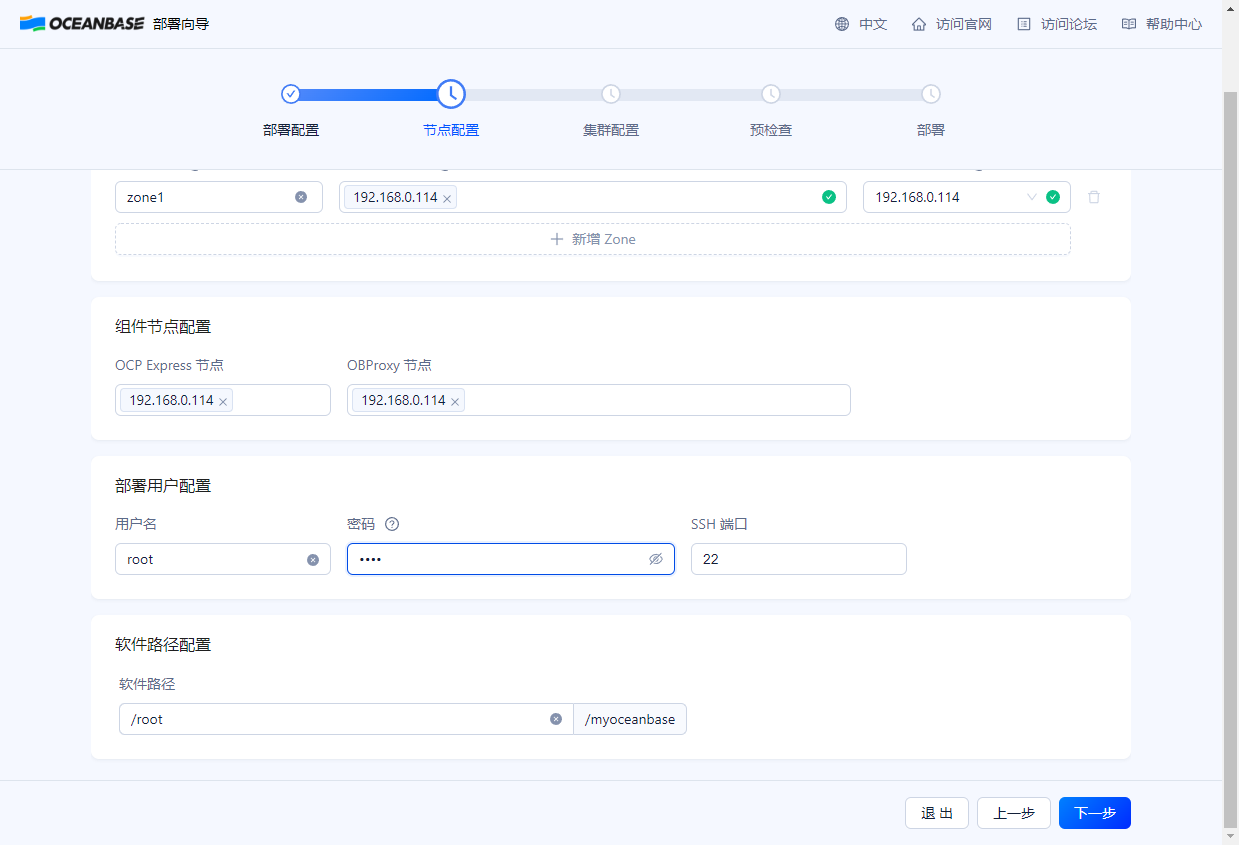
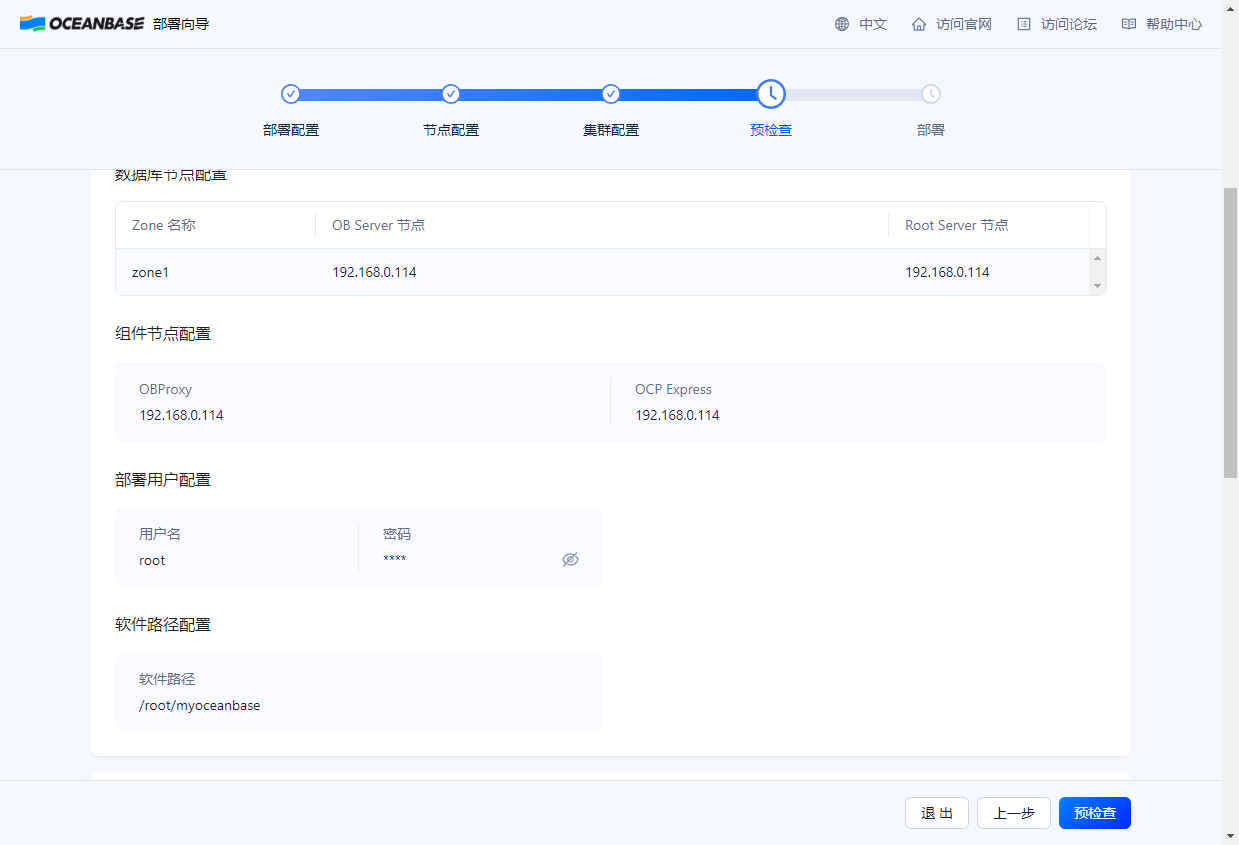
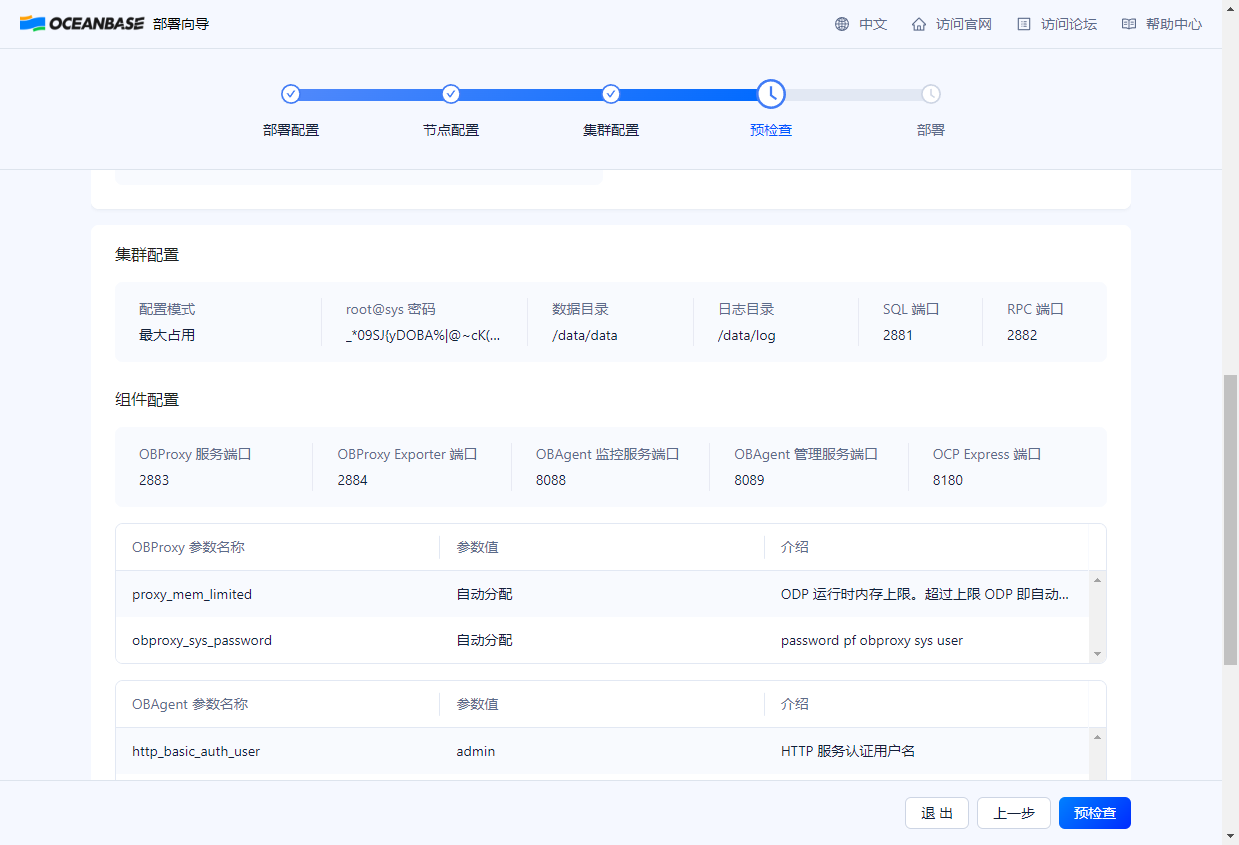
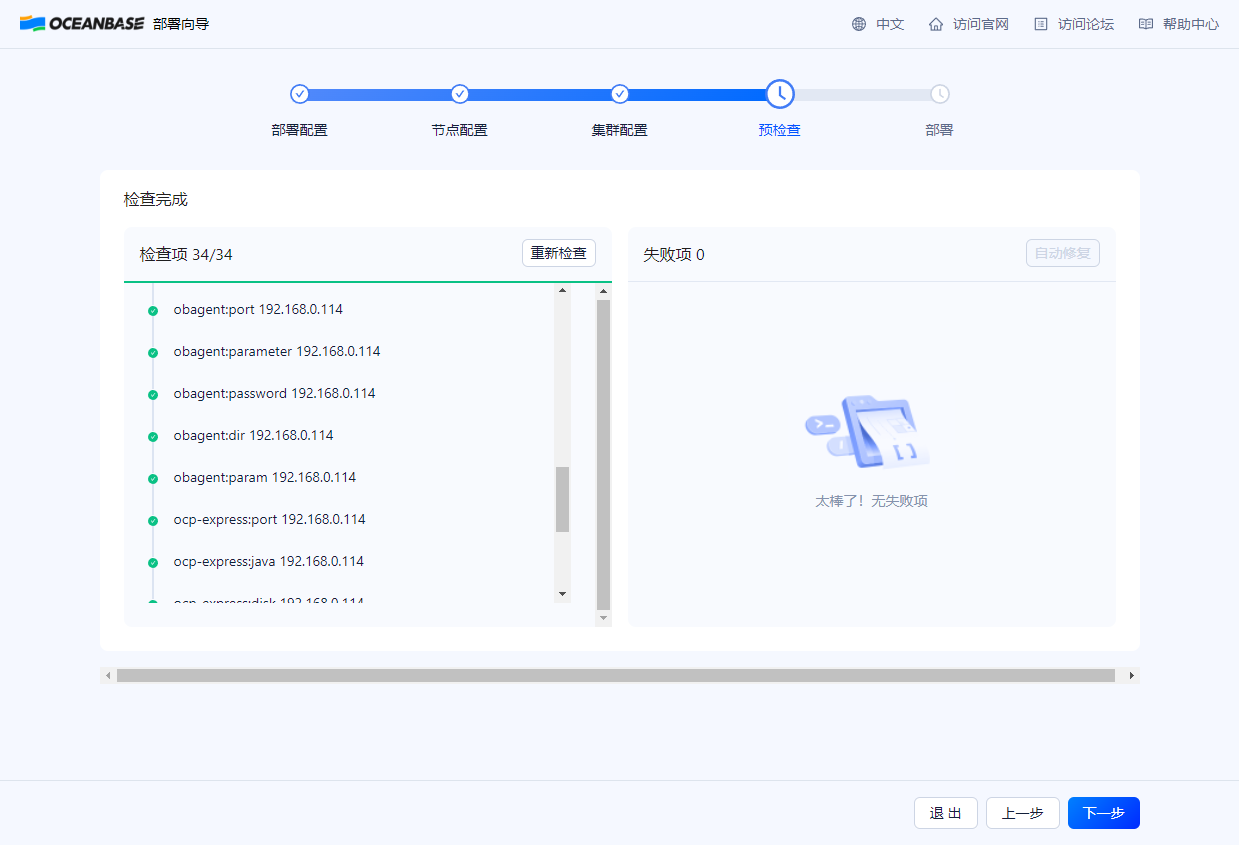
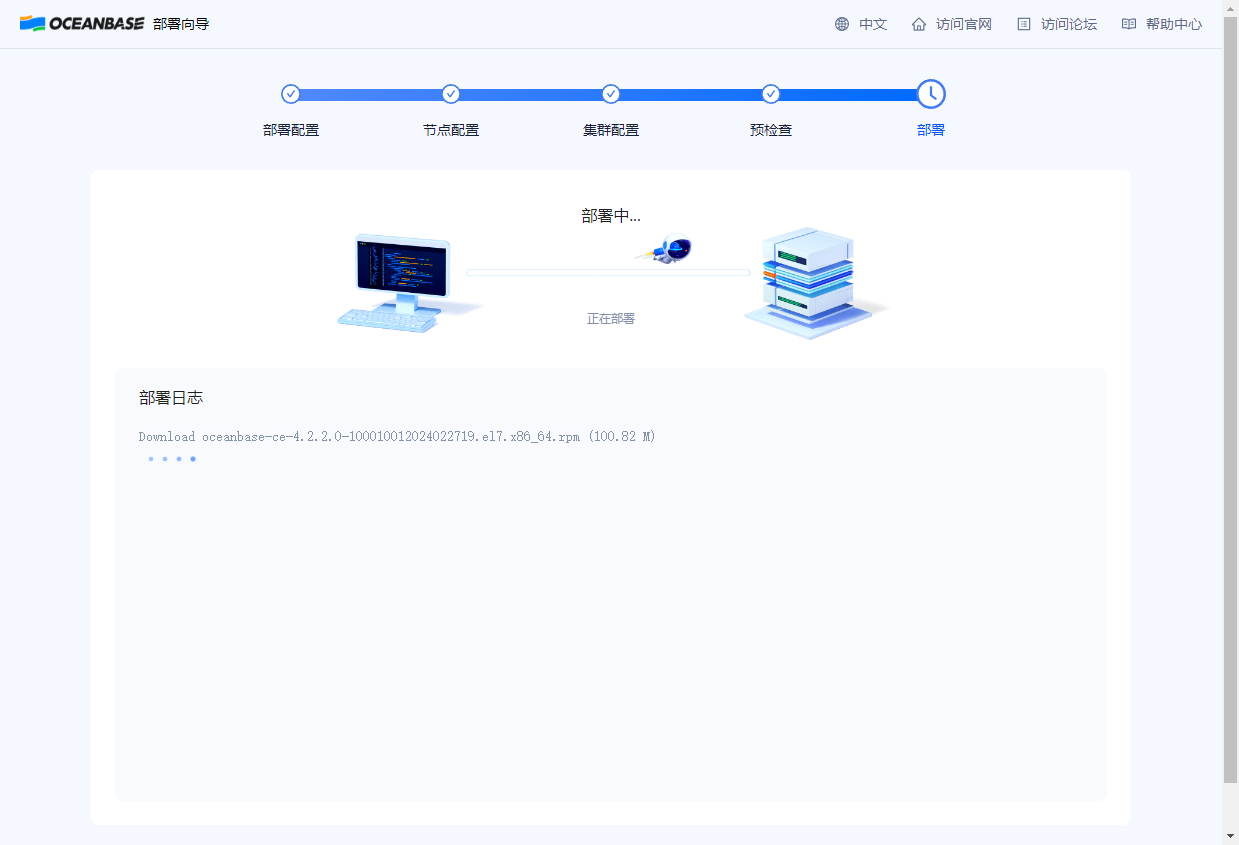
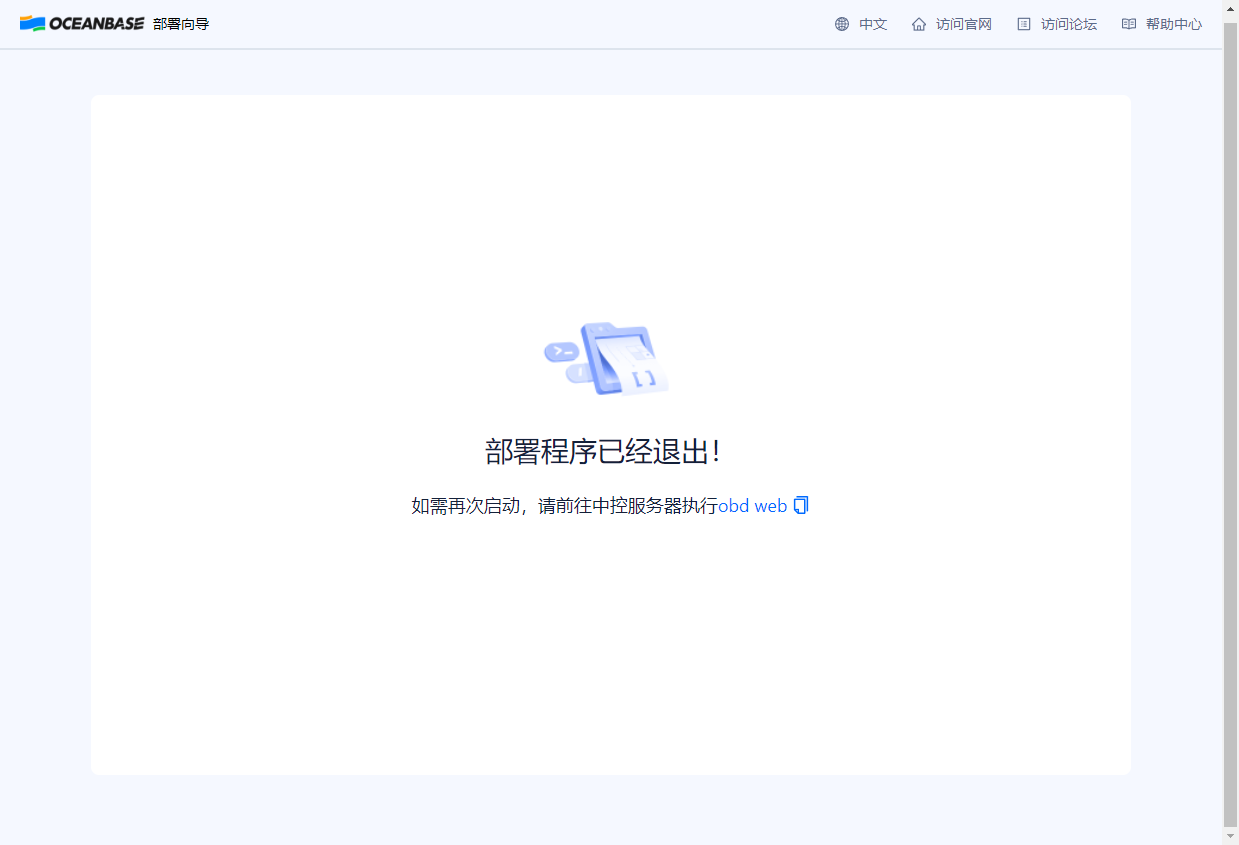
进入web
[root@obnode04 profile.d]# obd web
start OBD WEB in 0.0.0.0:8680
please open http://192.168.0.114:8680

15:42
15:54
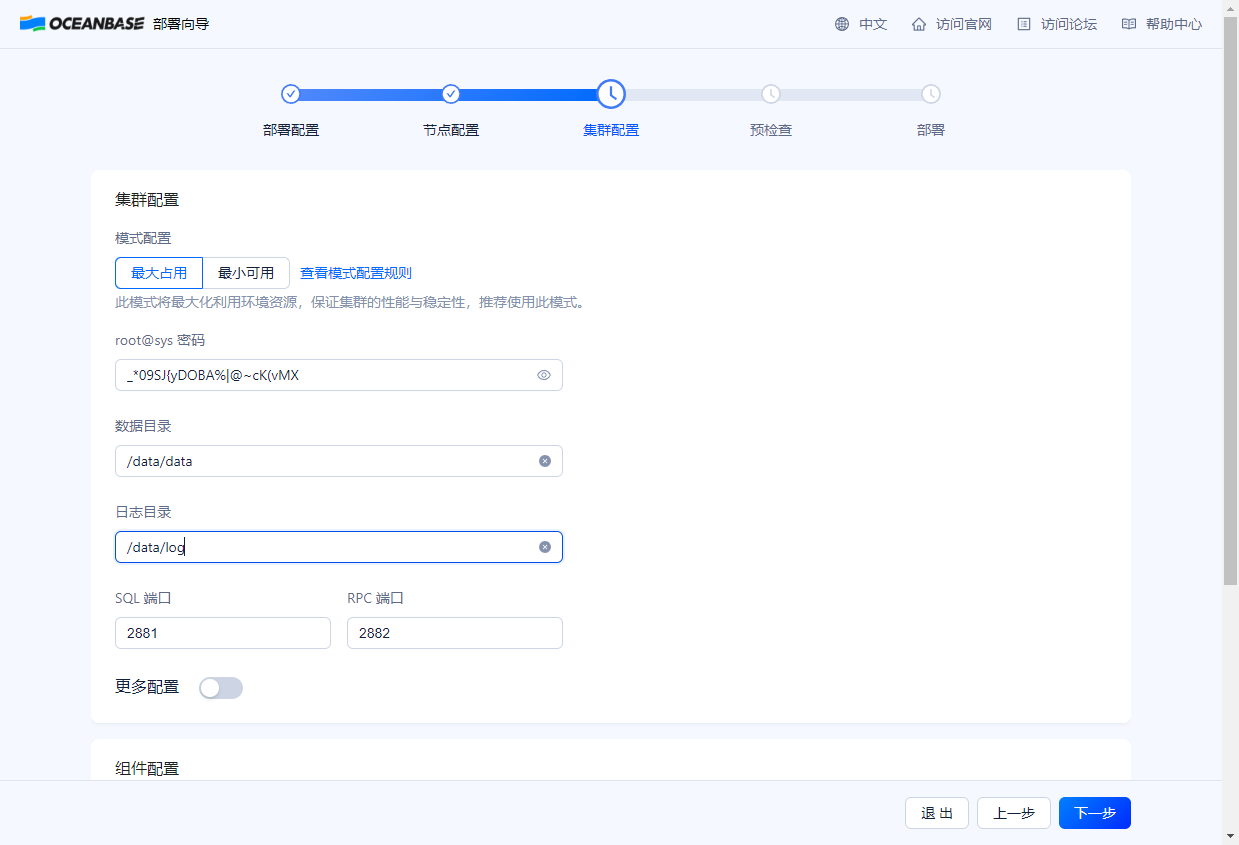
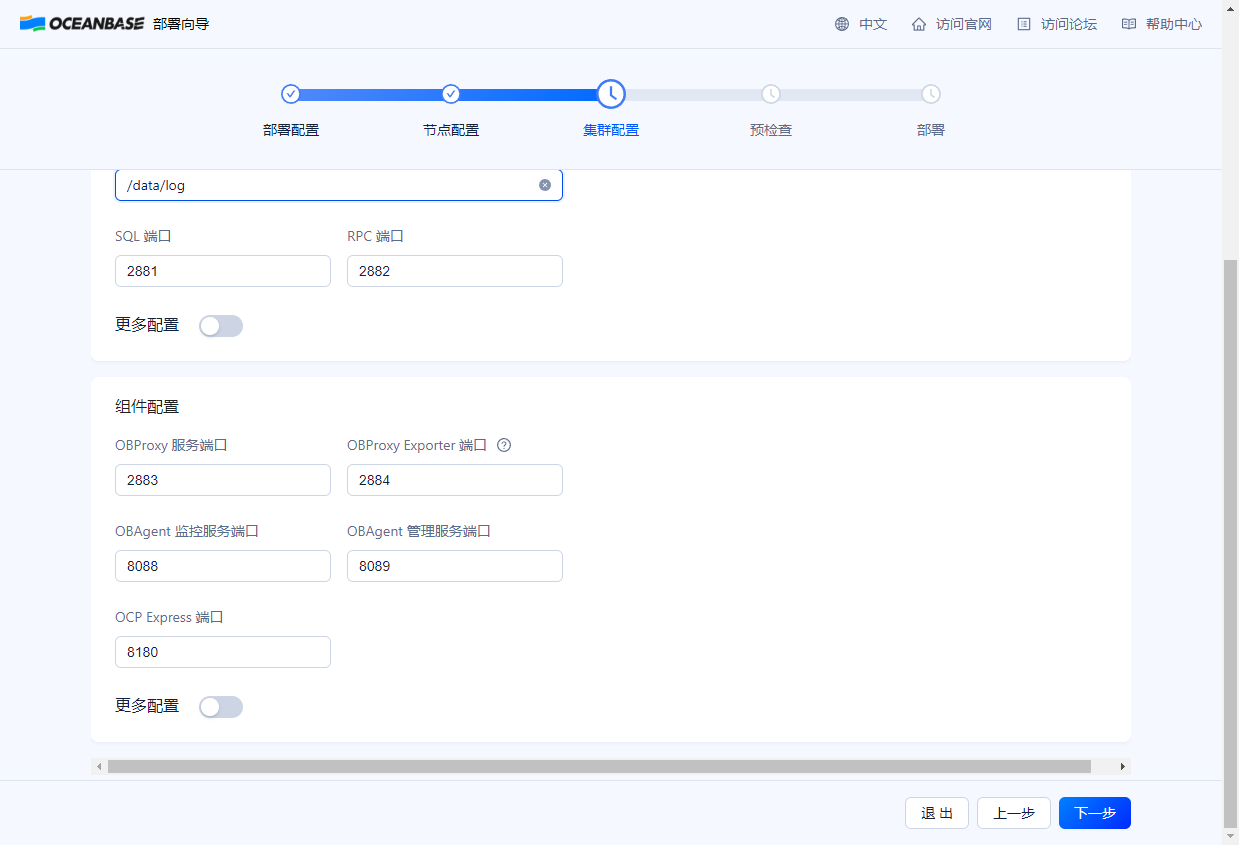
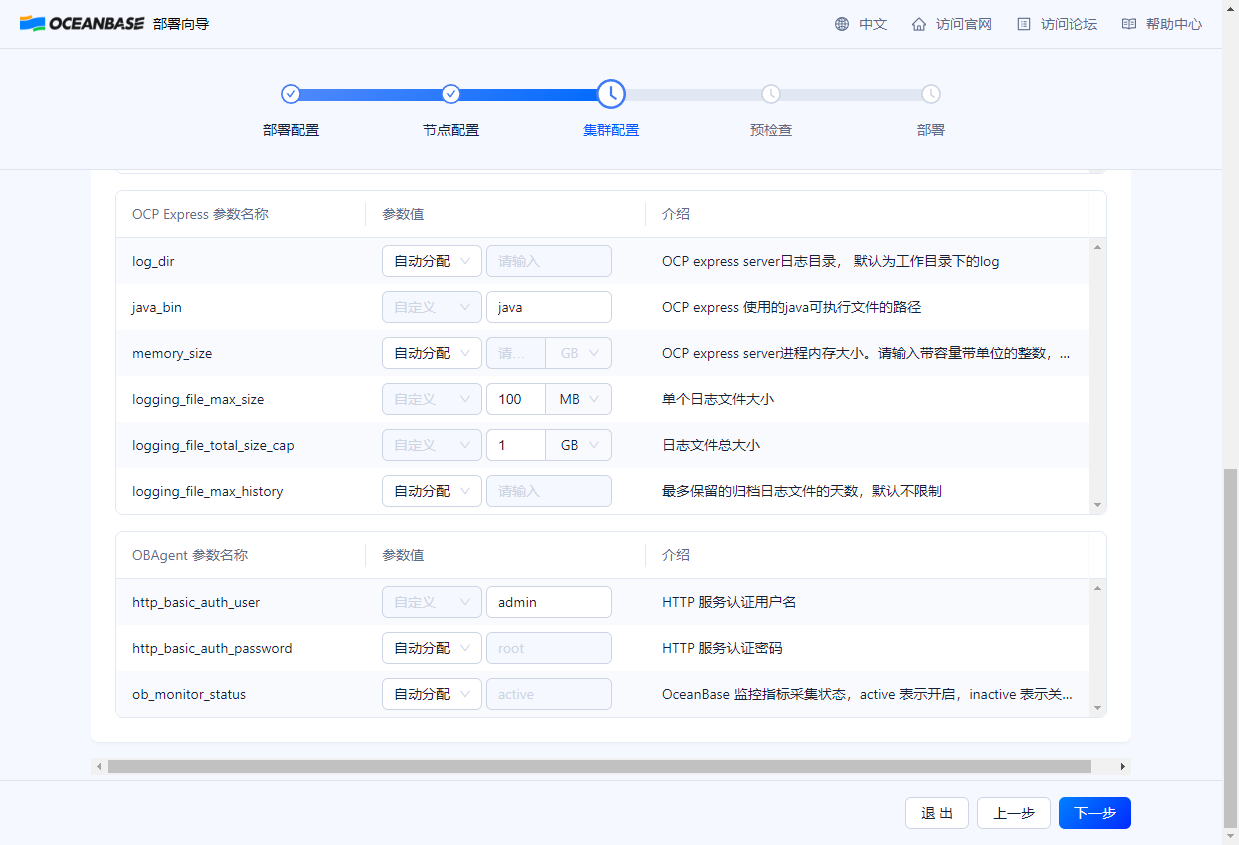
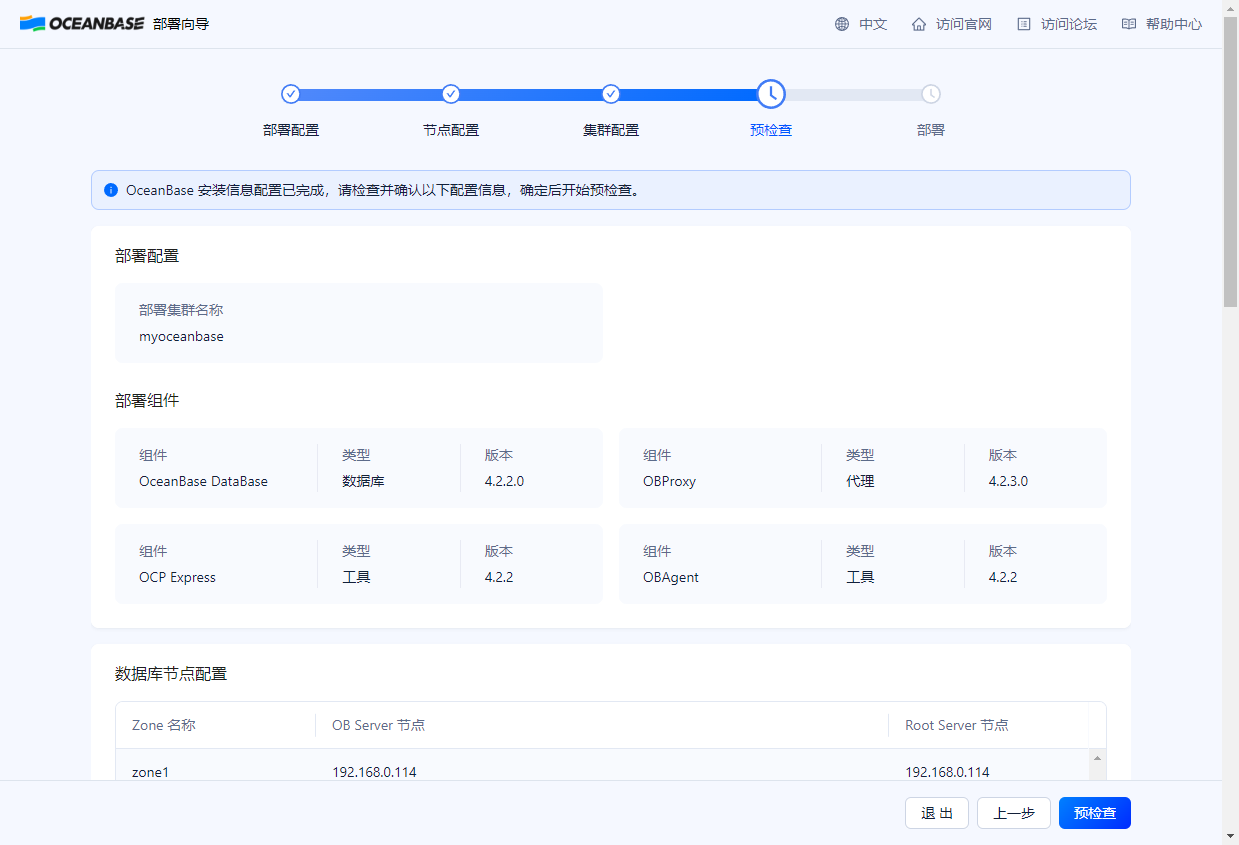
obd web
OB日志
obd tool command myoceanbase log -c oceanbase-ce -s 192.168.0.114
OBproxy日志
obd tool command myoceanbase log -c obproxy-ce -s 192.168.0.114
OBAgent日志
obd tool command myoceanbase log -c obagent -s 192.168.0.114
OCP Express日志
obd tool command myoceanbase log -c ocp-express -s 192.168.0.114
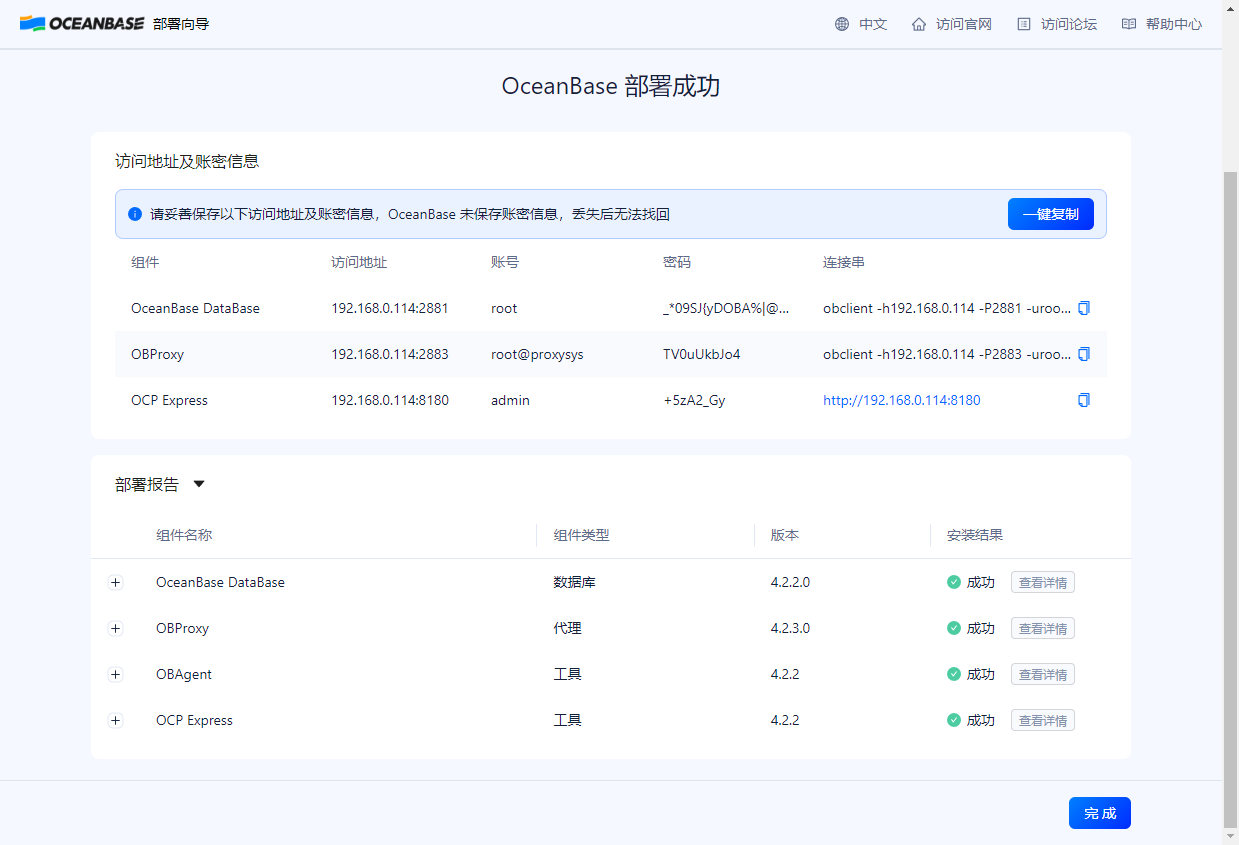
连接信息
一键复制
吐槽,原来的老丑了,是不是可以格式化一下;不过可以用json格式复制出来,倒是不错
[
	{
		"component": "oceanbase-ce",
		"access_url": "192.168.0.114:2881",
		"user": "root",
		"password": "_*09SJ{yDOBA%|@~cK(vMX",
		"connect_url": "obclient -h192.168.0.114 -P2881 -uroot -p'_*09SJ{yDOBA%|@~cK(vMX' -Doceanbase -A"
	},
	{
		"component": "obproxy-ce",
		"access_url": "192.168.0.114:2883",
		"user": "root@proxysys",
		"password": "TV0uUkbJo4",
		"connect_url": "obclient -h192.168.0.114 -P2883 -uroot@proxysys -p'TV0uUkbJo4' -Doceanbase -A \n"
	},
	{
		"component": "ocp-express",
		"access_url": "192.168.0.114:8180",
		"user": "admin",
		"password": "+5zA2_Gy",
		"connect_url": "http://192.168.0.114:8180"
	}
]
连接串
obclient -h192.168.0.114 -P2881 -uroot -p'_*09SJ{yDOBA%|@~cK(vMX' -Doceanbase -A
obclient -h192.168.0.114 -P2883 -uroot@proxysys -p'TV0uUkbJo4' -Doceanbase -A
http://192.168.0.114:8180
管理部署后的集群
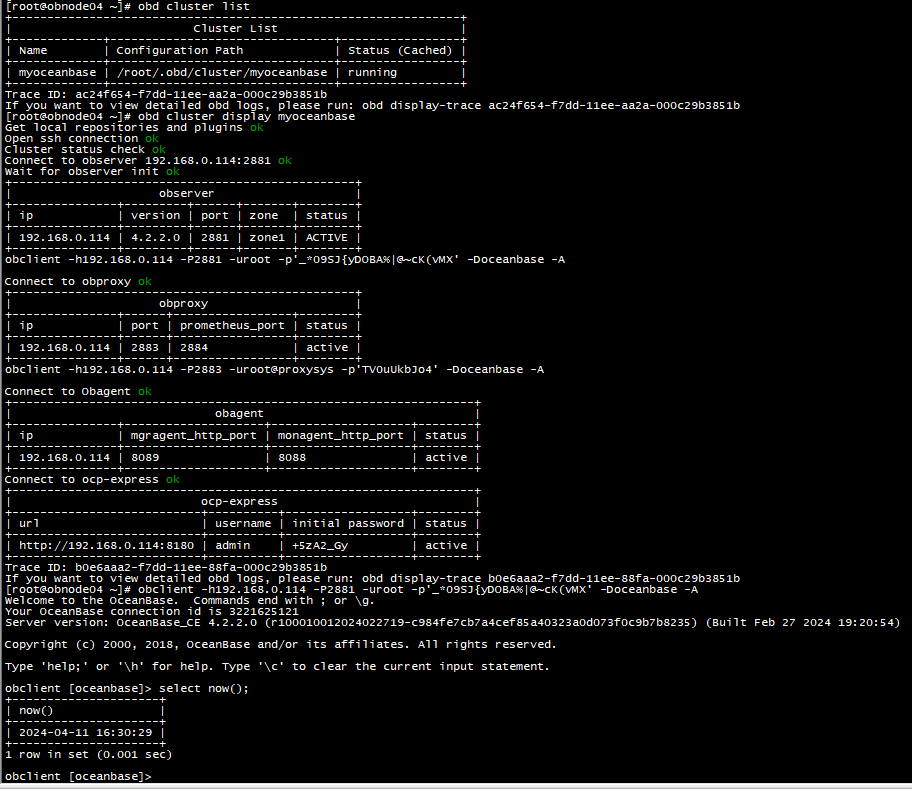
查看集群列表
obd cluster list
[root@obnode04 profile.d]# obd cluster list
+----------------------------------------------------------------+
|                          Cluster List                          |
+-------------+--------------------------------+-----------------+
| Name        | Configuration Path             | Status (Cached) |
+-------------+--------------------------------+-----------------+
| myoceanbase | /root/.obd/cluster/myoceanbase | running         |
+-------------+--------------------------------+-----------------+
Trace ID: d1a68fee-f7da-11ee-8b3f-000c29b3851b
If you want to view detailed obd logs, please run: obd display-trace d1a68fee-f7da-11ee-8b3f-000c29b3851b
查看集群状态,以部署名为 myoceanbase 为例
obd cluster display myoceanbase
[root@obnode04 profile.d]# obd cluster display myoceanbase
Get local repositories and plugins ok
Open ssh connection ok
Cluster status check ok
Connect to observer 192.168.0.114:2881 ok
Wait for observer init ok
+-------------------------------------------------+
|                     observer                    |
+---------------+---------+------+-------+--------+
| ip            | version | port | zone  | status |
+---------------+---------+------+-------+--------+
| 192.168.0.114 | 4.2.2.0 | 2881 | zone1 | ACTIVE |
+---------------+---------+------+-------+--------+
obclient -h192.168.0.114 -P2881 -uroot -p'_*09SJ{yDOBA%|@~cK(vMX' -Doceanbase -A

Connect to obproxy ok
+-------------------------------------------------+
|                     obproxy                     |
+---------------+------+-----------------+--------+
| ip            | port | prometheus_port | status |
+---------------+------+-----------------+--------+
| 192.168.0.114 | 2883 | 2884            | active |
+---------------+------+-----------------+--------+
obclient -h192.168.0.114 -P2883 -uroot@proxysys -p'TV0uUkbJo4' -Doceanbase -A

Connect to Obagent ok
+------------------------------------------------------------------+
|                             obagent                              |
+---------------+--------------------+--------------------+--------+
| ip            | mgragent_http_port | monagent_http_port | status |
+---------------+--------------------+--------------------+--------+
| 192.168.0.114 | 8089               | 8088               | active |
+---------------+--------------------+--------------------+--------+
Connect to ocp-express ok
+------------------------------------------------------------------+
|                           ocp-express                            |
+---------------------------+----------+------------------+--------+
| url                       | username | initial password | status |
+---------------------------+----------+------------------+--------+
| http://192.168.0.114:8180 | admin    | +5zA2_Gy         | active |
+---------------------------+----------+------------------+--------+
Trace ID: 516653a2-f7dd-11ee-8e1d-000c29b3851b
If you want to view detailed obd logs, please run: obd display-trace 516653a2-f7dd-11ee-8e1d-000c29b3851b
停止运行中的集群,以部署名为 myoceanbase 为例
obd cluster stop myoceanbase
销毁已部署的集群,以部署名为 myoceanbase 为例
obd cluster destroy myoceanbase
登陆
为何会找不到obclient?需要手动安装
yum install obclient[root@obnode04 ~]# find / -name obclient find: ‘/proc/27437/task/27714/fdinfo/130’: 没有那个文件或目录 find: ‘/proc/36203’: 没有那个文件或目录 find: ‘/run/user/1000/gvfs’: 权限不够 /root/.obd/plugins/obclient /usr/obd/plugins/obclient /data/oceanbase-all-in-one/obd/usr/obd/plugins/obclient /data/oceanbase-all-in-one/obclient /data/oceanbase-all-in-one/obclient/u01/obclient /data/oceanbase-all-in-one/obclient/u01/obclient/bin/obclient要吐个槽,为啥不把客户端一起装上,难道是想让客户自己用mysql客户端?
[root@obnode04 profile.d]# obclient -h192.168.0.114 -P2881 -uroot -p'_*09SJ{yDOBA%|@~cK(vMX' -Doceanbase -A
bash: obclient: 未找到命令...
[root@obnode04 profile.d]# obclient -h192.168.0.114 -P2881 -uroot -p'_*09SJ{yDOBA%|@~cK(vMX' -Doceanbase -A
Welcome to the OceanBase.  Commands end with ; or \g.
Your OceanBase connection id is 3221605803
Server version: OceanBase_CE 4.2.2.0 (r100010012024022719-c984fe7cb7a4cef85a40323a0d073f0c9b7b8235) (Built Feb 27 2024 19:20:54)

Copyright (c) 2000, 2018, OceanBase and/or its affiliates. All rights reserved.

Type 'help;' or '\h' for help. Type '\c' to clear the current input statement.

obclient [oceanbase]> select now();
+---------------------+
| now()               |
+---------------------+
| 2024-04-11 16:24:57 |
+---------------------+
1 row in set (0.001 sec)


 2042
2042


 被折叠的 条评论
为什么被折叠?
被折叠的 条评论
为什么被折叠?
 到【灌水乐园】发言


