


一.编译环境准备工作
首先安装msys2-x86_64-latest.exe
下载地址:https://www.msys2.org/
MSYS2安装gcc、make环境
https://www.jianshu.com/p/04636461341e
pacman -S msys/gcc
pacman -S msys/make
pcre下载地址:http://www.pcre.org/
zlib下载地址:http://zlib.net/
openssL下载地址: https://www.openssl.org/
openresty下载地址: http://openresty.org/cn/download.html
ngx_http_dyups_module下载地址:https://github.com/yzprofile/ngx_http_dyups_module
严格按照下面下载版本如下:
- zlib-1.2.11.tar.gz
- pcre-8.42.tar.gz
- openssl-1.1.0h.tar.gz
- openresty-1.21.4.1.tar.gz
- lua-upstream-nginx-module-master.zip
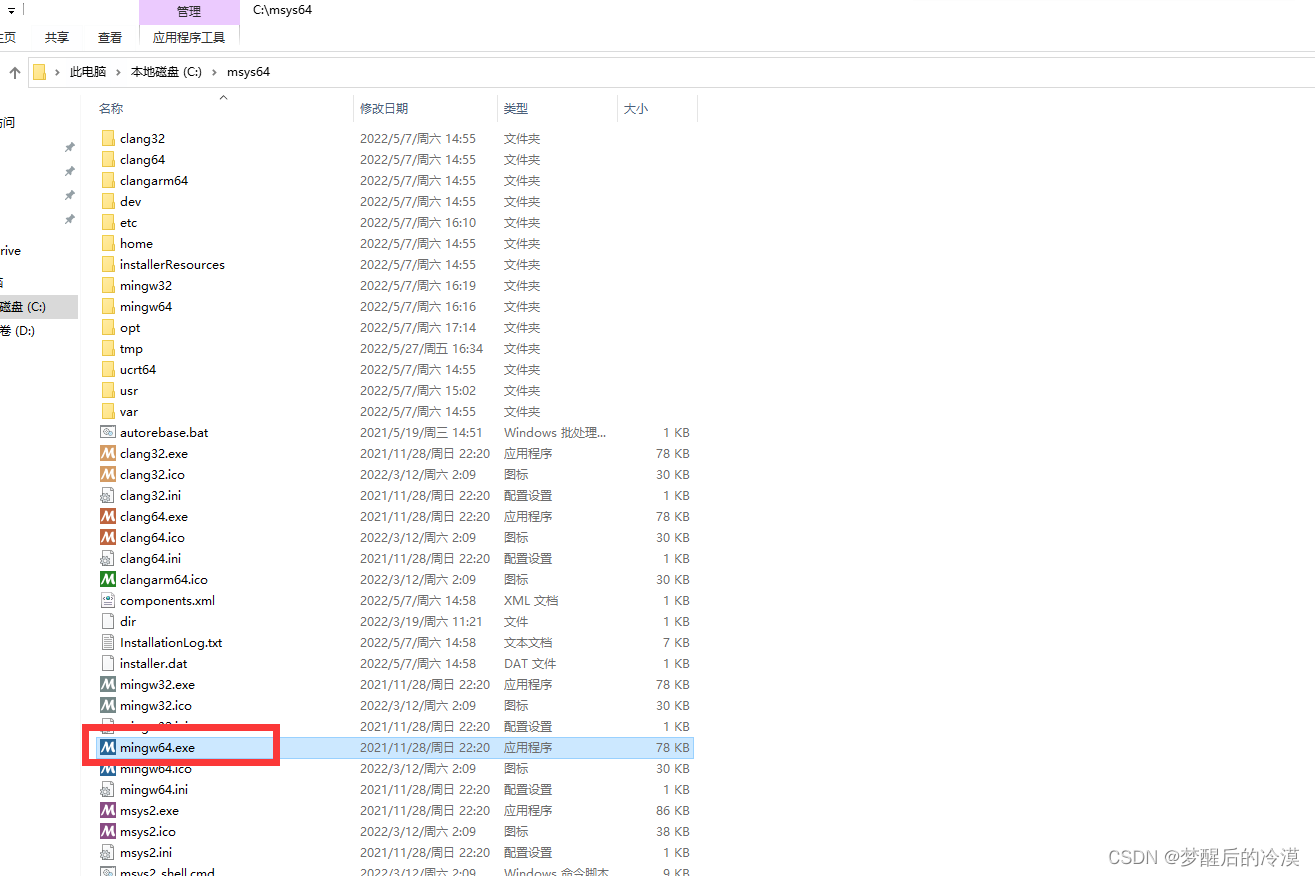
1.安装好MSYS2后,到MSYS2的根目录下
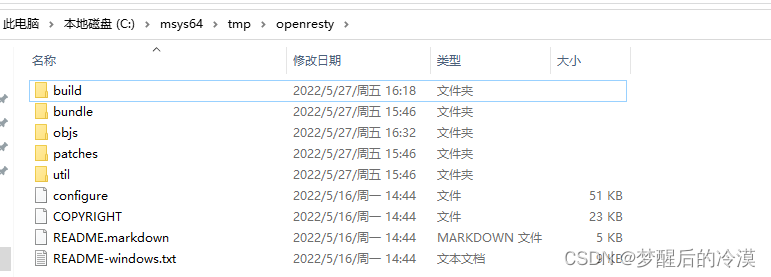
2.然后把openresty-1.21.4.1.tar.gzz解压到/tmp的目录下,并命名为openresty,在openresty目录下建文件夹objs/lib,
解压zlib-1.2.11.tar.gz pcre-8.42.tar.gz openssl-1.1.0h.tar.gz

3.解压lua-upstream-nginx-module-master.zip到objs目录下

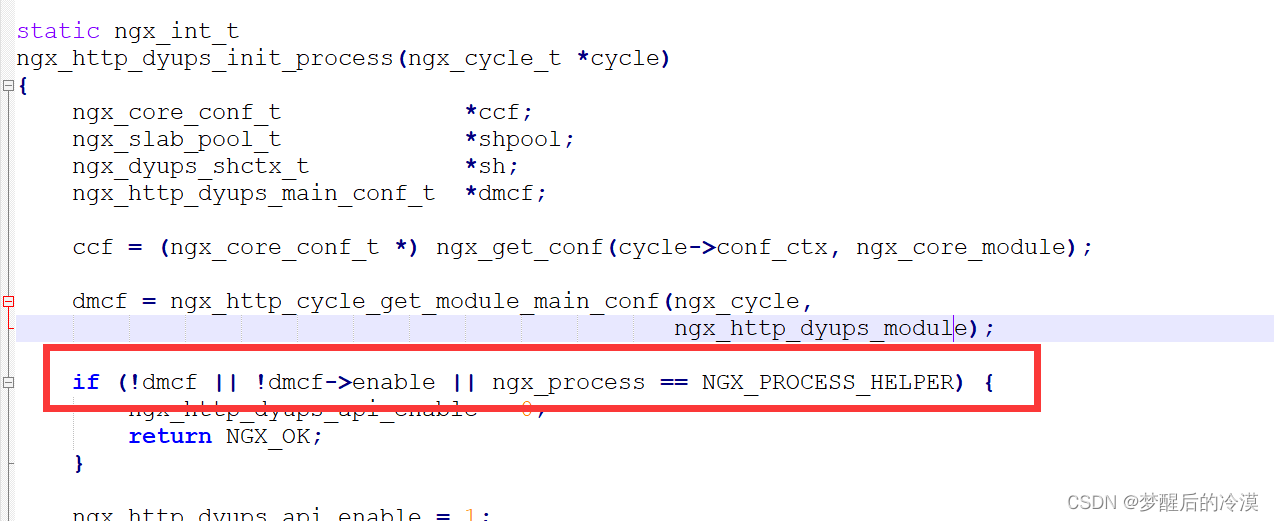
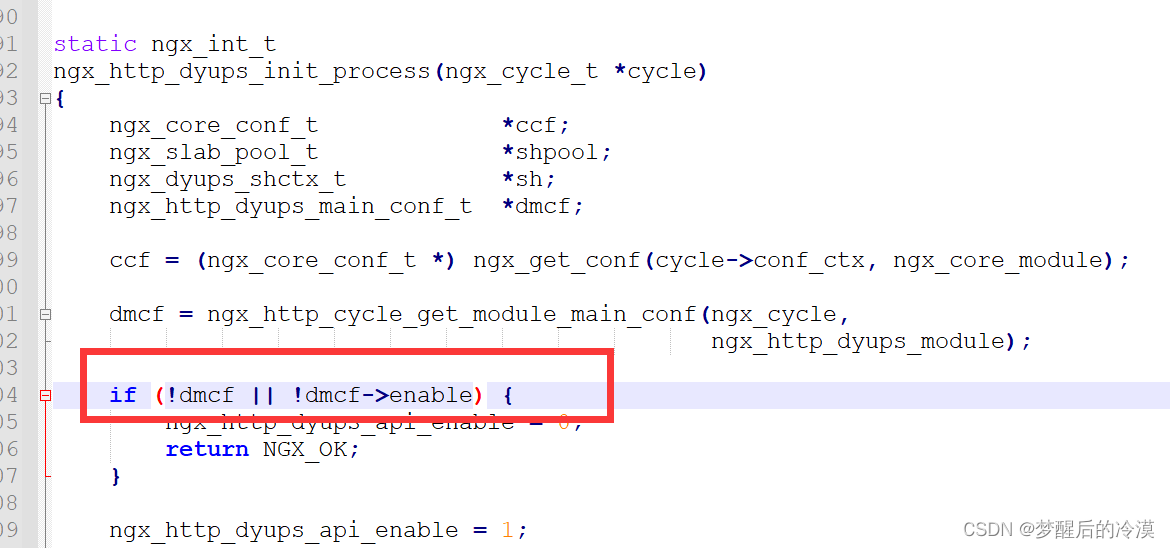
4.到lua-upstream-nginx-module-master目录下,修改ngx_http_dyups_module.c文件

修改前代码 if (!dmcf || !dmcf->enable || ngx_process == NGX_PROCESS_HELPER) {
修改后代码 if (!dmcf || !dmcf->enable) {
如果不按照第4点进行修改。编译的时候,会报如下错误:
ngx_http_dyups_module.c:504:50: error: 'NGX_PROCESS_HELPER' undeclared (first use in this function)
二.开始编译
1.到MSYS2的根目录,点击mingw64.exe,因为我是64位系统
2.切到tmp/openresty目录下

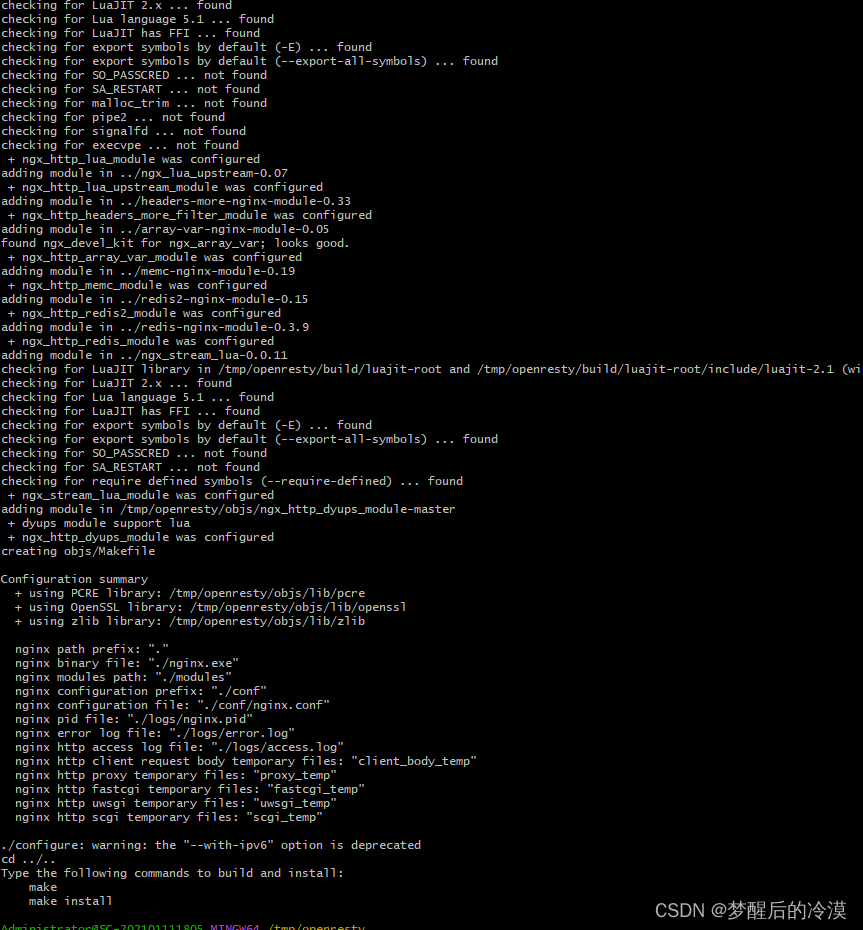
3.开始编译
其中 -j4表示用4个cpu编译,具体多少你们自己定义
./configure \
    --with-cc=gcc \
    --prefix= \
    --with-cc-opt='-DFD_SETSIZE=1024' \
    --sbin-path=nginx.exe \
    --with-pcre-jit \
    --without-http_rds_json_module \
    --without-http_rds_csv_module \
    --without-lua_rds_parser \
    --with-ipv6 \
    --with-stream \
    --with-stream_ssl_module \
    --with-stream_ssl_preread_module \
    --with-http_v2_module \
    --without-mail_pop3_module \
    --without-mail_imap_module \
    --without-mail_smtp_module \
    --with-http_stub_status_module \
    --with-http_realip_module \
    --with-http_addition_module \
    --with-http_auth_request_module \
    --with-http_secure_link_module \
    --with-http_random_index_module \
    --with-http_gzip_static_module \
    --with-http_sub_module \
    --with-http_dav_module \
    --with-http_flv_module \
    --with-http_mp4_module \
    --with-http_gunzip_module \
    --with-select_module \
    --with-luajit-xcflags="-DLUAJIT_NUMMODE=2 -DLUAJIT_ENABLE_LUA52COMPAT" \
    --with-pcre=/tmp/openresty/objs/lib/pcre \
	--with-zlib=/tmp/openresty/objs/lib/zlib \
	--with-openssl=/tmp/openresty/objs/lib/openssl \
--add-module=/tmp/openresty/objs/ngx_http_dyups_module-master -j4 
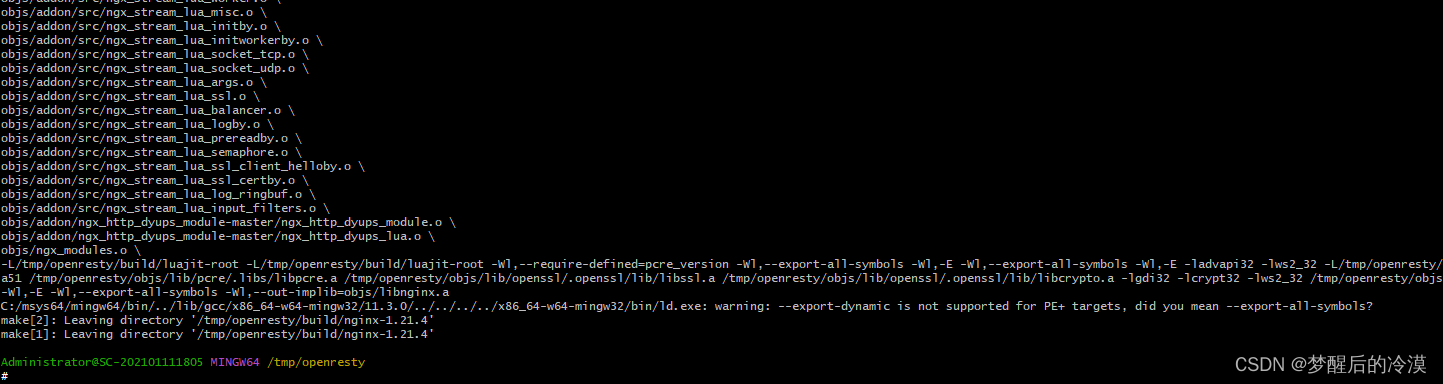
5.执行 make -j4
其中 -j4表示用4个cpu编译,具体多少你们自己定义

5.最后执行 make install


6.编译成功后的目录结果如下:
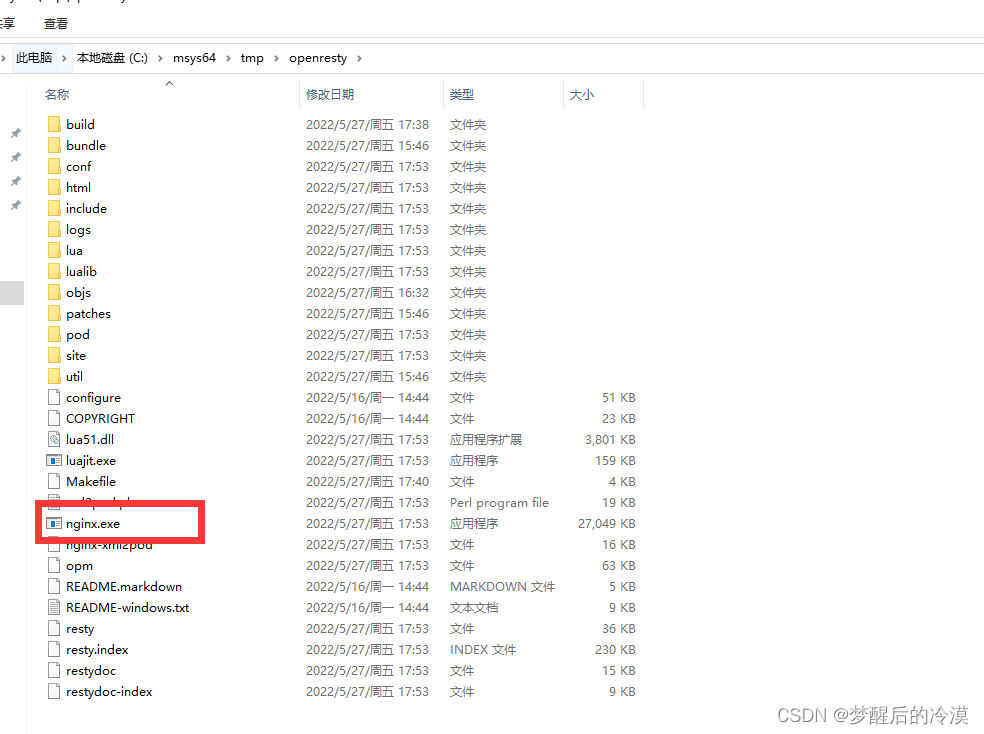
然后点击nginx.exe就可以运行了

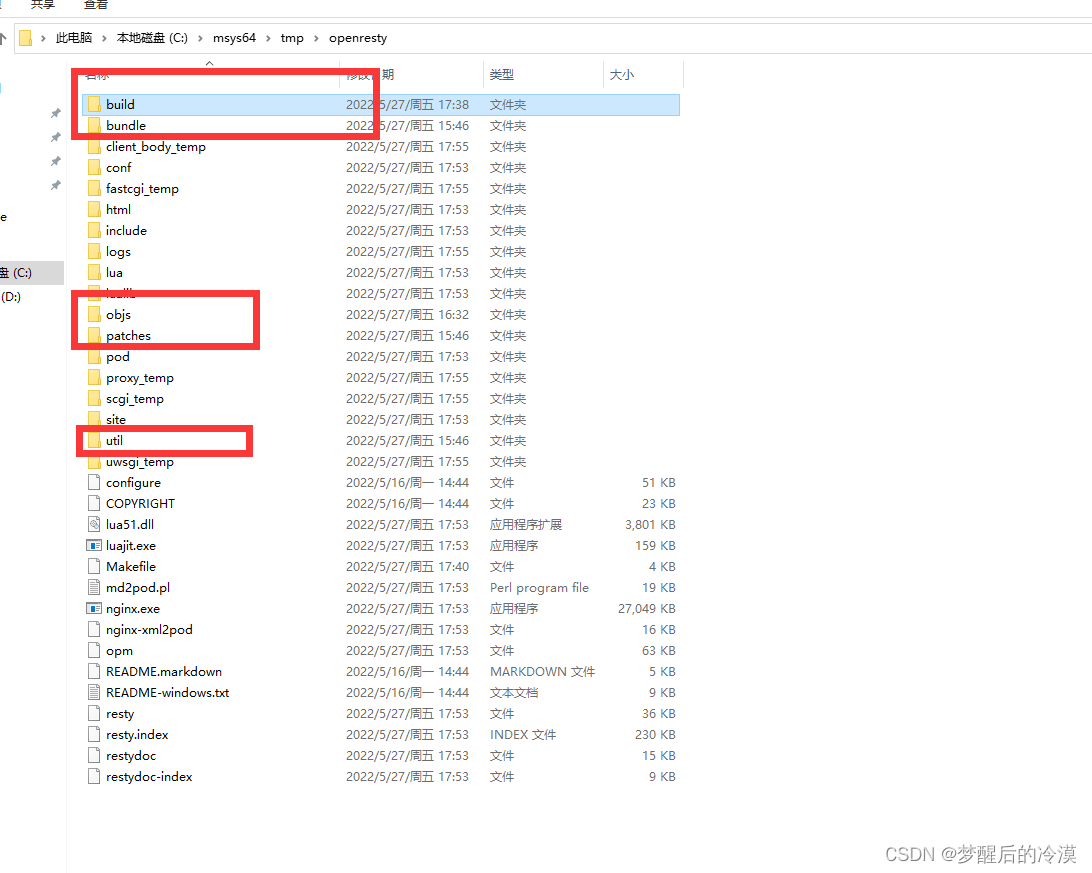
可以去掉以下5个目录。


 2451
2451


 被折叠的 条评论
为什么被折叠?
被折叠的 条评论
为什么被折叠?
 到【灌水乐园】发言


