


前言
最近刚好公司要搭建一套api接口网关,正好记录下整个搭建的过程。
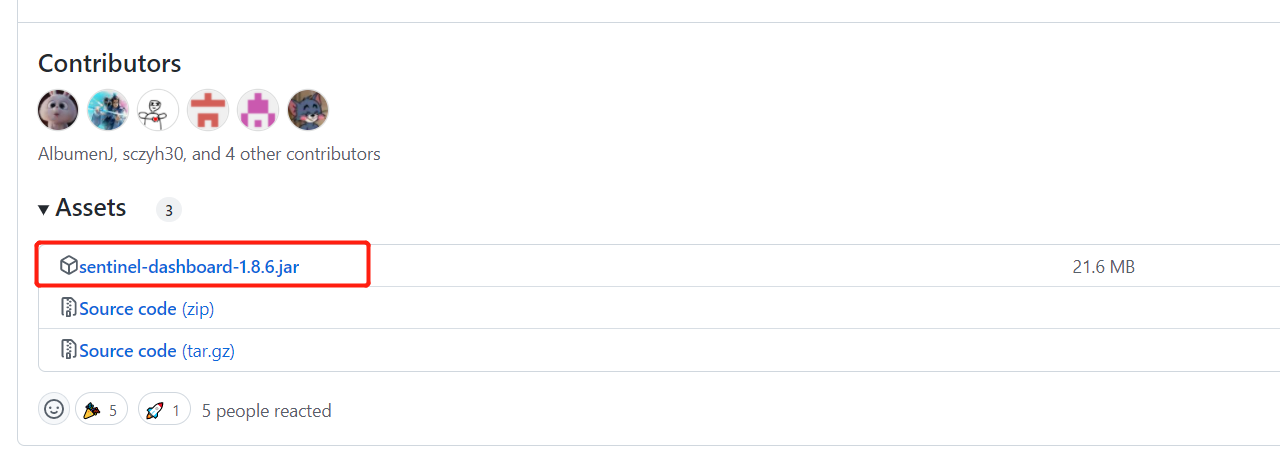
下载Sentinel部署包
我用的是目前最新的1.8.6
https://github.com/alibaba/Sentinel/releases/tag/1.8.6
部署包启动
通过java -jar命令启动,端口号根据实际情况调整,我的8080端口被其他应用占用了,调整为8091
本地启动命令:
java -Dserver.port=8091 -Dcsp.sentinel.dashboard.server=localhost:8091 -Dproject.name=sentinel-dashboard -jar sentinel-dashboard-1.8.6.jar
服务器启动命令(持久化启动):
nohup java -Dserver.port=8091 -Dcsp.sentinel.dashboard.server=localhost:8091 -Dproject.name=sentinel-dashboard -jar sentinel-dashboard-1.8.6.jar &
登录控制台

默认账号:sentinel 密码:sentinel
如果有需要调整的,可参考下面命令:
-Dsentinel.dashboard.auth.username=sentinel 用于指定控制台的登录用户名为 sentinel;
-Dsentinel.dashboard.auth.password=sentinel123 用于指定控制台的登录密码为 sentinel123;
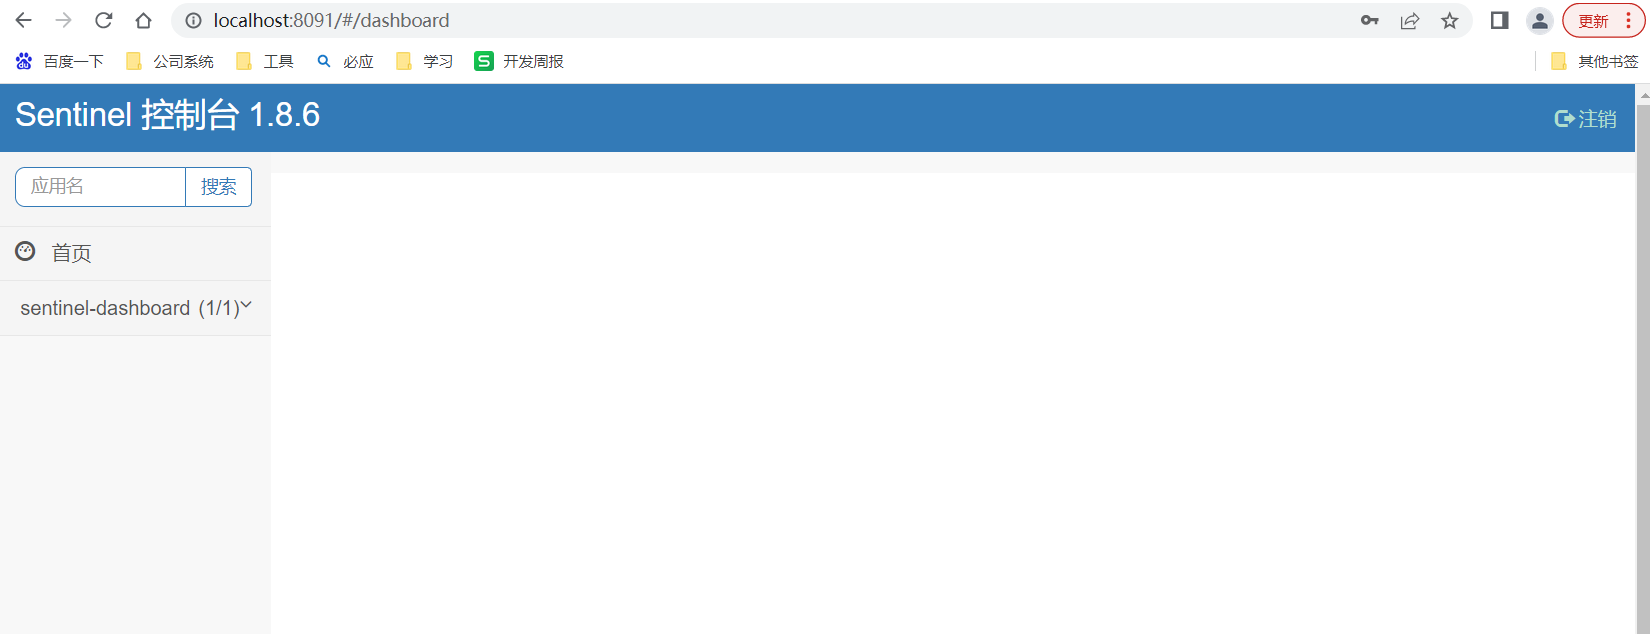
进入到控制台看到这个界面就代表部署成功了。


 1963
1963


 被折叠的 条评论
为什么被折叠?
被折叠的 条评论
为什么被折叠?
 到【灌水乐园】发言


