


一、JdbcTemplate概述
什么是 JdbcTemplate?
JdbcTemplate是Spring 框架对 JDBC 进行的封装,使用它可以更方便实现对数据库的操作。
二、使用JdbcTemplate实现对数据库的操作
(一)准备工作
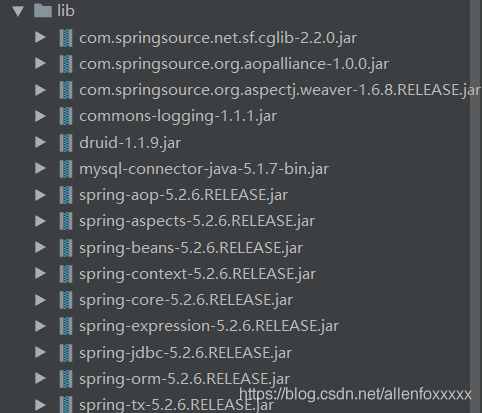
1.引入相关 jar 包
2.在 spring 配置文件配置数据库连接池
首先创建外部属性文件,properties 格式文件,写数据库信息
jdbc.properties(src下创建的):
prop.driverClass=com.mysql.jdbc.Driver
prop.url=jdbc:mysql://localhost:3306/test_book?useUnicode=true&characterEncoding=utf8
prop.username=root
prop.password=123456
把外部 properties 属性文件引入到 spring 配置文件中(记得引入 context 名称空间):
<?xml version="1.0" encoding="UTF-8"?>
<beans xmlns="http://www.springframework.org/schema/beans"
       xmlns:context="http://www.springframework.org/schema/context"
       xmlns:xsi="http://www.w3.org/2001/XMLSchema-instance"
       xsi:schemaLocation="http://www.springframework.org/schema/beans http://www.springframework.org/schema/beans/spring-beans.xsd
                           http://www.springframework.org/schema/context http://www.springframework.org/schema/context/spring-context.xsd">

    <!--引入外部属性文件-->
    <context:property-placeholder location="classpath:jdbc.properties"/>

    <!-- 数据库连接池 -->
    <bean id="dataSource" class="com.alibaba.druid.pool.DruidDataSource" destroy-method="close">
        <property name="url" value="${prop.url}" />
        <property name="username" value="${prop.username}" />
        <property name="password" value="${prop.password}" />
        <property name="driverClassName" value="${prop.driverClass}" />
    </bean>
</beans>
3.配置 JdbcTemplate 对象,注入 DataSource
通过查看JdbcTemplate的父类JdbcAccessor的源码,我们可以发现有一个设置数据源的set方法:

因此我们可以通过set注入,将我们的数据源注入:
<?xml version="1.0" encoding="UTF-8"?>
<beans xmlns="http://www.springframework.org/schema/beans"
       xmlns:context="http://www.springframework.org/schema/context"
       xmlns:xsi="http://www.w3.org/2001/XMLSchema-instance"
       xsi:schemaLocation="http://www.springframework.org/schema/beans http://www.springframework.org/schema/beans/spring-beans.xsd
                           http://www.springframework.org/schema/context http://www.springframework.org/schema/context/spring-context.xsd">

    <!--引入外部属性文件-->
    <context:property-placeholder location="classpath:jdbc.properties"/>

    <!-- 数据库连接池 -->
    <bean id="dataSource" class="com.alibaba.druid.pool.DruidDataSource" destroy-method="close">
        <property name="url" value="${prop.url}" />
        <property name="username" value="${prop.username}" />
        <property name="password" value="${prop.password}" />
        <property name="driverClassName" value="${prop.driverClass}" />
    </bean>

    <!-- JdbcTemplate 对象 -->
    <bean id="jdbcTemplate" class="org.springframework.jdbc.core.JdbcTemplate">
        <!--注入上面写好的dataSource-->
        <property name="dataSource" ref="dataSource"></property>
    </bean>
</beans>
4.创建 service 类,创建 dao 类,在 dao 类中注入 jdbcTemplate 对象
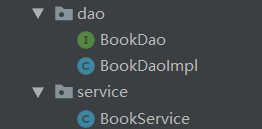
BookDao:
public interface BookDao {

}
BookDaoImpl:
import org.springframework.beans.factory.annotation.Autowired;
import org.springframework.jdbc.core.JdbcTemplate;
import org.springframework.stereotype.Repository;

@Repository
public class BookDaoImpl implements BookDao {

    //注入 JdbcTemplate
    @Autowired
    private JdbcTemplate jdbcTemplate;
}
BookService:
import com.fox.dao.BookDao;
import org.springframework.beans.factory.annotation.Autowired;
import org.springframework.stereotype.Service;

@Service
public class BookService {

    //注入dao
    @Autowired
    private BookDao bookDao;
}
5.在spring配置文件中开启注解扫描:
<?xml version="1.0" encoding="UTF-8"?>
<beans xmlns="http://www.springframework.org/schema/beans"
       xmlns:context="http://www.springframework.org/schema/context"
       xmlns:xsi="http://www.w3.org/2001/XMLSchema-instance"
       xsi:schemaLocation="http://www.springframework.org/schema/beans http://www.springframework.org/schema/beans/spring-beans.xsd
                           http://www.springframework.org/schema/context http://www.springframework.org/schema/context/spring-context.xsd">

    <!--开启注解扫描-->
    <context:component-scan base-package="com.fox"></context:component-scan>

    <!--引入外部属性文件-->
    <context:property-placeholder location="classpath:jdbc.properties"/>

    <!-- 数据库连接池 -->
    <bean id="dataSource" class="com.alibaba.druid.pool.DruidDataSource" destroy-method="close">
        <property name="url" value="${prop.url}" />
        <property name="username" value="${prop.username}" />
        <property name="password" value="${prop.password}" />
        <property name="driverClassName" value="${prop.driverClass}" />
    </bean>

    <!-- JdbcTemplate 对象 -->
    <bean id="jdbcTemplate" class="org.springframework.jdbc.core.JdbcTemplate">
        <!--注入上面写好的dataSource-->
        <property name="dataSource" ref="dataSource"></property>
    </bean>
</beans>
(二)实现数据库添加操作
场景:假设我现在有以下这么一张book表,我想往表里添加数据

1.对应数据库创建实体类

Book类:
public class Book {

    private String bookId;
    private
最低0.47元/天 解锁文章


 1215
1215


 被折叠的 条评论
为什么被折叠?
被折叠的 条评论
为什么被折叠?
 到【灌水乐园】发言


