


Spring Boot Admin 监控平台
背景:Spring Boot Admin 监控平台不添加鉴权就直接访问的话,是非常不安全的。所以在生产环境中使用时,需要添加鉴权,只有通过鉴权后才能监控客户端服务。本文整合Spring Security进行实现。
pom依赖
    <dependencies>
        <dependency>
            <groupId>org.springframework.boot</groupId>
            <artifactId>spring-boot-starter-web</artifactId>
        </dependency>
        <dependency>
            <groupId>de.codecentric</groupId>
            <artifactId>spring-boot-admin-starter-server</artifactId>
            <version>2.6.11</version>
        </dependency>
        <!--alibaba-nacos-discovery(阿里注册中心discovery)-->
        <dependency>
            <groupId>com.alibaba.cloud</groupId>
            <artifactId>spring-cloud-starter-alibaba-nacos-discovery</artifactId>
        </dependency>
        <dependency>
            <groupId>org.springframework.boot</groupId>
            <artifactId>spring-boot-starter-security</artifactId>
        </dependency>
    </dependencies>

    <dependencyManagement>
        <dependencies>
            <!--Spring Boot 相关依赖-->
            <dependency>
                <groupId>org.springframework.boot</groupId>
                <artifactId>spring-boot-starter-parent</artifactId>
                <version>2.5.3</version>
                <type>pom</type>
                <scope>import</scope>
            </dependency>
            <!--Spring Cloud 相关依赖-->
            <dependency>
                <groupId>org.springframework.cloud</groupId>
                <artifactId>spring-cloud-dependencies</artifactId>
                <version>2020.0.5</version>
                <type>pom</type>
                <scope>import</scope>
            </dependency>
            <!--Spring Cloud Alibaba 相关依赖-->
            <dependency>
                <groupId>com.alibaba.cloud</groupId>
                <artifactId>spring-cloud-alibaba-dependencies</artifactId>
                <version>2021.1</version>
                <type>pom</type>
                <scope>import</scope>
            </dependency>
        </dependencies>
    </dependencyManagement>
yml配置
server:
  port: 18000

spring:
  application:
    name: admin-server
  security:
    user:
      name: admin
      password: admin
  cloud:
    nacos:
      discovery:
        enabled: true
        server-addr: 127.0.0.1:8848
        group: admin  #指定group
        namespace: public
        service: ${spring.application.name}
启动类@EnableAdminServer
package com.admin;

import de.codecentric.boot.admin.server.config.EnableAdminServer;
import org.springframework.boot.SpringApplication;
import org.springframework.boot.autoconfigure.SpringBootApplication;
import org.springframework.cloud.client.discovery.EnableDiscoveryClient;

@EnableDiscoveryClient
@EnableAdminServer
@SpringBootApplication
public class AdminServerApplication {

    public static void main(String[] args) {
        SpringApplication.run(AdminServerApplication.class,args);
    }
}
安全配置类:SecuritySecureConfig.java
package com.admin.config;

import de.codecentric.boot.admin.server.config.AdminServerProperties;
import org.springframework.context.annotation.Configuration;
import org.springframework.security.config.annotation.web.builders.HttpSecurity;
import org.springframework.security.config.annotation.web.configuration.WebSecurityConfigurerAdapter;
import org.springframework.security.web.authentication.SavedRequestAwareAuthenticationSuccessHandler;

@Configuration(proxyBeanMethods = false)
public class SecuritySecureConfig extends WebSecurityConfigurerAdapter {

    private final String adminContextPath;

    public SecuritySecureConfig(AdminServerProperties adminServerProperties) {
        this.adminContextPath = adminServerProperties.getContextPath();
    }

    @Override
    protected void configure(HttpSecurity http) throws Exception {
        SavedRequestAwareAuthenticationSuccessHandler successHandler = new SavedRequestAwareAuthenticationSuccessHandler();
        successHandler.setTargetUrlParameter( "redirectTo" );

        http.authorizeRequests()
                .antMatchers( adminContextPath + "/assets/**" ).permitAll()
                .antMatchers( adminContextPath + "/login" ).permitAll()
                .anyRequest().authenticated()
                .and()
                .formLogin().loginPage( adminContextPath + "/login" ).successHandler( successHandler ).and()
                .logout().logoutUrl( adminContextPath + "/logout" ).and()
                .httpBasic().and()
                .csrf().disable();
    }
}
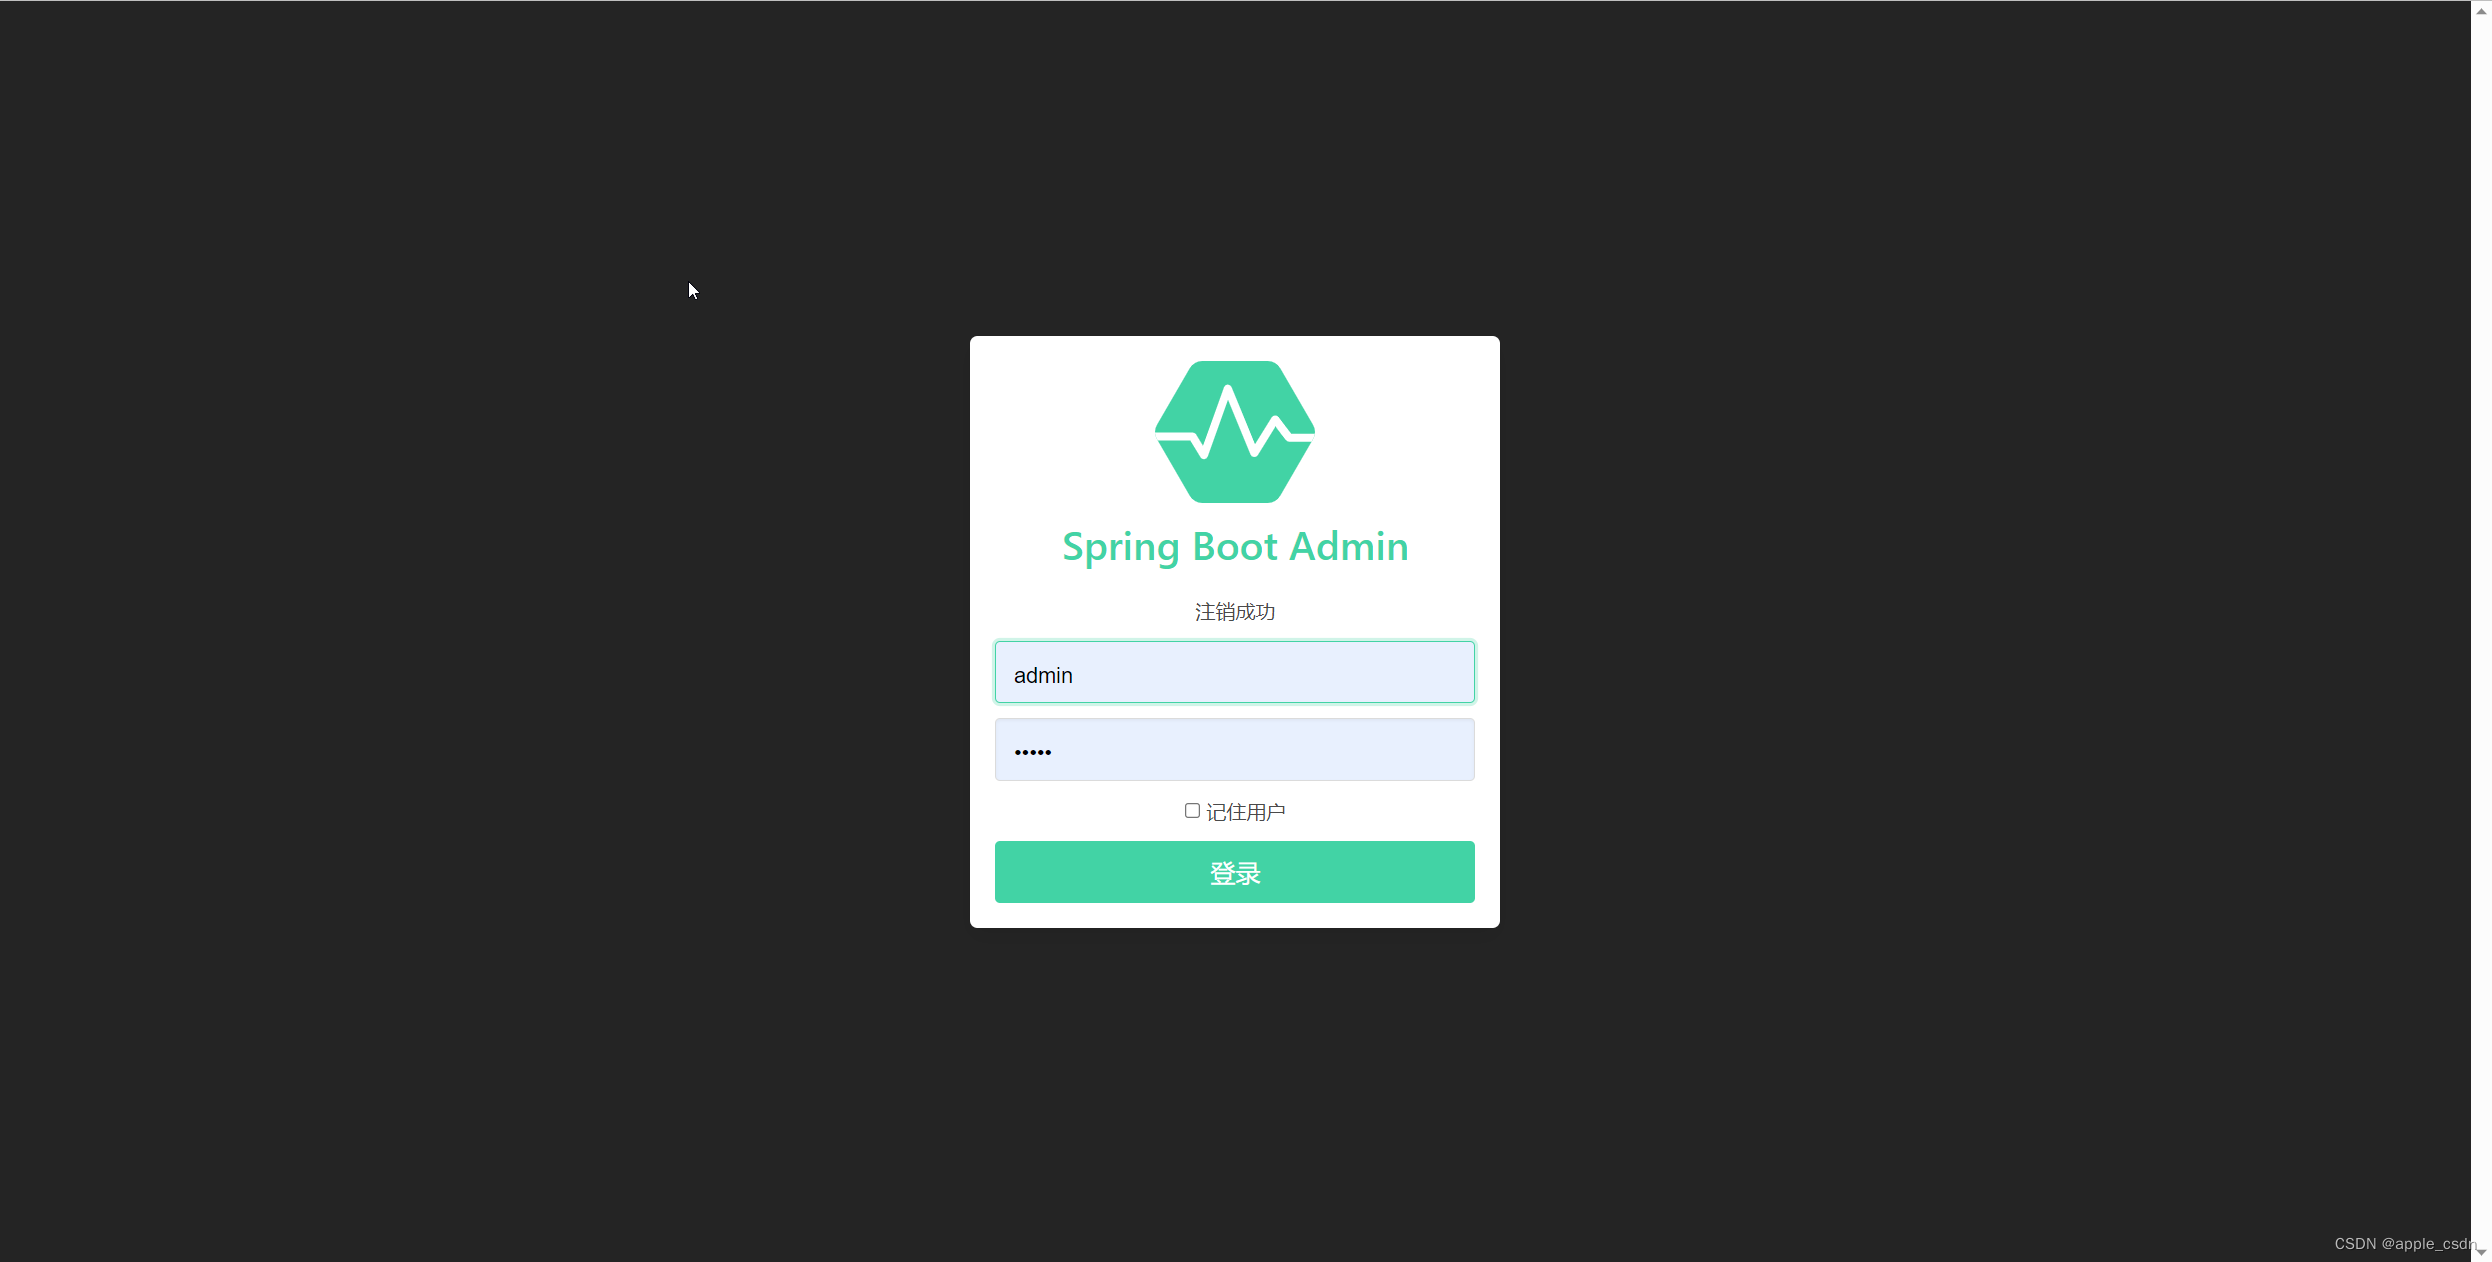
服务启动成功后,访问链接:http://127.0.0.1:18000。需要先进行登录(admin-admin),才能进入控制台页面。
客户端服务
背景:客户端服务的检查接口(/actuator/**)默认可以直接通过接口调用,是非常不安全的。所以在生产环境中使用时,可添加鉴权功能提升安全性。
pom依赖
    <dependencies>
        <dependency>
            <groupId>org.springframework.boot</groupId>
            <artifactId>spring-boot-starter-web</artifactId>
        </dependency>
        <dependency>
            <groupId>org.springframework.boot</groupId>
            <artifactId>spring-boot-starter-actuator</artifactId>
        </dependency>
        <dependency>
            <groupId>de.codecentric</groupId>
            <artifactId>spring-boot-admin-starter-client</artifactId>
            <version>2.6.11</version>
        </dependency>
        <dependency>
            <groupId>org.projectlombok</groupId>
            <artifactId>lombok</artifactId>
            <version>1.16.14</version>
            <scope>provided</scope>
        </dependency>
        <!-- alibaba-nacos-discovery(阿里注册中心discovery)-->
        <dependency>
            <groupId>com.alibaba.cloud</groupId>
            <artifactId>spring-cloud-starter-alibaba-nacos-discovery</artifactId>
        </dependency>
        <dependency>
            <groupId>org.springframework.boot</groupId>
            <artifactId>spring-boot-starter-security</artifactId>
        </dependency>
    </dependencies>

    <dependencyManagement>
        <dependencies>
            <!--Spring Boot 相关依赖-->
            <dependency>
                <groupId>org.springframework.boot</groupId>
                <artifactId>spring-boot-starter-parent</artifactId>
                <version>2.5.3</version>
                <type>pom</type>
                <scope>import</scope>
            </dependency>
            <!--Spring Cloud 相关依赖-->
            <dependency>
                <groupId>org.springframework.cloud</groupId>
                <artifactId>spring-cloud-dependencies</artifactId>
                <version>2020.0.5</version>
                <type>pom</type>
                <scope>import</scope>
            </dependency>
            <!--Spring Cloud Alibaba 相关依赖-->
            <dependency>
                <groupId>com.alibaba.cloud</groupId>
                <artifactId>spring-cloud-alibaba-dependencies</artifactId>
                <version>2021.1</version>
                <type>pom</type>
                <scope>import</scope>
            </dependency>
        </dependencies>
    </dependencyManagement>
yml配置(通过Url注册)
spring:
  security:
    user:
      name: user
      password: user
  application:
    name: admin-order
  # spring boot admin
  boot:
    admin:
      client:
        url: http://127.0.0.1:18000
        username: admin
        password: admin
        instance:
          prefer-ip: true
          name: admin-order
          # 这个name与password用于在注册到管理端时,使管理端有权限获取客户端端点数据
          metadata:
            user.name: ${spring.security.user.name}
            user.password: ${spring.security.user.password}
server:
  port: 18001
  servlet:
    context-path: /order

#  endpoints config
management:
  endpoints:
    web:
      exposure:
        include: "*"
  endpoint:
    health:
      show-details: always

logging:
  # 只有配置了日志文件,才能被监控收集
  file:
    name: logs/${spring.application.name}/${spring.application.name}.log
yml配置(通过注册中心注册)
spring:
  security:
    user:
      name: user
      password: user
  application:
    name: admin-order
  cloud:
    nacos:
      discovery:
        metadata:
          # 为服务实例添加一个名为“user.name”的元数据项,并将其值设置为指定的服务用户名。这个用户名通常用于进行鉴权,以确保只有授权的用户才能访问该服务。
          user.name: ${spring.security.user.name}
          user.password: ${spring.security.user.password}
          management:
            # 表示Actuator端点的上下文路径。具体地说,这个属性的作用是将Actuator端点的上下文路径设置为${server.servlet.context-path}/actuator
            context-path: ${server.servlet.context-path}/actuator
        enabled: true
        server-addr: 127.0.0.1:8848
        group: admin  #指定group
        namespace: public
        service: ${spring.application.name}

server:
  port: 18001
  servlet:
    context-path: /order

#  endpoints config
management:
  endpoints:
    web:
      exposure:
        include: "*"
  endpoint:
    health:
      show-details: always

logging:
  # 只有配置了日志文件,才能被监控收集
  file:
    name: logs/${spring.application.name}/${spring.application.name}.log
启动类
package com.admin;

import lombok.extern.slf4j.Slf4j;
import org.springframework.boot.SpringApplication;
import org.springframework.boot.autoconfigure.SpringBootApplication;
import org.springframework.cloud.client.discovery.EnableDiscoveryClient;

@Slf4j
@EnableDiscoveryClient
@SpringBootApplication
public class AdminOrderApp {
    public static void main(String[] args) {
        SpringApplication.run(AdminOrderApp.class, args);
    }
}
服务启动成功后,访问监控平台,就能监控admin-order服务了。
注意:如果监控平台上没有看见客户端服务,则需要重启Spring Boot Admin 监控服务


 872
872

 被折叠的 条评论
为什么被折叠?
被折叠的 条评论
为什么被折叠?
 到【灌水乐园】发言


