


spring和源码3.0.5下载
http://download.csdn.net/download/haluoyimo/7752753
http://pan.baidu.com/s/1qYnK784
参考文章
http://www.cnblogs.com/xing901022/p/4178963.html
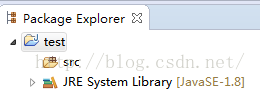
首先新建一个Java项目;
解压后的spring包是如下的结构;
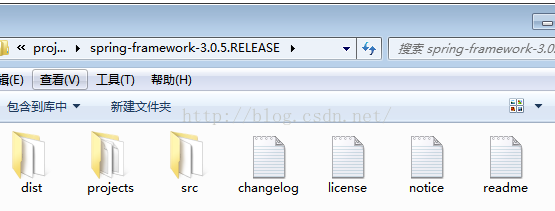
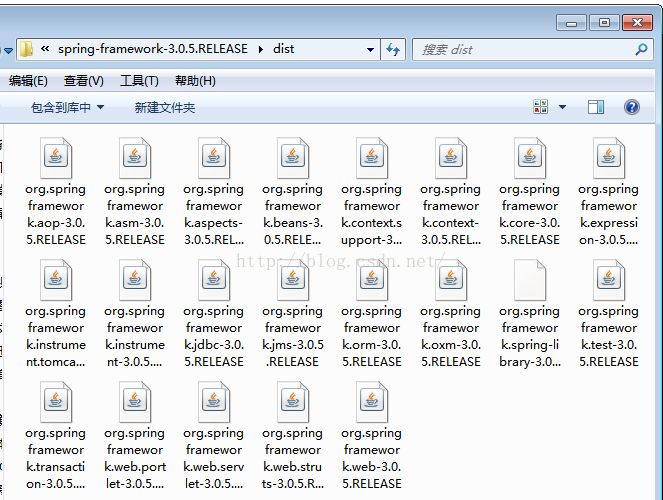
dist内是发布的包;
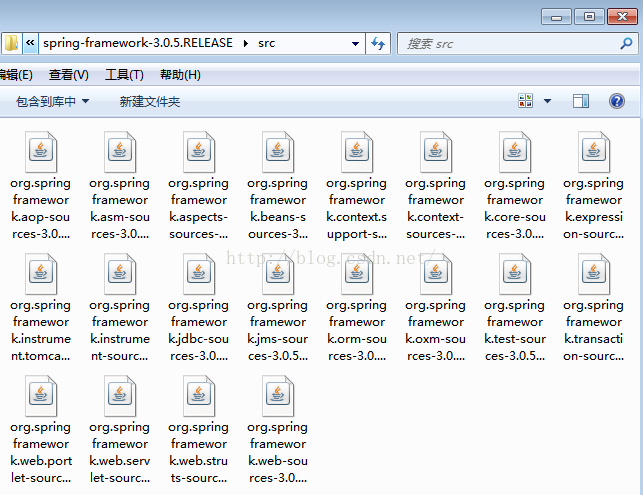
src内是对应的源码包;
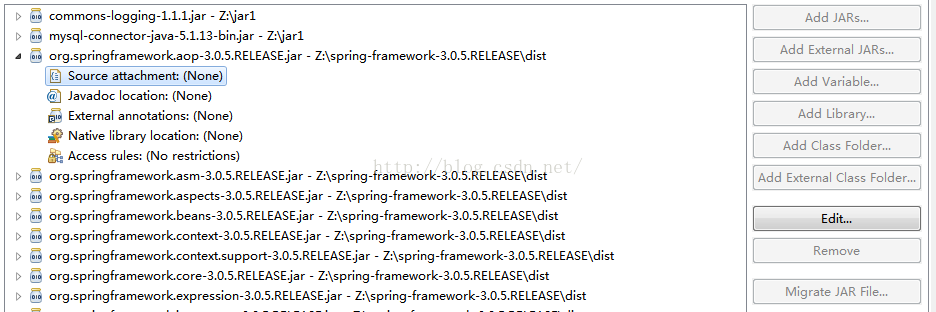
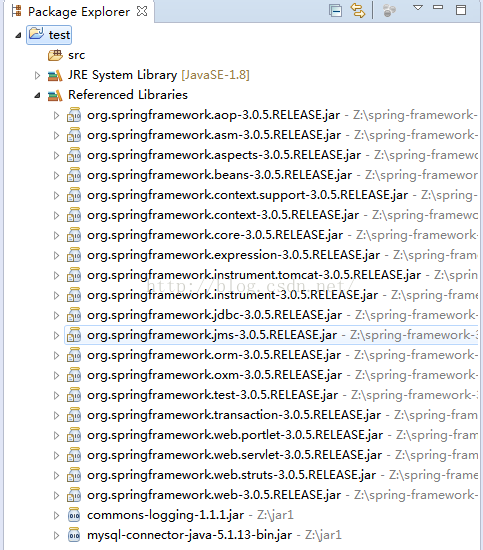
项目属性导入全部的dist下的包,还有mysql-connector,commons-logging等;完成后如下图;
或者光导入项目用到的包也可;

点开一个导入的spring dist包,点击Source attachment,点击 Edit 按钮;
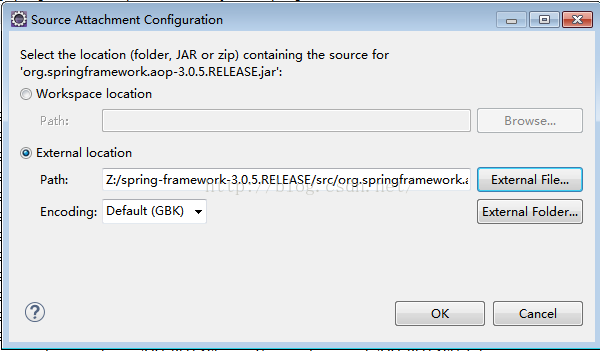
添加源码包的路径,即src下的包的路径;如下图;
发布包和源码包一个个对应的;
添加好之后如下;
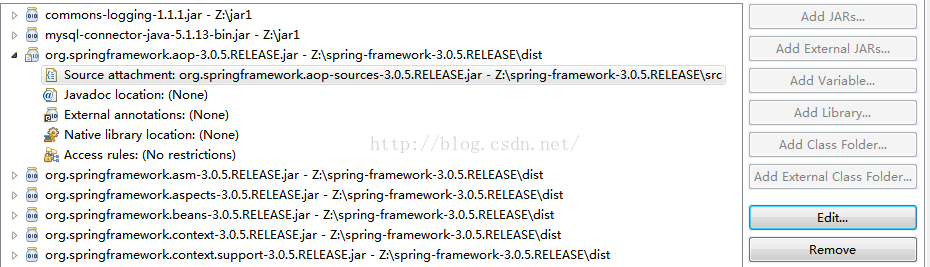
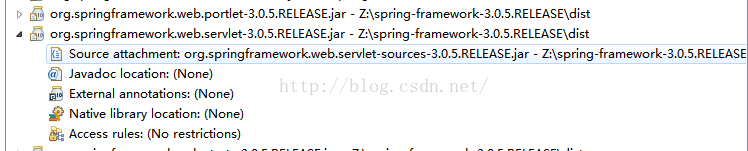
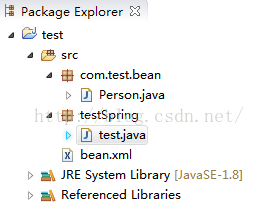
完成上述后项目结构如下;
新建如下的包,类,文件;
代码;
Person.java
package com.test.bean;

public class Person {

    private String name;
    private int age;

    public String getName() {
        return name;
     }
     public void setName(String name) {
         this.name = name;
     }
     public int getAge() {
         return age;
     }
     public void setAge(int age) {
         this.age = age;
     }
     public void info(){
         System.out.println("name:"+getName()+" age:"+getAge());
     }
 }
test.java
package testSpring;

import org.springframework.context.ApplicationContext;
import org.springframework.context.support.ClassPathXmlApplicationContext;

import com.test.bean.Person;

public class test {
    public static void main(String[] args){
        ApplicationContext ctx = new ClassPathXmlApplicationContext("bean.xml");//读取bean.xml中的内容
        Person p = ctx.getBean("person",Person.class);//创建bean的引用对象
        p.info();
    }
}
bean.xml
<?xml version="1.0" encoding="UTF-8"?>
<beans xmlns:xsi="http://www.w3.org/2001/XMLSchema-instance"
xmlns="http://www.springframework.org/schema/beans"
xsi:schemaLocation="http://www.springframework.org/schema/beans
http://www.springframework.org/schema/beans/spring-beans-3.0.xsd">
<bean id="person" class="com.test.bean.Person">
<property name="name" value="xingoo"/>
<property name="age" value="12"/>
</bean>
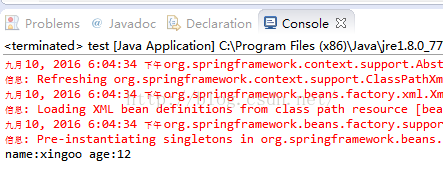
</beans>项目运行结果如下;
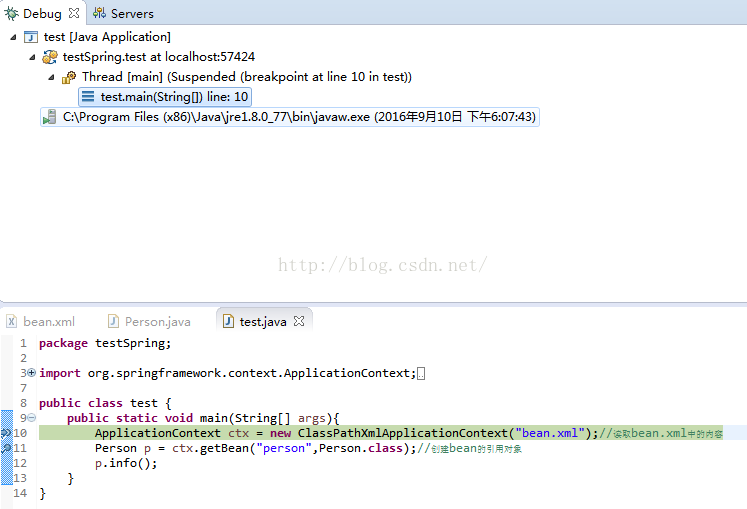
在
ApplicationContext ctx = new ClassPathXmlApplicationContext("bean.xml");//读取bean.xml中的内容
Person p = ctx.getBean("person",Person.class);//创建bean的引用对象
这两句下断点;然后开始debug;
停留在断点;
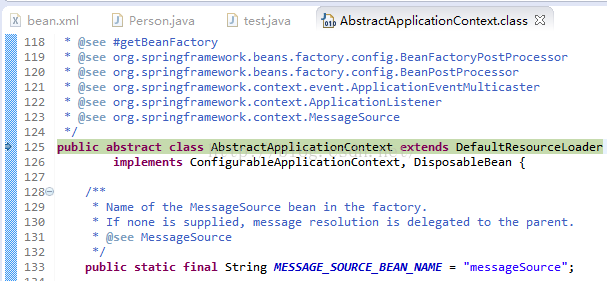
打F5,进入下一个函数;进到spring源码了;因为前面附着了spring源码包,对应的spring源码函数显示出来;

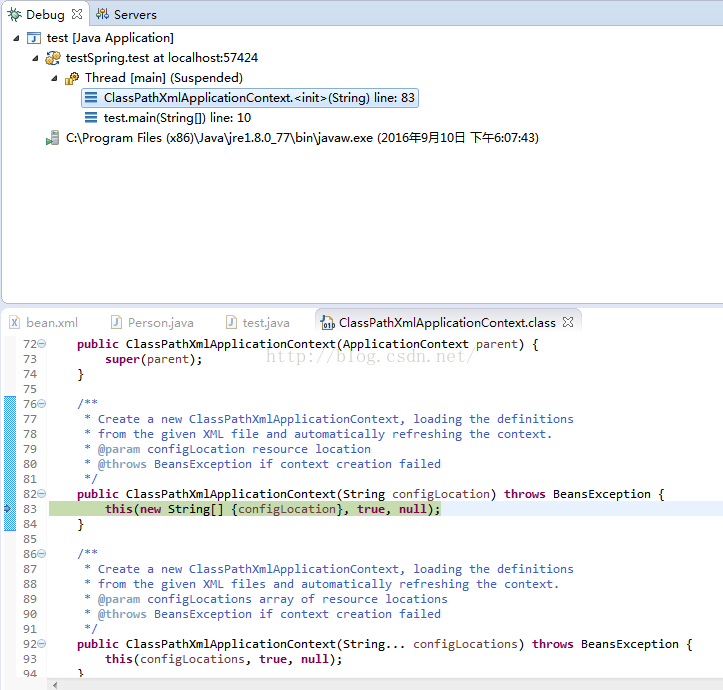
F5,下一个函数;
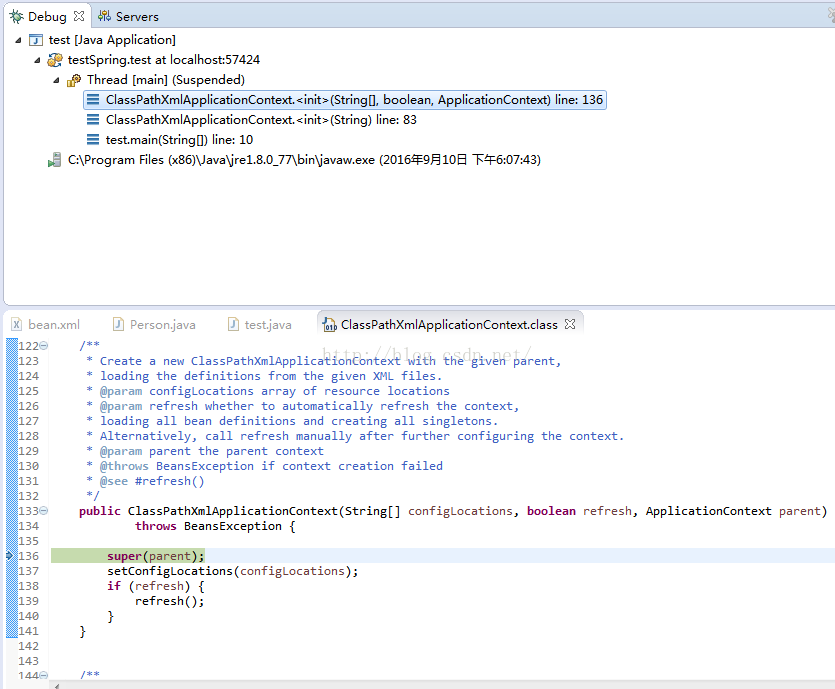
F5,下一个函数;
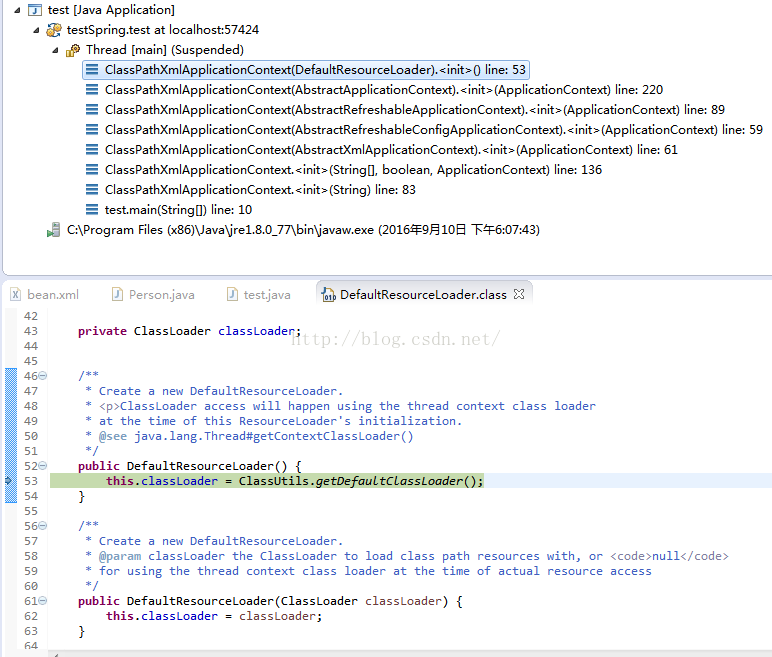
F5,下一个函数;
F5,下一个函数;
F5,下一个函数;
看到一列的函数调用,这个就是传说中的栈帧了;

如果进到没有附着源码的函数,则会提示Source not found,如上图;


 2875
2875

 被折叠的 条评论
为什么被折叠?
被折叠的 条评论
为什么被折叠?
 到【灌水乐园】发言


