


引言
本例来自于vtk官网。创建两条不同颜色的直线。下面直接上代码。
示例
开发环境
使用QtCreator4.11.2,Qt5.14.2。使用的vtk9.2的库及其头文件。创建空项目。
示例代码
.pro
QT       += core gui

greaterThan(QT_MAJOR_VERSION, 4): QT += widgets

CONFIG += c++11 vtk9.2

# The following define makes your compiler emit warnings if you use
# any Qt feature that has been marked deprecated (the exact warnings
# depend on your compiler). Please consult the documentation of the
# deprecated API in order to know how to port your code away from it.
DEFINES += QT_DEPRECATED_WARNINGS

# You can also make your code fail to compile if it uses deprecated APIs.
# In order to do so, uncomment the following line.
# You can also select to disable deprecated APIs only up to a certain version of Qt.
#DEFINES += QT_DISABLE_DEPRECATED_BEFORE=0x060000    # disables all the APIs deprecated before Qt 6.0.0

SOUPDIR = $$PWD/../../SOUPdependency
vtk9.2 {
    contains(QT_ARCH, x86_64) {
        include($$SOUPDIR/vtk-9.2/vtk-9.2.pri)
    } else {
        include($$SOUPDIR/vtk-9.2-2017-omp-win32/vtk-9.2.pri)
    }
    DEFINES += vtkEventDataButton3D=vtkEventDataDevice3D
    DEFINES += vtkEventDataMove3D=vtkEventDataDevice3D
}

include($$SOUPDIR/dcmtk-3.6.4/dcmtk-3.6.4.pri)

# Default rules for deployment.
qnx: target.path = /tmp/$${TARGET}/bin
else: unix:!android: target.path = /opt/$${TARGET}/bin
!isEmpty(target.path): INSTALLS += target

HEADERS += \
    VtkWidget.h

SOURCES += \
    VtkWidget.cpp \
    main.cpp
main.cpp
#include <QApplication>
#include <vtkNew.h>
#include <vtkPoints.h>
#include <vtkLine.h>
#include <vtkCellArray.h>
#include <vtkPolyData.h>
#include <vtkPolyDataMapper.h>
#include <vtkActor.h>
#include <vtkNamedColors.h>
#include <vtkUnsignedCharArray.h>
#include <vtkDataSet.h>
#include <vtkCellData.h>
#include <vtkProperty.h>
#include "VtkWidget.h"

int main(int argc,char *argv[])
{
    QApplication a(argc, argv);
    double origin[3] = {0.0,0.0,0.0};
    double p0[3] = {1.0,0.0,0.0};
    double p1[3] = {0.0,1.0,0.0};

    vtkNew<vtkPoints> points;//多用于局部变量,为智能指针,相对于vtkSmartPointer,vtkNew不能直接获取指针
    points->InsertNextPoint(origin);
    points->InsertNextPoint(p0);
    points->InsertNextPoint(p1);

    vtkNew<vtkLine> line1;
    line1->GetPointIds()->SetId(0,0);
    line1->GetPointIds()->SetId(1,1);

    vtkNew<vtkLine> line2;
    line2->GetPointIds()->SetId(0,0);
    line2->GetPointIds()->SetId(1,2);

    vtkNew<vtkCellArray> cellArray;
    cellArray->InsertNextCell(line1);
    cellArray->InsertNextCell(line2);

    vtkNew<vtkPolyData> polyData;
    polyData->SetPoints(points);
    polyData->SetLines(cellArray);


   vtkNew<vtkNamedColors> colors;
   vtkNew<vtkUnsignedCharArray> charArray;
   charArray->SetNumberOfComponents(3);//设置数组维度
   charArray->InsertNextTypedTuple(colors->GetColor3ub("Tomato").GetData());
   charArray->InsertNextTypedTuple(colors->GetColor3ub("Mint").GetData());
   polyData->GetCellData()->SetScalars(charArray);//设置线的颜色

   vtkNew<vtkPolyDataMapper> mapper;
   mapper->SetInputData(polyData);

   vtkNew<vtkActor> actor;
   actor->SetMapper(mapper);
   actor->GetProperty()->SetLineWidth(3);

   VtkWidget w;
   w.setRenderBackGroundColor("SlateGray");
   w.addRenderActor(actor);
   w.addRenderToRenderWindow();
   w.show();

    return a.exec();
}
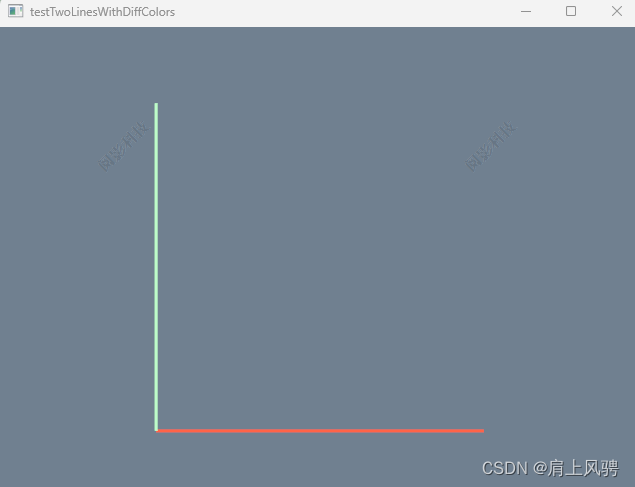
运行结果


 812
812


 被折叠的 条评论
为什么被折叠?
被折叠的 条评论
为什么被折叠?
 到【灌水乐园】发言


