


Nutch下载
上nutch官网下载页面下载最新的代码包
http://nutch.apache.org/downloads.html
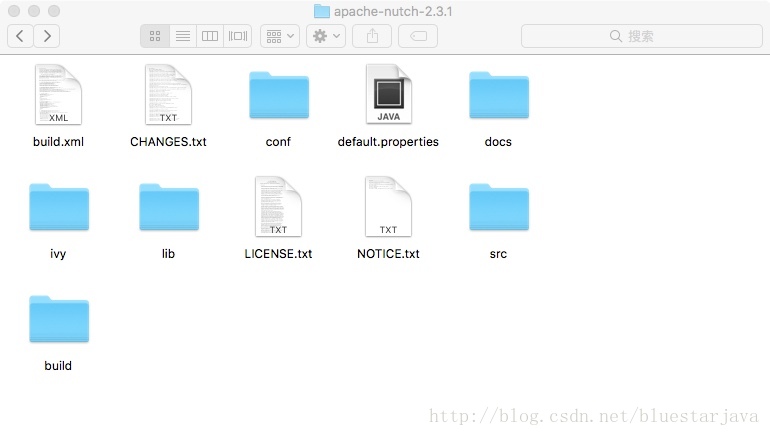
下载并解压后,得到如下文件夹
Elasticsearch1.4下载
最新的Elasticsearch是5.1版本,但由于Nutch2.3内置的是Elasticsearch1.4.1的连接客户端,所以还是需要安装Elasticsearch1.4
下载地址 https://download.elasticsearch.org/elasticsearch/elasticsearch/elasticsearch-1.4.1.tar.gz
修改ivy源
由于默认的ivy源速度比较慢,所以在这里换成国内的源
在ivy/ivysetting.xml文件中找到下面这段配置
<property name="repo.maven.org"
      value="http://repo1.maven.org/maven2/"
      override="false"/>
把value替换成阿里云的地址:
http://maven.aliyun.com/nexus/content/groups/public/创建eclipse项目
把nutch解压后的文件压移至eclipse工作空间中;
在eclipse中,在菜单中选择File->New->Project
然后选择工程类型”Java Project from Existing Ant Buildfile”,再选择nutch文件夹下的build.xml文件即可;
修改配置文件
修改conf/nutch-site.xml
<!-- Put site-specific property overrides in this file. -->
<configuration>

<!--此参数主要用于在IDE环境开发模式运行,在构建输出的runtime部署运行请注释或删除此项参数-->
    <!-- Just for development, please remove this plugin.folders for production env -->
    <property>
        <name>plugin.folders</name>
        <value><value>/Users/luojian/Documents/javaworkspace/nutch/build/plugins</value></value>
    </property>

<!--基于gora的爬虫数据底层存储机制,-->
    <!--官方文档及推荐为HBase,本项目默认配置为MongoDB。需要同步配置gora.properties文件中相关参数。-->
    <property>
            <name>storage.data.store.class</name>
            <value>org.apache.gora.mongodb.store.MongoStore</value>
            <description>Default class for storing data</description>
    </property>

    <property>
            <name>http.agent.name</name>
            <value>Your Nutch Spider</value>
    </property>
</configuration>
修改ivy/ivy.xml
<!-- 取消以下关于MongoDB的注释,使其生效--> <dependency org="org.apache.gora" name="gora-mongodb" rev="0.6.1" conf="*->default" />- 修改conf/gora.properties
 #######################
 \# MongoDBStore properties #
 \#######################
 gora.datastore.default=org.apache.gora.mongodb.store.MongoStore
 gora.mongodb.override_hadoop_configuration=false
 gora.mongodb.mapping.file=/gora-mongodb-mapping.xml
 gora.mongodb.servers=localhost:27017
 gora.mongodb.db=nutchFocuse
 \#gora.mongodb.login=login
 \#gora.mongodb.secret=secret
- Ant 编译
右键build.xml-> Ant build…
在Targets标签页下,选中 eclipse 修改config build path 顺序,将conf置顶


添加爬取网址
在项目目录下新建 urls 文件夹,
并在此文件夹下新建seed.txt文件
seed.txt文件的内容如下:
 #zhihu
 https://www.zhihu.com/explore
启动爬虫
配置启动参数


点击Run运行
看到如下结果,则代表正常

增加操作java类
完成以上步骤,nutch已经能在eclipse中跑起来了
用nutch编译生成的 crawl脚本,在eclipse中会有比较多问题,比如找不到类,classpath不正确等
为了更方便操作,增加一个java类来代替crawl脚本
package org.apache.nutch.crawl;

import org.apache.nutch.fetcher.FetcherJob;
import org.apache.nutch.indexer.IndexingJob;
import org.apache.nutch.parse.ParserJob;

public class Crawler {
    /**
     * @param args
     */
    public static void main(String[] args) {
        GeneratorJob gen = new GeneratorJob();
        String a = null;
        try {
            String[] arg1 = { "/Users/luojian/Documents/javaworkspace/nutch/urls", "-crawlId", "test" };
            InjectorJob.inject(arg1);
            for (int count=0;count<2;count++){
            String[] arg2 = { "-crawlId", "test" };
            a = gen.gen(arg2);
            System.out.println("输出的是" + a);
            String[] arg3= {a,"-crawlId","test"};
            FetcherJob.fetch(arg3);
            ParserJob.parse(arg3);
            DbUpdaterJob.dbupdate(arg3);
            String[] arg4={"-all","-crawlId","test"};
            IndexingJob.index(arg4);
            }
        } catch (Exception e) {
            e.printStackTrace();
        }
    }
}
其中 gen.gen(arg2) FetcherJob.fetch(arg3) ParserJob.parse(arg3) DbUpdaterJob.dbupdate(arg3) IndexingJob.index(arg4) 都是在原有的main方法上修改的,复制main方法,并修改方法名称,把里面的System.exit(res)这一行代码注释掉,如IndexingJob类的代码修改如下
public static void main(String[] args) throws Exception {
    final int res = ToolRunner.run(NutchConfiguration.create(),
        new IndexingJob(), args);
    System.exit(res);
  }
  //复制main方法,然后注释掉System.exit
  public static void index(String[] args) throws Exception {
        final int res = ToolRunner.run(NutchConfiguration.create(),
            new IndexingJob(), args);
//      System.exit(res);
      }


 1386
1386

 被折叠的 条评论
为什么被折叠?
被折叠的 条评论
为什么被折叠?
 到【灌水乐园】发言


