


infopath2013是这个工具的最终版本,包含在office2013 profession plus 专业增强版中
可以定制各种表单,包括1对多的主子表单, 子表单是通过重复表属性配置的,只有空白表单模板才支持重复表控件,且不能在服务器本机发布(可在另外的机器上发布),否则发布失败
对应流程可通过sharepoint designer定义
sharepoint安装
1、powershell中运行
$serviceApp = New-SPStateServiceApplication -Name "State Service sp2016"
New-SPStateServiceDatabase -Name "StateServiceDatabase sp2016" -ServiceApplication $serviceApp
New-SPStateServiceApplicationProxy -Name "State Service sp2016" -ServiceApplication $serviceApp -DefaultProxyGroup
2、安装补丁
执行prerequisiteinstaller文件显示预安装组件全部安装完成,但在执行Setup.exe时,提示本产品需要Microsoft .Net Framework 4.5 ,这时需要安装相应补丁
KB2919442 是 Windows Server 2012 R2 更新的先决条件,在尝试安装 KB2919355 之前应先安
装 clearcompressionflag.exe
Windows Server 2012 R2 .net4.8安装出错(0x800713ec-亚洲)-CSDN博客
3、更改了系统管理账户的密码,导致sharepoint主页和管理中心都报错SharePoint Site Error: Service Unavailable HTTP Error 503. The service is unavailable。
解决办法:
1.打开IIS管理器,点击“应用程序池。
2.找到您的应用程序池帐户,并右键单击它并选择“高级设置”。
3.点击标识中的权利去改变它(会弹出一个窗口)。
4.点击设置,只是在那里重新键入新密码与您的应用程序池标识。

二、windows2022+sharepoint2019
1、Prerequestinstaller 时web IIS配置报错
在powershell中运行如下命令,其中D:\sources\sxs 为windows 2022安装文件中的实际位置,加载ISO后可以看到这个目录:

Import-Module ServerManager

Add-WindowsFeature Net-Framework-Features,Web-Server,Web-WebServer,Web-Common-Http,Web-Static-Content,Web-Default-Doc,Web-Dir-Browsing,Web-Http-Errors,Web-App-Dev,Web-Asp-Net,Web-Net-Ext,Web-ISAPI-Ext,Web-ISAPI-Filter,Web-Health,Web-Http-Logging,Web-Log-Libraries,Web-Request-Monitor,Web-Http-Tracing,Web-Security,Web-Basic-Auth,Web-Windows-Auth,Web-Filtering,Web-Digest-Auth,Web-Performance,Web-Stat-Compression,Web-Dyn-Compression,Web-Mgmt-Tools,Web-Mgmt-Console,Web-Mgmt-Compat,Web-Metabase,WAS,WAS-Process-Model,WAS-NET-Environment,WAS-Config-APIs,Web-Lgcy-Scripting,Windows-Identity-Foundation,Server-Media-Foundation,Xps-Viewer –Source D:\sources\sxs
2、使用InfoPath2013在sharepoint服务器上发布表单库时,可能会提示“文档库已被重命名或删除”, 报错如下:

原因:在服务器上使用InfoPath,必须启用“桌面体验”Feature ,(在其它机器上使用InfoPath不会有这个问题);
解决方法:
- 以管理员身份登录。
- 启动服务器管理器。
- 选择添加角色和功能。
- 在“选择安装类型”页面上,选择基于角色或基于功能的安装。
- 在“选择目标服务器”页面上,选择一个服务器。
- 在“选择服务器角色”页面上,接受默认选择并单击下一步。
- 在“选择功能”页面上的用户界面和基础架构下,选择桌面体验。
- 按照提示完成安装。
- 确定在服务中已启动Theme服务。
http://support.microsoft.com/kb/2752612/en-us
如果是windows server2019以上版本,并没有“桌面体验”这个功能项,但需要安装“WebDAV 重定向”(WebDAV Redirector) 功能

Go to server manager->add roles and features->install the WebDAV Redirector feature->restart the server.
And then go to start->search “services”->start the “WebClient” service.
After that, you could go to the document library and click “open with explorer” in the ribbon, it will open the document library in the windows explorer.
三、如果要在sharepoint中链接其他数据库数据,需要配置Business Data Connectivity Services service,如果在管理中心发现该服务是停止状态,可以按如下操作创建服务
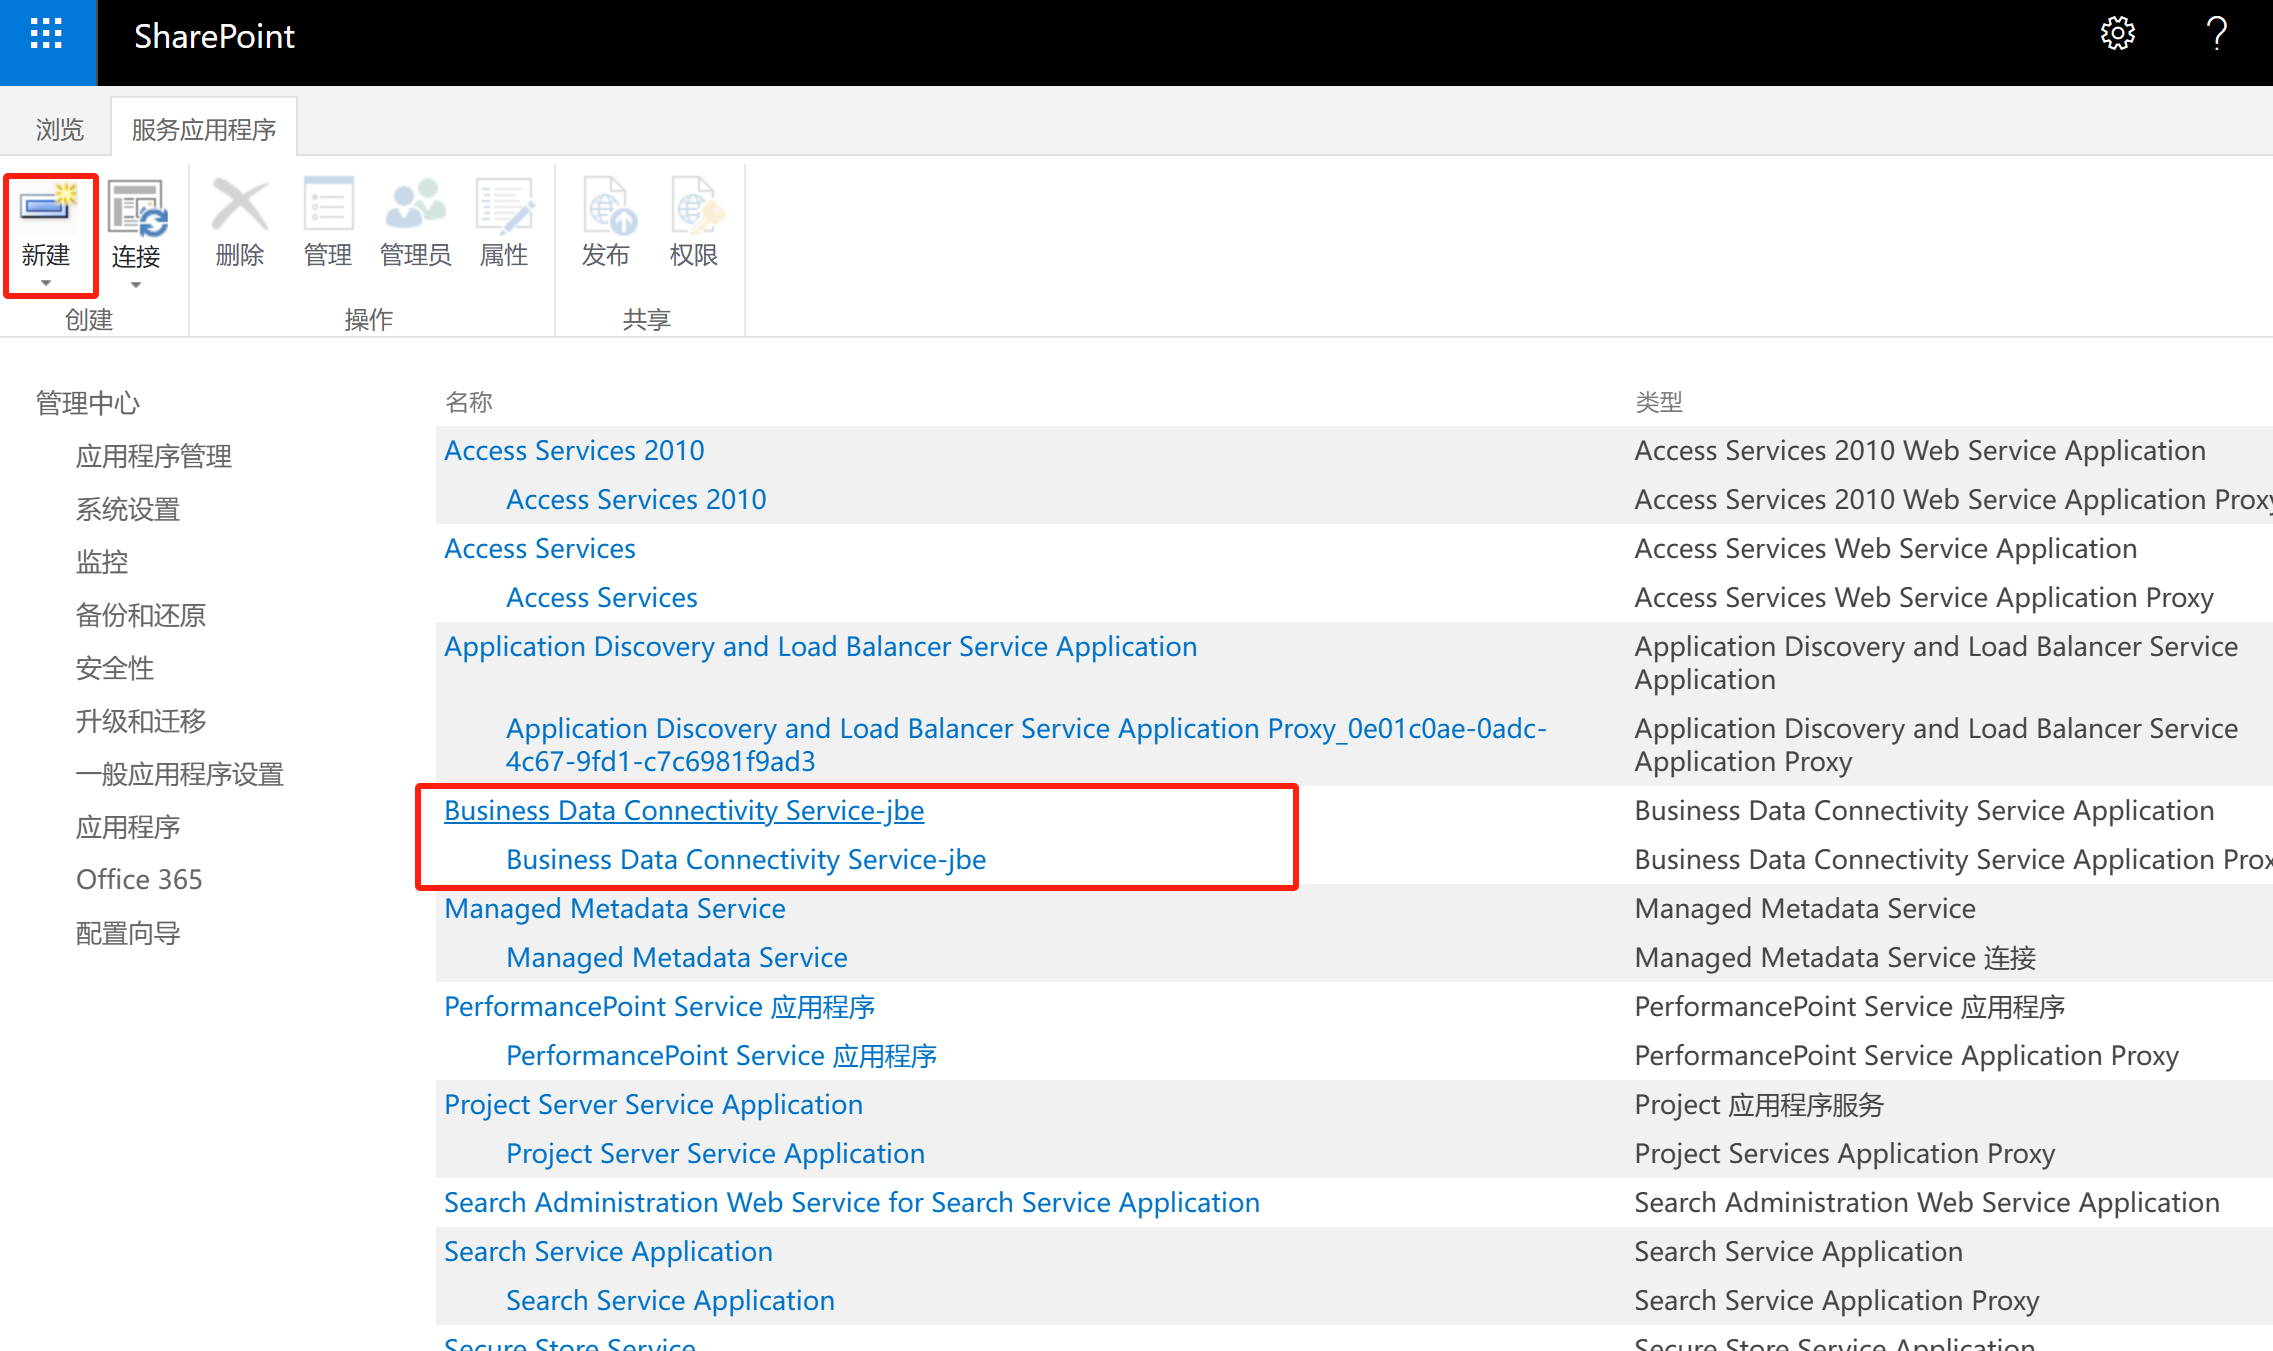
To create a Business Data Connectivity Services service application
-
Open the SharePoint Central Administration website for with a farm administrator account.
-
Under Application Management, choose Manage service applications.
-
Click New and then click Business Data Connectivity Service.
-
Configure the setting in the Create New Business Data Connectivity Service Application configuration page as follows:
-
In the Service Application Name box type a name for the service application.
-
In the Database area, leave the prepopulated values for Database Server, Database Name, and Database authentication, which is Windows authentication (recommended) unless you have specific design needs to change them.
-
If you have SQL Server database mirroring configured and you want to include the Business Data Connectivity Service database in mirroring, provide the name of the failover database server in the Failover Database Server box.
-
Type a name for a new application pool in the Application pool name box.
-
Select the managed account that you registered from the drop down list.
-
Click OK to create the new Business Data Connectivity Service Application and click OK again.
-
Select the row that the Business Data Connectivity Service Application is in, not the proxy row.
-
Click Administrators in the Operations area and add any accounts that you want to be able to administer the Business Data Connectivity service application granting them full control. When these individuals open Central Administration they will be able to administer the Business Data Connectivity service application


 208
208

 被折叠的 条评论
为什么被折叠?
被折叠的 条评论
为什么被折叠?
 到【灌水乐园】发言


