


文章目录
一、需求说明
elasticsearch和kibana默认情况下均未使用用户登录验证,因为kibana对elasticsearch上索引具备增删改查的能力,为了数据安全我们需要配置用户验证。
二、配置步骤
1、前置条件
已经完成elasticsearch和kibana的安装,安装步骤参照Linux之ES集群搭建 和Linux之kibana安装
2、修改elasticsearch配置文件
[es@test1 es]$ vim config/elasticsearch.yml
#添加如下配置
xpack.security.enabled: true
xpack.security.transport.ssl.enabled: true
3、重启es
[es@test1 es]$ pgrep -f elastic |xargs kill
[es@test1 es]$ ./bin/elasticsearch -d
3、配置elasticsearch密码
[es@test1 es]$ ./bin/elasticsearch-setup-passwords interactive
Initiating the setup of passwords for reserved users elastic,apm_system,kibana,kibana_system,logstash_system,beats_system,remote_monitoring_user.
You will be prompted to enter passwords as the process progresses.
Please confirm that you would like to continue [y/N]y
Enter password for [elastic]:
Reenter password for [elastic]:
Enter password for [apm_system]:
Reenter password for [apm_system]:
Enter password for [kibana_system]:
Reenter password for [kibana_system]:
Enter password for [logstash_system]:
Reenter password for [logstash_system]:
Enter password for [beats_system]:
Reenter password for [beats_system]:
Enter password for [remote_monitoring_user]:
Reenter password for [remote_monitoring_user]:
Changed password for user [apm_system]
Changed password for user [kibana_system]
Changed password for user [kibana]
Changed password for user [logstash_system]
Changed password for user [beats_system]
Changed password for user [remote_monitoring_user]
Changed password for user [elastic]
4、修改kibana配置
[es@test1 kibana]$ vim config/kibana.yml
#添加如下配置
elasticsearch.username: “elastic”
elasticsearch.password: “es1234”
5、重启kibana
[es@test1 kibana]$ pgrep -f kibana |xargs kill
[es@test1 kibana]$ ./bin/kibana &
6、重新访问kibana
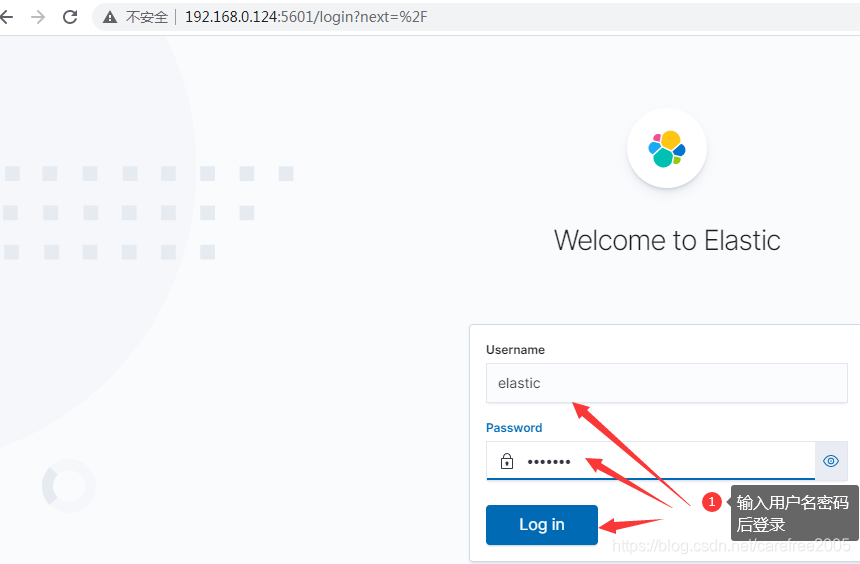
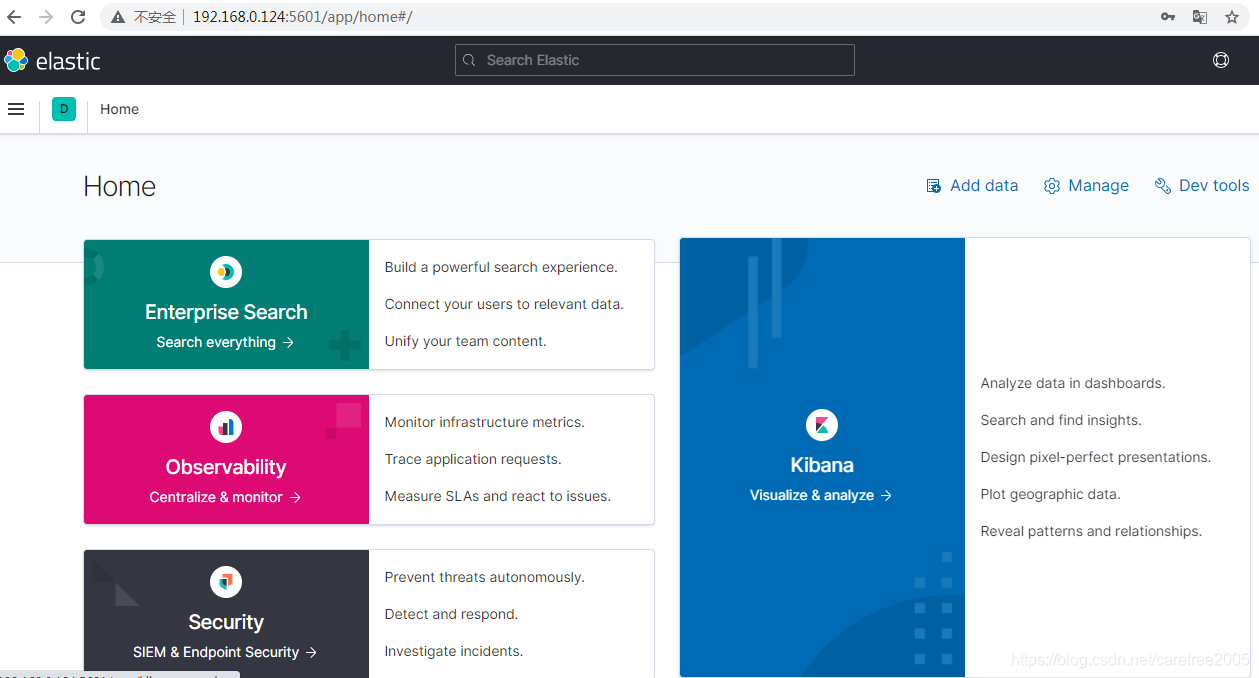
7、登录后界面
8、补充说明
配置了es和kibana用户名密码验证后,Java程序连接es同理需要添加用户名密码验证代码。


 1841
1841

 被折叠的 条评论
为什么被折叠?
被折叠的 条评论
为什么被折叠?
 到【灌水乐园】发言


