


lv_img_conv工具的使用
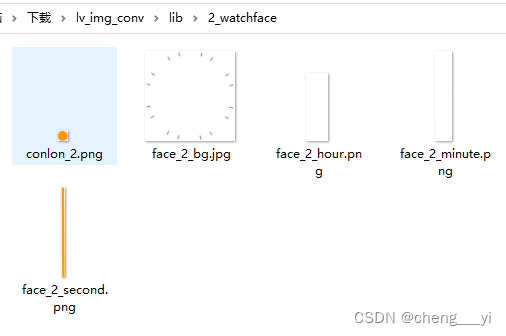
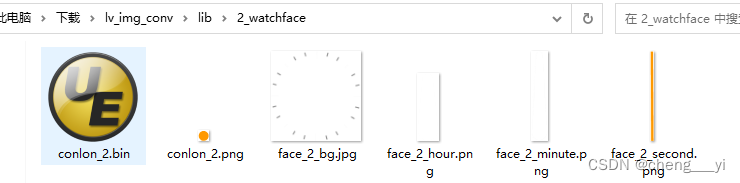
从如下地址可以拉拿到lv_img_conv的源码https://github.com/lvgl/lv_img_conv,按照官方的说明安装上各个依,这里可以拷贝一些图片到lib目录中做测试,比如如下:
然后到"lib"目录下运行如下指令即可转换图片:
Administrator@cd MINGW64 /f/download/lv_img_conv/lib (master)
$ ts-node cli.ts ./2_watchface/conlon_2.png -f -c CF_TRUE_COLOR_ALPHA -t bin --binary-format ARGB8565
Beginning conversion of ./2_watchface/conlon_2.png
在上面的命令中"ts-node"是js的一个运行命令,运行"Run ‘npm install -g typescript’"安装了typescript就会有.
但是这样做转换的图片放在lib目录中,并不符合我们的使用习惯!
所以我们还需要定义输出目录!工具的help如下:
$ ts-node --help

Usage: ts-node [options] [ -e script | script.ts ] [arguments]

Options:

  -e, --eval [code]               Evaluate code
  -p, --print                     Print result of `--eval`
  -r, --require [path]            Require a node module before execution
  -i, --interactive               Opens the REPL even if stdin does not appear to be a terminal

  --esm                           Bootstrap with the ESM loader, enabling full ESM support
  --swc                           Use the faster swc transpiler

  -h, --help                      Print CLI usage
  -v, --version                   Print module version information.  -vvv to print additional information
  --showConfig                    Print resolved configuration and exit

  -T, --transpileOnly             Use TypeScript's faster `transpileModule` or a third-party transpiler
  -H, --compilerHost              Use TypeScript's compiler host API
  -I, --ignore [pattern]          Override the path patterns to skip compilation
  -P, --project [path]            Path to TypeScript JSON project file
  -C, --compiler [name]           Specify a custom TypeScript compiler
  --transpiler [name]             Specify a third-party, non-typechecking transpiler
  -D, --ignoreDiagnostics [code]  Ignore TypeScript warnings by diagnostic code
  -O, --compilerOptions [opts]    JSON object to merge with compiler options

  --cwd                           Behave as if invoked within this working directory.
  --files                         Load `files`, `include` and `exclude` from `tsconfig.json` on startup
  --pretty                        Use pretty diagnostic formatter (usually enabled by default)
  --cwdMode                       Use current directory instead of <script.ts> for config resolution
  --skipProject                   Skip reading `tsconfig.json`
  --skipIgnore                    Skip `--ignore` checks
  --emit                          Emit output files into `.ts-node` directory
  --scope                         Scope compiler to files within `scopeDir`.  Anything outside this directory is ignored.
  --scopeDir                      Directory for `--scope`
  --preferTsExts                  Prefer importing TypeScript files over JavaScript files
  --logError                      Logs TypeScript errors to stderr instead of throwing exceptions
  --noExperimentalReplAwait       Disable top-level await in REPL.  Equivalent to node's --no-experimental-repl-await
  --experimentalSpecifierResolution [node|explicit]
                                  Equivalent to node's --experimental-specifier-resolution
这里还没有找到指定输出目录的方式,本章节涉及的资料请从如下地址下载:https://download.csdn.net/download/cheng___yi/87387985
脚本调用
没办法,这里回到https://blog.csdn.net/cheng___yi/article/details/128622148这个项目说到的工具,发现竟然已经实现了把bin输出到图片目录的功能,这里输入如下命令:
Administrator@cd MINGW64 /f/picture/lv_img_conv_temp
$ ts-node ./lib/cli.ts ./Output/2_watchface/conlon_2.png -f -c CF_TRUE_COLOR_ALPHA -t bin --binary-format 565
Beginning conversion of ./Output/2_watchface/conlon_2.png
11x11
OK
这里我们运行原来的工具可以看到对于bmp,pn, jpg三种图片,转换所用的命令格式如下,可以看到只有PNG才会有透明色
Administrator@cd MINGW64 /f/picture/lv_img_conv_temp
$  ./lv_img_conv.js ./Output/2_watchface/baifenbi.bmp -f -c CF_TRUE_COLOR -t bin --binary-format 565
Beginning conversion of ./Output/2_watchface/baifenbi.bmp
28x28
OK

Administrator@cd MINGW64 /f/picture/lv_img_conv_temp
$  ./lv_img_conv.js ./Output/2_watchface/conlon_2.png -f -c CF_TRUE_COLOR_ALPHA  -t bin --binary-format 565
Beginning conversion of ./Output/2_watchface/conlon_2.png
11x11
OK

Administrator@cd MINGW64 /f/picture/lv_img_conv_temp
$  ./lv_img_conv.js ./Output/2_watchface/face_2_bg.jpg -f -c CF_TRUE_COLOR -t bin --binary-format 565
Beginning conversion of ./Output/2_watchface/face_2_bg.jpg
360x360
OK
这里写一个脚本如下:
@echo off
set work_path=%cd%
set name=hello
%~d0
cd %work_path%
@
@for /R ./Output/ %%i in (*.jpg,*.png,*.bmp) do (
	@echo off
	@if %%~xi==.jpg (
		ts-node ./lib/cli.ts %%i -f -c CF_TRUE_COLOR -t bin --binary-format 565
	)else (
		if %%~xi==.bmp (
			ts-node ./lib/cli.ts %%i -f -c CF_TRUE_COLOR -t bin --binary-format 565
		)else (
			ts-node ./lib/cli.ts %%i -f -c CF_TRUE_COLOR_ALPHA -t bin --binary-format 565
		)
	)
)
pause
::del *.dta
::set val="%%s"
::set "val=%val:.bmp=%"
::echo %val%
::echo %%~xi
::echo %%i
代码运行开始界面如下:
这里转换整个项目的图片,运行时间如下(一共运行了19:08):

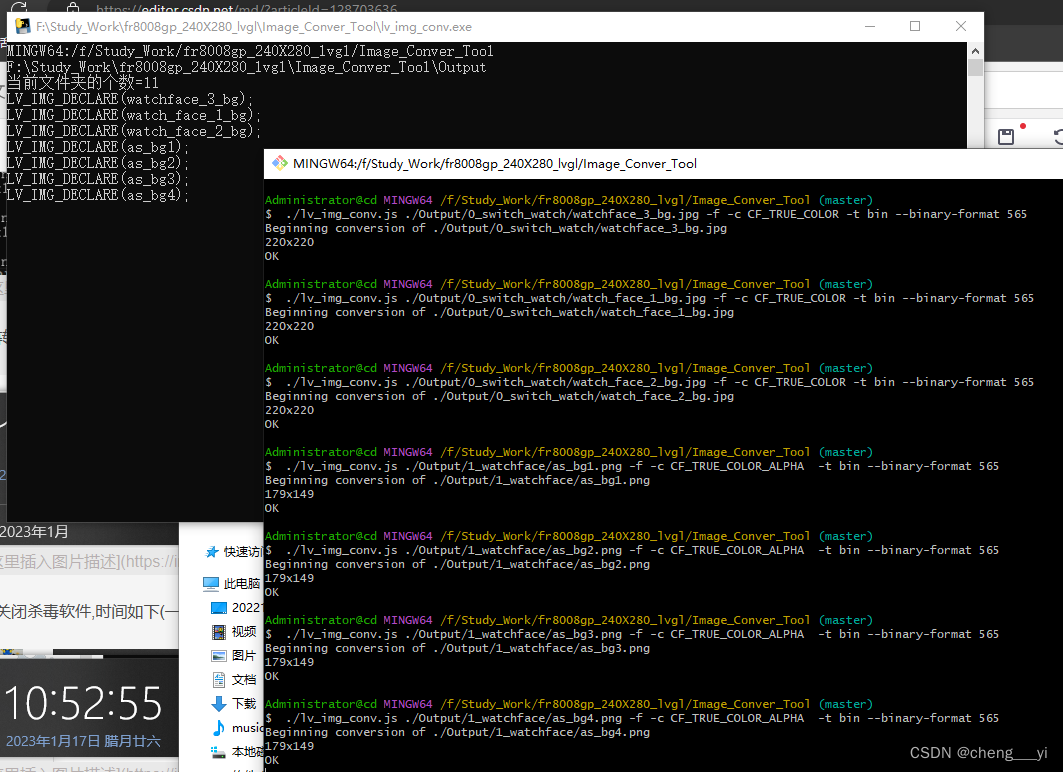
如果关闭杀毒软件,时间如下(一共19分钟),说明杀毒软件虽然占用MCU速度,但是并不会影响程序运行的时间:

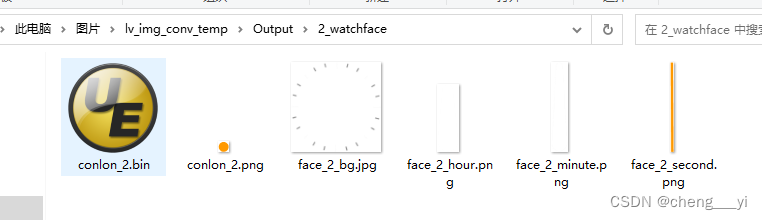
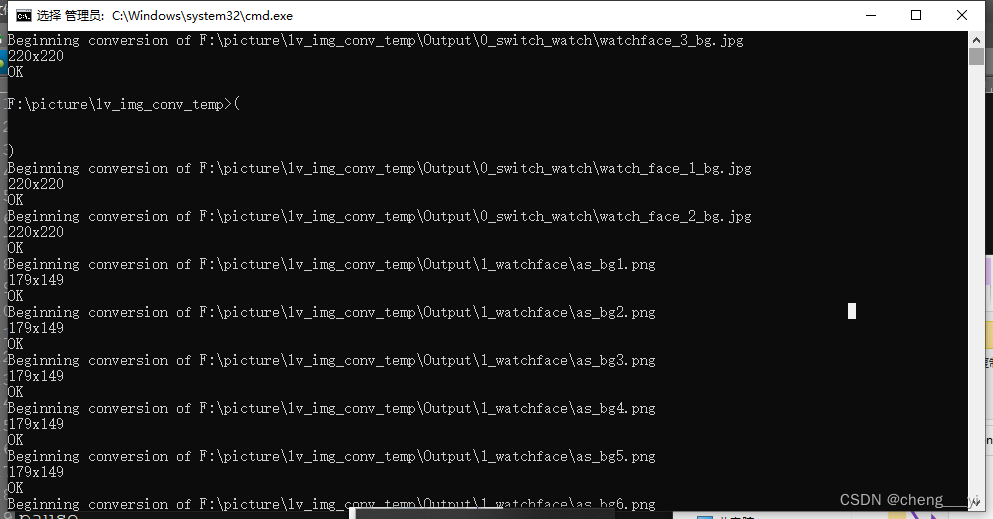
转换出来的文件和之前的工具一样:

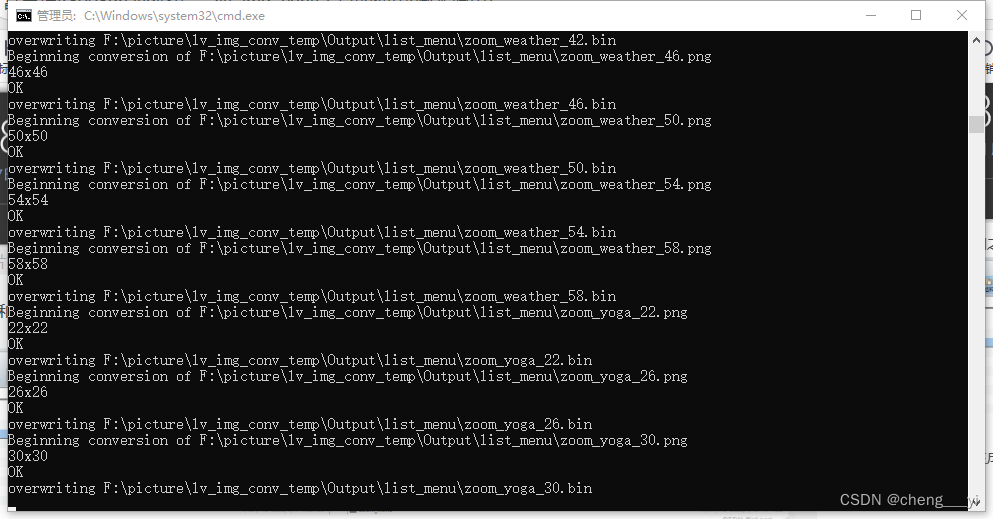
这里在上次已经生成过的情况下重新生成(会产生bin文件的覆盖)运行时间(一共运行18:06),说明是否删除bin,时间是一样的:

原来工具的转换时间为1h38m15s

所以用脚本速度飞起!
本文涉及的资源和工具:https://download.csdn.net/download/cheng___yi/87389413
眼瞎说明
上面说到lv_img_conv工具没有办法指定输出目录:


其实是不对的,经过别人指点(实在丢人呀)看到了help中的如下选项,-o就是我需要的内容:
PS F:\download\lv_img_conv\lib> ts-node cli.ts --help
Options:
  --help               Show help                                       [boolean]
  --version            Show version number                             [boolean]
  --output-file, -o    output file path (for single-image conversion)   [string]
  --force, -f          allow overwriting the output file               [boolean]
  --image-name, -i     name of image structure                          [string]
  --color-format, -c   color format of image
      [required] [choices: "CF_ALPHA_1_BIT", "CF_ALPHA_2_BIT", "CF_ALPHA_4_BIT",
   "CF_ALPHA_8_BIT", "CF_INDEXED_1_BIT", "CF_INDEXED_2_BIT", "CF_INDEXED_4_BIT",
                  "CF_INDEXED_8_BIT", "CF_RAW", "CF_RAW_CHROMA", "CF_RAW_ALPHA",
  "CF_TRUE_COLOR", "CF_TRUE_COLOR_ALPHA", "CF_TRUE_COLOR_CHROMA", "CF_RGB565A8"]
  --output-format, -t  output format of image
                                            [choices: "c", "bin"] [default: "c"]
  --binary-format      binary color format (needed if output-format is binary)
       [string] [choices: "ARGB8332", "ARGB8565", "ARGB8565_RBSWAP", "ARGB8888"]
  --swap-endian, -s    swap endian of image                            [boolean]
  --dither, -d         enable dither                                   [boolean]
可以运行如下命令指定输出目录:
ts-node cli.ts ./2_watchface/conlon_2.png -o ./2_watchface/conlon_2.bin -f -c CF_TRUE_COLOR_ALPHA -t bin --binary-format ARGB8565
lv_img_conv原版工具的使用(脚本调用)
之所以有这个原版工具的使用说明是因为在本文的"lv_img_conv工具的使用(脚本调用)"章节中因为自己看漏了help的说明,所以最后使用的是富芮坤官方提供的lv_img_conv,经过了原厂的修改不用配置输出目录,但是这样的话就没有了可维护性,后期如果官方的代码更新了,也没有办法同步更新.官方仓库为:https://github.com/lvgl/lv_img_conv,所以这里还是想办法研究怎么使用官方的代码,按照官方的指示,window下可以使用如下方式生成bin文档:
PS F:\download\lv_img_conv> ts-node ./lib/cli.ts --help
Options:
  --help               Show help                                       [boolean]
  --version            Show version number                             [boolean]
  --output-file, -o    output file path (for single-image conversion)   [string]
  --force, -f          allow overwriting the output file               [boolean]
  --image-name, -i     name of image structure                          [string]
  --color-format, -c   color format of image
      [required] [choices: "CF_ALPHA_1_BIT", "CF_ALPHA_2_BIT", "CF_ALPHA_4_BIT",
   "CF_ALPHA_8_BIT", "CF_INDEXED_1_BIT", "CF_INDEXED_2_BIT", "CF_INDEXED_4_BIT",
                  "CF_INDEXED_8_BIT", "CF_RAW", "CF_RAW_CHROMA", "CF_RAW_ALPHA",
  "CF_TRUE_COLOR", "CF_TRUE_COLOR_ALPHA", "CF_TRUE_COLOR_CHROMA", "CF_RGB565A8"]
  --output-format, -t  output format of image
                                            [choices: "c", "bin"] [default: "c"]
  --binary-format      binary color format (needed if output-format is binary)
       [string] [choices: "ARGB8332", "ARGB8565", "ARGB8565_RBSWAP", "ARGB8888"]
  --swap-endian, -s    swap endian of image                            [boolean]
  --dither, -d         enable dither                                   [boolean]
PS F:\download\lv_img_conv> cd .\lib\
PS F:\download\lv_img_conv\lib> ts-node cli.ts ./2_watchface/conlon_2.png -o ./2_watchface/conlon_2.bin -f -c CF_TRUE_COLOR_ALPHA -t bin --binary-format ARGB8565
Beginning conversion of ./2_watchface/conlon_2.png
资料可以从这里下载:https://download.csdn.net/download/cheng___yi/87400233
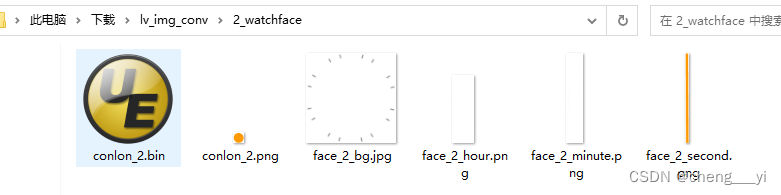
但是这种方式并不符合原来的代码结构,这里要做到把图片文章放到lv_img_conv工具目录下(把2_watchface文件夹从lib目录拷贝到lv_img_conv目录中)然后使用如下命令转换:
PS F:\download\lv_img_conv> ts-node ./lib/cli.ts ./2_watchface/conlon_2.png -o ./2_watchface/conlon_2.bin -f -c CF_TRUE_COLOR_ALPHA -t bin --binary-format ARGB8565
Beginning conversion of ./2_watchface/conlon_2.png
PS F:\download\lv_img_conv>
这里使用如下脚本转换output下所有图片:
@echo off
set work_path=%cd%
set name=hello
%~d0
cd %work_path%
@
@for /R ./Output/ %%i in (*.jpg,*.png,*.bmp) do (
	@echo off
	@if %%~xi==.jpg (
		ts-node ./lib/cli.ts %%i -o %%~dpi%%~ni.bin -f -c CF_TRUE_COLOR -t bin --binary-format ARGB8565
	)else (
		if %%~xi==.bmp (
			ts-node ./lib/cli.ts %%i -o %%~dpi%%~ni.bin -f -c CF_TRUE_COLOR -t bin --binary-format ARGB8565
		)else (
			ts-node ./lib/cli.ts %%i -o %%~dpi%%~ni.bin -f -c CF_TRUE_COLOR_ALPHA -t bin --binary-format ARGB8565
		)
	)
)
pause
::del *.dta
::set val="%%s"
::set "val=%val:.bmp=%"
::echo %val%
::echo %%~xi
::echo %%i
::echo %%~dpi%%~ni.bin
可以看到转换时间为8分钟,速度远大于富芮坤官方提供的工具,所以官方工具有非常大的优势:


这里看到对于jpg文档,新版本的工具相对于富芮坤官方的工具,转换出来的内容有细微差别,但是对于图片显示并没有太大的影响,完全可用

如上文章对应的资源如下:https://download.csdn.net/download/cheng___yi/87400485


 708
708


 被折叠的 条评论
为什么被折叠?
被折叠的 条评论
为什么被折叠?
 到【灌水乐园】发言


