


Github项目地址:https://github.com/IDEA-Research/Grounded-Segment-Anything
按照GitHub上install without Docker部署后,运行demo时弹出警告:
Usemamning: failed to toad custan C++ ops. Rumning on cpu mode anly!warnings.warn("Failed to load custom C++ ops. Running on CPu mode 0nly!")开始以为是哪里没有装好,又重装了一遍,还是不行。
尝试用pip check查找有没有冲突的依赖,解决冲突后仍然无法用GPU运行。
解决办法是:
用Docker部署
这时我在Makefile中发现了这样一句:
# This solves https://github.com/IDEA-Research/Grounded-Segment-Anything/issues/53
# and https://github.com/IDEA-Research/Grounded-Segment-Anything/issues/84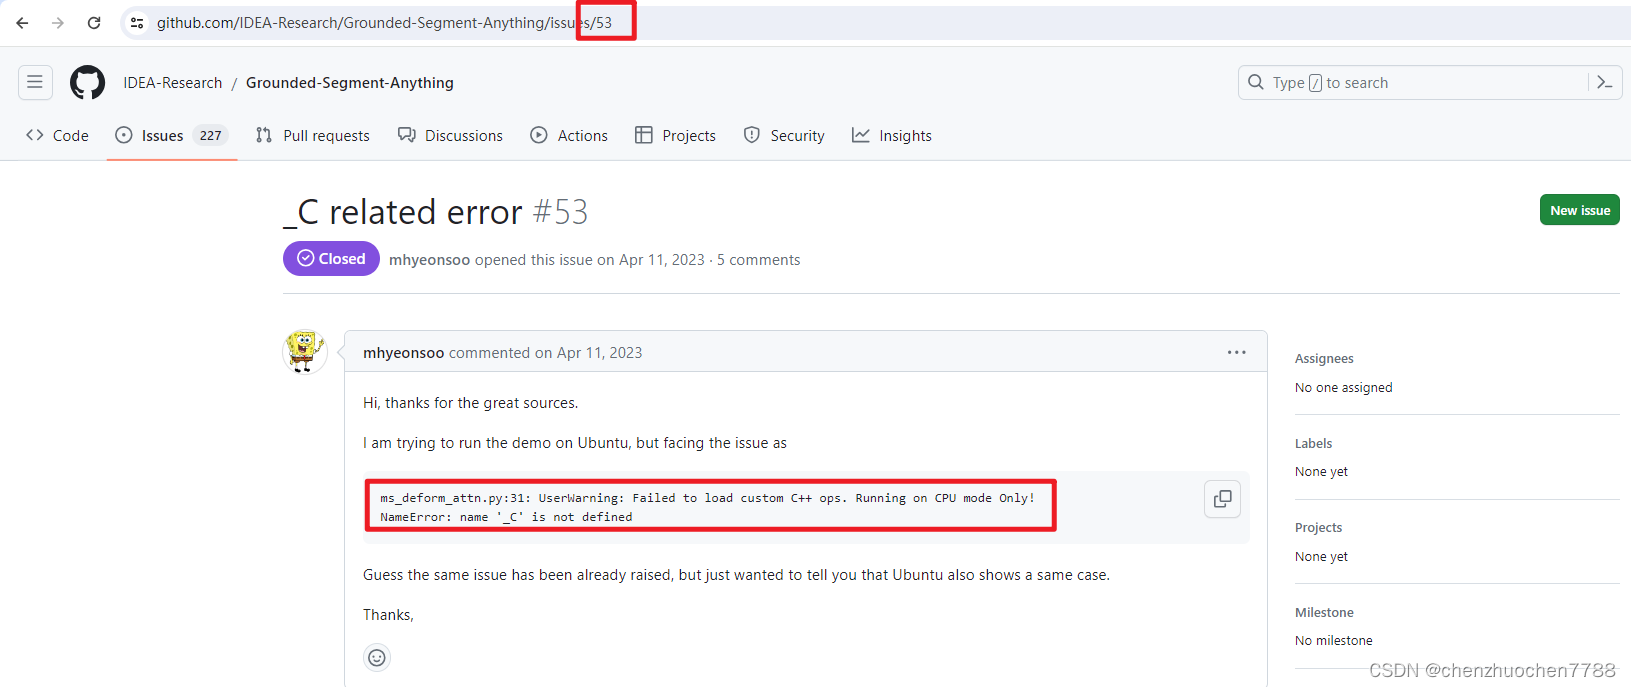
所以还是用Docker部署方便。
租用的云GPU不知道为什么在用Docker部署完成之后,运行demo提示:
CUDA not installed is not supported
docker build --build-arg USE_CUDA=0 \
--build-arg TORCH_ARCH= \
也就是自动去构建一个不使用CUDA的Docker镜像,如果想使用GPU需要去修改Makefile文件,把USE_CUDA := 0改成1, NVCC_VRSION := ''not installed"改成"default",修改后的文件:
# Get version of CUDA and enable it for compilation if CUDA > 11.0
# This solves https://github.com/IDEA-Research/Grounded-Segment-Anything/issues/53
# and https://github.com/IDEA-Research/Grounded-Segment-Anything/issues/84
# when running in Docker
# Check if nvcc is installed
NVCC := $(shell which nvcc)
ifeq ($(NVCC),)
        # NVCC not found
        USE_CUDA := 1
        NVCC_VERSION := "default"
else
        NVCC_VERSION := $(shell nvcc --version | grep -oP 'release \K[0-9.]+')
        USE_CUDA := $(shell echo "$(NVCC_VERSION) > 11" | bc -l)
endif

# Add the list of supported ARCHs
ifeq ($(USE_CUDA), 1)
        TORCH_CUDA_ARCH_LIST := "3.5;5.0;6.0;6.1;7.0;7.5;8.0;8.6+PTX"
        BUILD_MESSAGE := "I will try to build the image with CUDA support"
else
        TORCH_CUDA_ARCH_LIST :=
        BUILD_MESSAGE := "CUDA $(NVCC_VERSION) is not supported"
endif


build-image:
        @echo $(BUILD_MESSAGE)
        docker build --build-arg USE_CUDA=$(USE_CUDA) \
        --build-arg TORCH_ARCH=$(TORCH_CUDA_ARCH_LIST) \
        -t gsa:v0 .
run:
ifeq (,$(wildcard ./sam_vit_h_4b8939.pth))
        wget https://dl.fbaipublicfiles.com/segment_anything/sam_vit_h_4b8939.pth
endif
ifeq (,$(wildcard ./groundingdino_swint_ogc.pth))
        wget https://github.com/IDEA-Research/GroundingDINO/releases/download/v0.1.0-alpha/groundingdino_swint_ogc.pth
endif
        docker run --gpus all -it --rm --net=host --privileged \
        -v /tmp/.X11-unix:/tmp/.X11-unix \
        -v "${PWD}":/home/appuser/working_dir \
        -e DISPLAY=$DISPLAY \
        --name=gsa \
        --ipc=host -it gsa:v0
之后可以构建使用GPU的镜像😊


 3656
3656


 被折叠的 条评论
为什么被折叠?
被折叠的 条评论
为什么被折叠?
 到【灌水乐园】发言


