1.服务器
# 查看Linux服务器版本
# lsb_release -a

LSB Version:    :base-4.0-amd64:base-4.0-noarch:core-4.0-amd64:core-4.0-noarch
Distributor ID: CentOS
Description:    CentOS release 6.5 (Final)
Release:        6.5
Codename:       Final

# 自带python2.x版本
# python

Python 2.6.6 (r266:84292, Aug 18 2016, 15:13:37)
[GCC 4.4.7 20120313 (Red Hat 4.4.7-17)] on linux2
Type "help", "copyright", "credits" or "license" for more information.
>>>
2.相关软件
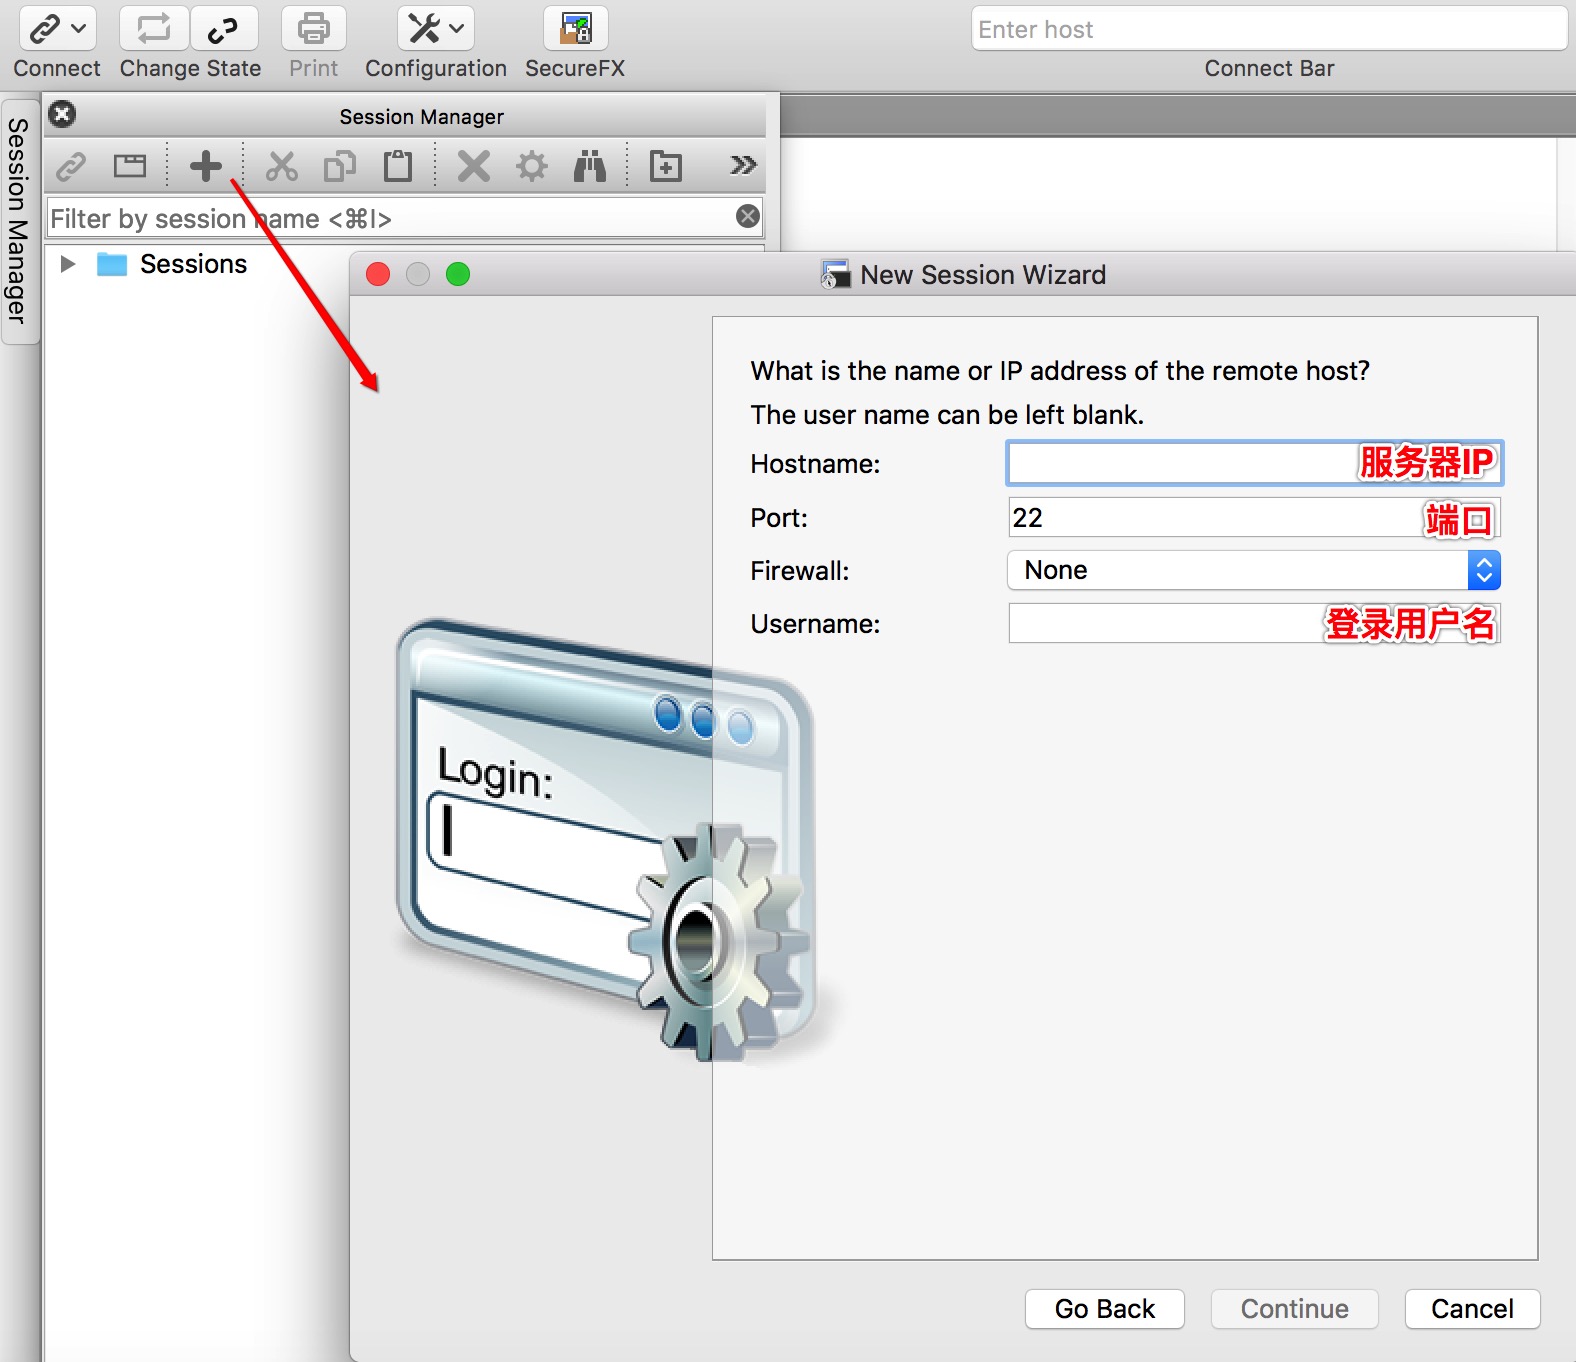
SecureCRT:一款连接Linux服务器,并使用shell命令对服务器进行操作的一款软件
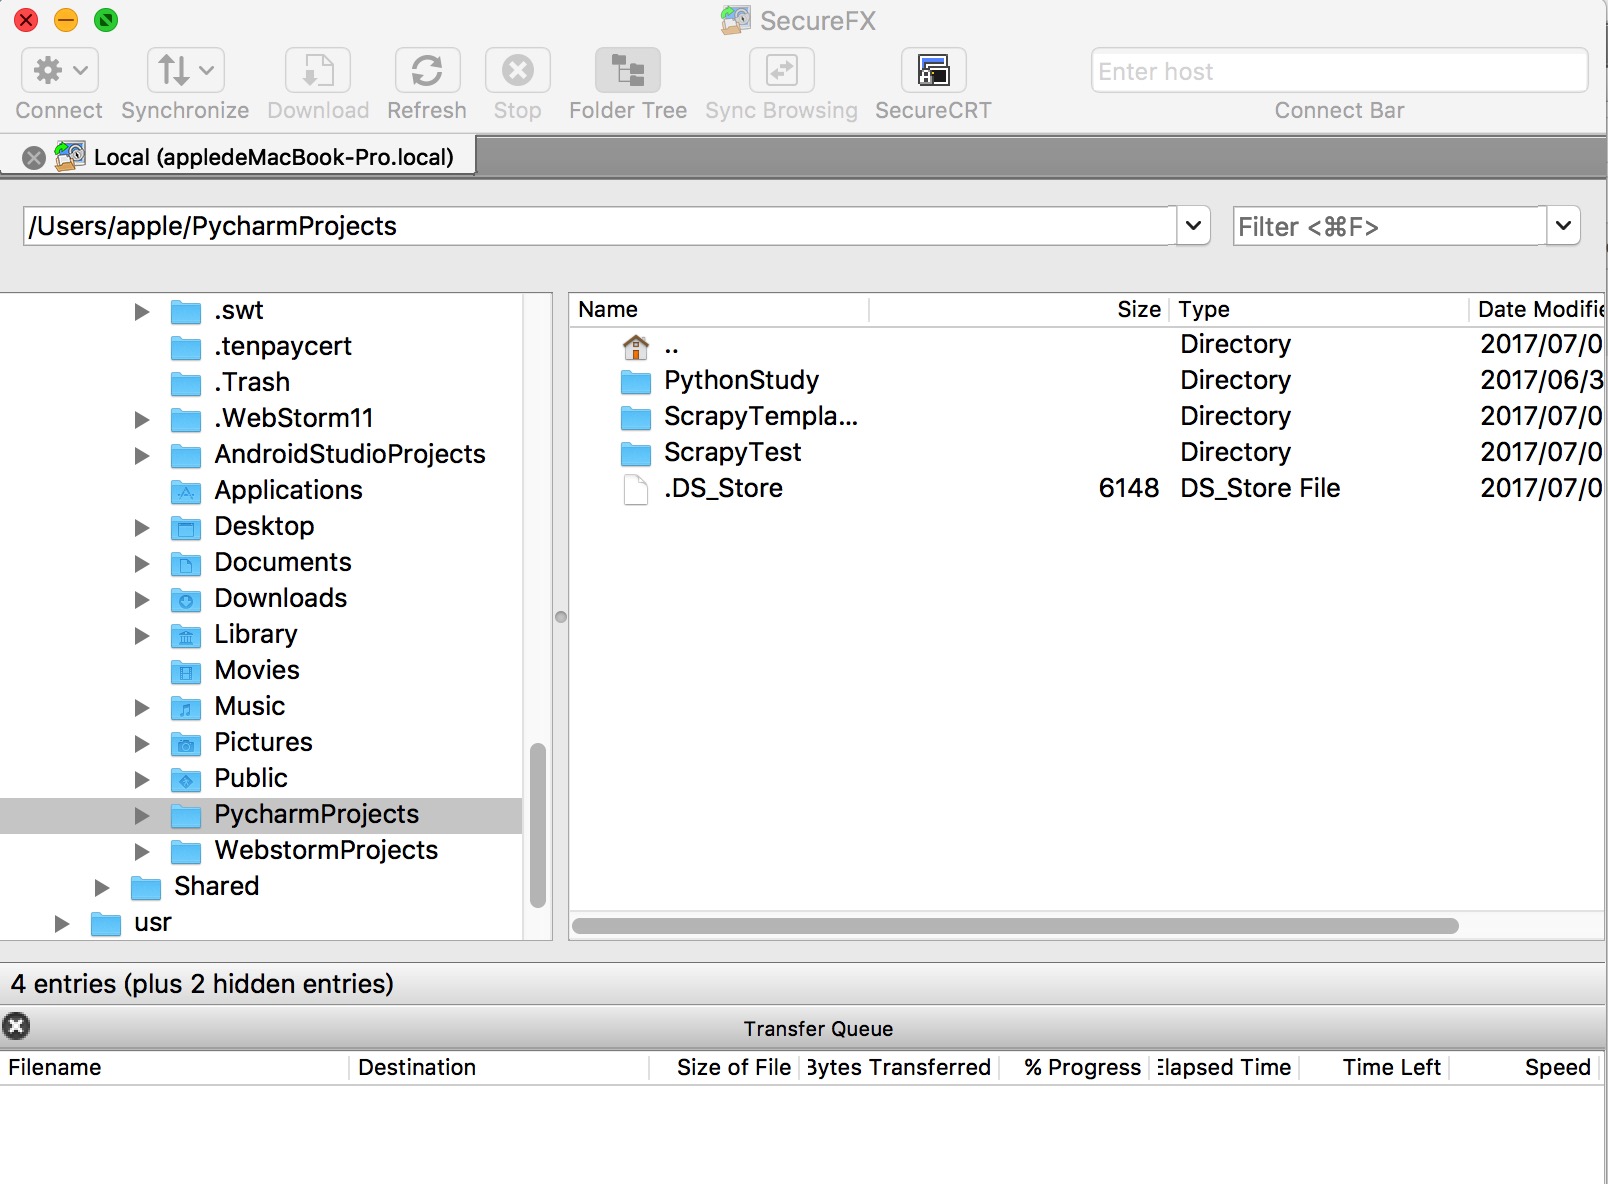
SecureFX:用于上传文件到服务器
![]()


3.资源网址
①、Python各大版本:https://www.python.org/downloads/source/
②、pip资源:https://pypi.python.org/pypi
③、其他准备工作:恶补Linux常用命令、Vim常用命令。。。
# 1、建立目录:mkdir 目录名
# 2、删除空目录:rmdir 目录名
# 3、无条件删除子目录:rm -rf 目录名
# 4、改变当前目录:cd 目录名 (
# 	进入用户home目录:cd /
# 	进入上一级目录:cd ..
# )
# 5、查看自己所在目录:pwd
# 6、查看当前目录大小:du
# 7、显示目录文件列表:ls -l (-a:增加显示隐含目录)
# 	其中:蓝:目录
# 		      绿:可执行文件
# 		      红:压缩文件
#  		      浅蓝:链接文件
# 		      灰:其他文件
# 		      红底白字:错误的链接文件
# 8、浏览文件:more 文件名.txt;
# 			       less 文件名.txt
# 9、复制文件:cp 源文件 目标文件 (-r:包含目录)
# 10、查找文件:
# 	(1):find
# 	(2):locate 命令名
# 11、链接:
# 	(1)建立hard链接:ln 来源文件 链接文件(-d:创建目录链接)
# 	(2)建立符号/软链接:ln -s 来源文件 链接文件
# 12、进入后为命令模式:
# 	(1)插入i
# 	(2)打开0
# 	(3)修改c
# 	(4)取代r
# 	(5)替换s
# 14、
# 	命令模式-->编辑模式(a/i)
# 	编辑模式-->命令模式(Esc)
# 	命令模式-->末行模式(:)
# 	/… 进入搜索模式
# 15、:w/w newfile保存
# 	  :q/q!退出iv;
# 	  :wq保存退出
# 16、wget url:远程服务器下载命令
# 17、清除缓存:rm -rf ~/.cache/
# 18、lsb_release -a :查看服务器的版本信息

# 19、tar.gz类
# 	(1)解压:tar -xvzf 文件.tar.gz
# 	(2)tar.gz解至tar:gzip -d 文件.tar.gz
# 	(3)压缩:gzip 待压缩文件
# 20、tar未压缩类
#	(1)解包:tar -xvf 文件.tar
#	(2)打包:tar -cvf 文件.tar 文件列表
# 21、zip类
# 	(1)解压:unzip 文件.zip -d dir
# 	(2)压缩:zip zipfile 待压缩文件列表
# 22、bz2类
#	(1)解压:bunzip2 文件.bz2或bzip2 -d 文件.bz2
#	(2)压缩:bzip2 待压缩文件
# 23、z类
#	(1)解压:uncompress 文件.z
#	(2)压缩:compress 文件
4、安装python3.x
①、远程下载:wget https://www.python.org/ftp/python/3.6.1/Python-3.6.1.tgz
②、解压缩:tar -zxvf Python-3.6.1-tgz
③、切换目录:cd Python-3.6.1-tgz
④、配置文件:./configure - -prefix=/usr/local/python3.6
A:prefix:表示安装时环境变量文件安装到指定目录下,而不是分别到bin、lib等文件目录下
B:--enable-static:生成静态链接库
C:—enable-shared:生成动态链接库
⑤、编译:make
⑥、安装:make install
⑦、添加软链:<官方包中应该默认携带有setuptools和pip工具>
ln -s /usr/local/python3.6/bin/python3 /usr/bin/python3
ln -s /usr/local/python3.6/bin/pip3 /usr/bin/pip3
注:常遇错误解决
①、Error:python3: error while loading shared libraries: libpython3.6m.so.1.0<python3>
解决:cp -R -f /usr/local/python3.6/lib/* /usr/lib64/ (最前面加\<斜杠>表示忽略询问提示)
②、Error:pip is configured with locations that require TLS/SSL, however the ssl module in Python is not available<pip3 install xxx>
解决: A-yum install openssl-devel
B-CD到Python-3.6.1的解压目录下,Vim Modules/Setup,取消注释行_socket socketmodule.、SSL=/usr/local/ssl _ssl _ssl.c\-DESE_SSL -l$(SSL)/include -l$(SSL)/include/openssl\-L$(SSL)/lib -lssl -lcrypto(去掉#号),完成后:wq保存退出
C-重复以上④、⑤、⑥步骤
结果:
#python3

#Python 3.6.1 (default, Jul 10 2017, 15:31:23)
#[GCC 4.4.7 20120313 (Red Hat 4.4.7-17)] on linux
#Type "help", "copyright", "credits" or "license" for more information.
#>>>  exit()
#:

#pip3

#Usage:
#  pip <command> [options]

#Commands:
#  install                     Install packages.
#  download                    Download packages.
#  uninstall                   Uninstall packages.
#  freeze                      Output installed packages in requirements format.
#  list                        List installed packages.
#  show                        Show information about installed packages.
#  check                       Verify installed packages have compatible dependencies.
#  search                      Search PyPI for packages.
#  wheel                       Build wheels from your requirements.
#  hash                        Compute hashes of package archives.
#  completion                  A helper command used for command completion.
#  help                        Show help for commands.

#General Options:
# ……
5、部署Scrapy
①、yum install openssl openssl-devel sqlite-devel :这是我在在先安装scrapy运行spider发现缺少的一些组件,每个人的可能有所不同,一般在网上搜索报错信息即可找到解决办法
②、pip3 install twisted:安装失败,使用wget下载源码安装
A:下载 wget https://twistedmatrix.com/Releases/Twisted/17.5/Twisted-17.5.0.tar.bz2
B:解压 tar -jxvf Twisted-17.5.0.tar.bz2
C:cd进入Twisted-17.5.0目录下,python3 setup.py install安装即可
③、pip3 install scrapy:不出意外的话其他的一些组件会自动下载下来并安装,等待结束即可。
④、设置软链:ln -s /usr/local/python3.6/bin/scrapy /usr/bin/scrapy
⑤、此时输入scrapy,如安装成功会出现如下类似输出
Scrapy 1.4.0 - no active project

Usage:
  scrapy <command> [options] [args]

Available commands:
  bench         Run quick benchmark test
  fetch         Fetch a URL using the Scrapy downloader
  genspider     Generate new spider using pre-defined templates
  runspider     Run a self-contained spider (without creating a project)
  settings      Get settings values
  shell         Interactive scraping console
  startproject  Create new project
  version       Print Scrapy version
  view          Open URL in browser, as seen by Scrapy

  [ more ]      More commands available when run from project directory

Use "scrapy <command> -h" to see more info about a command
遇到的错误:
①、自带OpenSSL和安装pyOpenSSL冲突的问题
描述:输入openssl version,如出现openssl版本输出则表示默认装有OpenSSL;当执行scrapy crawl spidername爬虫之后最底部出现一个from OpenSSL import SLL找不到的问题;我尝试输入python进入python2.x运行环境,输入from OpenSSL import SLL没问题,然而输入python3进入python3.x运行环境,输入from OpenSSL import SLL则报SSL模块找不到的错误。
解决:这个问题折磨了我很久,尝试了很多方法,后来我将自带的OpenSSL版本make uninstall之后,恢复正常了。。。。
# openssl version

-bash: openssl: command not found
6.使用
使用SecureFX将上一节的TBMM小爬虫上传到了服务器
# cd /data/python
# ll
total 5180
-rw-r--r--  1 root root  5278176 May 25 21:09 openssl-1.1.0f.tar.gz
drwxr-xr-x  3 root root     4096 Jul 10 15:50 Projects
drwxr-xr-x 18  501 www      4096 Jul 10 15:31 Python-3.6.1
drwxr-xr-x  7  501 games    4096 Jul 10 14:11 Twisted-17.5.0

# cd Projects/ScrapyTemplate
# scrapy crawl TBMM

DBManagerHelp数据库连接成功 <pymysql.connections.Connection object at 0x7f2f98661e48>
新的请求: https://mm.taobao.com/json/request_top_list.htm?page=1
DBManagerHelp开始: <TBMMSpider 'TBMM' at 0x7f2f989ef748>
新的请求: https://mm.taobao.com/json/request_top_list.htm?page=2
…………………………


注:爬虫中的数据库信息改为服务器的数据库账户密码
爬虫运行成功,且数据也成功插入数据库中。


 2519
2519

 被折叠的 条评论
为什么被折叠?


