


Quartz 2D是一个二维绘图引擎。Quartz 2D的API是C语言,来自于CoreGraphics框架。 Quartz 2D以PDF的规范为基础的图形库,用来绘制二维文字和图形,允许相同的绘图指令在任何装置上,使用可以得到的最佳分辨率,产生相同的输出。这里介绍一下一些基本绘图操作。
一. 绘制直线
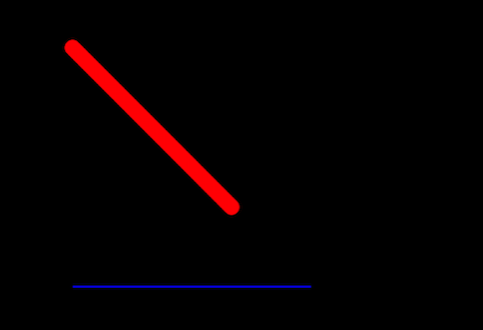
代码如下(这些需要重写的drawRect方法中调用):
    CGContextRef context = UIGraphicsGetCurrentContext();// 1. 获取一个与视图相关联的上下文
    //  2. 构建路径
    CGContextBeginPath(context);
    //  2.1 设置上下文路径起点
    CGContextMoveToPoint(context, 50, 50);
    //  2.2 增加路径内容
    CGContextAddLineToPoint(context, 150, 150);

    //  3. 保存当前上下文
        CGContextSaveGState(context);

    //  4. 设置上下文状态
    //  4.1 设置边线颜色
        CGContextSetRGBStrokeColor(context, 1, 0, 0, 1);
    //  4.2 设置线宽
        CGContextSetLineWidth(context, 10);
    //  4.4 设置线段连接样式
        CGContextSetLineJoin(context, kCGLineJoinBevel);
    //  4.5 设置线段收尾样式
        CGContextSetLineCap(context, kCGLineCapRound);

    //  5. 绘制路径
    // 与上一行等效
    CGContextStrokePath(context);

    //  6. 恢复上下文
    CGContextRestoreGState(context);

    //  7. 再次绘制
    CGContextSetRGBStrokeColor(context, 0, 0, 1, 1);
    CGContextMoveToPoint(context, 50, 200);
    CGContextAddLineToPoint(context, 200, 200); CGContextStrokePath(context);
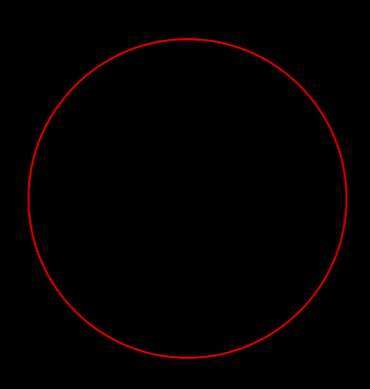
二.画圆弧
1.画不填充圆,效果如图
代码如下:
CGContextRef context = UIGraphicsGetCurrentContext();
[[UIColor redColor] set];
CGContextAddArc(context, 160, 230, 100, M_PI, -M_PI, 0);
CGContextStrokePath(context);
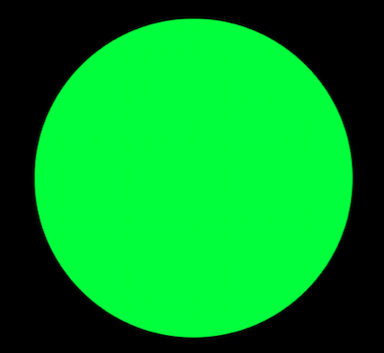
2.画实心圆弧,效果如图
代码如下:
  //    1. 获取一个与视图相关联的上下文
CGContextRef context = UIGraphicsGetCurrentContext();
// 设置颜色
[[UIColor greenColor]setFill];
// 2. 增加圆形的路径
CGContextAddEllipseInRect(context, CGRectMake(50, 50, 200, 200));
// 3. 画圆
CGContextFillPath(context);
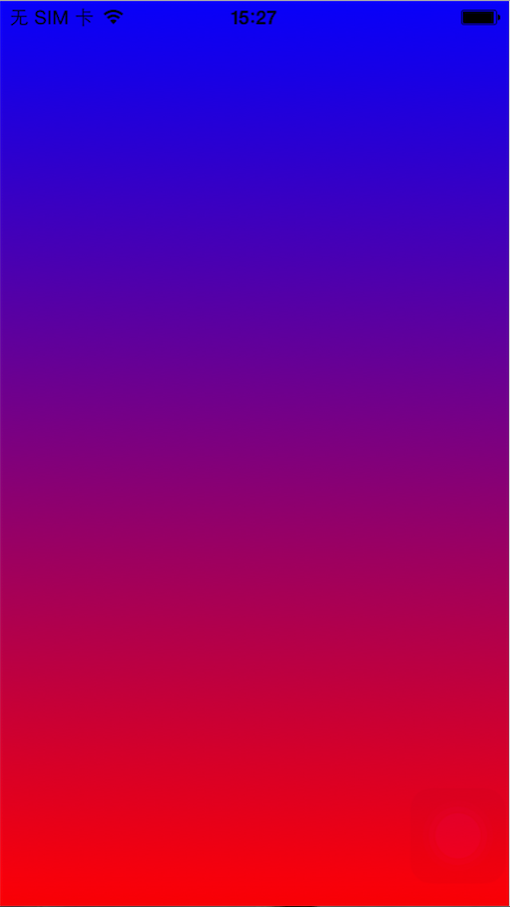
三:绘制渐变
效果如图:
代码如下:
 // 定义渐变引用CGGradientRef
CGGradientRef gradient;
 //  定义色彩空间引用
CGColorSpaceRef colorSpace = CGColorSpaceCreateDeviceRGB();

//定义渐变颜色组件
//每四个数一组,分别对应r,g,b,透明度
CGFloat components[8] = {1.0, 0.0, 0.0, 1.0, 0.0, 0.0, 1.0, 1.0};

//定义颜色渐变位置
// 第一个颜色开始渐变的位置
// 第二个颜色结束渐变的位置
CGFloat locations[2] = {1,0};


//创建颜色渐进
gradient = CGGradientCreateWithColorComponents(colorSpace, components, locations, 2);

//创建贝塞尔路径,是OC的,如果只是制定了渐变,没有指定剪切路径,就是整个视图的渐变
UIBezierPath *path = [UIBezierPath bezierPathWithRect:CGRectMake(0, 0, self.frame.size.width,self.frame.size.height)];
//  添加剪切路径
[path addClip];

//绘制线性渐进
CGContextRef context = UIGraphicsGetCurrentContext();
CGContextDrawLinearGradient(context, gradient, CGPointMake(0, 0), CGPointMake(0, self.frame.size.height), kCGGradientDrawsAfterEndLocation);

//释放颜色空间
CGColorSpaceRelease(colorSpace);

// 释放渐变引用
CGGradientRelease(gradient);
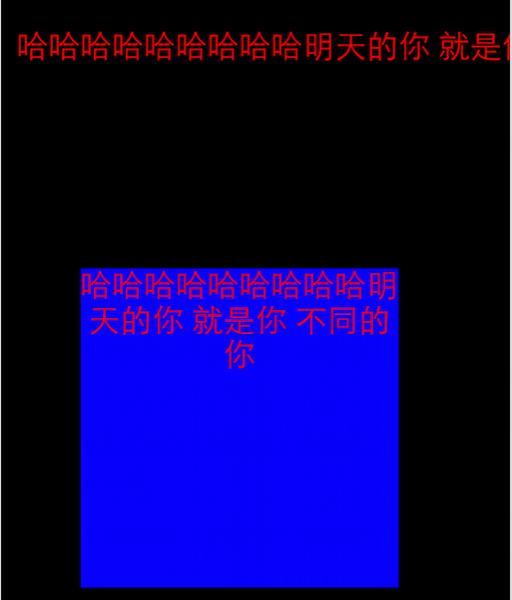
四:绘制文本
效果如图:
代码如下:
NSString *text = @”哈哈哈哈哈哈哈哈哈明天的你 就是你 不同的你”;
NSLog(@”%@”,[UIFont familyNames]);
// 使用set既指定边框颜色,又指定填充颜色
[[UIColor redColor]set];
UIFont *font = [UIFont fontWithName:@"Marker Felt" size:20];
//不限定文字显示区域
[text drawAtPoint:CGPointMake(10, 50) withFont:font];


//限定文字的显示区域
CGRect rect = CGRectMake(50, 200, 200, 200);
[[UIColor blueColor]set];
UIRectFill(rect);

[[UIColor redColor]set];
[text drawInRect:rect withFont:font lineBreakMode:NSLineBreakByWordWrapping alignment:NSTextAlignmentCenter];
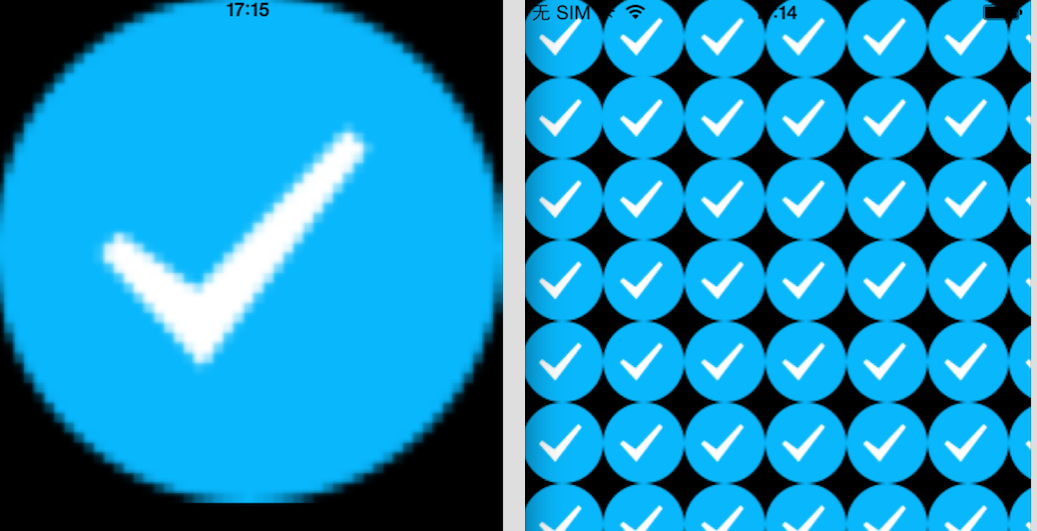
五:绘制图像
效果如图:
代码如下:
 UIImage *image = [UIImage imageNamed:@"selected.png"];

// 在指定点绘制
[image drawAtPoint:CGPointMake(50, 50)];

// 会拉伸 (显示一个会拉伸的图像)
// [image drawInRect:CGRectMake(0, 0, 320, 320)];
// 平铺(多个图像一起平铺)
[image drawAsPatternInRect:CGRectMake(0, 0, self.frame.size.width, self.frame.size.height)];
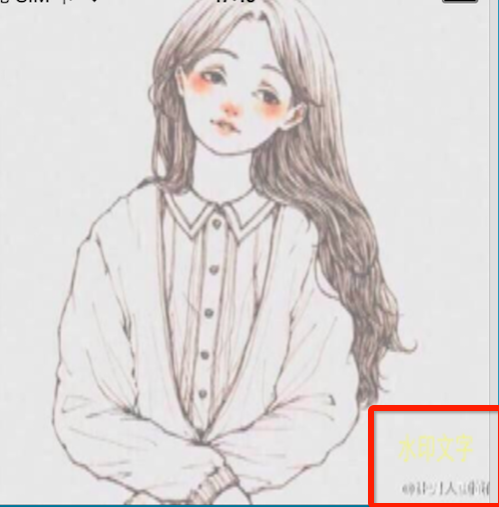
六:给图片添加水印
效果如下:
代码如下:
    // 1. 获得图像相关的上下文
// 获得图像上下文的时候,需要指定上下文大小
UIGraphicsBeginImageContext(CGSizeMake(320, 200));

// 2. 绘制图像
UIImage *image = [UIImage imageNamed:@"aaa.JPG"];
[image drawInRect:CGRectMake(0, 0, 320, 200)];

// 3. 写水印文字
NSString *text = @"水印文字";
//  [[UIColor whiteColor]set];
// 新建一个UIColor
UIColor *color = [UIColor colorWithRed:1 green:1 blue:0 alpha:0.5];
[color set];

[text drawInRect:CGRectMake(0, 170, 300, 20) withFont:[UIFont systemFontOfSize:12] lineBreakMode:NSLineBreakByWordWrapping alignment:NSTextAlignmentRight];

// 从图像上下文中获得当前绘制的结果,并生成图像
UIImage *result =  UIGraphicsGetImageFromCurrentImageContext();

// 4. 关闭上下文
UIGraphicsEndImageContext();

// 5. 把图像归档,可以用这个方法来做缩略图
//  NSArray *documents = NSSearchPathForDirectoriesInDomains(NSDocumentDirectory, NSUserDomainMask, YES);
//  NSString *path = [documents[0]stringByAppendingPathComponent:@"image.png"];

NSString *path = @"/Users/apple/Desktop/image.png";

NSData *imageData = UIImagePNGRepresentation(result);
[imageData writeToFile:path atomically:YES];

return result;
七:生成pdf文件
效果如图:
代码入下:(因为是使用模拟器运行,所以直接将pdf文件保存在桌面,如果是真机运行要保存在沙盒路径中)
// 1. 上下文
// 1) 路径
// 2) 大小,指定为空,那么使用612 * 792大小作为pdf文件的页面大小
// 3) dict
UIGraphicsBeginPDFContextToFile(@"/Users/huang/Desktop/pdf.pdf", CGRectZero, nil);

// 2. 写入内容
// 在pdf里面是有页面的,一个页面一个页面的写入的
// 建立PDF页面
// 一个页面最多能够写入两张图片,因此写入6张图片需要三个页面
for (NSInteger i = 0; i < 6; i++) {
    if (i % 2 == 0) {
        UIGraphicsBeginPDFPageWithInfo(CGRectMake(0, 0, 612, 792), nil);
    }

    // 生成UIImage
    UIImage *image = [UIImage imageNamed:@"aaa.JPG"];
    // 写入
    [image drawAtPoint:CGPointMake(0, 400 * (i % 2))];
}

// 3. 关闭上下文
UIGraphicsEndPDFContext();
八:图片裁剪
效果如图:
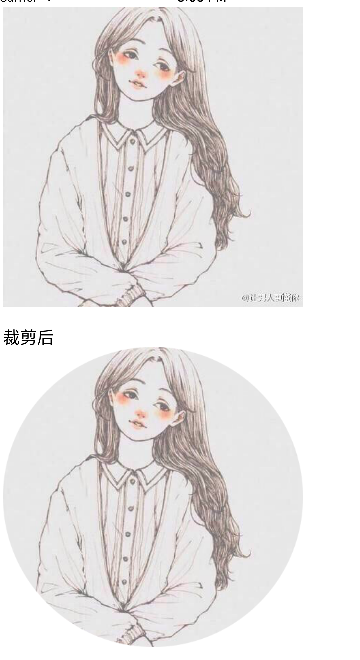
代码如下:
UIImage *image = [UIImage imageNamed:@"aaa.JPG"];

//2.开始图片上下文
UIGraphicsBeginImageContext(image.size);

//画圆
//这段代码获得的上下文就是上一段代码开始的上下文
CGContextRef ctx = UIGraphicsGetCurrentContext();
CGContextAddEllipseInRect(ctx, CGRectMake(0, 0, image.size.width, image.size.height));
CGContextClip(ctx);

//3.绘制图片
[image drawAtPoint:CGPointZero];

//4.获得图片
UIImage *newImage = UIGraphicsGetImageFromCurrentImageContext();
secondImageView.image = newImage;

//5.关闭上下文
UIGraphicsEndImageContext();
如有不足,欢迎指教。


 1315
1315

 被折叠的 条评论
为什么被折叠?
被折叠的 条评论
为什么被折叠?
 到【灌水乐园】发言


