


 本文详细介绍了如何在CentOS 7上安装Elasticsearch 7.10.2,包括下载、安装、基本配置、启动步骤,以及解决root权限、权限错误、内存限制等常见问题的方法。
一、下载
下载地址:https://www.elastic.co/downloads/elasticsearch
历史版本:https://www.elastic.co/downloads/past-releases#elasticsearch
如果机器可以访问外网,也可以直接wget下载
shell> wget https://artifacts.elastic.co/downloads/elasticsearch/elasticsearch-5.6.4.tar.gz二、安装(解压)
ES是运行在Java环境下的,所以需要先安装JDK,网上教程一大堆,不再赘述,也可以参考我的另外一篇文章:CentOS 7 安装JDK
shell> cd /usr/local/
shell> tar -zxvf /tools/elasticsearch-5.6.4.tar.gz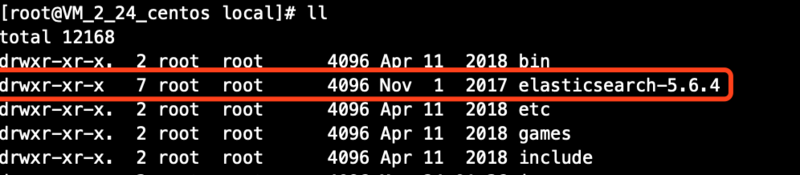
三、基本配置
1、创建用户组和用户(elasticsearch不允许root用户启动)
shell> groupadd es
shell> useradd es -g es
shell> chown -R es:es /usr/local/elasticsearch-5.6.4
# 启动时切换用户
shell> su es
2、es配置
shell> vim /usr/local/elasticsearch-5.6.4/config/elasticsearch.ymldata、logs路径
path.data: /usr/local/elasticsearch-5.6.4/data
path.logs: /usr/local/elasticsearch-5.6.4/logs
network.host: 192.168.1.10(默认配置下,只允许本机访问,如需其他机器访问,需要配置network.host)
network.host: 192.168.1.10或者直接
network.host: 0.0.0.03、其他
shell> vim /etc/sysctl.conf增加如下内容
vm.max_map_count = 262144使配置生效
sysctl -p本文中使用的环境为CentOS 7.6 + elasticsearch 5.6.4,单节点,完成以上配置,就可以正常启动了,网上看到不少人启动时还遇到了其他各种各样的错误,我这里没有遇到,但是在文章最后会做一个补充
四、启动
shell> su es
shell> cd /usr/local/elasticsearch-5.6.4
shell> ./bin/elasticsearch
后台启动
shell> ./bin/elasticsearch -d启动时额外指定配置项
shell> ./bin/elasticsearch -d -Ekey1=value1 -Ekey2=value2五、测试
shell> curl -X GET "localhost:9200/?pretty"
{
  "name" : "UgCLrdL",
  "cluster_name" : "elasticsearch",
  "cluster_uuid" : "BaQiZ_JzQC-QKRqMivzwGA",
  "version" : {
    "number" : "5.6.4",
    "build_hash" : "8bbedf5",
    "build_date" : "2017-10-31T18:55:38.105Z",
    "build_snapshot" : false,
    "lucene_version" : "6.6.1"
  },
  "tagline&
最低0.47元/天 解锁文章


 848
848


 被折叠的 条评论
为什么被折叠?
被折叠的 条评论
为什么被折叠?
 到【灌水乐园】发言


