


前言:
Android给我们提供了很多控件,比如TextView,ListView,ImageView,这些都是系统的View,我们只能对它的属性做一些修改,来得到我们想要的效果。但是,当我们修改其属性也不能达到要求的时候,我们就要使用自定义View了。
自定义View,就是写我们自己的TextView,ListView,ImageView…
所以,TextView,ListView,ImageView的源码,也是我们学习自定义View的最好教程,照葫芦画瓢会吧!
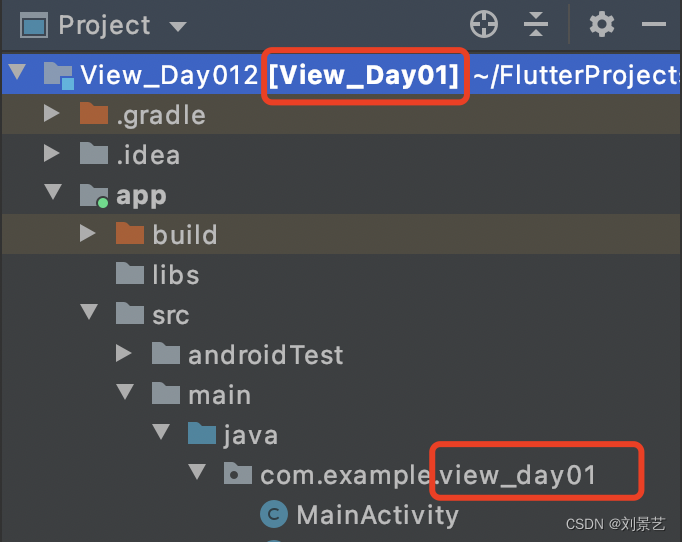
在开始前,先创建一个工程,我这里命名为View_Day01
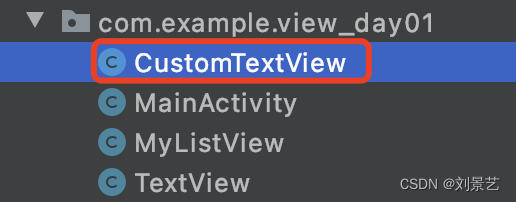
1.创建第一个自定义View:CustomTextView,掌握三种构造方法的调用时机。
package com.example.view_day01;

import android.content.Context;
import android.util.AttributeSet;
import android.view.View;

import androidx.annotation.Nullable;

public class CustomTextView extends View{
    public CustomTextView(Context context) {
        super(context);
    }

    public CustomTextView(Context context, @Nullable AttributeSet attrs) {
        super(context, attrs);
    }

    public CustomTextView(Context context, @Nullable AttributeSet attrs, int defStyleAttr) {
        super(context, attrs, defStyleAttr);
    }
}
有三个构造方法,修改一下,都去调用三个参数的构造方法
package com.example.view_day01;

import android.content.Context;
import android.util.AttributeSet;
import android.view.View;

import androidx.annotation.Nullable;

public class CustomTextView extends View{
    public CustomTextView(Context context) {
        this(context, null);
    }

    public CustomTextView(Context context, @Nullable AttributeSet attrs) {
        this(context, attrs, 0);
    }

    public CustomTextView(Context context, @Nullable AttributeSet attrs, int defStyleAttr) {
        super(context, attrs, defStyleAttr);
    }
}
只有一个参数的
 /**
     * 调用时机:
     * 在Java代码中CustomTextView tv = new CustomTextView(context)时 调用
     */
public CustomTextView(Context context) {
        this(context);
    }
两个参数的
attires就是xml中设置的属性
/**
     * 调用时机:
     * 在时xml中使用CustomTextView调用
     * <com.example.view_day01.CustomTextView
     *         android:layout_width="wrap_content"
     *         android:layout_height="wrap_content"
     *         android:text="Hello World!" />
     */
    public CustomTextView(Context context, @Nullable AttributeSet attrs) {
        this(context, attrs, 0);
    }
三个参数的
/**
     * 调用时机:
     * 在时xml中使用CustomTextView调用,并且使用了自定义style
     * .res/values/styles
     * <style name="detTextAtr">
     *         <item name="android:layout_weight">wrap_content</item>
     *         <item name="android:layout_height">wrap_content</item>
     *         <item name="android:textColor">@color/black</item>
     *     </style>
     *
     * <com.example.view_day01.CustomTextView
     *         style="@style/detTextAtr" />
     *
     */
    public CustomTextView(Context context, @Nullable AttributeSet attrs, int defStyleAttr) {
        super(context, attrs, defStyleAttr);
    }
2.尝试使用自定义style,修饰自定义View
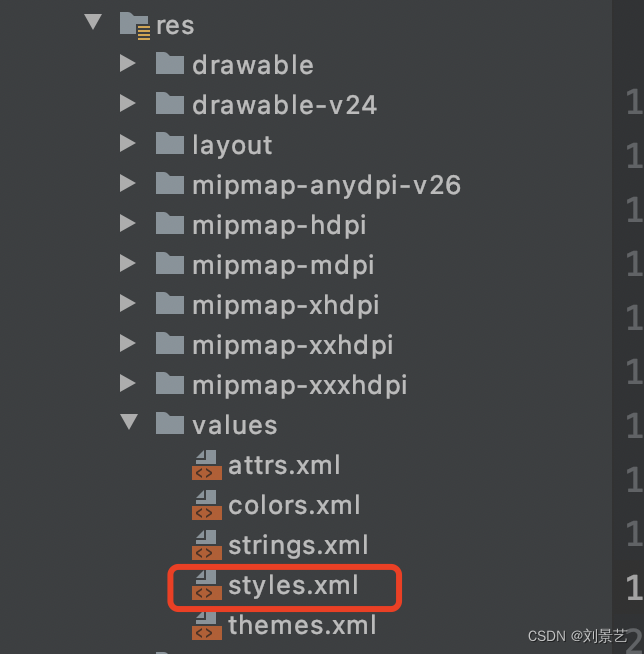
创建style
<?xml version="1.0" encoding="utf-8"?>
<resources>

    <style name="detTextAtr">
        <item name="android:layout_width">wrap_content</item>
        <item name="android:layout_height">wrap_content</item>
    </style>
</resources>
在布局文件中就可以直接使用这个属性了
<?xml version="1.0" encoding="utf-8"?>
<RelativeLayout
    xmlns:android="http://schemas.android.com/apk/res/android"
    xmlns:app="http://schemas.android.com/apk/res-auto"
    android:layout_width="match_parent"
    android:layout_height="match_parent">

    <com.example.view_day01.CustomTextView
        style="@style/detTextAtr"/>

</RelativeLayout>
相当于我们已经给CustomTextView设置了宽度、高度。
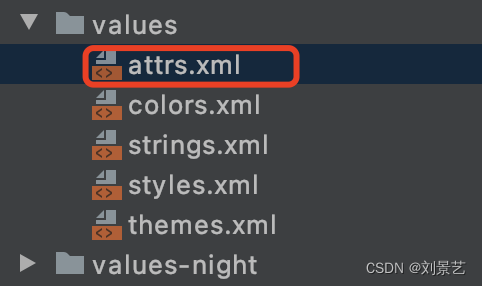
3.创建attrs属性
我想设置字体内容、字体颜色、字号等属性
<?xml version="1.0" encoding="utf-8"?>
<resources>

    <declare-styleable name="TextView">
        <attr name="text" format="string"/>
        <attr name="textColor" format="color"/>
        <attr name="textSize" format="dimension"/>
        <attr name="maxLength" format="integer"/>
        <attr name="inputType" >
            <enum name="number" value="1"/>
            <enum name="text" value="2"/>
            <enum name="password" value="3"/>
        </attr>
<!--        <attr name="background" format="reference|color"/>-->
    </declare-styleable>
</resources>
在文件中声明后就可以使用了
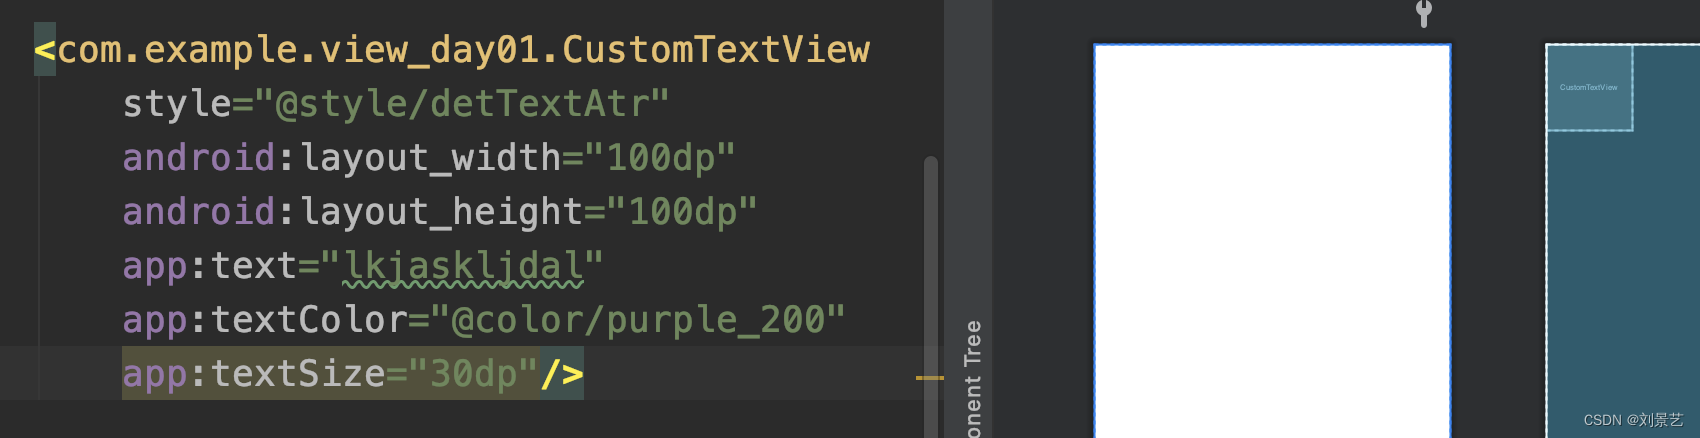
目前是可以定义了,但是什么也显示不出来。
因为我们继承的是View
想要显示内容,还要重写onDraw方法,
这一部分将在下一篇文章中讲解。
现在你需要知道如何创建自定义属性即可。
4.测量View的大小onMeasure()
/**
     * 自定义view的测量方法
     * @param widthMeasureSpec
     * @param heightMeasureSpec
     */
    @Override
    protected void onMeasure(int widthMeasureSpec, int heightMeasureSpec) {
        super.onMeasure(widthMeasureSpec, heightMeasureSpec);
        //布局的宽和高都是由这个方法指定
        //获取宽高的模式Mode,widthMeasureSpec前2位
        int widthMode = MeasureSpec.getMode(widthMeasureSpec);
        int heightMode = MeasureSpec.getMode(heightMeasureSpec);

        //获取宽高的值Size,widthMeasureSpec后30位
        int widthSize = MeasureSpec.getSize(widthMeasureSpec);
        int heightSize = MeasureSpec.getSize(heightMeasureSpec);

        //一共有三种模式               对应
        //MeasureSpec.AT_MOST       wrap_content
        //MeasureSpec.EXACTLY       100dp\match_parent\fill_patent
        //MeasureSpec.UNSPECIFIED   尽可能的大,在ScrollView\ListView测量子布局会用到

    }
5.绘制图形的方法onDraw()
/**
     * 用于绘制
     * @param canvas
     */
    @Override
    protected void onDraw(Canvas canvas) {
        super.onDraw(canvas);
        //canvas.drawText(text, 0, baseLine, mPaint);
    }
canvas有绘制各种图形的方法
6.处理用户交互的方法onTouchEvent
/**
     * 处理更用户交互的,手指触摸等等
     * @param event
     * @return
     */
    @Override
    public boolean onTouchEvent(MotionEvent event) {
        switch (event.getAction()) {
            case MotionEvent.ACTION_DOWN:
                //手指按下
                break;
            case MotionEvent.ACTION_MOVE:
                //手指移动
                break;
            case MotionEvent.ACTION_UP:
                //手指抬起
                break;

        }
        return super.onTouchEvent(event);
    }
本文的讲解就先到这里
重点理解三种构造方法的使用规则
以及自定义View的三个重要关键方法:onMeasure\onDraw\onTouchEvent().


 106
106


 被折叠的 条评论
为什么被折叠?
被折叠的 条评论
为什么被折叠?
 到【灌水乐园】发言


