


本文介绍linphone-desktop当前最新版本在unbuntu 22.04系统上的编译安装及打包步骤,具体过程是参考gitlab上的readme,不过遇到不少坑,所以专门记录一下。
链接如下:
https://gitlab.linphone.org/BC/public/linphone-desktop
https://gitee.com/poseidom/linphone-desktop
1、安装依赖
##本文所有shell命令执行都是用root用户执行,如非root用户请加sudo
##因为我用的是ubuntu-server,因此这里还要先安装下ubuntu-desktop
apt install ubuntu-desktop
apt update
apt upgrade

apt install yasm nasm doxygen perl git pkg-config python3-pip cmake v4l-utils libv4l-dev libx11-dev libpulse-dev pulseaudio apulse

apt install mesa-common-dev libglu1-mesa-dev libegl1-mesa-dev

##然后用pip3 install安装pystache和six:
pip3 install pystache six
2、下载并运行安装qt5
我们这里用qt 5.14.2版本,下载网址是 https://download.qt.io/archive/qt/5.14/5.14.2/,我们系统是unbutu,所以下载
qt-opensource-linux-x64-5.14.2.run这个包。
下载到桌面后,在图形界面右键点击后设置权限加上可执行权限,然后双击安装,记得用root用户,非root需要在终端打开后加sudo执行。选择组件的时候,除了默认的Tools,另外勾选上Desktop gcc 64-bit和sources。
设置环境变量,设置完记得重启机器:
vim /etc/profile
##在结尾添加如下三行:
export PATH="/opt/Qt5.14.2/Tools/QtCreator/bin:$PATH"
export PATH="/opt/Qt5.14.2/5.14.2/gcc_64/bin:$PATH"
export PATH="/opt/Qt5.14.2/5.14.2/gcc_64:$PATH"
3、编译linphone-desktop
依次执行下面命令进行编译安装:
##首先拉取源码
git clone https://gitlab.linphone.org/BC/public/linphone-desktop.git --recursive
##从git拉取慢的话,可以从码云这里拉取:git clone --recursive https://gitee.com/poseidom/linphone-desktop.git

##接下来就是开始编译了
cd linphone-desktop
mkdir build
cd build
cmake .. -DCMAKE_BUILD_PARALLEL_LEVEL=10 -DCMAKE_BUILD_TYPE=RelWithDebInfo
cmake --build . --target install --parallel 10 --config RelWithDebInfo
//如果第一步cmake就报错的话,提示“No CMAKE_CXX_COMPILER could be found.”,则可能是没有安装编译环境,执行apt-get install build-essential安装。
//另外可以在第一个cmake的时候带很多参数,如选择是否编译支持G729编码等等。
上面最后一个cmake --build如果执行成功的话,就是编译完成了。
需要注意,上面最后一步要求是编译用的机器有声卡才可以,否则会卡在报错“Could not find a support sound driver API”。根据提示即使在第一个cmake的时候带上-DENABLE_SOUND=NO,后面第二个cmake还是会报错。
编译完以后,在ubuntu图形界面,可以到linphone-desktop/build目录执行如下指令即可尝试启动linphone:
./OUTPUT/bin/linphone --verbose4、打包程序 - 利用AppImage打包
上面linphone-desktop编译的install目录就是build/OUTPUT,可以直接在OUTPUT/bin下找到linphone可执行程序启动linphone。
而要在编译的同时,把编译结果打包成程序,根据README提示,需要cmake .. -DENABLE_APP_PACKAGING=YES。因此可以按下面步骤操作。
首先缺个fuse2依赖,需要安装下,否则build的时候会报错:
apt install libfuse2接下来在linphone-desktop/build目录下,重新执行两条cmake命令进行打包:
cmake .. -DCMAKE_BUILD_PARALLEL_LEVEL=10 -DCMAKE_BUILD_TYPE=RelWithDebInfo -DENABLE_APP_PACKAGING=YES
cmake --build . --target install --parallel 10 --config RelWithDebInfo
最后输出如下结果,就是打包成功:
[appimage/stderr] Please consider submitting your AppImage to AppImageHub, the crowd-sourced
[appimage/stderr] central directory of available AppImages, by opening a pull request
[appimage/stderr] at https://github.com/AppImage/appimage.github.io
[appimage/stdout] /root/linphone-desktop/build/WORK/Packages/AppImageDir/AppDir should be packaged as Linphone-3488f97e-x86_64.AppImage然后查看对应的存放打包程序的目录build/OUTPUT/Packages,可以看到打包完成的AppImage:
root@myubt:~/linphone-desktop# ls -lhtr build/OUTPUT/Packages/
total 172M
-rwxr-xr-x 1 root root 172M Oct 19 04:40 Linphone-4.5.0-alpha.326+3488f97e.AppImage
//打包过程也要联网,会访问gitlab下载打包工具linuxdeploy-x86_64.AppImage。
5、客户端运行
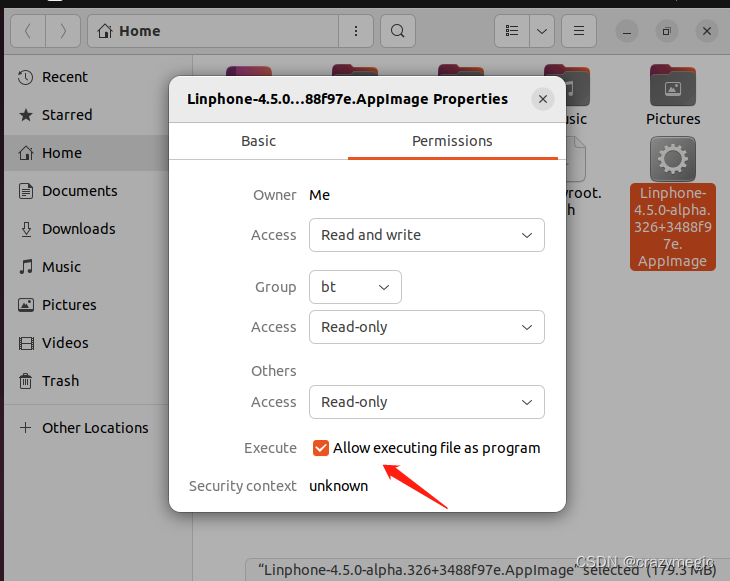
把打包好的AppImage(我们这里是Linphone-4.5.0-alpha.326+3488f97e.AppImage),拷贝到新的ubuntu-desktop或其它linux图形桌面并赋予执行权限,然后安装libfuse依赖后(AppImage运行需要fuse,有些系统内置了就不需要安装),即可成功打开运行linphone-desktop。
apt install libfuse2首先需要赋予AppImage可执行权限:
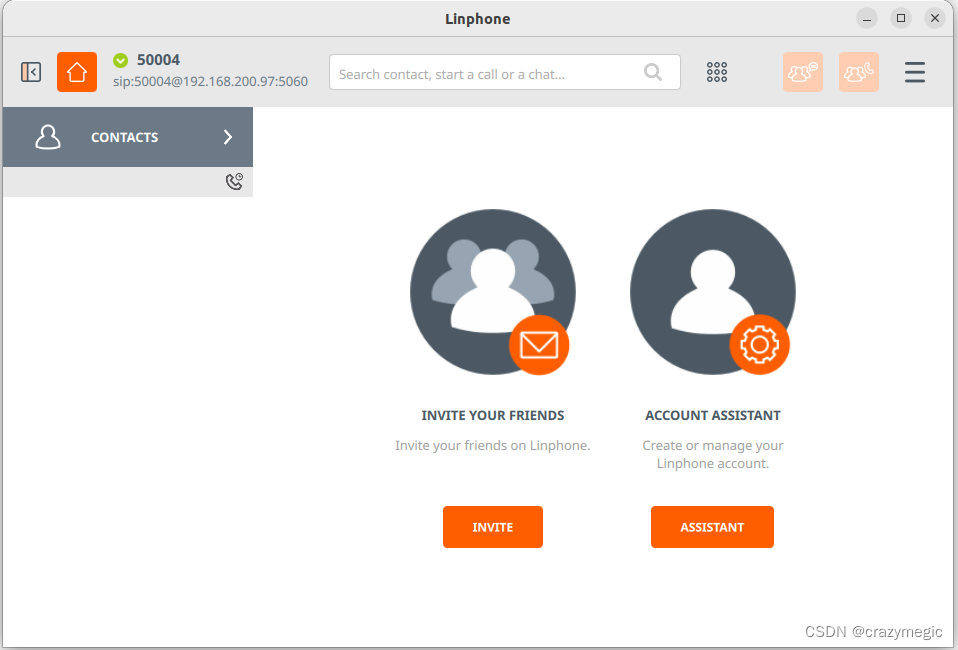
然后即可打开运行linphone-desktop:
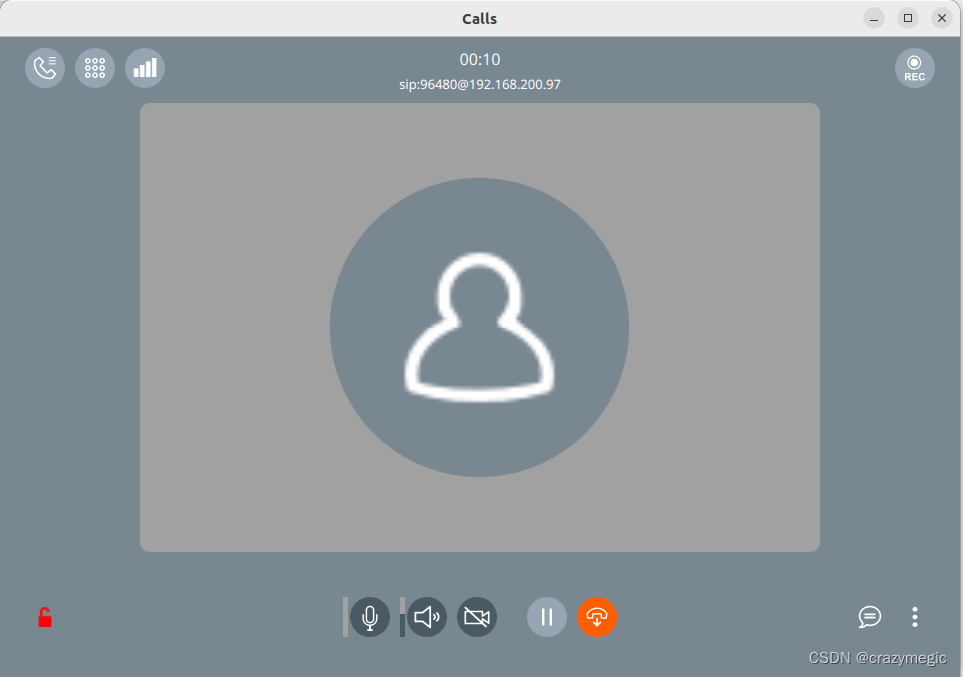
测试拨打电话:


 1747
1747

 被折叠的 条评论
为什么被折叠?
被折叠的 条评论
为什么被折叠?
 到【灌水乐园】发言


