


RecyclerView 看Java Code Geeke上说的是他比ListView更加的灵活,
我们都知道如何在我们的应用程序中使用列表视图,我们知道如果我们想增加ListView的表现,我们可以使用一个模式被称为ViewHolder。该模式由一个简单的类,它拥有UI组件的引用为ListView中的每一行。以便减少对findById的使用。
按照我的对代码顺序进行描述代码吧。首先这是一个Demo,一共展示的是三种形式。我们创建一个MainActivity作用就是分别可以切换这三种形式,同时传递一个Intent地址;
一、MainActivity
package com.example.hejingzhou.cardlistdemo;

import android.content.Intent;
import android.os.Bundle;
import android.support.v7.app.AppCompatActivity;
import android.view.View;
import android.view.WindowManager;
import android.widget.Button;

public class MainActivity extends AppCompatActivity {

    private Button mbtList,mbtSquare,mbtStaggered;
    private static int Type_List = 0;
    private static int Type_Square = 1;
    private static int Type_Staggered = 2;


    @Override
    protected void onCreate(Bundle savedInstanceState) {
        super.onCreate(savedInstanceState);
        getWindow().setFlags(WindowManager.LayoutParams.FLAG_FULLSCREEN,
                WindowManager.LayoutParams.FLAG_FULLSCREEN);//全屏
        setContentView(R.layout.activity_main);
        findViewById();
        mbtList.setOnClickListener(new View.OnClickListener() {
            @Override
            public void onClick(View v) {
                Intent listIntent = new Intent(MainActivity.this, TypeActivity.class);
                listIntent.putExtra("type", Type_List);
                startActivity(listIntent);
            }
        });
        mbtSquare.setOnClickListener(new View.OnClickListener() {
            @Override
            public void onClick(View v) {
                Intent listIntent = new Intent(MainActivity.this, TypeActivity.class);
                listIntent.putExtra("type",Type_Square);
                startActivity(listIntent);
            }
        });
        mbtStaggered.setOnClickListener(new View.OnClickListener() {
            @Override
            public void onClick(View v) {
                Intent listIntent = new Intent(MainActivity.this, TypeActivity.class);
                listIntent.putExtra("type",Type_Staggered);
                startActivity(listIntent);
            }
        });
    }

    private void findViewById() {
        mbtList = (Button)findViewById(R.id.buttonList);
        mbtSquare = (Button)findViewById(R.id.buttonSquare);
        mbtStaggered = (Button)findViewById(R.id.buttonStaggered);
    }
}
这个很简单,然后可以跳转到TypeActivity这个类中,这个类就是判断传进的Intent值是几,然后针对相应的代码进行相应的响应。
二、TypeActivity
这个类中需要使用今天的主角RecyclerView类但是这个类你是没办法import出来的你需要在build.gradle中添加 compile 'com.android.support:recyclerview-v7:21.0.+' 后才能引入这个类。
package com.example.hejingzhou.cardlistdemo;

import android.os.Bundle;
import android.support.v7.app.AppCompatActivity;
import android.support.v7.widget.DefaultItemAnimator;
import android.support.v7.widget.GridLayoutManager;
import android.support.v7.widget.LinearLayoutManager;
import android.support.v7.widget.OrientationHelper;
import android.support.v7.widget.RecyclerView;
import android.support.v7.widget.StaggeredGridLayoutManager;
import android.view.WindowManager;


public class TypeActivity extends AppCompatActivity {

    private RecyclerView mRecyclerView;//创建布局管理器
<pre name="code" class="plain"> private String[] title = { "小鸟小鸟小鸟小鸟小鸟小鸟小鸟小鸟",
"音乐音乐音乐音乐",
"应用应用应用应用",
"花朵花朵花朵花朵",
"游戏游戏游戏游戏",
"查找查找查找查找",
"相册相册相册相册" }; private int[] pic = {R.mipmap.aa1, R.mipmap.aa0, R.mipmap.aa2, R.mipmap.aa3, R.mipmap.aa4, R.mipmap.aa5, R.mipmap.aa6};/图片资源数组
private final static int Type_List = 0;
private final static int Type_Square = 1;
private final static int Type_Staggered = 2;
@Override
protected void onCreate(Bundle savedInstanceState) {
super.onCreate(savedInstanceState);
getWindow().setFlags(WindowManager.LayoutParams.FLAG_FULLSCREEN,WindowManager.LayoutParams.FLAG_FULLSCREEN);
setContentView(R.layout.activity_type);
mRecyclerView = (RecyclerView)findViewById(R.id.RecyclerView_list);//布局管理器与布局管理控件关联
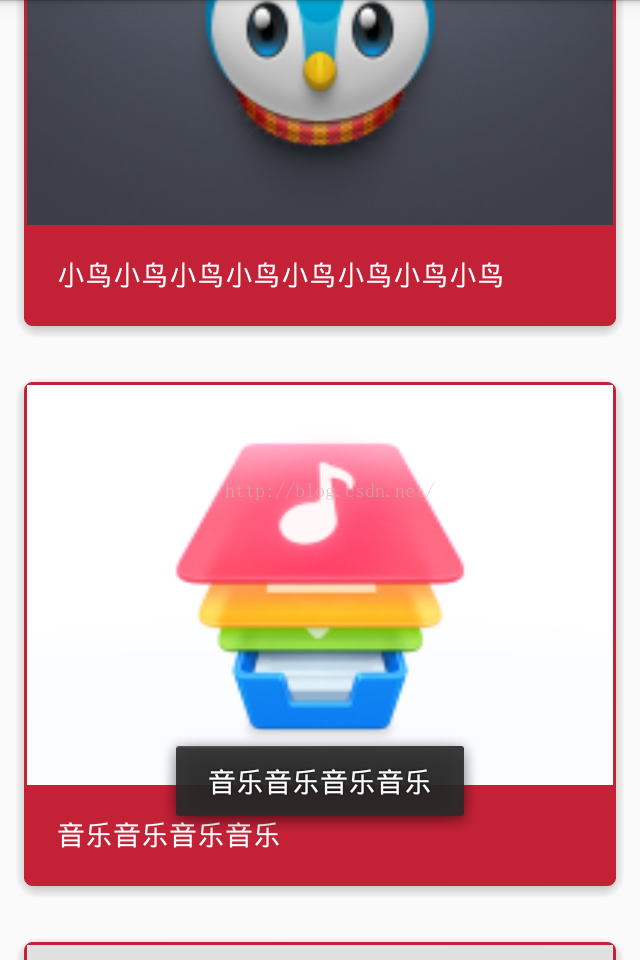
if(getIntent().getIntExtra("type",0) == Type_List)//Type of List
{
LinearLayoutManager linearLayoutManager = new LinearLayoutManager(this);//创建新的线性布局管理对象
linearLayoutManager.setOrientation(LinearLayoutManager.VERTICAL);//将线性布局管理方向设置为垂直
mRecyclerView.setLayoutManager(linearLayoutManager);
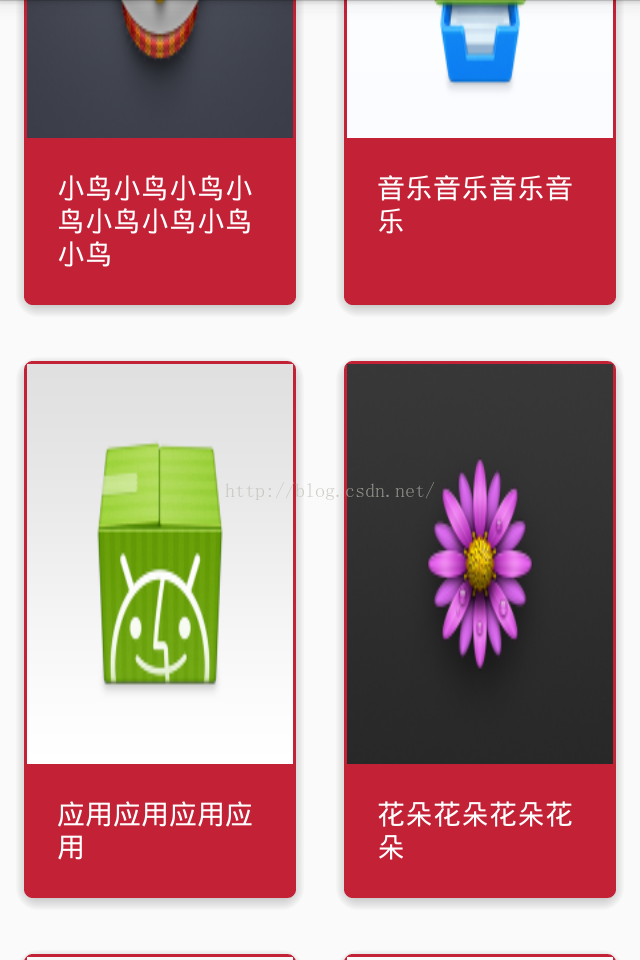
}else if(getIntent().getIntExtra("type",0) == Type_Square) {
mRecyclerView.setLayoutManager(new GridLayoutManager(this,2));
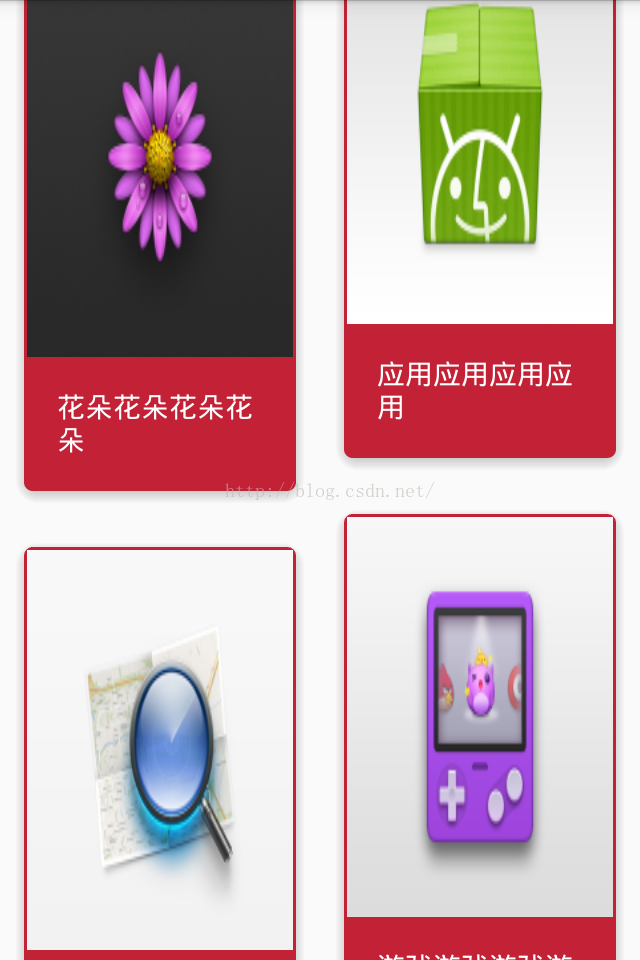
}else if(getIntent().getIntExtra("type",0) == Type_Staggered){
mRecyclerView.setLayoutManager(new StaggeredGridLayoutManager(2, OrientationHelper.VERTICAL));
}
mRecyclerView.setAdapter(new RecyclerViewAdapter(pic, title, this));//写到这里的时候就要写一个适配器类了,和ListView类似
mRecyclerView.setItemAnimator(new DefaultItemAnimator());
}
}<span style="color:#ff0000;">
</span>
三、RecyclerViewAdapter
在写这个类之前需要一个CardView的布局文件了(layout_card_view.xml)
再写这个布局文件的时候同样你是不会找到这个CardView 类的,你需要进行再需要在
build.gradle中添加一句 compile 'com.android.support:cardview-v7:21.0.+' 才可以引用这个类的
<?xml version="1.0" encoding="utf-8"?>
<android.support.v7.widget.CardView
    xmlns:card_view="http://schemas.android.com/apk/res-auto"
    xmlns:android="http://schemas.android.com/apk/res/android"
    android:layout_width="match_parent"
    android:layout_height="wrap_content"
    android:layout_margin="8dp"
    android:id="@+id/cv_item"
    android:foreground="?android:attr/selectableItemBackground"
    card_view:cardCornerRadius="4dp"
    card_view:cardBackgroundColor="#c32136"
    card_view:cardElevation="4dp"
    >

    <LinearLayout
        android:layout_width="match_parent"
        android:layout_height="wrap_content"
        android:orientation="vertical"
        >
        <ImageView
            android:id="@+id/iv_pic"
            android:layout_width="match_parent"
            android:layout_height="200dp"
            android:layout_weight="1"

            />
        <TextView
            android:id="@+id/tv_text"
            android:padding="15dp"
            android:textColor="#ffffff"
            android:layout_width="match_parent"
            android:layout_height="wrap_content"/>
    </LinearLayout>

</android.support.v7.widget.CardView>
package com.example.hejingzhou.cardlistdemo;

import android.content.Context;
import android.support.v7.widget.CardView;
import android.support.v7.widget.RecyclerView;
import android.view.LayoutInflater;
import android.view.View;
import android.view.ViewGroup;
import android.widget.ImageView;
import android.widget.TextView;
import android.widget.Toast;

/**
 * Created by Hejingzhou on 2016/2/21.
 */
public class RecyclerViewAdapter extends RecyclerView.Adapter<RecyclerViewAdapter.NormalViewHolder> {

    private LayoutInflater mLayoutInflater;//创建布局填充器
    private Context mcContext;
    private String[] mTitle;
    private int[] mPic;

    public RecyclerViewAdapter(int[] mPic, String[] mTitle, Context mcContext) {
        this.mPic = mPic;
        this.mTitle = mTitle;
        this.mcContext = mcContext;
        mLayoutInflater = LayoutInflater.from(mcContext);
    }

    /**
     * ViewHolder通过保存item中使用到的控件的引用来减少findViewById的调用,以此使ListView滑动得更加顺畅。
     */
    public class NormalViewHolder extends RecyclerView.ViewHolder
    {
        TextView mteTextView;
        CardView mcCardView;
        ImageView mImageView;
        public NormalViewHolder(View itemView) {
            super(itemView);
            mteTextView = (TextView) itemView.findViewById(R.id.tv_text);
            mcCardView = (CardView)itemView.findViewById(R.id.cv_item);
            mImageView = (ImageView)itemView.findViewById(R.id.iv_pic);
        }
    }

    public NormalViewHolder onCreateViewHolder(ViewGroup viewGroup,int viewType)
    {
        return new NormalViewHolder(mLayoutInflater.inflate(R.layout.layout_card_view,viewGroup,false));
    }

    /**
     * 标题 图片  Toast绑定
     * @param holder  持有对象
     * @param position  位置 数组下标
     */
    @Override
    public void onBindViewHolder(RecyclerViewAdapter.NormalViewHolder holder, final int position) {
        holder.mteTextView.setText(mTitle[position]);
        holder.mImageView.setBackgroundResource(mPic[position]);
        holder.mcCardView.setOnClickListener(new View.OnClickListener() {
            @Override
            public void onClick(View v) {
                Toast.makeText(mcContext,mTitle[position], Toast.LENGTH_SHORT).show();
            }
        });
    }

    /**
     * 获得条目数
     * @return  条目数
     */
    @Override
    public int getItemCount() {
        return mTitle == null ?0:mTitle.length;
    }
}
Ok了
源代码 :http://download.csdn.net/detail/csdnhejingzhou/9438743


 558
558


 被折叠的 条评论
为什么被折叠?
被折叠的 条评论
为什么被折叠?
 到【灌水乐园】发言


