


 本文档详细介绍了如何使用TensorFlow Object Detection API训练自己的人脸检测模型。首先,作者提供了环境搭建的参考资料,然后讲解了从下载WIDER FACE数据集到将其转换为Pascal XML格式的过程。接着,通过编写Python脚本将XML转换为CSV,并创建TFRecord文件,为后续的模型训练做好准备。
前言
已完成TensorFlow Object Detection API环境搭建,具体搭建过程请参照:
安装运行谷歌开源的TensorFlow Object Detection API视频物体识别系统
或
Ubuntu系统安装配置tensorflow开发环境
准备工作
下载训练数据和验证数据
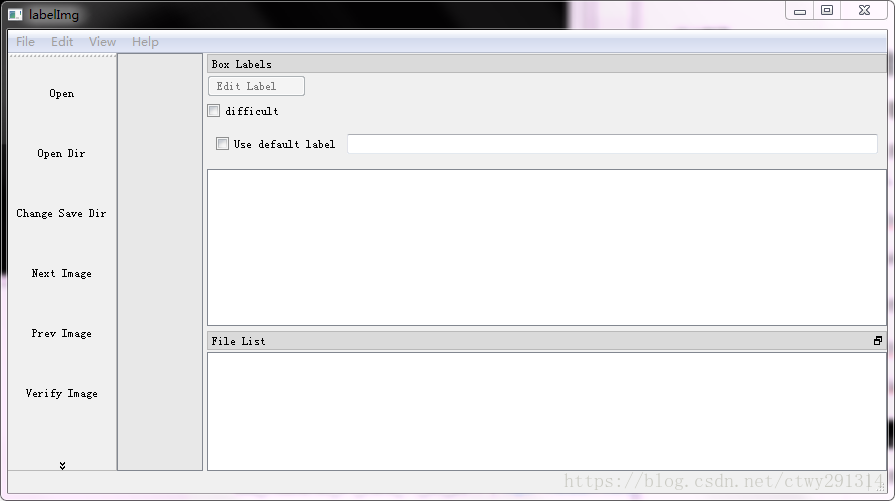
香港中文大学(Chinese University of Hong Kong)有大量的标注图像数据集。WIDER FACE数据集是一个人脸检测基准数据集。我用labelImg(https://github.com/tzutalin/labelImg)来显示边框。所选的文本是人脸检测注释。
结果集下载地址:http://mmlab.ie.cuhk.edu.hk/projects/WIDERFace/

labelImg安装命令
pip install labelImg其他安装方式请参照上面提供的地址自行尝试
lableImg使用命令
labelImg
效果
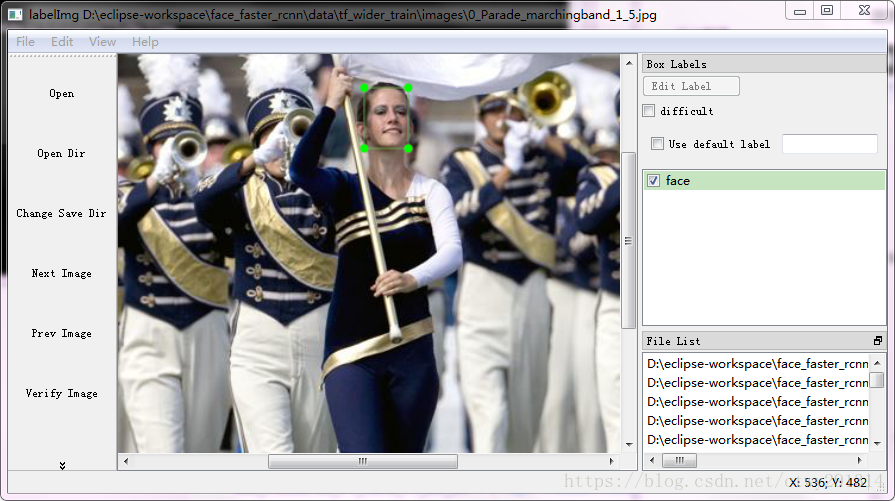
结果集中的图片与标注文件XML一一对应
下载模型
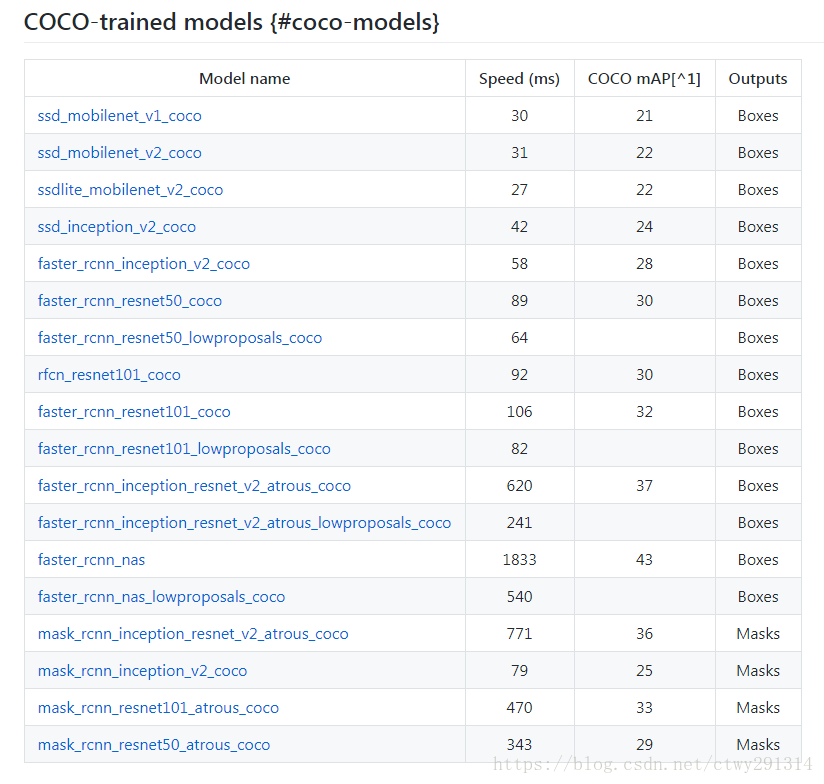
我选择的模型是faster_rcnn_inception_v2_coco,下载地址是:
编写代码进行相关操作001_down_data.py
# -*- coding: utf-8 -*-
'''
结果集下载与模型下载
'''
import requests
import os
import shutil
# unzip the files
import zipfile
import tarfile


def download_file_from_google_drive(id, destination):

    def get_confirm_token(response):
        for key, value in response.cookies.items():
            if key.startswith('download_warning'):
                return value

        return None

    def save_response_content(response, destination):
        CHUNK_SIZE = 32768

        with open(destination, "wb") as f:
            for chunk in response.iter_content(CHUNK_SIZE):
                if chunk:  # filter out keep-alive new chunks
                    f.write(chunk)

    URL = "https://docs.google.com/uc?export=download"

    session = requests.Session()

    response = session.get(URL, params={ 'id' : id }, stream=True)
    token = get_confirm_token(response)

    if token:
        params = { 'id' : id, 'confirm' : token }
        response = session.get(URL, params=params, stream=True)

    save_response_content(response, destination)


# The script
curr_path = os.getcwd()
models_path = os.path.join(curr_path, "data")

# make dir => wider_data in folder
try:
    os.makedirs(models_path)
except Exception as e:
    pass

print("files download start")

if os.path.exists(os.path.join(models_path, "train.zip")) == False:
    print("downloading.. train.zip -- 1.47GB")
    download_file_from_google_drive("0B6eKvaijfFUDQUUwd21EckhUbWs", os.path.join(models_path, "train.zip"))

if os.path.exists(os.path.join(models_path, "val.zip")) == False:
    print("downloading.. val.zip -- 362.8MB")
    download_file_from_google_drive("0B6eKvaijfFUDd3dIRmpvSk8tLUk", os.path.join(models_path, "val.zip"))

print("files download end")

print("files unzip start")

if os.path.exists(os.path.join(models_path, "WIDER_train")) == False:
 最低0.47元/天 解锁文章


 1195
1195

 被折叠的 条评论
为什么被折叠?
被折叠的 条评论
为什么被折叠?
 到【灌水乐园】发言


