


wordpress入门主题
The WordPress Theme Customization API allows developers to easily enable a ‘Customizer Page’ to their themes. The Theme Customizer API is supported from the 3.4 release onwards. The WordPress.org Codex recommends that developers provide theme customisation options in the Theme Customizer page, rather than providing options in a theme options page.
WordPress主题自定义API允许开发人员轻松为其主题启用“自定义页面”。 从3.4版本开始支持Theme Customizer API。 WordPress.org Codex建议开发人员在“主题定制器”页面中提供主题定制选项,而不是在主题选项页面中提供选项。
Allowing users to change the appearance of your theme, edit or add settings to your theme via the WordPress Theme Customizer page will make your theme easy to use and appear professional. In this tutorial, I will show you what theme customization is, from a user’s perspective, and how to use the WordPress Theme Customization API to control the Customizer Page.
允许用户通过WordPress主题定制器页面更改主题外观,编辑主题或向主题添加设置,将使您的主题易于使用且显得专业。 在本教程中,我将从用户的角度向您展示什么是主题自定义,以及如何使用WordPress主题自定义API控制“自定义程序”页面。
This article assumes that you are familiar with the fundamentals of WordPress Theme and Plugin Development.
本文假定您熟悉WordPress主题和插件开发的基础知识。
什么是主题自定义API? (What Is the Theme Customization API?)
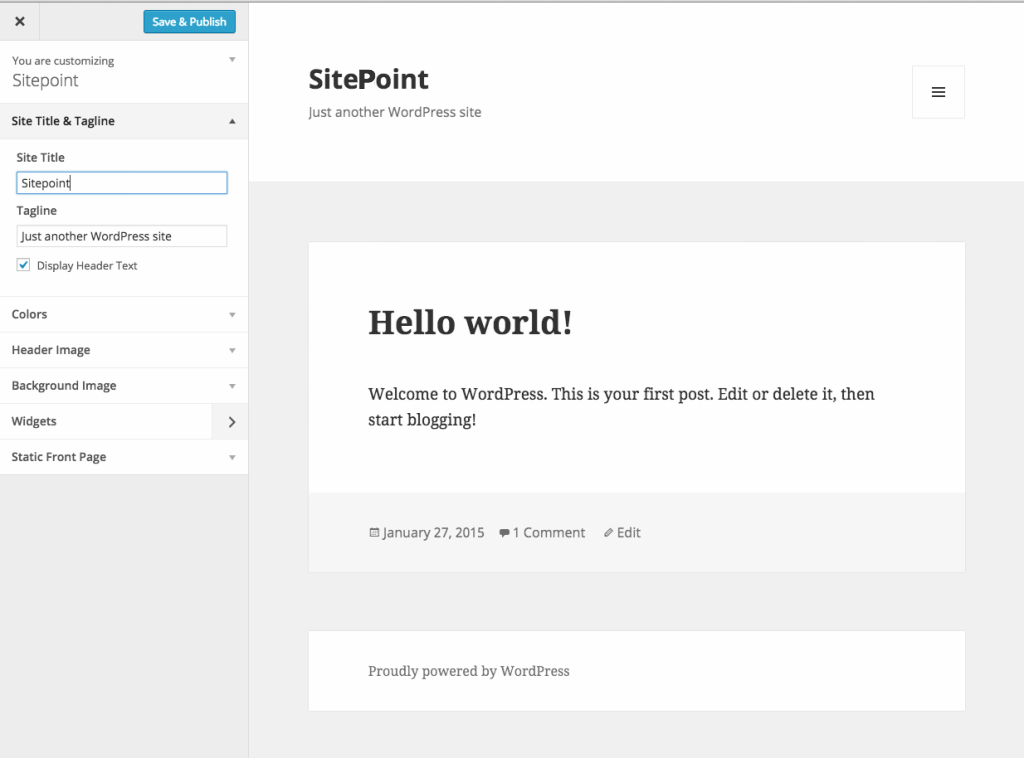
The Theme Customization API allows developers to build controls and settings options in the Customize section found in the Appearance menu in the WordPress Dashboard. The Theme Customization screen (or Theme Customizer Page) allows site administrators to modify a theme’s settings, color schemes, widgets, titles and logos, to name a few of the common examples. It also provides a preview of those changes in real-time.
主题自定义API允许开发人员在WordPress信息中心的“外观”菜单中的“自定义”部分中构建控件和设置选项。 主题自定义屏幕(或主题自定义页面)允许站点管理员修改主题的设置,配色方案,小部件,标题和徽标,以列举一些常见示例。 它还提供了这些更改的实时预览。
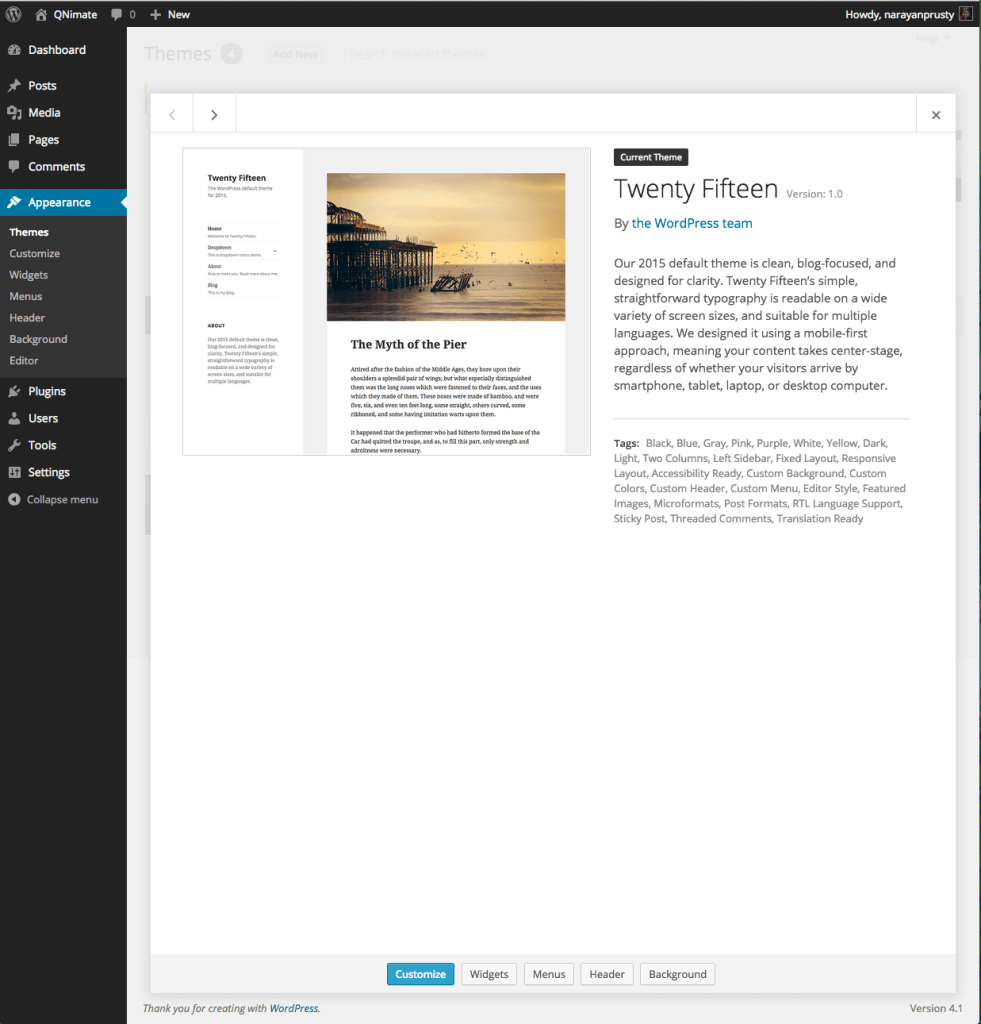
In the above image, the blue ‘Customize’ button takes us to the theme customizer page
在上图中,蓝色的“自定义”按钮将我们带到主题定制器页面
Previously, developers would provide a theme options page for users to tweak their theme, which was far less user friendly because users had to refresh their site after making changes to see these them take effect.
以前,开发人员将提供一个主题选项页面供用户调整其主题,这对用户的友好性要差得多,因为用户必须在进行更改后刷新其网站才能看到它们生效。
主题定制程序页面上的默认控件 (Default Controls on the Theme Customizer Page)
Every WordPress Theme which is installed in WordPress 3.4 and above is provided with some default settings and controls on the Theme Customizer Page such as Site Title, Tagline, Background Color, Background Image, Widgets and Static Front Page. You don’t have to add any code to support these basic customization settings and controls.
在WordPress 3.4及更高版本中安装的每个WordPress主题在“主题自定义程序”页面上都提供了一些默认设置和控件,例如网站标题,标语,背景色,背景图像,小部件和静态首页。 您无需添加任何代码即可支持这些基本的自定义设置和控件。
了解部分,设置和控件 (Understanding Sections, Settings and Controls)
Sections represent a group of settings. When you define new settings and controls, they must be added to a section. You can also add new settings and controls to default sections.
部分代表一组设置。 定义新设置和控件时,必须将它们添加到部分中。 您还可以将新设置和控件添加到默认部分。
A Setting represents a customization option of a Theme.
设置代表主题的自定义选项。
A control is a HTML form element on the Theme Customizer page and it allows admins to change a setting on real time preview. Controls are linked to a single setting, and a single section.
控件是“主题定制器”页面上HTML表单元素,它允许管理员更改实时预览的设置。 控件链接到单个设置和单个部分。
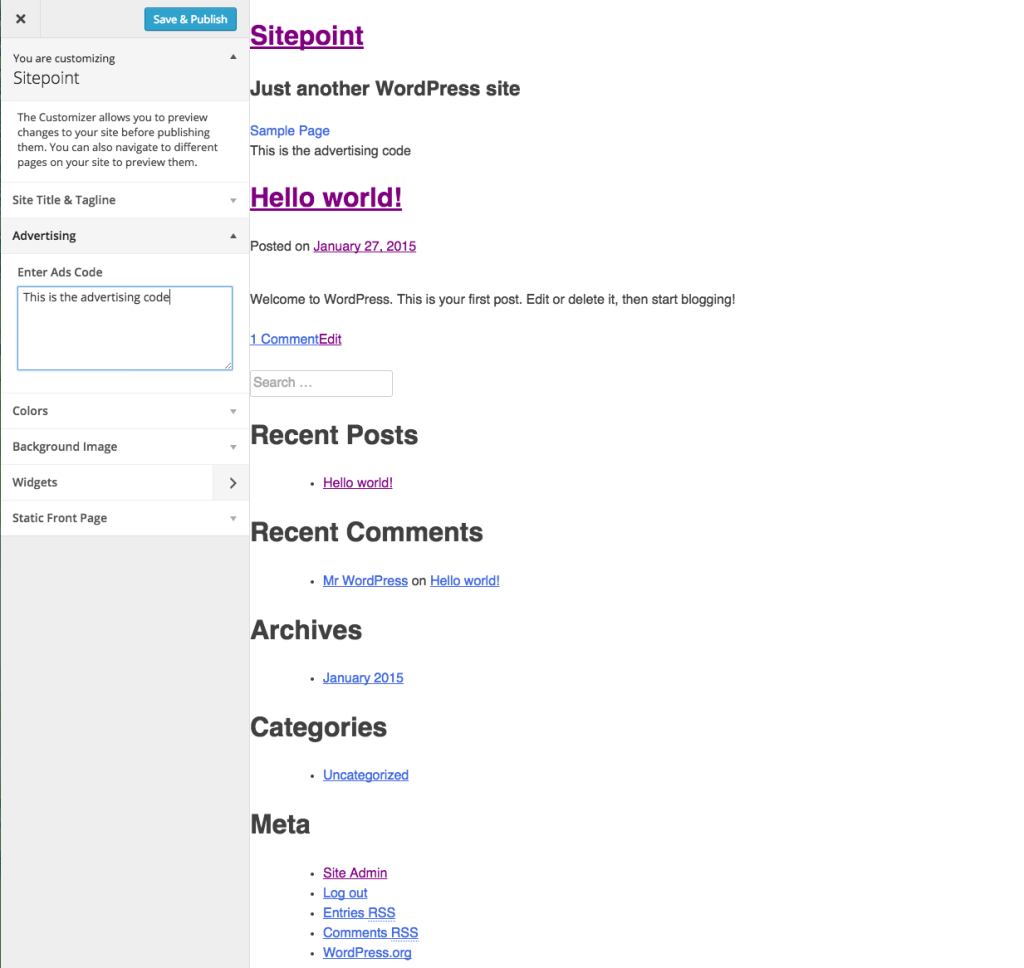
Let’s see how to create a section, setting and control for placing ads on our theme.
让我们看看如何创建一个部分,设置和控制将广告放置在我们的主题上。
创建一个部分 (Creating a Section)
You need to use $customizer_object->add_section method to create a new section.
您需要使用$customizer_object->add_section方法创建一个新节。
Here is the code to create a section named ads
这是创建名为ads的部分的代码
function sitepoint_customize_register($wp_customize)
{
	$wp_customize->add_section("ads", array(
		"title" => __("Advertising", "customizer_ads_sections"),
		"priority" => 30,
	));
}

add_action("customize_register","sitepoint_customize_register");
priority defines the position of the section.
priority定义节的位置。
Here is the names of the default sections: title_tagline, colors, header_image, background_image, nav and static_front_page.
这是默认部分的名称: title_tagline , colors , header_image , background_image , nav和static_front_page 。
创建设置 (Creating a Setting)
You need to use $customizer_object->add_setting method to create a new setting.
您需要使用$customizer_object->add_setting方法来创建新设置。
Here is the code to create a setting named ads_code
这是创建名为ads_code的设置的代码
function sitepoint_customize_register($wp_customize)
{
	$wp_customize->add_setting("ads_code", array(
		"default" => "",
		"transport" => "postMessage",
	));
}

add_action("customize_register","sitepoint_customize_register");
transport argument supports two values refresh and postMessage.
transport参数支持两个值refresh和postMessage 。
refresh indicates that the changes will take place when the Theme Customizer page is saved by clicking the Save & Publish button and then Refresh.
refresh指示在通过单击“ 保存并发布”按钮然后单击“刷新” 保存“主题定制器”页面时将进行更改。
But postMessage indicates that the changes will take place in real time, as it happens. For real time changes we also need to write some JavaScript. We will see more details on this later on. In this case, site visitors will not be able to see the changes until the site admin clicks the Save & Publish button.
但是postMessage指示更改将实时发生。 对于实时更改,我们还需要编写一些JavaScript。 我们将在稍后看到更多详细信息。 在这种情况下,除非网站管理员单击“ 保存并发布”按钮,否则网站访问者将看不到更改。
创建一个控件 (Creating a Control)
When you’re creating a control, we would use the $customizer_object->add_control($controller_object) method to create a new setting.
在创建控件时,我们将使用$customizer_object->add_control($controller_object)方法来创建新设置。
Let’s display a control to display a text area to take advertising code as our input.
让我们显示一个控件来显示文本区域,以广告代码作为输入。
function sitepoint_customize_register($wp_customize)
{
	$wp_customize->add_control(new WP_Customize_Control(
		$wp_customize,
		"ads_code",
		array(
			"label" => __("Enter Ads Code", "customizer_ads_code_label"),
			"section" => "ads",
			"settings" => "ads_code",
			"type" => "textarea",
		)
	));
}

add_action("customize_register","sitepoint_customize_register");
There are various controller objects, depending on what kind of control you need. Here we used WP_Customize_Control which is used to display input fields such as text area, text, checkbox, radio and color. The are other controller objects such as WP_Customize_Color_Control, WP_Customize_Upload_Control and WP_Customize_Image_Control for color input, file upload and image input respectively.
有多种控制器对象,具体取决于所需的控件类型。 在这里,我们使用了WP_Customize_Control ,它用于显示输入字段,例如文本区域,文本,复选框,单选和颜色。 还有其他控制器对象,例如WP_Customize_Color_Control , WP_Customize_Upload_Control和WP_Customize_Image_Control分别用于颜色输入,文件上传和图像输入。
输出设置值 (Output Settings Values)
The way of echoing the settings value depends on the transport argument of the add_settings function.
回显设置值的方式取决于add_settings函数的transport参数。
If the transport argument value is refresh then this is the code to echo ads_code setting value in your theme.
如果transport参数值refresh则这是在主题中回ads_code设置值的代码。
?>
	<div id="ads_box">
		<?php
			echo get_theme_mod("ads_code");
		?>
	</div>
<?php
get_theme_mod is used to retrieve value of a setting of theme customisation API.
get_theme_mod用于检索主题定制API设置的值。
If the transport argument is postMessage then you also need to use the above code for echoing. But to implement live preview, you need to write some JavaScript so that you can fetch the new value when admin changes the value of the setting.
如果transport参数是postMessage那么您还需要使用以上代码进行回显。 但是要实现实时预览,您需要编写一些JavaScript,以便在管理员更改设置值时可以获取新值。
Create a JavaScript file in your theme’s directory. I will refer to it as theme-customizer.js
在主题目录中创建一个JavaScript文件。 我将其称为theme-customizer.js
Next, add the following code:
接下来,添加以下代码:
(function($){
	wp.customize("ads_code", function(value) {
		value.bind(function(newval) {
			$("#ads_code").html(newval);
		} );
	});
})(jQuery);
Here is the code to enqueue the above script:
这是使上述脚本入队的代码:
function sitepoint_customizer_live_preview()
{
	wp_enqueue_script("sitepoint-themecustomizer", get_template_directory_uri() . "/theme-customizer.js", array("jquery", "customize-preview"), '',  true);
}

add_action("customize_preview_init", "sitepoint_customizer_live_preview");
Here, we are enqueuing the script in the theme Customizer screen, so that site visitors don’t see the change on the live site while it’s happening.
在这里,我们将脚本放入主题“定制程序”屏幕中,以使站点访问者不会在实时站点上看到更改。
最后的想法 (Final Thoughts)
The Theme Customization API is already well developed and all new themes should be implementing it. If you’re creating a premium theme, then there is no way to escape it. You can provide all kinds of settings in the Customizer Page that you used previously using the Settings API.
主题自定义API已经开发完善,所有新主题都应该实现它。 如果要创建高级主题,则无法逃脱它。 您可以使用“设置API”在以前使用的“定制程序”页面中提供各种设置。
Feel free to include comments about your experience with this API below.
请在下面随意添加有关您使用此API的经验的评论。
翻译自: https://www.sitepoint.com/getting-started-with-the-wordpress-theme-customization-api/
wordpress入门主题


 1251
1251

 被折叠的 条评论
为什么被折叠?
被折叠的 条评论
为什么被折叠?
 到【灌水乐园】发言


