


幻灯片更换模板

If you find yourself creating the same outline of a presentation over and over again, you can save yourself the effort by using a template. Here’s how to create custom-made templates in Google Slides.
如果发现自己一遍又一遍地创建演示文稿的相同轮廓,则可以使用模板来节省工作量。 以下是在Google幻灯片中创建自定义模板的方法。
Although Google Slides does offer a wide range of templates to choose from for free accounts, they don’t all cater to the needs of everyone. To create a custom template that you can reuse multiple times over, you’ll have to use this little workaround to generate them.
尽管Google幻灯片确实为免费帐户提供了多种模板供您选择,但它们并不能完全满足每个人的需求。 要创建一个可以重复使用多次的自定义模板,您将不得不使用这种小变通方法来生成它们。
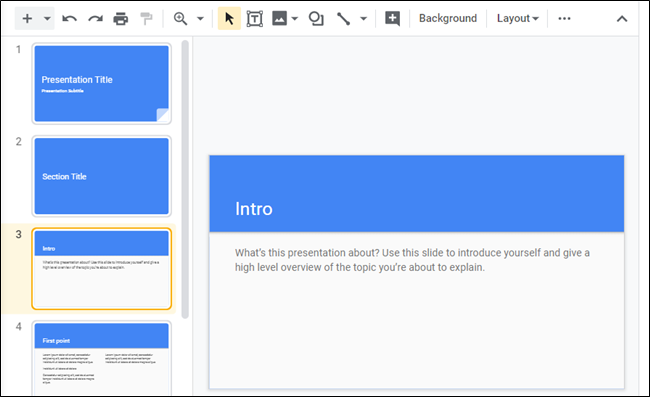
Fire up your browser, head to Google Slides, and open a blank presentation, previously made presentation, or one of Google’s pre-made templates.
启动浏览器,转到Google幻灯片 ,然后打开空白演示文稿,先前创建的演示文稿或Google的预制模板之一 。
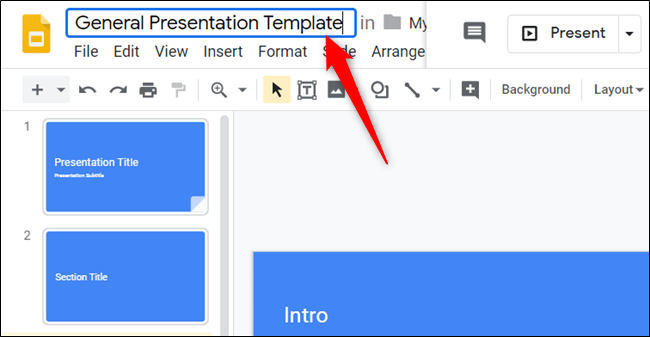
Now that you have the bones to your presentation set for your template, rename the file to something that has the word “Template” in it. Click the filename, rename it to include “Template,” and then press the “Enter” key when you finish.
现在,您已经为模板的演示文稿做好了准备,将文件重命名为其中带有“模板”字样的文件。 单击文件名,将其重命名为包括“模板”,然后在完成时按“ Enter”键。
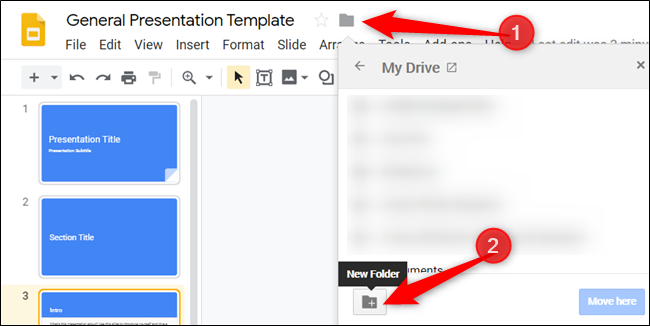
Next, click on the folder icon next to the filename and then select the “New Folder” icon to create a new folder for your Google Slides templates.
接下来,单击文件名旁边的文件夹图标,然后选择“新建文件夹”图标为您的Google幻灯片模板创建一个新文件夹。
Give the new folder a name and click the checkmark to create it.
为新文件夹命名,然后单击对勾以创建它。

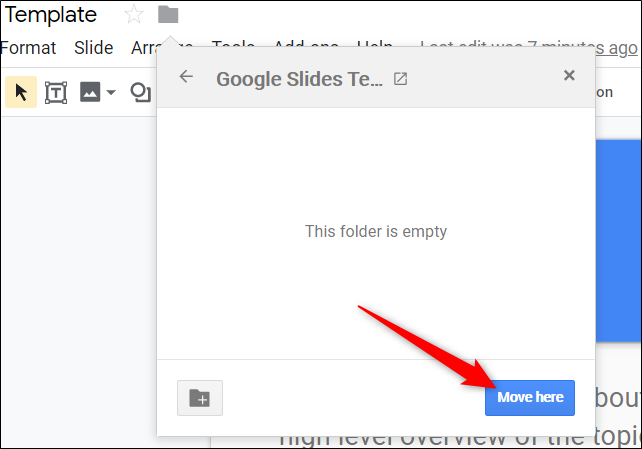
After you create the folder, click “Move Here” to save the template into your Google Slides template folder.
创建文件夹后,单击“移至此处”以将模板保存到Google幻灯片模板文件夹中。
This folder can now be the new home for any templates you create in the future. This is also a great way to keep everything in your Google Drive neatly organized and easy to find for all members of your team.
现在,此文件夹可以成为您将来创建的任何模板的新目录。 这也是使Google云端硬盘中的所有内容井井有条且便于团队所有成员轻松查找的好方法。
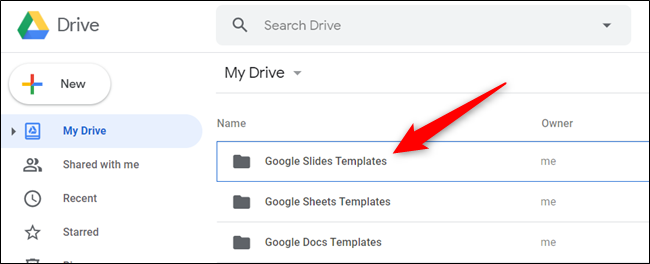
When you want to make a copy of your template, you can access them directly from Google Drive. Head on over to Drive, look for the folder you just made for templates, and double-click on it.
如果您想复制模板,则可以直接从Google云端硬盘访问它们。 转到云端硬盘 ,查找您刚刚为模板创建的文件夹,然后双击它。
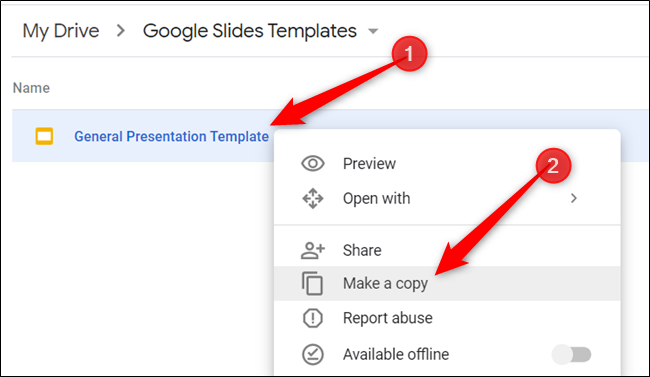
Because this is a template file that you’ll be using multiple times, you should make a copy of the file before entering any information into the file. Right-click on the template and select “Make A Copy” to duplicate the template file.
由于这是您将多次使用的模板文件,因此您应该在将任何信息输入文件之前制作该文件的副本。 右键单击模板,然后选择“进行复制”以复制模板文件。
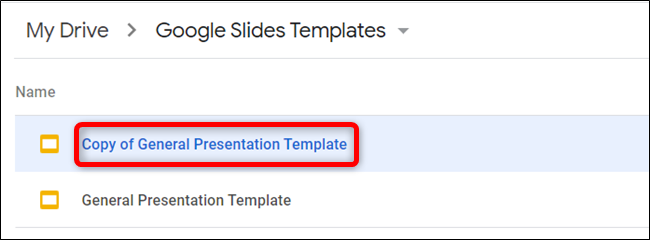
The copy of the template saves into the current folder with the prefix “Copy Of.” From here, you can double-click on the copy to open it, rename it, or move it to another folder altogether.
模板的副本以“ Copy Of”为前缀保存到当前文件夹中。 在这里,您可以双击副本以将其打开,重命名或将其完全移动到另一个文件夹。
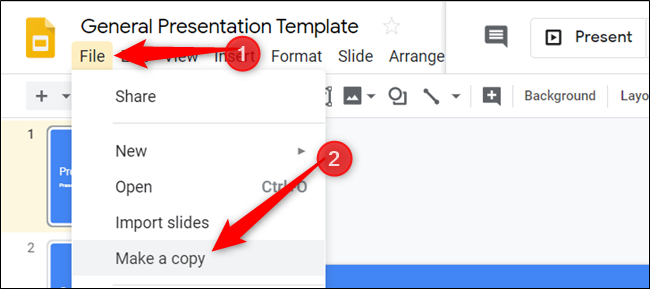
If you open the presentation or if someone sends you a template file, click File > Make A Copy to duplicate the template to your Drive.
如果您打开演示文稿,或者有人向您发送了模板文件,请单击文件>进行复制以将该模板复制到您的云端硬盘。
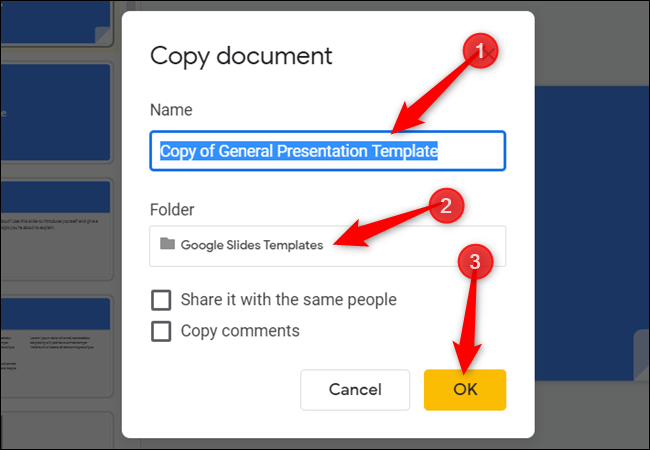
Name the file, choose a location for it in your Drive, and then click “OK” to save the document template.
命名文件,在驱动器中为其选择一个位置,然后单击“确定”以保存文档模板。
That’s all there is to it. If you want to share your template with other team members, you can create a “Make A Copy” link and send it to them in an email or share the file directly with a shareable link.
这里的所有都是它的。 如果您想与其他团队成员共享模板,则可以创建“进行复制”链接 ,然后通过电子邮件将其发送给他们,或者使用可共享链接直接共享文件。
If you have a paid G Suite account, you’re able to save custom templates in your account’s custom template gallery for all of your team members in your organization to use. With the method used above, free accounts can take advantage of sharing custom templates without any additional expenses.
如果您拥有付费的G Suite帐户 ,则可以将自定义模板保存在帐户的自定义模板库中 ,以供组织中的所有团队成员使用。 使用上述方法,免费帐户可以利用共享自定义模板的优势,而无需任何额外费用。
翻译自: https://www.howtogeek.com/448992/how-to-create-a-google-slides-template/
幻灯片更换模板


 被折叠的 条评论
为什么被折叠?
被折叠的 条评论
为什么被折叠?
 到【灌水乐园】发言


