


普元部署包部署找不到构建
Hello! My name is Kevin Powell. I love to teach people how to build the web and how to make it look good while they’re at it.
你好! 我叫凯文·鲍威尔 。 我喜欢教人们如何构建网络以及如何在他们使用时使其看起来更好。
I’m excited to announce that I’ve just launched a free course that teaches you to create your very own fully responsive portfolio website.
我很高兴地宣布, 我刚刚开设了一个免费课程 ,该课程可以教您创建自己的完全响应式的投资组合网站。
After you’ve finished this course you will have a neat-looking portfolio site that will help you land job interviews and freelance gigs. It’s also a cool thing to show to your friends and family.
完成本课程后,您将拥有一个外观整洁的投资组合网站,可帮助您进行工作面试和自由职业者演出。 向您的朋友和家人展示也是一件很酷的事情。
We’re going to build the portfolio using Scrimba’s interactive code-learning platform, and then deploy it using DigitalOcean’s cloud services.
我们将使用Scrimba的交互式代码学习平台构建产品组合,然后使用DigitalOcean的云服务进行部署。
Also, DigitalOcean has been generous to give everyone who enrolls a free credit, so it won’t cost you anything to get it up and running.
另外, DigitalOcean一直慷慨地为每个注册免费信用的人免费 ,因此启动并运行它不会花费您任何费用。
This post is a breakdown of the course itself, giving you an idea of what's included in all the lessons. If you like what you see, make sure to check it out over on Scrimba!
这篇文章是课程本身的细分,使您对所有课程中的内容有所了解。 如果您喜欢所看到的,请确保在Scrimba上检查一下 !
第一课:简介 (Lesson 1: Introduction)
In the first lesson, you’ll get an overview of the course so that you know what to expect, what you should know before taking it, and what you’ll end up with once you're finished. I also give you a quick intro to myself.
在第一堂课中,您将获得该课程的概述,以便您了解期望的内容,上课之前应了解的知识以及完成后将获得的结果。 我也给你一个自我介绍。
第2课:设置-HTML (Lesson 2: Setting things up - HTML)
In part two, I’m going to show you around in the Scrimba environment and we’ll also set up the project.
在第二部分中,我将向您展示Scrimba环境,我们还将设置该项目。
All the images are supplied, so you won’t need to worry about looking for the perfect photo just yet. We can focus on building the portfolio!
提供所有图像,因此您无需担心正在寻找完美的照片。 我们可以专注于建立投资组合!
Don’t forget that you can access everything you need from text and colors to fonts and much more at our dedicated design page.
不要忘记,在我们专用的设计页面上 ,您可以访问所需的一切,包括文本,颜色,字体等等。
第3课:标题区域-HTML (Lesson 3: The header area - HTML)
It’s finally time to start building out the portfolio. In this lecture, we will create the header section. We will brush up on the BEM methodology for setting class names in CSS, and I think you’ll find that this makes the navigation simple and straightforward to create.
现在是时候开始构建产品组合了。 在本讲座中,我们将创建标题部分。 我们将重温用于在CSS中设置类名称的BEM方法,并且我认为您会发现这使导航的创建变得简单明了。
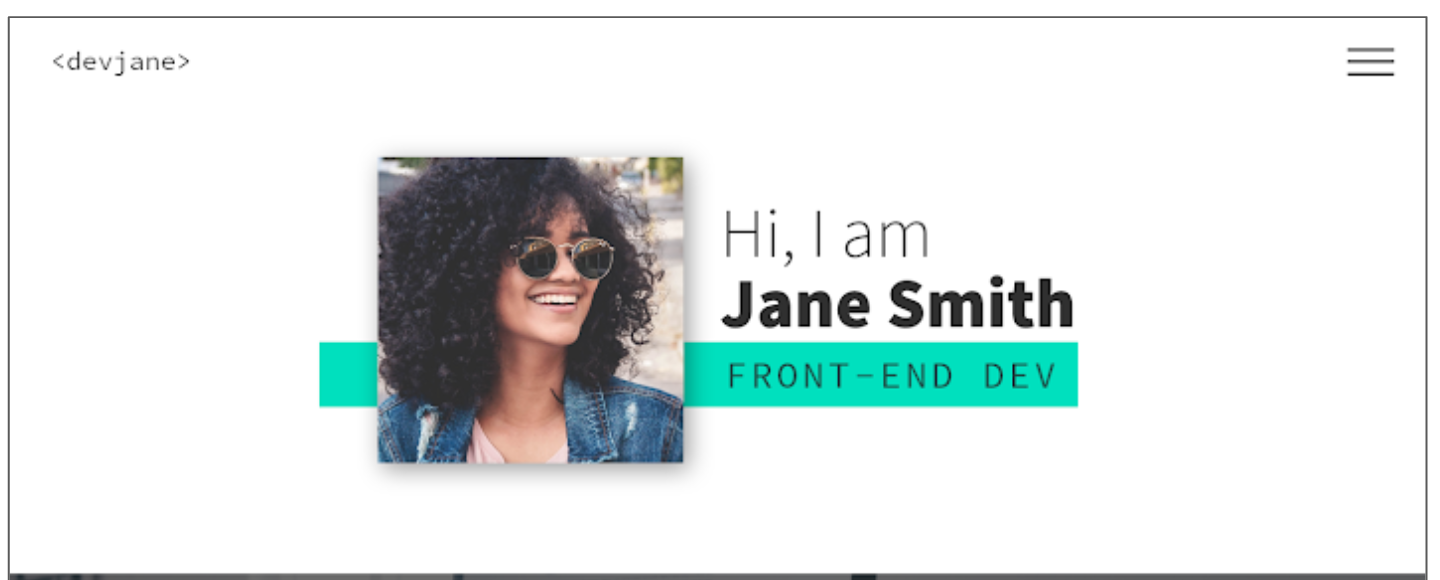
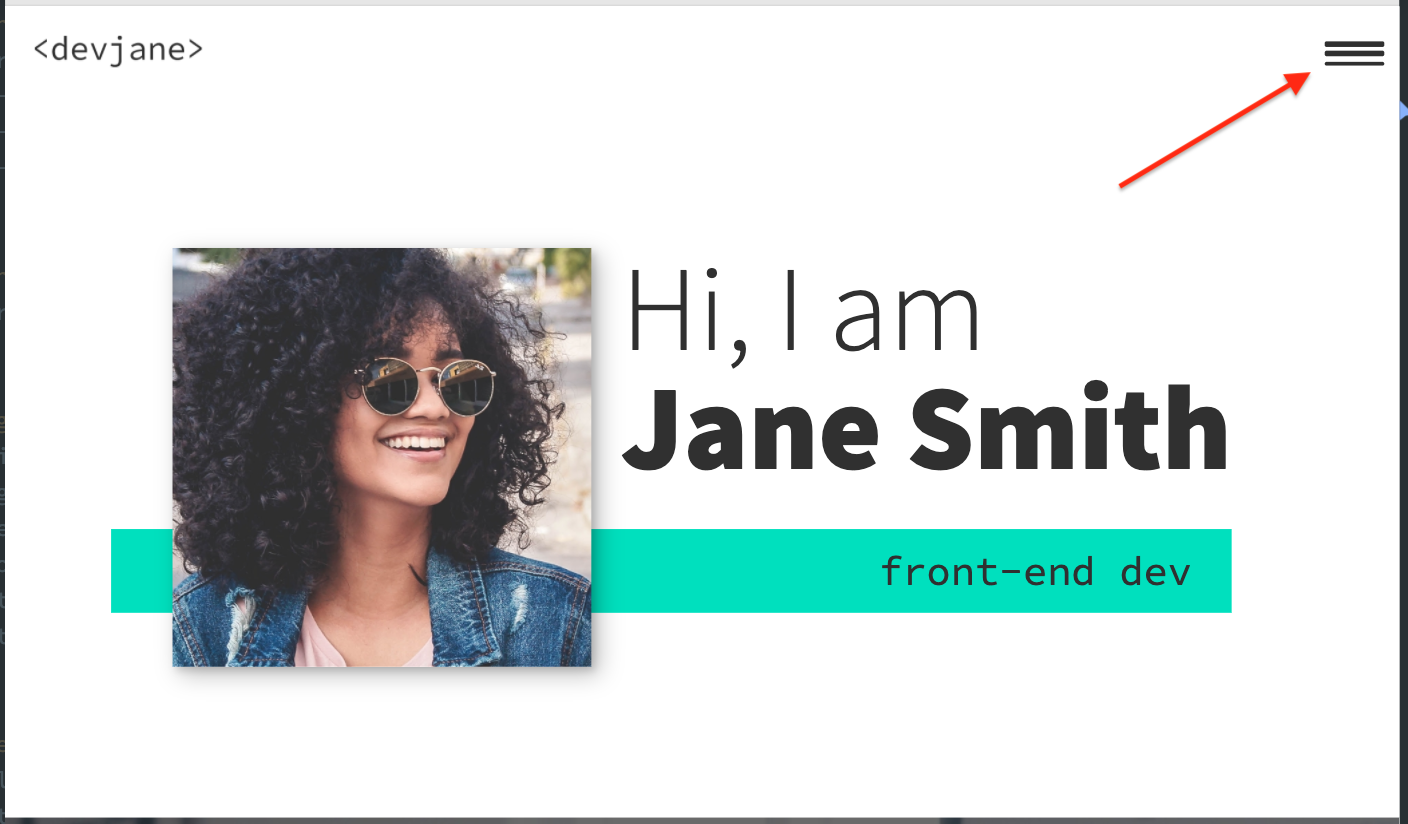
第4课:简介部分 (Lesson 4: Intro section)
Next up is the Intro section of the portfolio. This is where we will introduce ourselves and put a picture of ourselves.
接下来是投资组合的“简介”部分。 在这里我们将介绍自己并为自己做一幅画。
In the end, we add a section about the main skills/services we can do. For the moment we can just fill it all in with “Lorem ipsum” text as a placeholder, until you're ready to fill it in with your own text.
最后,我们添加了有关我们可以做的主要技能/服务的部分。 目前,我们只需要使用“ Lorem ipsum”文本作为占位符填充所有内容,直到您准备好使用自己的文本填充它即可。
第5课:关于我的工作和页脚-HTML (Lesson 5: About me, Work and Footer - HTML)
In this chapter, we’re finishing off the rest of our HTML with the last 3 sections: About me, where we’re going to introduce ourselves in greater detail; Work, where we’re going to add some of our portfolio examples, and our footer.
在本章中,我们将通过最后3个部分结束HTML的其余部分:关于我,我们将在其中进行更详细的介绍。 工作,我们将在其中添加一些投资组合示例和页脚。
Footers are ideal for linking to email addresses and I will show you how to do that with an <a> tag. We can also add our social media links there too.
页脚非常适合链接到电子邮件地址,我将向您展示如何使用<a>标记。 我们也可以在那里添加我们的社交媒体链接。
For now, it all looks a bit raw and all the CSS fun is ahead of us.
就目前而言,这一切看起来有些原始,所有CSS的乐趣都摆在我们面前。
第6课:设置自定义属性和常规样式 (Lesson 6: Setting up the custom properties and general styles)
Alright, time to get make that page look amazing!
好了,有时间让该页面看起来很棒!
In this part, we’re going to learn how to add custom properties.
在这一部分中,我们将学习如何添加自定义属性。
While setting up CSS variables can take some time, it really pays off as the site comes together. They're also perfect for allowing you to customize the site's colors and fonts in just a few seconds, which I take a look at how to do once we wrap up the site.
尽管设置CSS变量可能需要一些时间,但随着站点的合并,它确实会有所回报。 它们也非常适合让您在短短几秒钟内自定义网站的颜色和字体,在我们整理完网站后,我将看看如何做。
第7课:标题和字幕的样式 (Lesson 7: Styling the titles and subtitles)
Having set all the needed typography, I will walk you through the subtitles of designing and styling the titles and subtitles in our sections.
设置完所有必需的字体后,我将带您逐步了解本节中标题和字幕的设计和样式说明。
第8课:设置简介部分 (Lesson 8: Setting up the intro section)
Over the next few chapters it’s going to be quite hands-on, so no worries if you feel like rewatching the screencasts a couple of times.
在接下来的几章中,它将是非常动手的,因此,如果您想几次重新观看屏幕录像,请不要担心。
We're keeping everything responsive, using CSS Grid and taking a little dive into using em units as well.
我们使用CSS Grid来保持所有内容的响应速度,并且还简要介绍了使用em单元。
This is the perfect example where CSS Grid shines through and we’re going to learn how to use properties like grid-column-gap, grid-template-areas and grid-template-columns.
这是CSS Grid发光的完美示例,我们将学习如何使用诸如grid-column-gap , grid-template-areas和grid-template-columns类的属性。
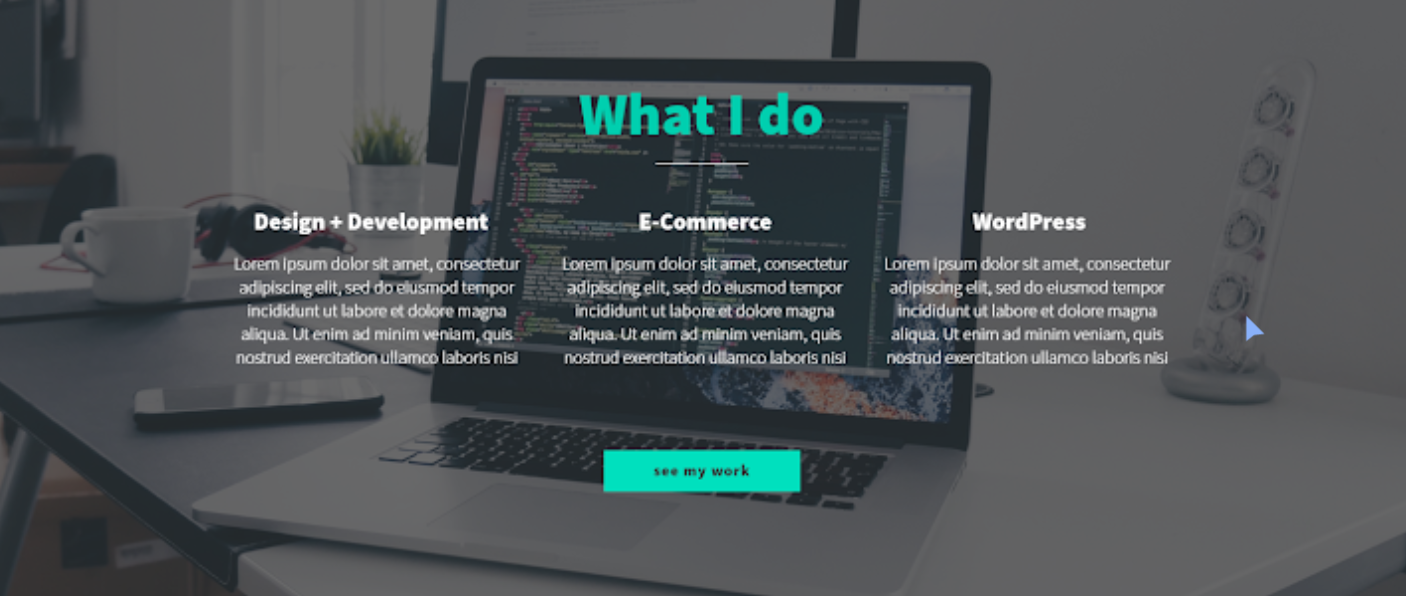
第9课:样式化服务部分 (Lesson 9: Styling the services section)
To add a little bit of interest, I look at how we can add a background-image to this section of the site. It's a nice way to break up the second and avoid just having solid color backgrounds everywhere, and I also look at how you could use background-blend-mode to change the color of the image to help keep the look of your site consistent.
为了增加一点兴趣,我研究了如何向网站的此部分添加background-image 。 这是拆分第二个并避免仅在各处使用纯色背景的一种好方法,我还将研究如何使用background-blend-mode更改图像的颜色以帮助保持网站外观的一致性。
As a bonus, we’re also going to learn how to style out buttons when they are hovered over or selected when we tab through the page.
另外,我们还将学习如何在将鼠标悬停在页面上或在页面上切换时选择其样式。
第10课:“关于我”部分 (Lesson 10: The About me section)
Great progress! So this is the all-important About me section. This one is pretty similar to the Intro because we’re going to use CSS Grid, but move the picture to the right side and find a useful example for CSS fr unit.
进步很大! 因此,这是关于我最重要的部分。 这与Intro非常相似,因为我们将使用CSS Grid,但将图片移到右侧并找到CSS fr单位的有用示例。
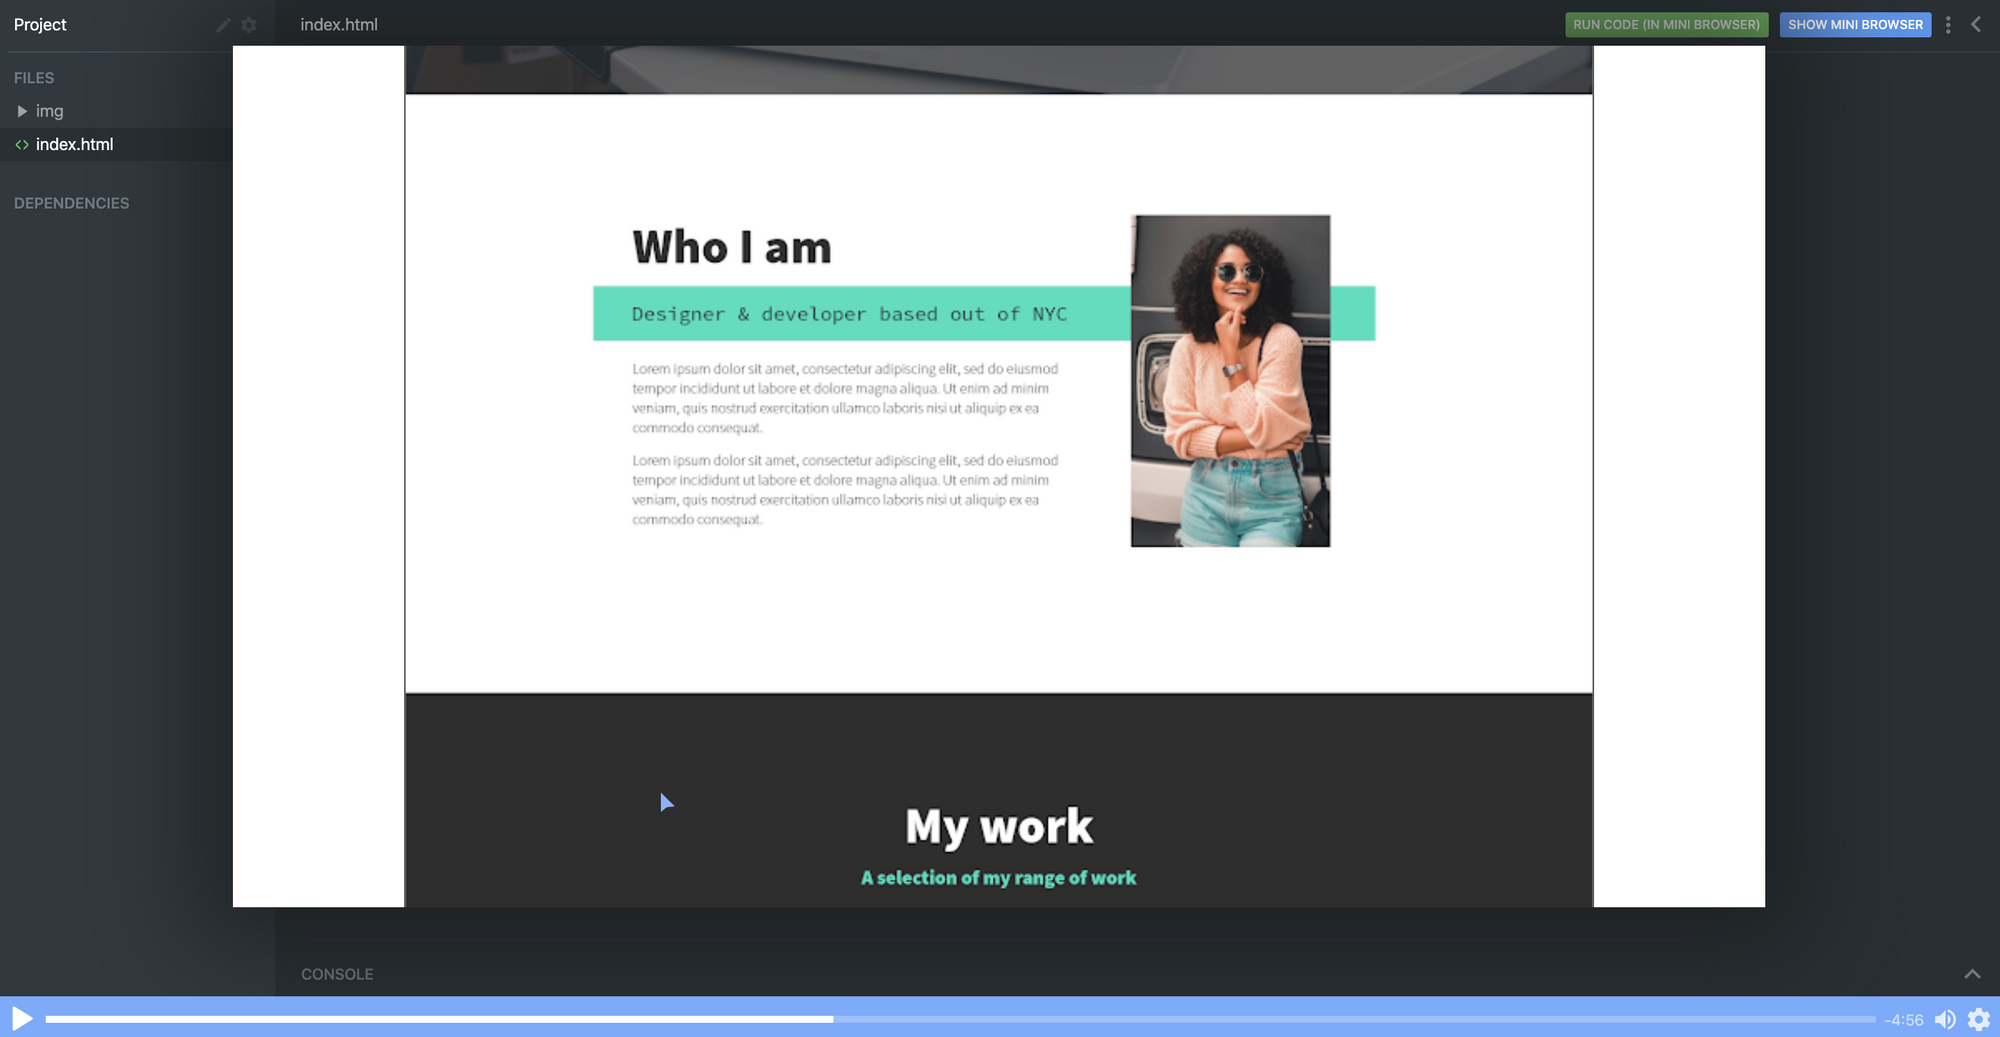
第11课:作品集 (Lesson 11: The portfolio)
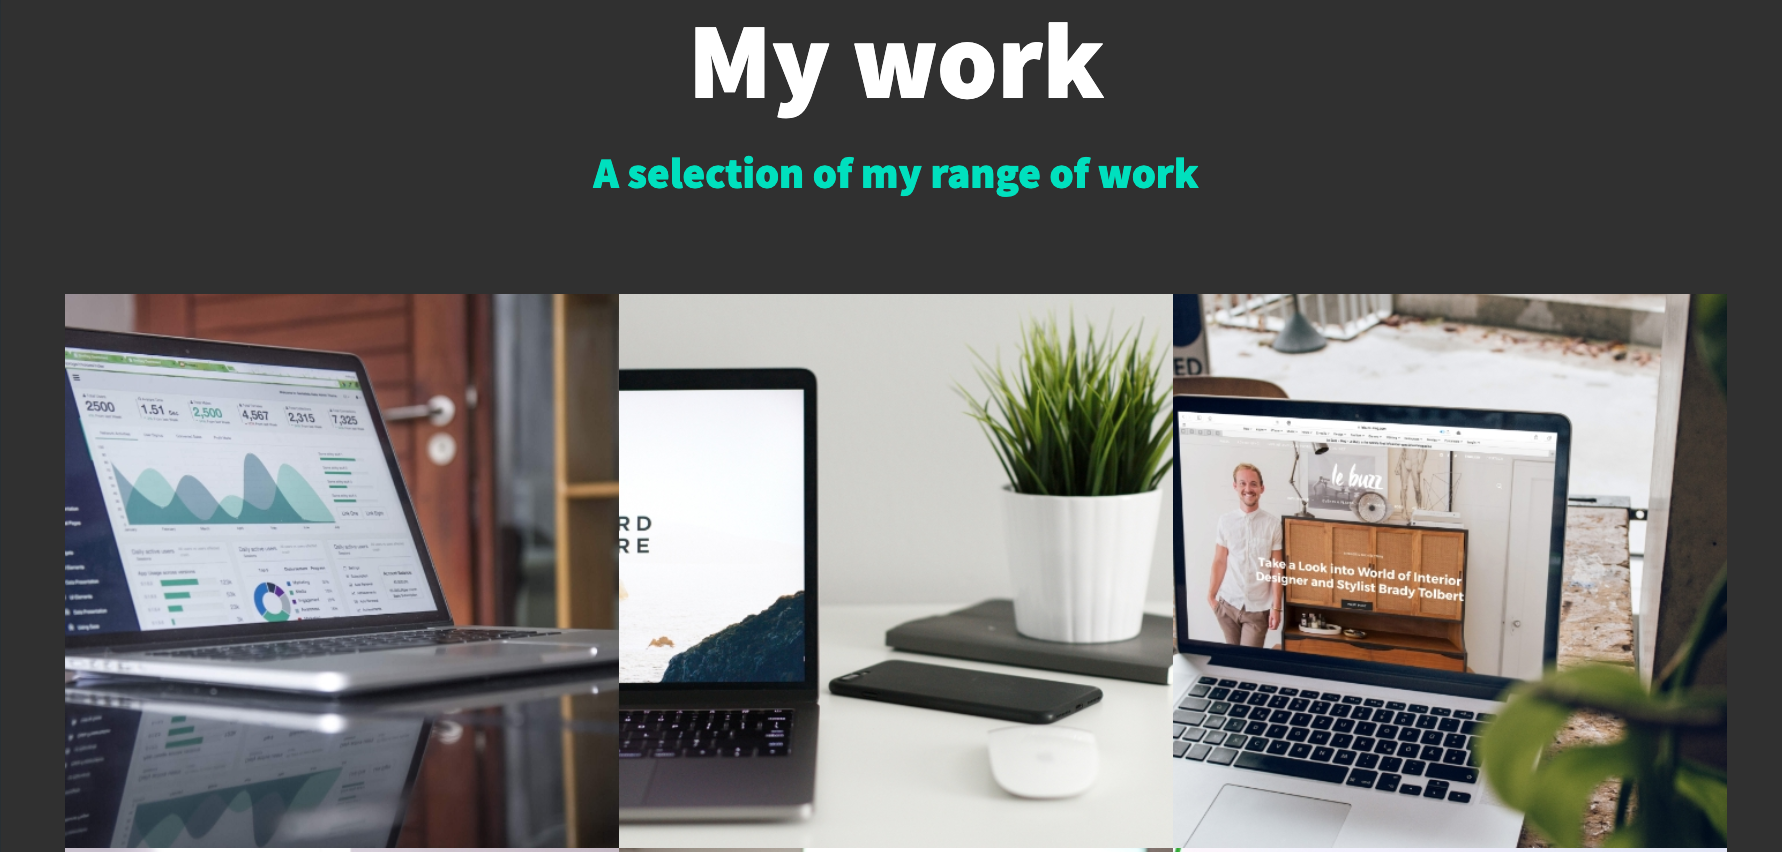
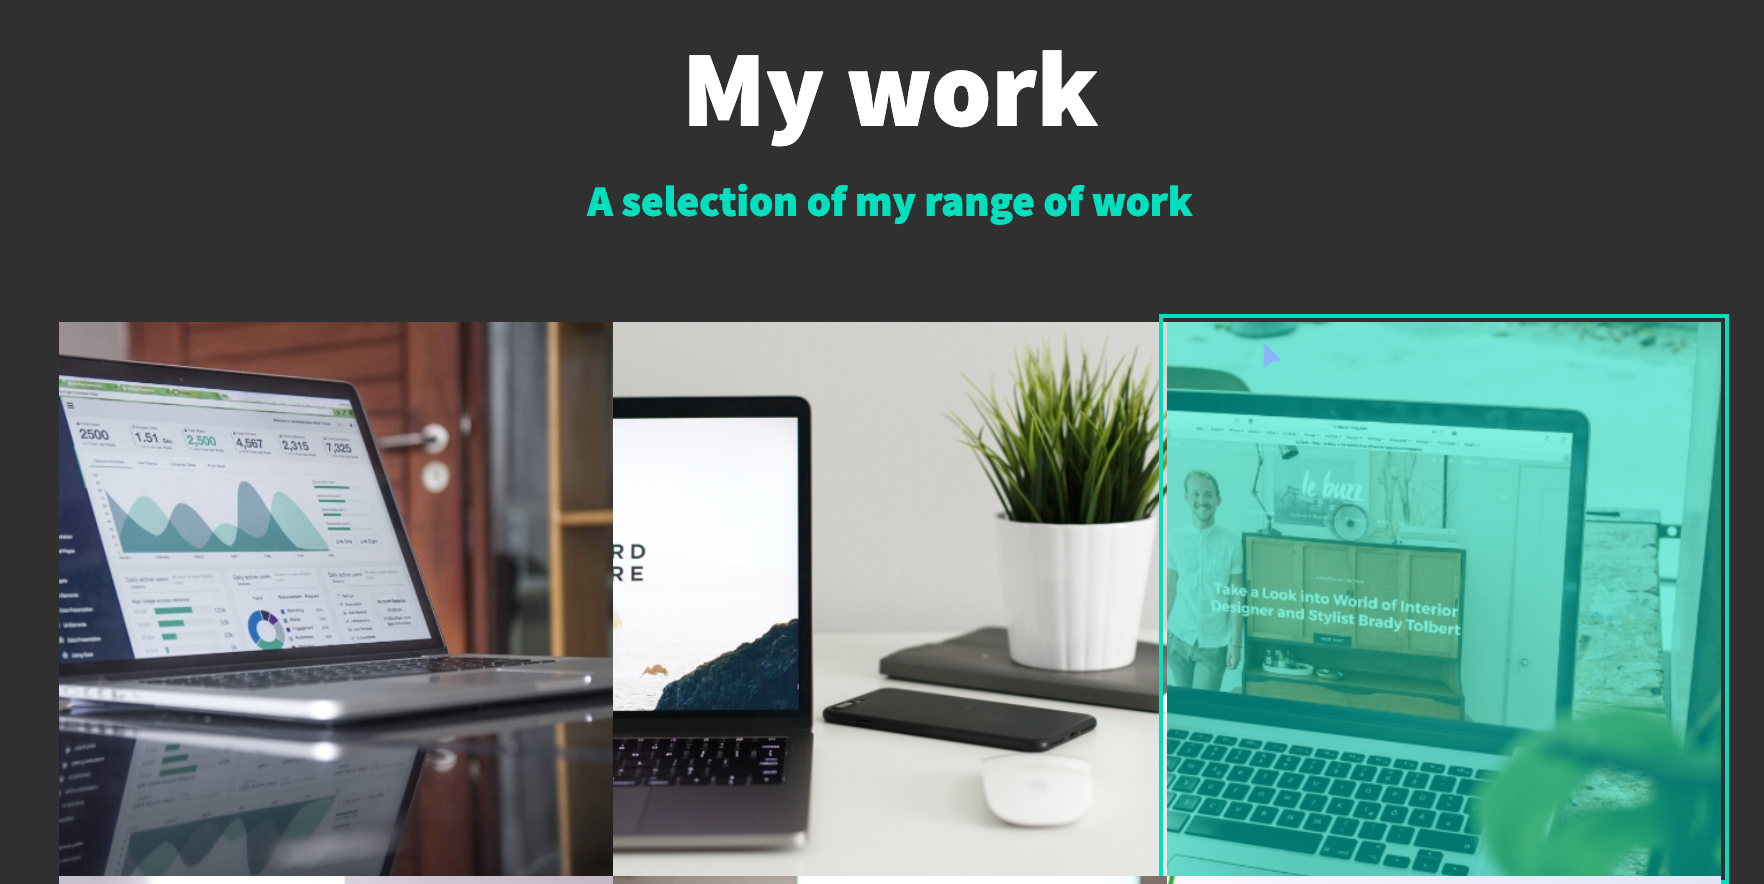
In this screencast, I will show how to build our portfolio section to display some of our great work. And we’re even going to learn how to use cubic-bezier() to a great and impressive effect with some hover styling!
在此截屏视频中,我将展示如何构建投资组合部分以显示我们的一些出色工作。 而且,我们甚至cubic-bezier()学习如何通过一些悬停样式来使用cubic-bezier()达到令人印象深刻的效果!
第12课:使用“真棒字体”添加社交图标 (Lesson 12: Adding the social icons with Font Awesome)
This cast will be sweet and short, so you can rest a bit and learn some quick tips and tricks.
这个演员阵容又甜又矮,所以您可以休息一下,学习一些快速的技巧和窍门。
Adding social media links with Font Awesome icons is a breeze. We can do it with an <i> tag and then adding a class name of an icon you wish to add.
添加带有Font Awesome图标的社交媒体链接很容易。 我们可以使用<i>标记,然后添加要添加的图标的类名。
As an example, here’s how to add an icon for GitHub once you have Font Awesome linked in your markup.
例如,以下是在标记中链接了Font Awesome后如何为GitHub添加图标的方法。
<i class="fab fa-github"></i>
<i class="fab fa-github"></i>
第13课:样式设置页脚 (Lesson 13: Styling the footer)
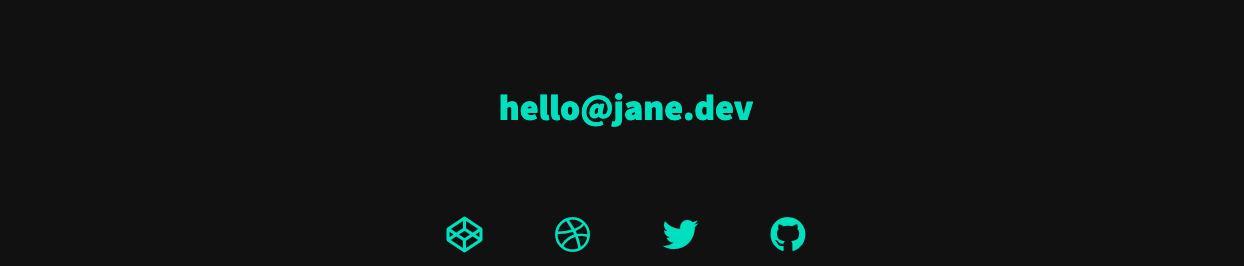
While the icons are in place, we do need at add more styling here to get them to be set up the way we need them to be.
图标就位后,我们确实需要在此处添加更多样式,以使其按照我们需要的方式进行设置。
With a little use of flexbox and removing the styling from the list with list-style: none it's relatively straight forward.
很少使用flexbox并使用list-style: none从列表中删除list-style: none这是相对简单的。
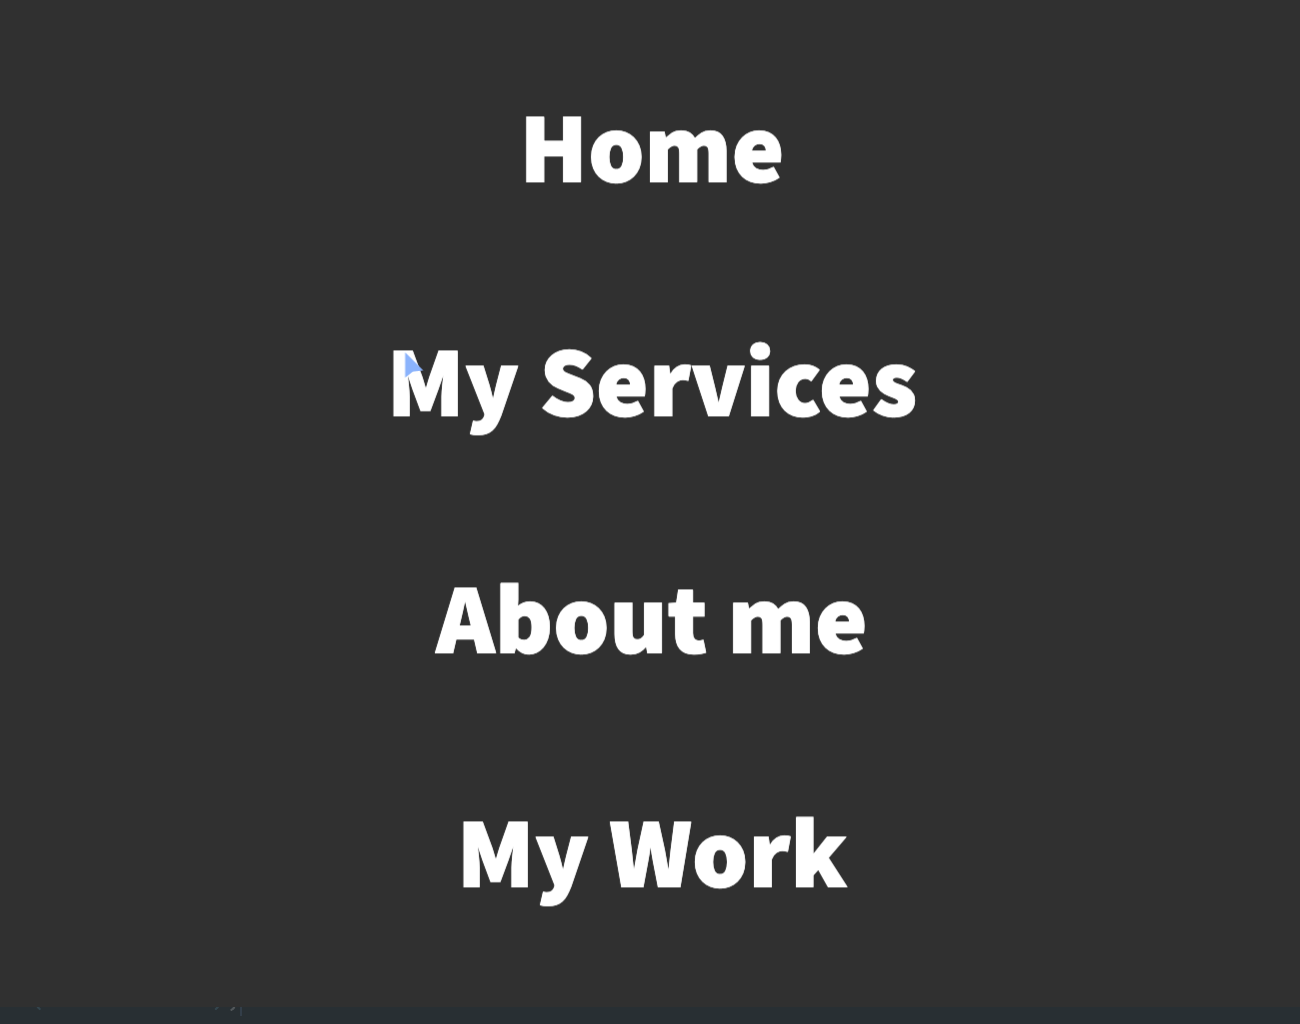
第14课:设置导航样式 (Lesson 14: Setting up the navigation styles)
We have left the navigation to the last because very often it’s one of those simple things that can take the longest to set up and do correctly.
我们将导航留到了最后,因为通常这是最简单的事情之一,需要花费最长的时间来设置和正确执行。
Once completed, the navigation will be off-screen, but slide in when a user clicks on the hamburger icon. The first step though, is to get it styled the way we want it to look, then we can worry about actually making it work!
完成后,导航将不在屏幕上,但是当用户单击汉堡包图标时,滑入。 不过,第一步是按照我们希望的外观来设置它的样式,然后我们可能会担心使其真正起作用!
第14课:制作汉堡 (Lesson 14: Creating the hamburger)
In this screencast, you’ll learn how to add a hamburger menu to transition to the navigation view. It’s not an icon or an svg, but pure CSS.
在此截屏视频中,您将学习如何添加汉堡菜单以过渡到导航视图。 它不是图标或svg,而是纯CSS。
We’re going to have a chance practice ::before and ::after pseudo-selectors, transition, and, since it's not a link but a button, we also need to define the different cursor when we hover over the hamburger icon to indicate that it can be clicked with cursor: pointer.
我们将有机会练习::before和::after伪选择器,进行过渡,并且由于它不是链接而是button ,因此,当我们将鼠标悬停在汉堡图标上以指示时,我们还需要定义其他光标可以使用cursor: pointer单击它。
第15课:添加JS (Lesson 15: Adding the JS)
With a little bit of JavaScript, I will walk you through the implementation of a really nice and smooth transition from our main screen to the navigation window on click of the hamburger menu.
借助一点点JavaScript,单击汉堡包菜单,我将引导您完成从主屏幕到导航窗口的非常好且流畅的过渡。
I also take a look at how we can add in smooth-scrolling with CSS only by using scroll-behavior: smooth. Yes, it really is that simple! It also makes a great tweet for Today I Learned (TIL). Feel free to send you TILs to @scrimba and I’m sure they will be really happy to retweet them!
我还将介绍如何仅通过使用scroll-behavior: smooth来添加CSS的平滑滚动。 是的,真的就是这么简单! 它还为“我今天学习了”(TIL)发出了很棒的推文。 随时将您的TIL发送给@scrimba,我相信他们会非常乐意转发他们!
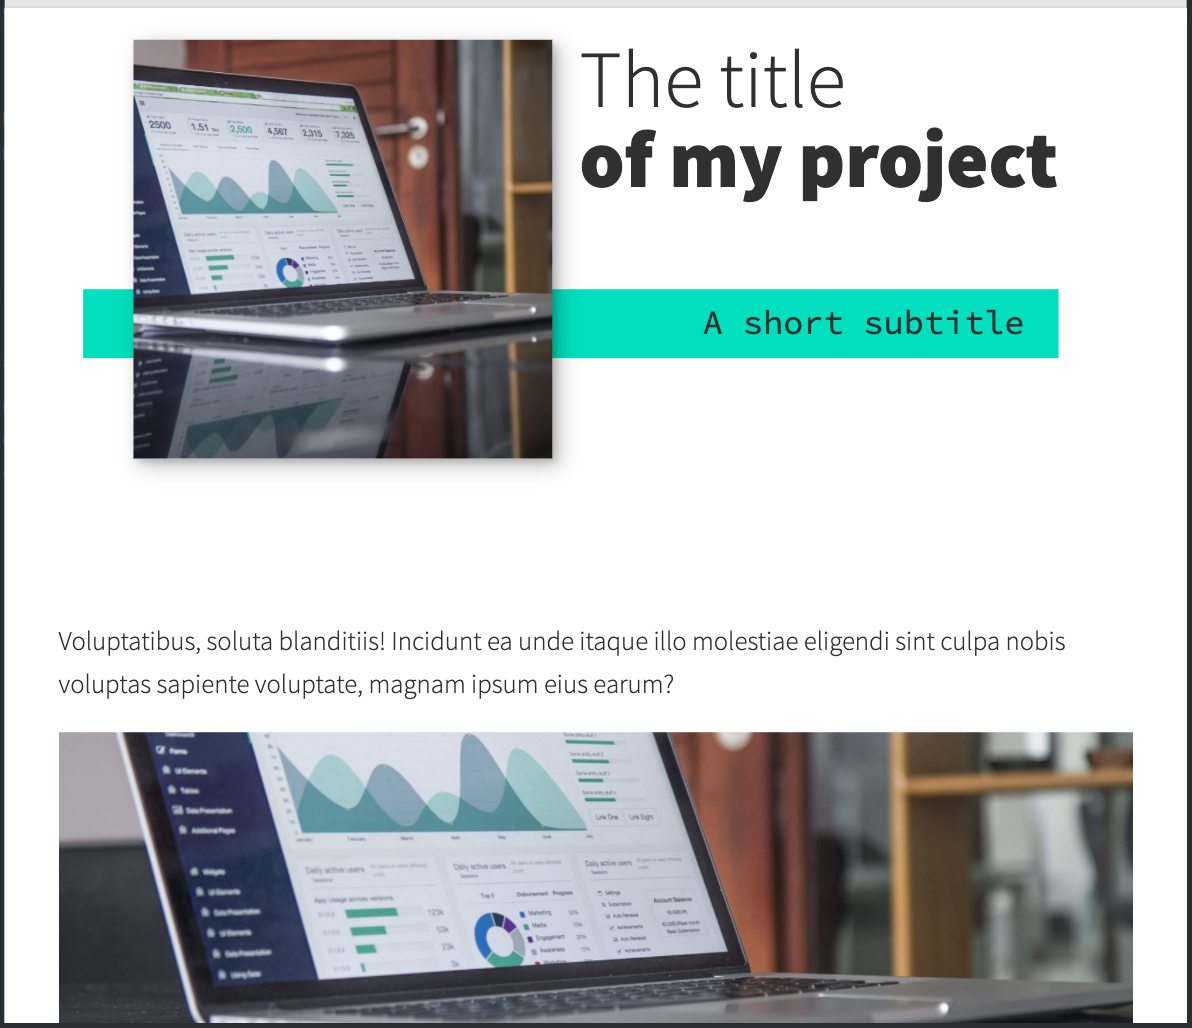
第16课:创建投资组合项目页面 (Lesson 16: Creating the portfolio item page)
With the homepage wrapped up, it's time to work on a template portfolio page that can be used to give more details on each of the projects that you are putting in your portfolio.
完成首页的包装后,就可以在模板投资组合页面上工作了,该页面可用于提供投资组合中每个项目的更多详细信息。
We're also going to learn how to link it seamlessly with our main page for a nice user experience.
我们还将学习如何将其与我们的主页无缝链接以获得良好的用户体验。
第17课:自定义页面 (Lesson 17: Customizing your page)
This is where the magic of CSS custom properties comes in!
这就是CSS自定义属性的神奇之处!
In this video I look at how we can customize the custom properties that we set up to change the color scheme of your site within seconds, and how we can update the fonts quickly and easily as well in order to make the site your own!
在本视频中,我将介绍如何自定义设置为在几秒钟内更改您网站配色方案的自定义属性,以及如何快速,轻松地更新字体以使您拥有自己的网站!
第18课:DigitalOcean小滴-它们是什么以及如何设置 (Lesson 18: DigitalOcean Droplets - What they are and how to set one up)
In this screencast, we're going to explore DigitalOcean droplets. They are Linux-based virtual machines and that each droplet is a new server you can use.
在此截屏视频中,我们将探索DigitalOcean液滴。 它们是基于Linux的虚拟机,每个Droplet都是您可以使用的新服务器。
It can seem daunting, but they are super easy to set up, very customizable and come with a lot of useful features, like a firewall automatically.
这看似令人生畏,但它们超级易于设置,可自定义并且具有许多有用的功能,例如自动防火墙。
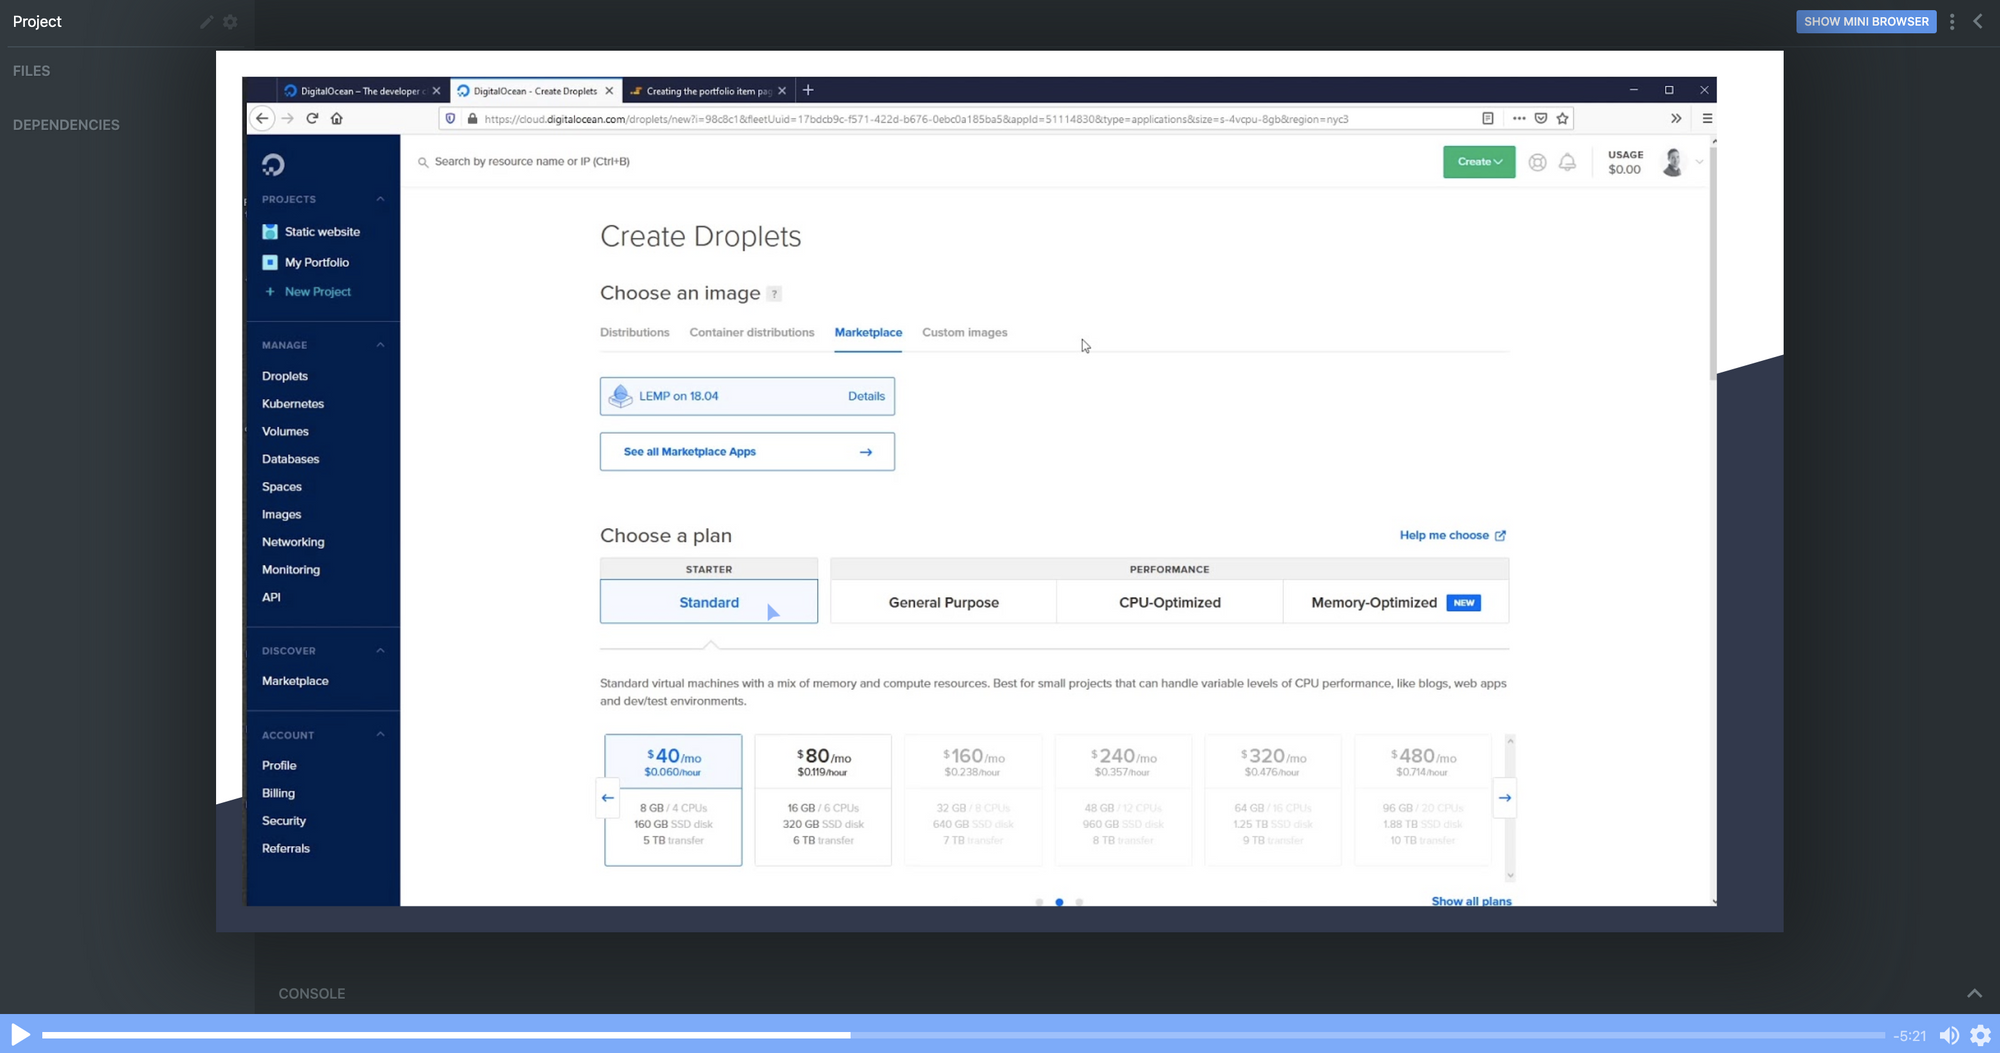
I'll talk you through every single step of the way so that you know exactly how to set a droplet up.
我将逐步指导您完成每一步,以便您确切地知道如何设置液滴。
第19课:DigitalOcean小滴-通过FTP上传文件 (Lesson 19: DigitalOcean Droplets - Uploading files via FTP)
To finish the whole process off, let me show you how we can upload our portfolio to the droplet we've created in the previous chapter and now it's online for others to see!
为了完成整个过程,让我向您展示如何将投资组合上传到上一章中创建的Drop,现在它在线上供其他人查看!
第20课:总结 (Lesson 20: Wrap up)
And that's it! Your next step can be to make this page all about you, add all the relevant examples, tell us about you and make it live in a DigitalOcean droplet.
就是这样! 您的下一步可以是使该页面与您有关,添加所有相关示例,向我们介绍有关您的信息,并将其发布在DigitalOcean小滴中。
Once you've put yours together and got it online, please share your portfolio with Me and the team at Scrimba! You can find us at @KevinJPowell and @scrimba on Twitter, and we would be really happy to share what you're up to!
将所有内容放在一起并使其联机后,请与Me和Scrimba的团队共享您的作品集! 您可以在Twitter上的@KevinJPowell和@scrimba上找到我们,我们非常乐意分享您的最新动态!
查看完整课程 (Check out the full course)
Remember, this course is completely free. Head on over to Scrimba now and you can follow along with it and build out a fantastic looking site!
请记住,本课程完全免费。 立即前往Scrimba ,您可以跟随它并建立一个漂亮的网站!
翻译自: https://www.freecodecamp.org/news/build-and-deploy-your-own-personal-portfolio-site/
普元部署包部署找不到构建


 1128
1128

 被折叠的 条评论
为什么被折叠?
被折叠的 条评论
为什么被折叠?
 到【灌水乐园】发言


