


 本文介绍了如何利用Puppeteer库在Node.js环境中截取网页特定区域的屏幕快照。通过设置clip选项,指定x、y坐标以及宽度和高度,可以精确捕获页面的指定部分。
puppeteer api
In my last articles, I ended on how we can take a screenshot of the entire web page?
在上一篇文章中,我结束了如何截取整个网页的屏幕截图?
Today, we’ll see how we can take a screenshot of a particular section of a page, like a page logo, entire header, footer, ...
今天,我们将看到如何截取页面特定部分的屏幕截图 ,例如页面徽标,整个页眉,页脚,...
As we already know, Puppeteer is a Node library developed by Google and provides a high-level API for developers.
众所周知,Puppeteer是Google开发的Node库,并为开发人员提供了高级API。
So let’s look at the second way how to get screenshots...
因此,让我们看一下第二种获取屏幕截图的方法...
Note: You should have Node.js and puppeteer installed in your PC.
注意:您应该在PC中安装Node.js和puppeteer。
With Node.js and puppeteer already up and running, let’s get started.
现在已经启动并运行了Node.js和puppeteer,让我们开始吧。
Page.screenshot can take some parameters to help us perform complex tasks.
Page.screenshot可以使用一些参数来帮助我们执行复杂的任务。
Note: fullpage option is set to false which.
注意:整页选项设置为false。
What if I want to take the screenshot of a particular section of a web page?
如果我想获取网页特定部分的屏幕快照怎么办?
We can achieve that with the clip option.
我们可以使用clip选项来实现。
The clip option has x, y coordinates and equally width and height parameters.
clip选项具有x , y坐标以及相同的width和height参数。
Open a text editor and type the following code and save it with the file name app.js:
打开一个文本编辑器,输入以下代码,并将其保存为文件名app.js :
const viewPort = { width: 1280, height: 800 }
const options = {
  path: 'clipped_screenshot.png',  // set's the name of the output image'
  fullPage: false,
  // dimension to capture
  clip: {
    x: 0,   // x coordinate
    y: 0,   // y coordinate
    width: 1280,      // width
    height: 150   // height
  }
}
const puppeteer = require('puppeteer');

(async () => {                                    //asynchronous function
  const browser = await puppeteer.launch() // launch puppeteer
  const page = await browser.newPage() // function
  await page.setViewport(viewPort)
  await page.goto('file:///E:/HDD%2080%20GB%20DATA/CODING%20TUTORIALS%20AND%20CODES/go237.com/go237%20web/New%20design/index.html')
  await page.screenshot(options)                       // the option parameter is gotten from the const option seen above
  console.log ('done')// output console message when completion is done.
  await browser.close() // close browser
})();
NB: You can use any url of your choice,
注意:您可以使用任何选择的网址,
In this example, I used a webpage that was already downloaded to facilitate the tutorial, but if it concerns a URL on the www, internet connection is required to navigate to the website/web page.
在此示例中,我使用已经下载的网页来简化本教程,但是如果它涉及www上的URL,则需要Internet连接才能导航到该网站/网页。
The file should be saved in your Node.js directory.
该文件应保存在您的Node.js目录中。
From the code above, we, first of all, include the puppeteer module,
在上面的代码中,我们首先包括puppeteer模块,
Launch a virtual browser
启动虚拟浏览器
Open a new page
开启新页面
Navigate to the URL address
导航到URL地址
Take a screenshot at the x, y coordinates and then finally close the browser
在x,y坐标处截取屏幕截图,然后最后关闭浏览器
Run the code by initiating the file at the command prompt like a regular Node.js file.
通过在命令提示符处启动文件(如常规Node.js文件)来运行代码。
Following our code, done will be printed out on the command line console when the conversion is complete.
遵循我们的代码,转换完成后, done将打印在命令行控制台上。

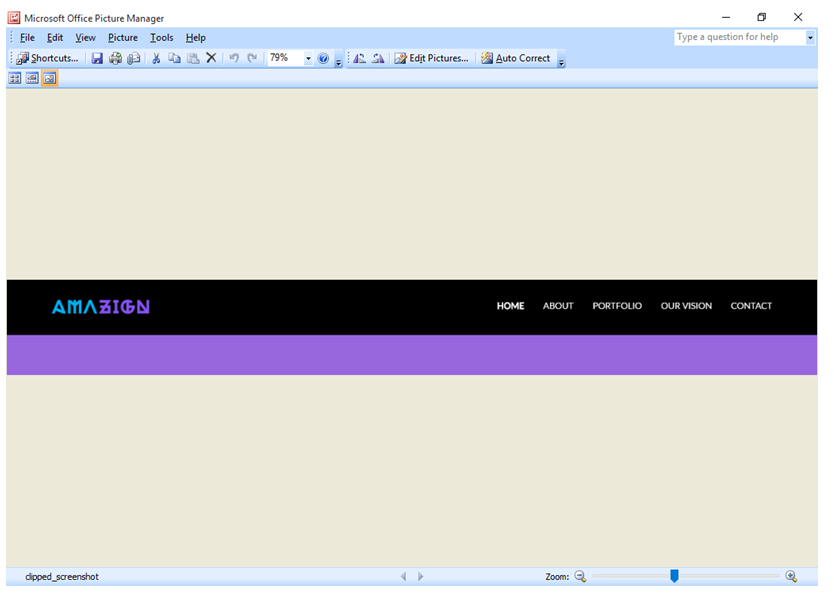
The Output image file is then stored in the default Node.js directory with name clipped_screenshot.png.
然后将输出图像文件存储在默认的Node.js目录中,名称为clipped_screenshot.png 。
Output image file:
输出图像文件:
puppeteer api


 1452
1452

 被折叠的 条评论
为什么被折叠?
被折叠的 条评论
为什么被折叠?
 到【灌水乐园】发言


