


作者 | 张小白 编辑 | 自动驾驶之心
原文链接:https://zhuanlan.zhihu.com/p/21823562679
点击下方卡片,关注“自动驾驶之心”公众号
戳我-> 领取自动驾驶近15个方向学习路线
本文只做学术分享,如有侵权,联系删文
1、背景
参考
m.aitntnews.com/newDetail.html?newId=11039
DeepDeek-R1多模态版本Align-DS-V开源地址:
huggingface.co/PKU-Alignment/Align-DS-V
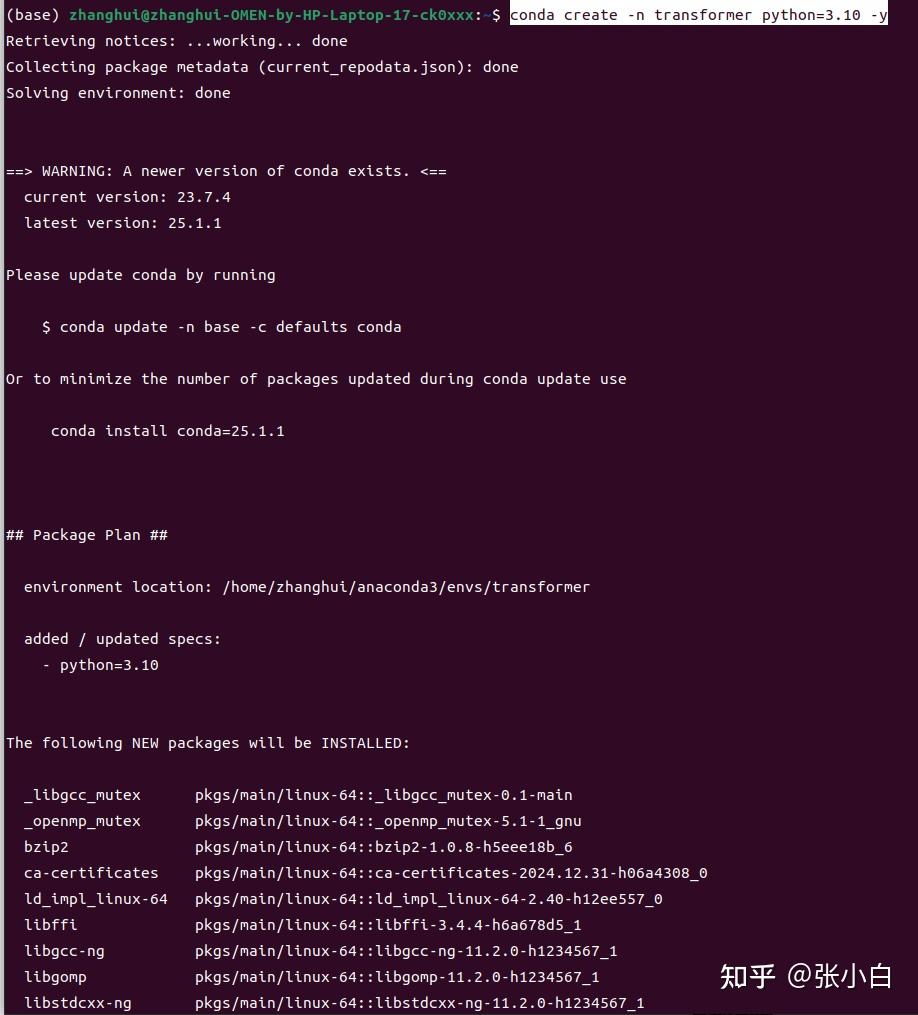
2、准备conda环境(python3.10,后来发现准备错了)
conda create -n transformer python=3.10 -y
conda activate transformer
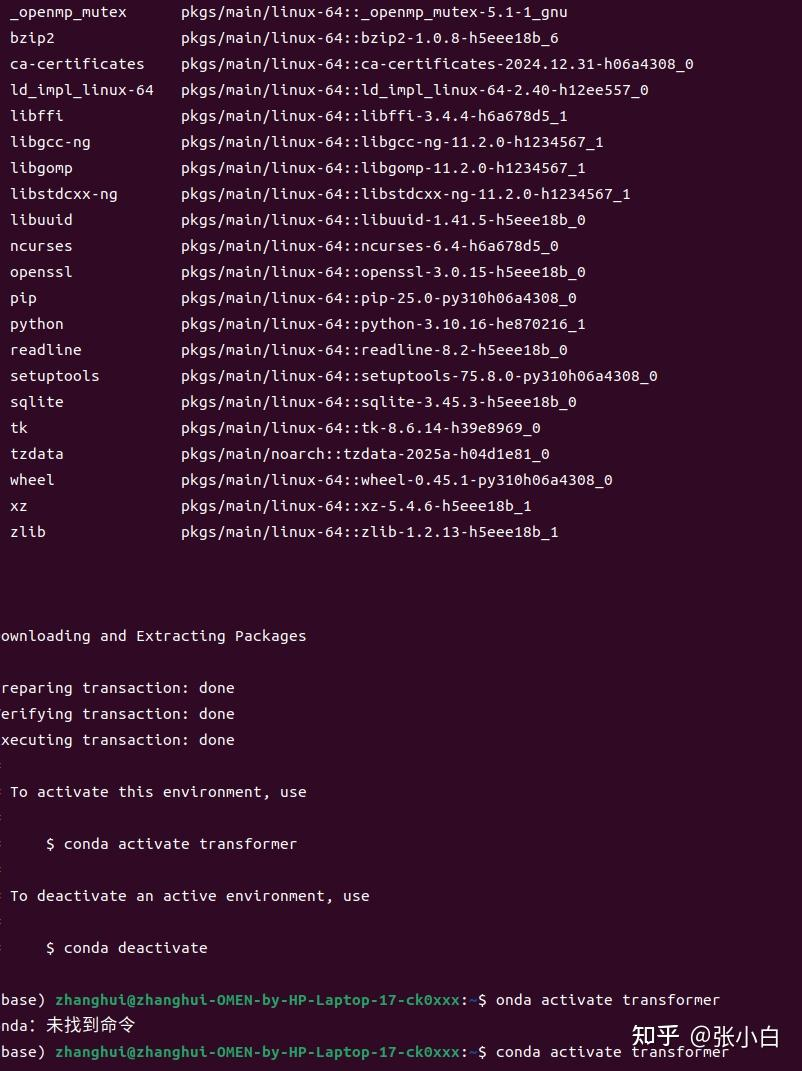
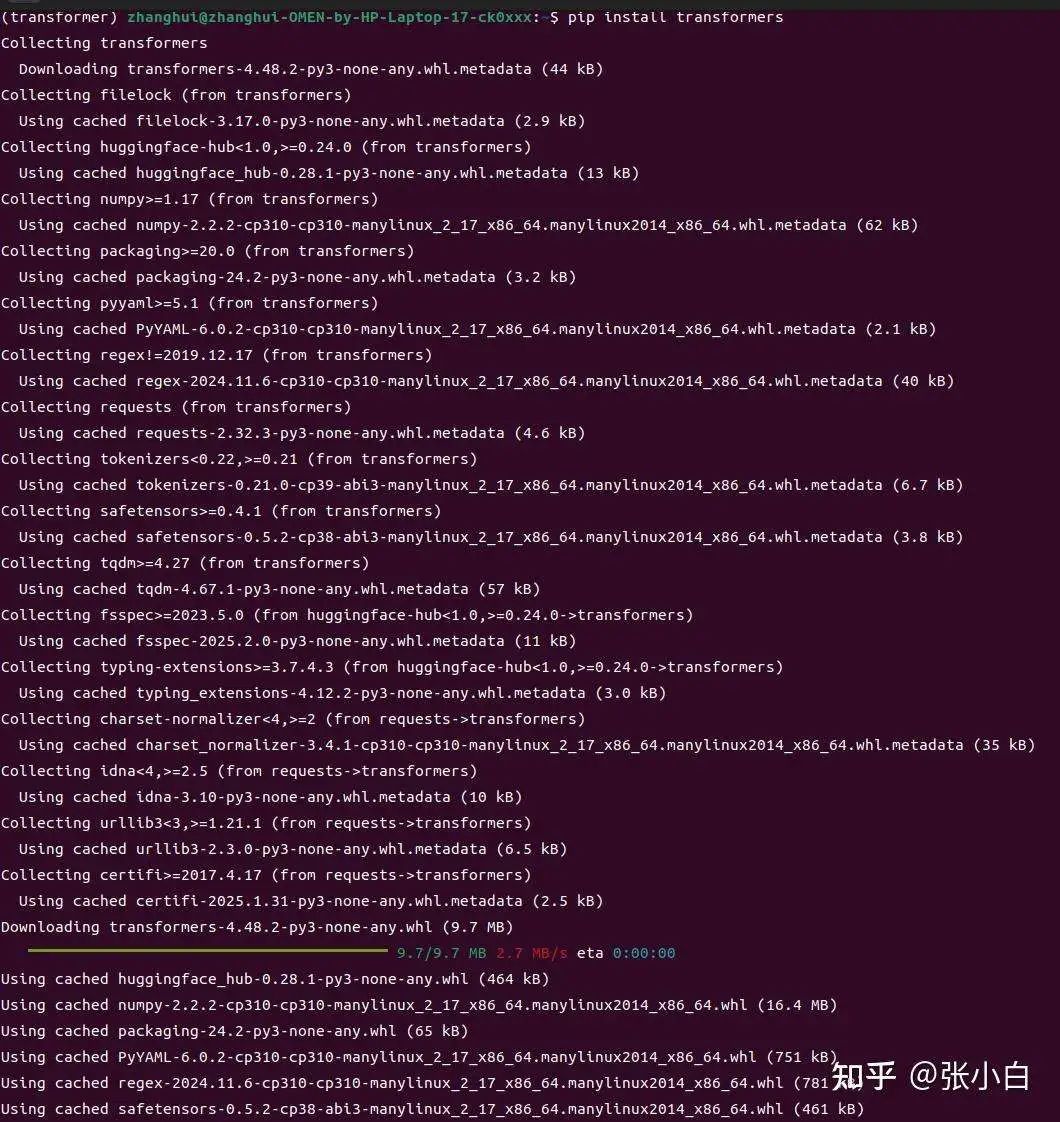
pip install transformers

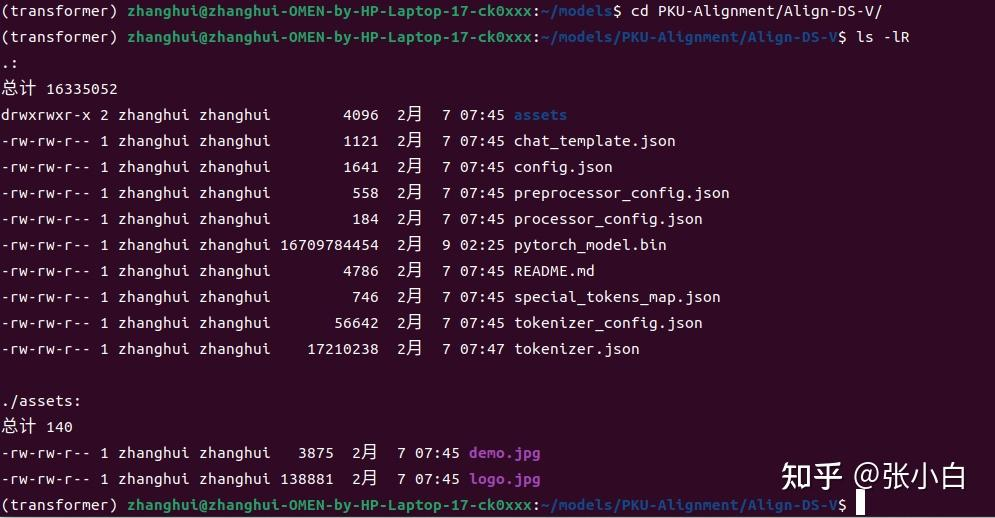
3、下载模型
export HF_ENDPOINT=https://hf-mirror.com
huggingface-cli download PKU-Alignment/Align-DS-V --resume-download  --local-dir /home/zhanghui/models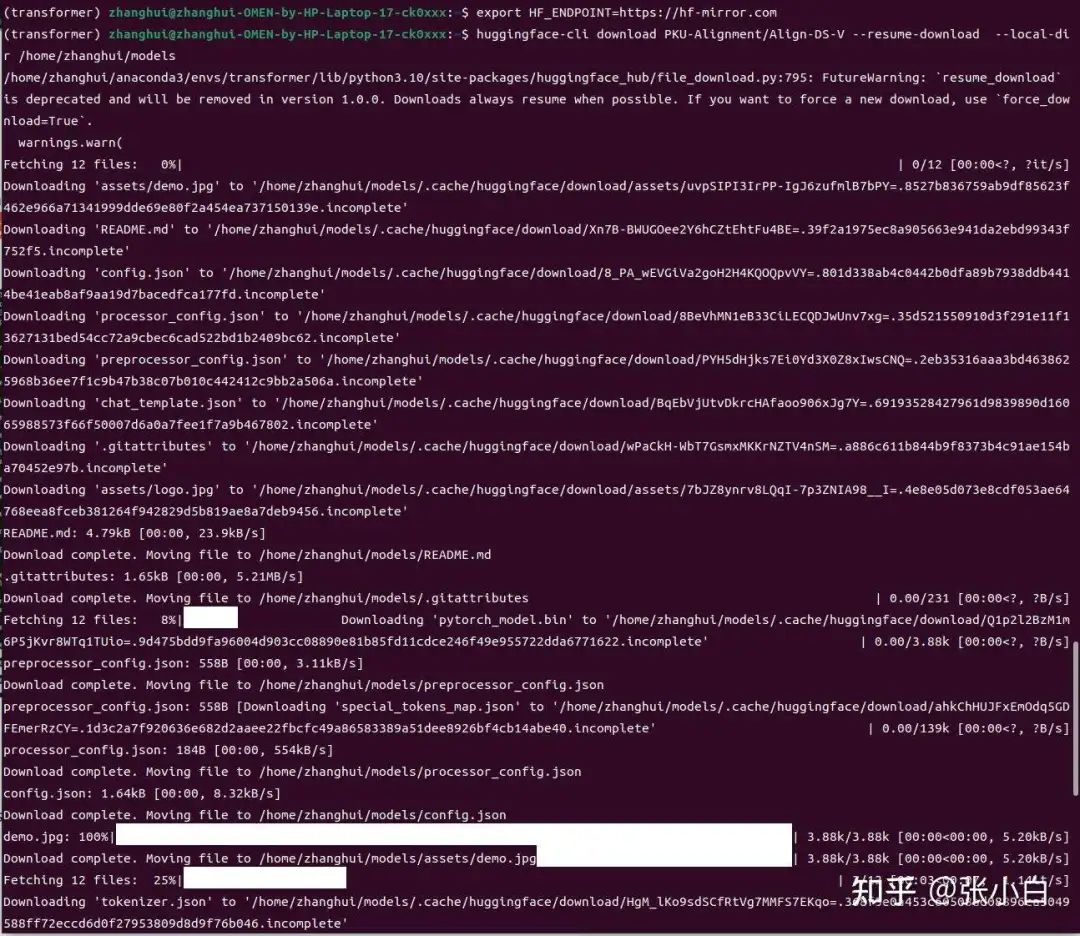


好像下载的位置有点问题,做一下迁移:
cd /home/zhanghui/models
mkdir -p PKU-Alignment/Align-DS-V
mv *.json PKU-Alignment/Align-DS-V/
mv pytorch_model.bin PKU-Alignment/Align-DS-V/
mv README.md PKU-Alignment/Align-DS-V/
mv assets PKU-Alignment/Align-DS-V/
mv .gitattributes PKU-Alignment/Align-DS-V/
4、安装align-anything框架(这是训练和评估用的,现在貌似用不着)
cd
git clone git@github.com:PKU-Alignment/align-anything.git
git clone https://github.com/PKU-Alignment/align-anything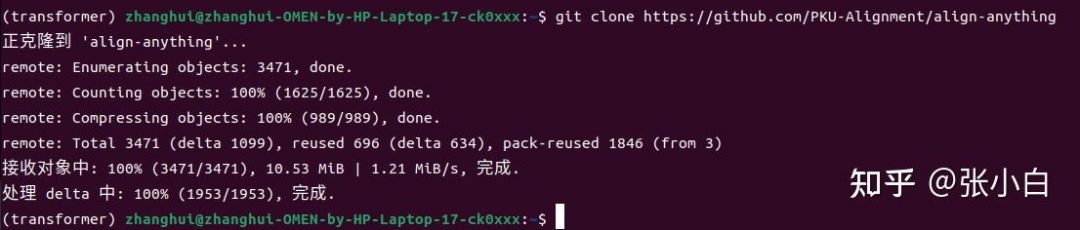
nvcc -V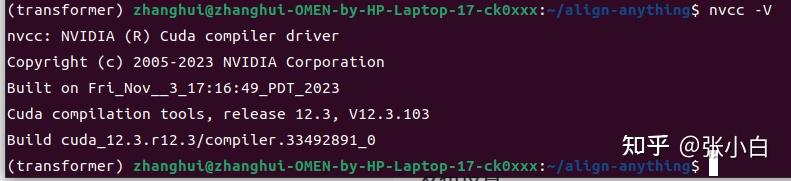
conda install nvidia/label/cuda-12.3.0::cuda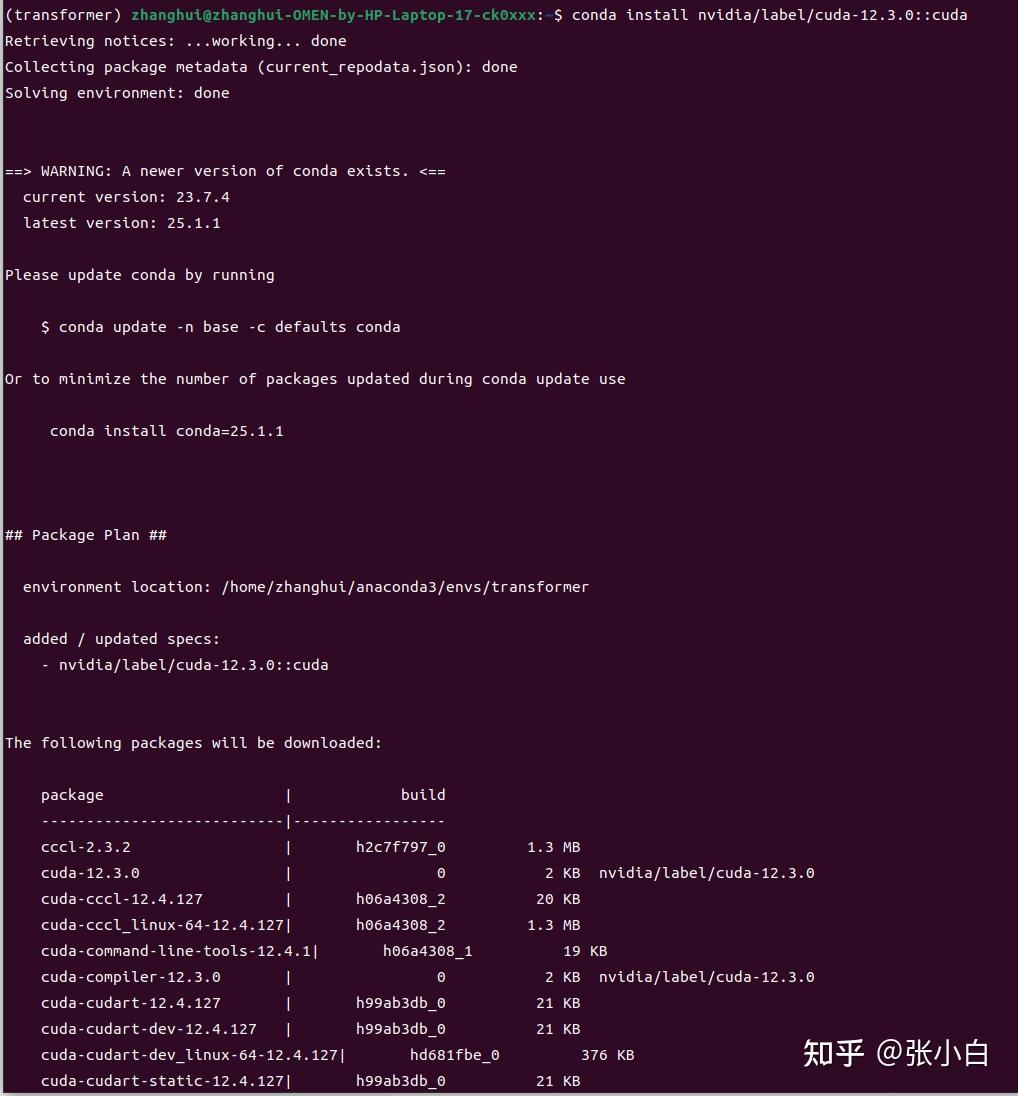
#export CUDA_HOME=$CONDA_PREFIX
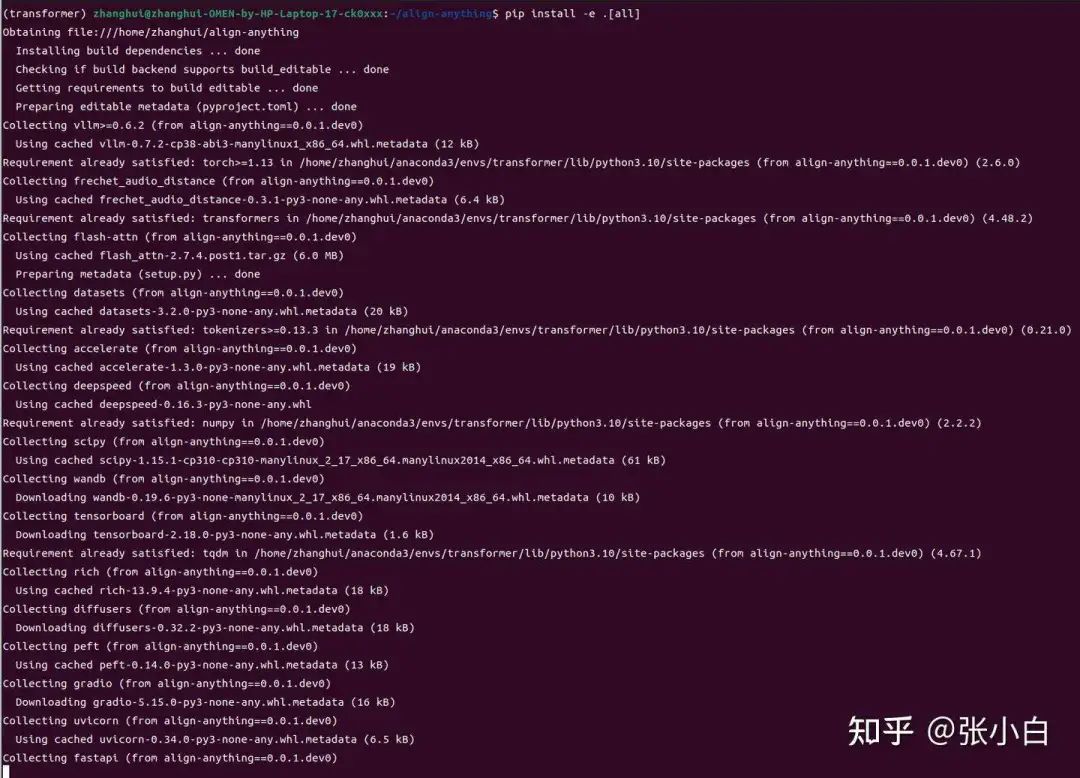
cd align-anything
pip install -e .[all]
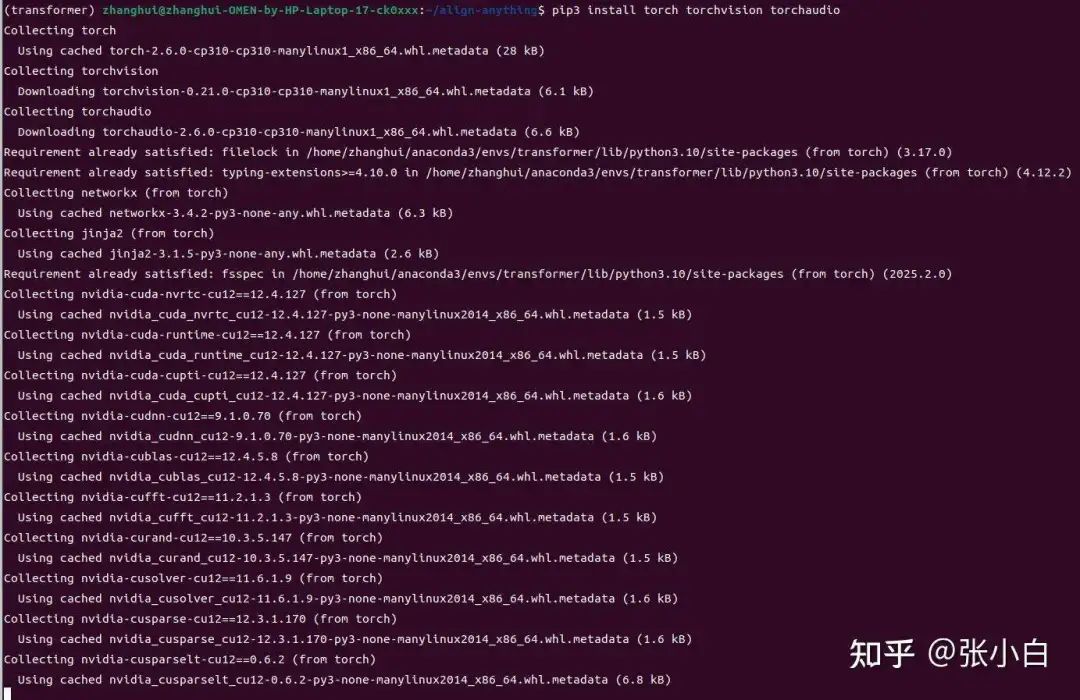
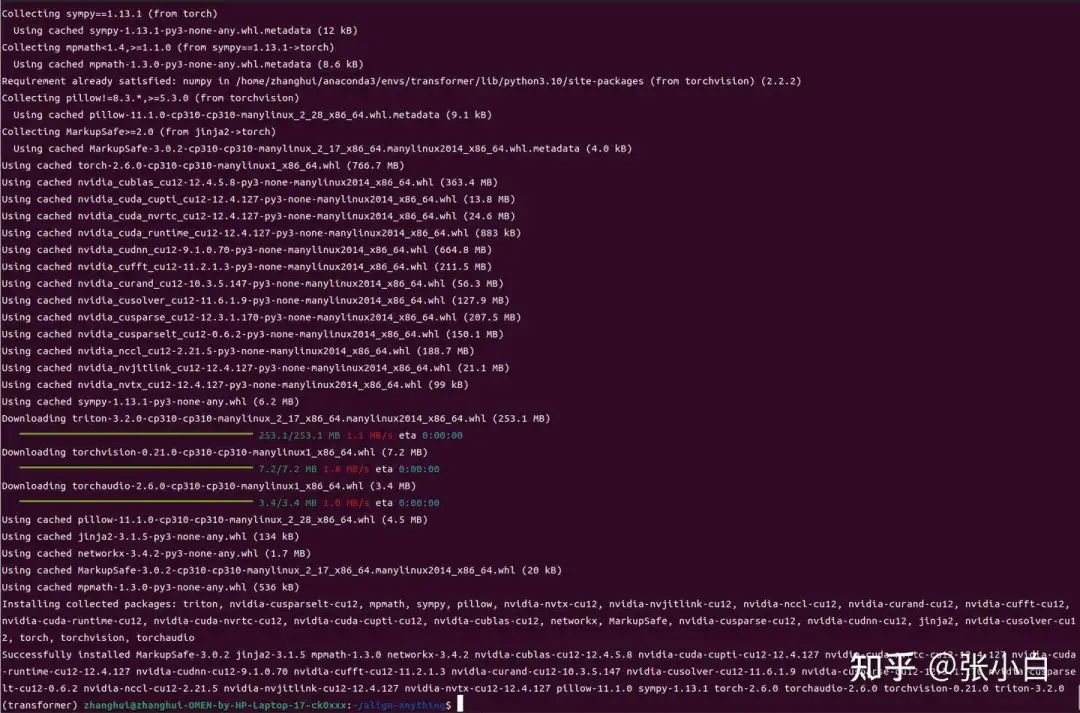
安装pytorch:
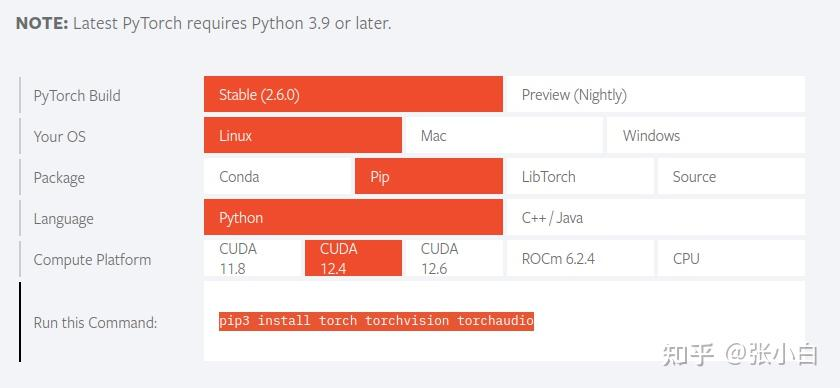
pip3 install torch torchvision torchaudio
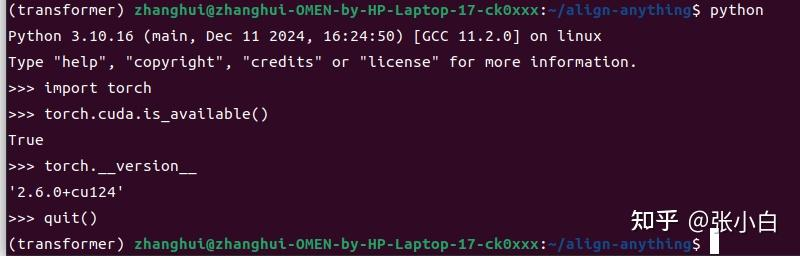
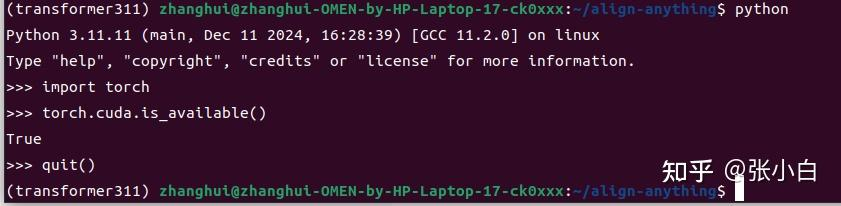
检查torch是否支持GPU:
再来:
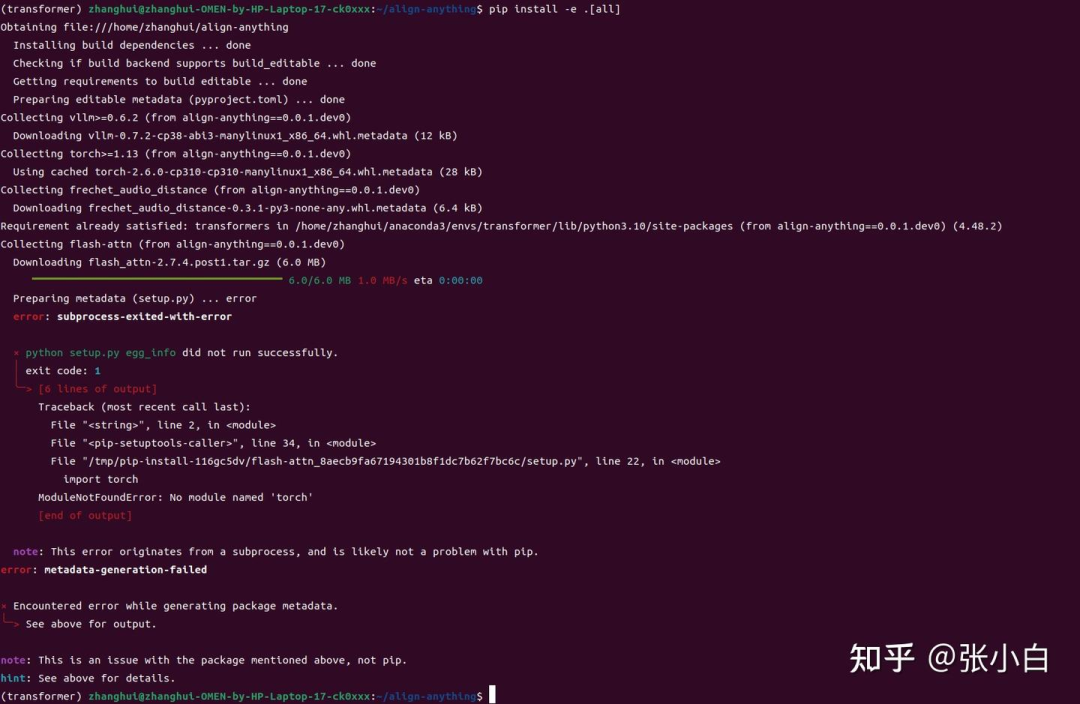
pip install -e .[all]
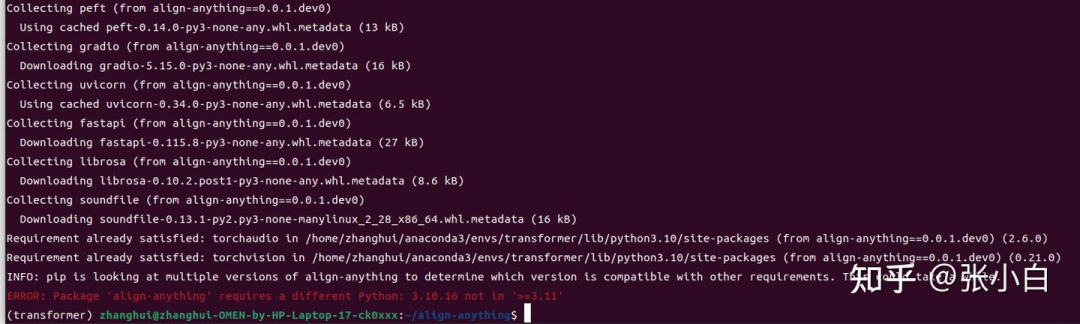
唉,白忙了。真的需要python 3.11
5、准备conda环境(python3.11,这回有用)
重复以上操作:(换成3.11)
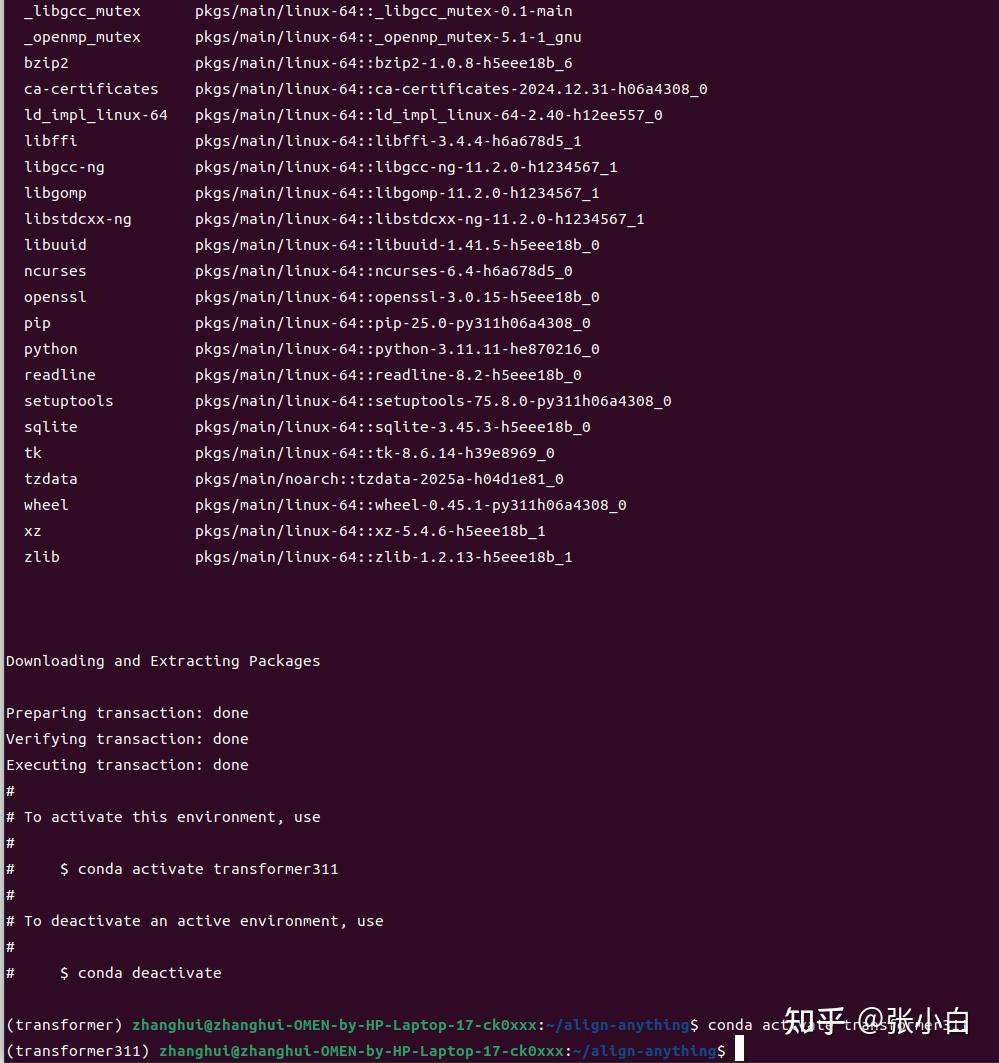
conda create -n transformer311 python=3.11 -y
conda activate transformer311
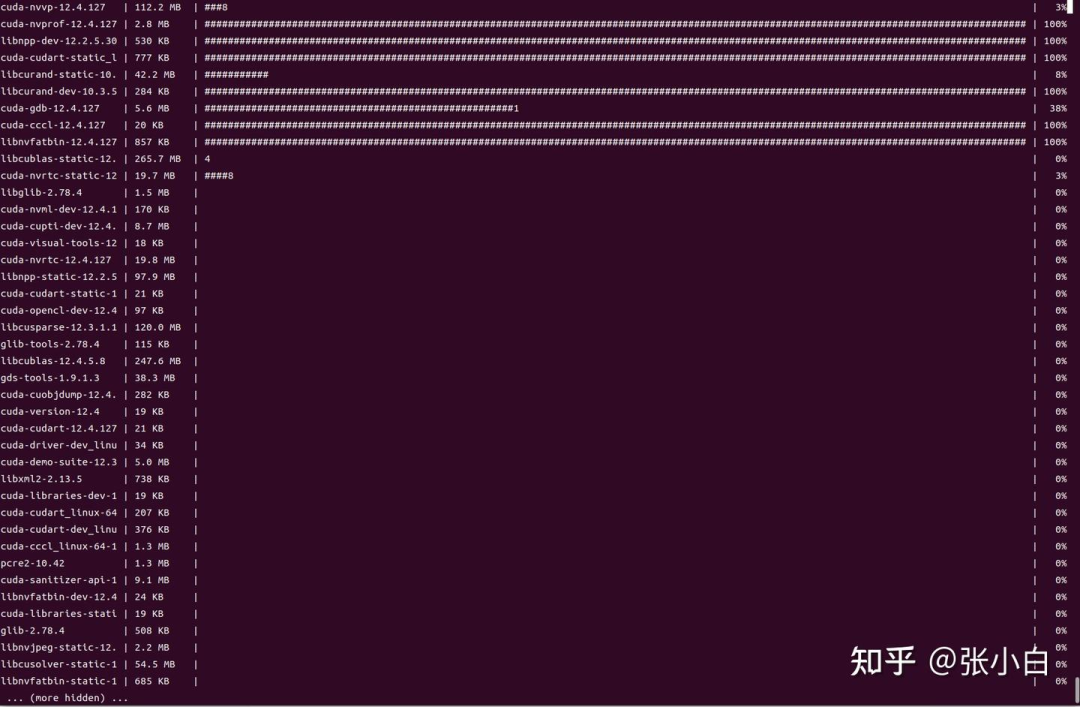
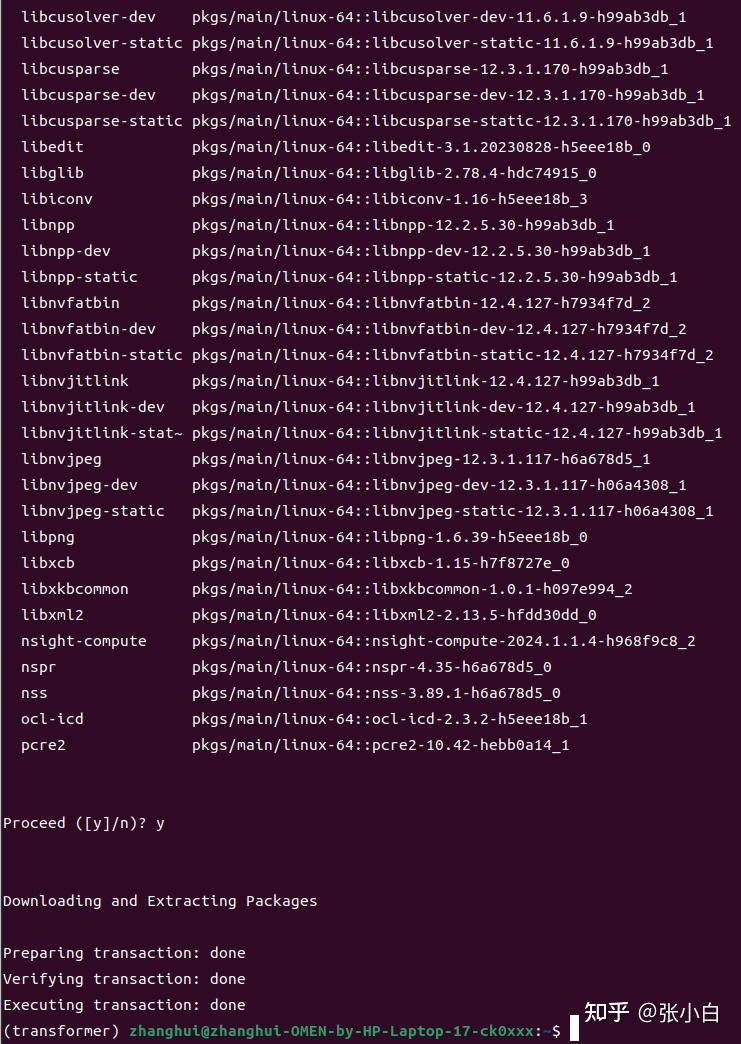
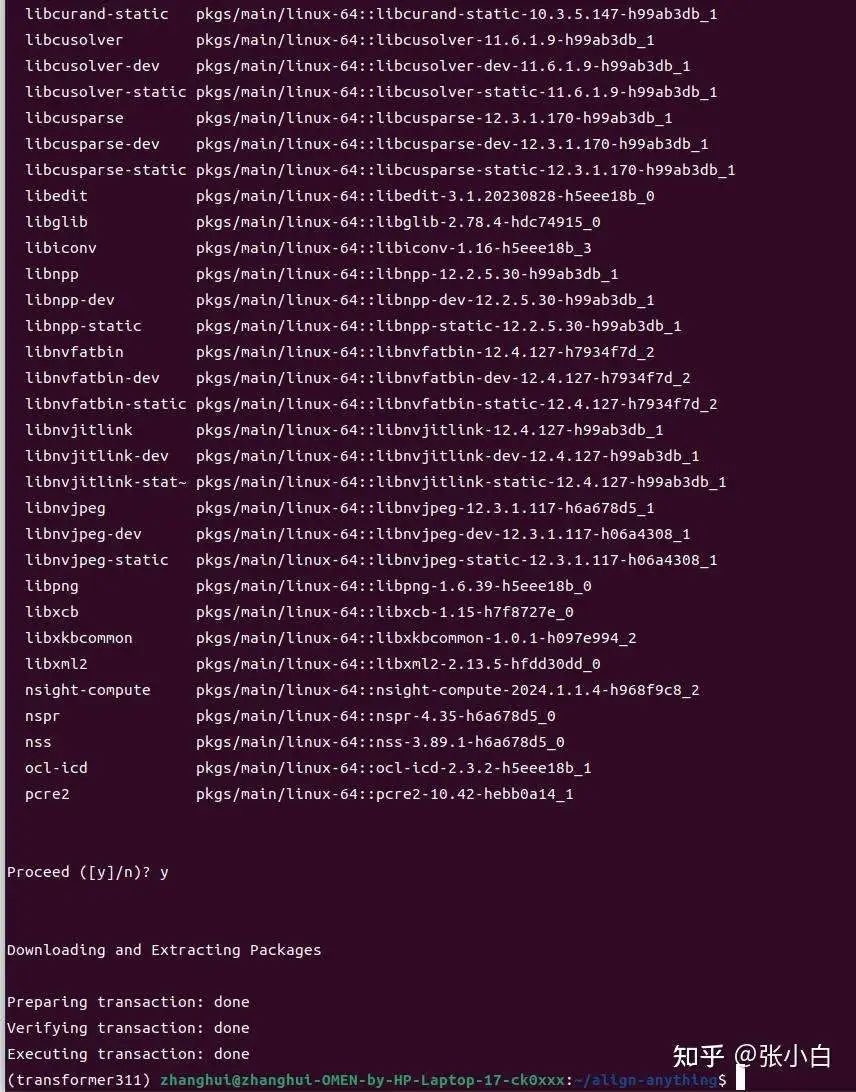
conda install nvidia/label/cuda-12.3.0::cuda
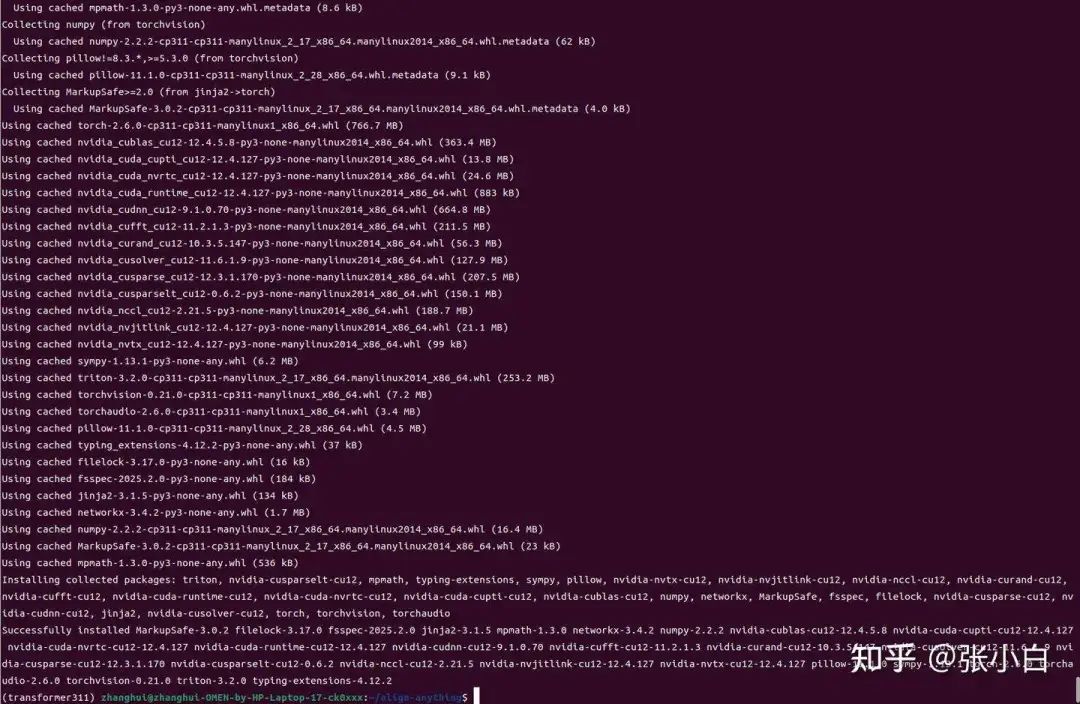
pip3 install torch torchvision torchaudio
#pip install transformers
cd align-anything
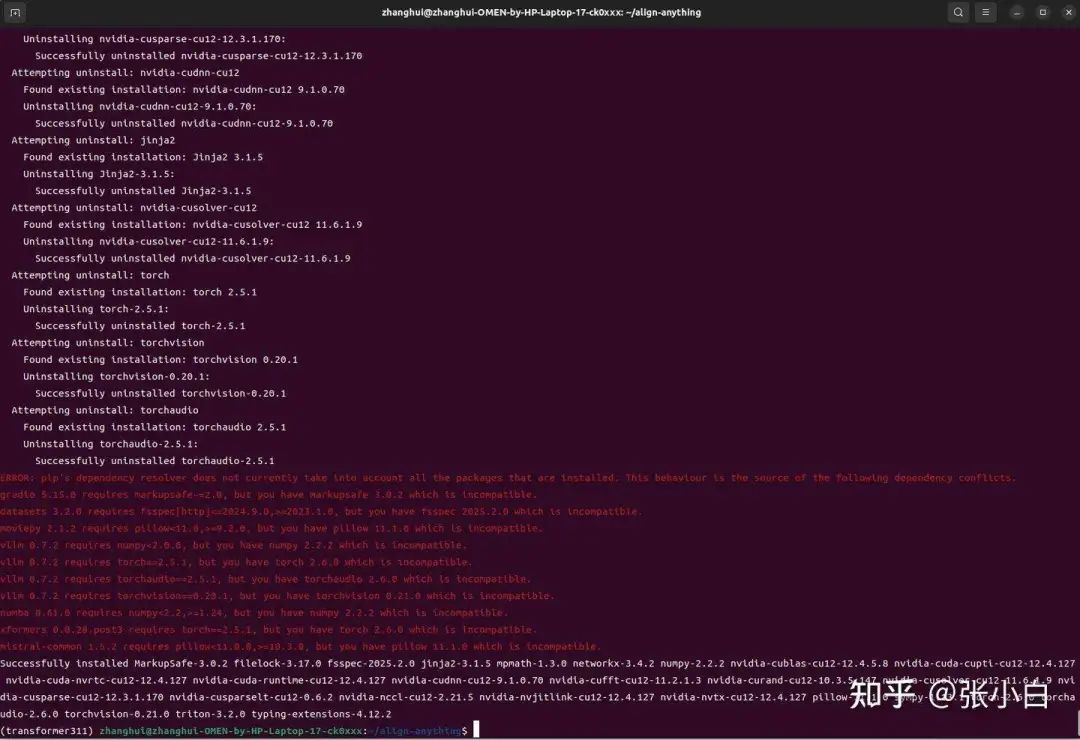
pip install -e .[all]
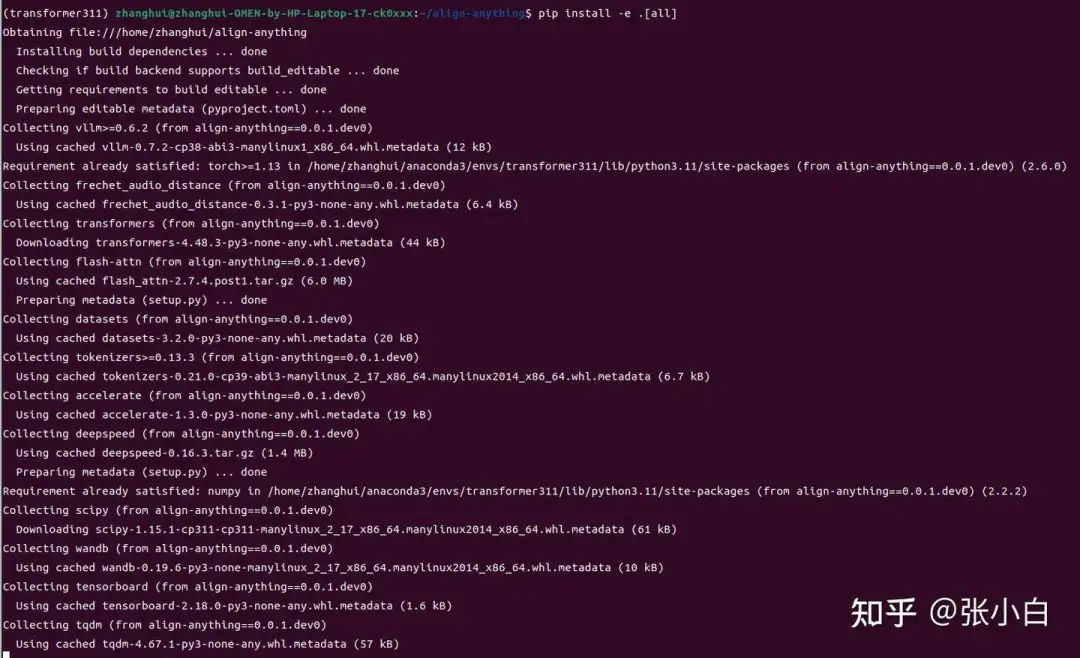
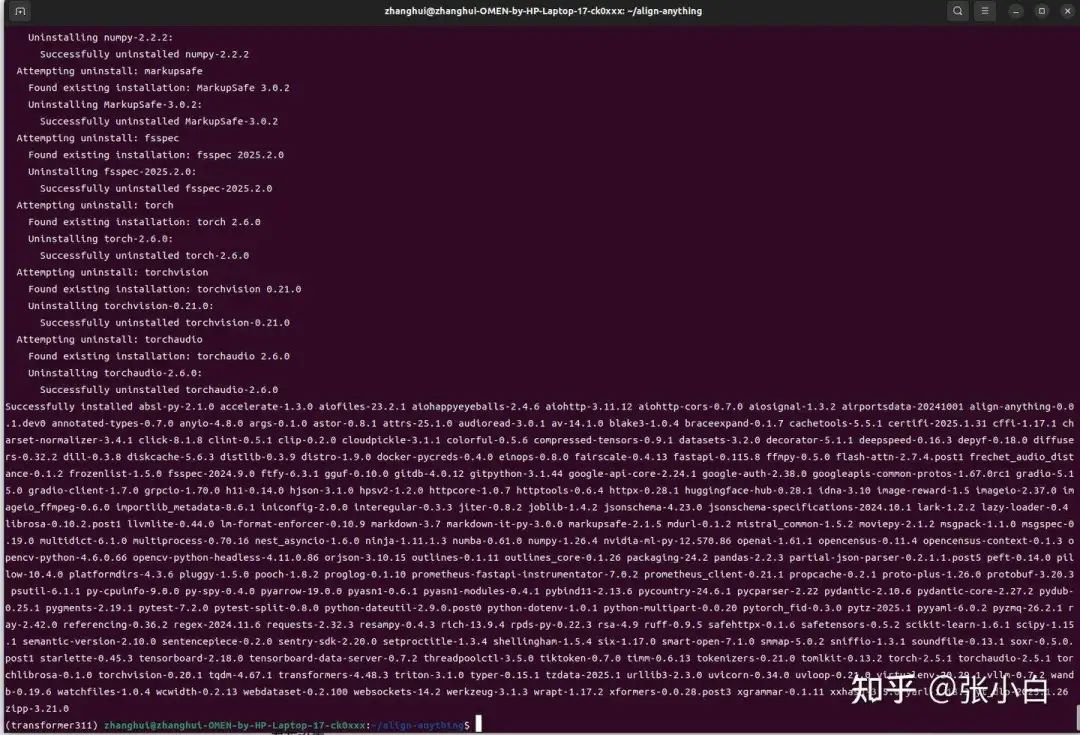
此时pytorch出问题了:

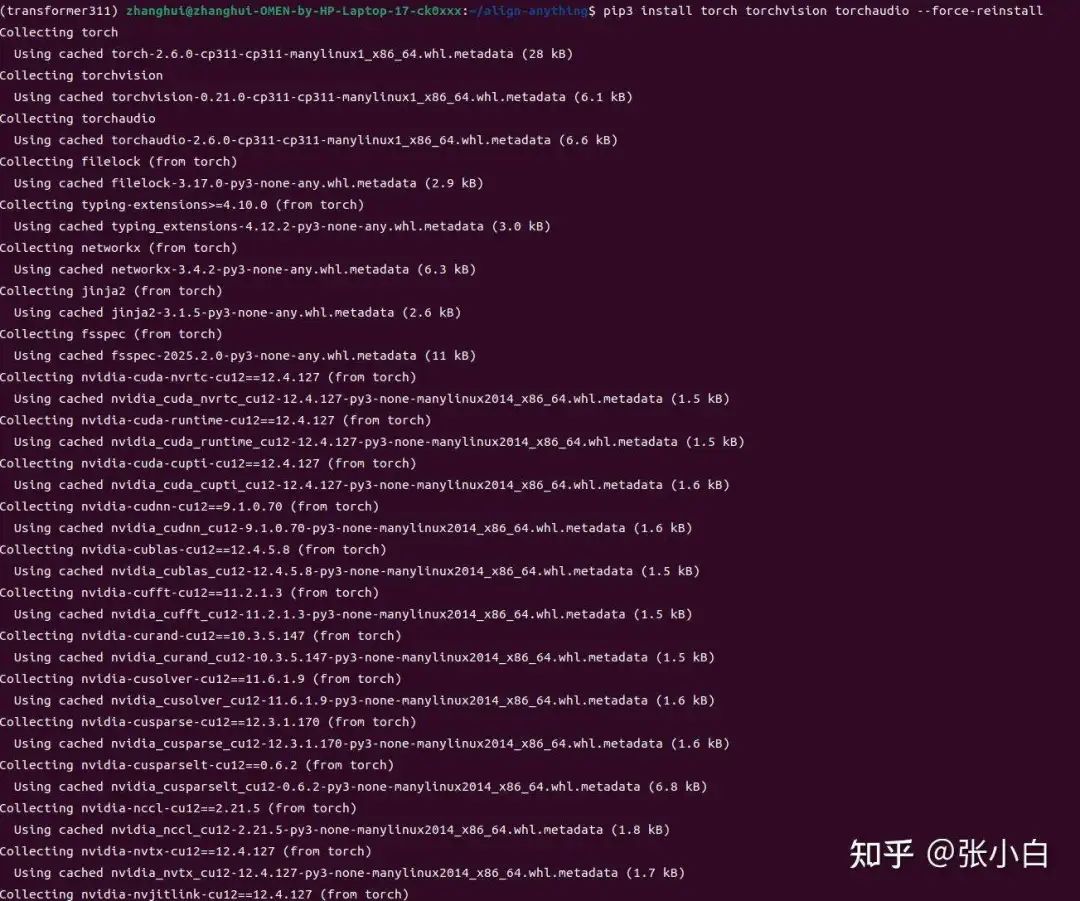
重新安装torch
pip3 install torch torchvision torchaudio --force-reinstall
查看pytorch是否支持GPU:
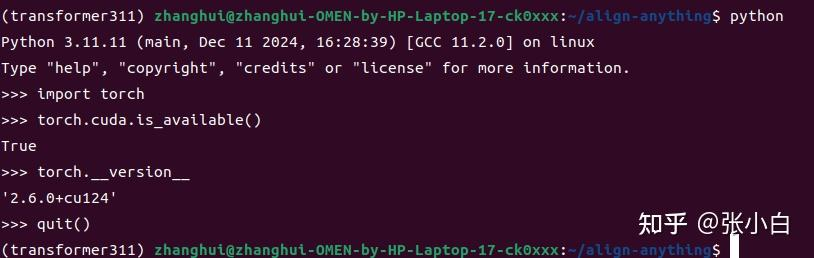
记住要随时检查pytorch是否支持gpu,否则没准模型就要到cpu上跑了。
6、准备验证的DEMO代码
vi run_Align_DS_V_demo.py
import requests
from PIL import Image

import torch
from transformers import AutoProcessor, LlavaForConditionalGeneration

model_id = "/home/zhanghui/models/PKU-Alignment/Align-DS-V"
model = LlavaForConditionalGeneration.from_pretrained(
    model_id,
    torch_dtype=torch.float16,
    low_cpu_mem_usage=True,
).to(0)

processor = AutoProcessor.from_pretrained(model_id)

# Define a chat history and use `apply_chat_template` to get correctly formatted prompt
# Each value in "content" has to be a list of dicts with types ("text", "image")
conversation = [
    {

      "role": "user",
      "content": [
          {"type": "text", "text": "What is the result of this problem?"},
          {"type": "image"},
        ],
    },
]
prompt = processor.apply_chat_template(conversation, add_generation_prompt=True)

image_file = "/home/zhanghui/models/PKU-Alignment/Align-DS-V/assets/demo.jpg" # in this repo
raw_image = Image.open(image_file)
inputs = processor(images=raw_image, text=prompt, return_tensors='pt').to(0, torch.float16)

output = model.generate(**inputs, max_new_tokens=4096, do_sample=False)
print(processor.decode(output[0], skip_special_tokens=True))

# <think>To solve the problem, I will first interpret the image to understand what
# mathematical operation is being represented. Then, I will perform the calculation
# based on the numbers provided in the image and confirm the result. The image shows
# a chalkboard with the equation \(18 + 23 = 41\) written on it. The numbers 18 and
# 23 are in light blue, and the result 41 is in light green. The equation \(18 + 23 = 41\)
# is presented on the chalkboard. To solve this, I will add the two numbers on the
# left side of the equation: 18 and 23. Adding these together, \(18 + 23\), I calculate
# that the sum is 41. This matches the number on the right side of the equation,
# confirming its correctness.</think>41
7、运行调试DEMO代码
python run_Align_DS_V_demo.py
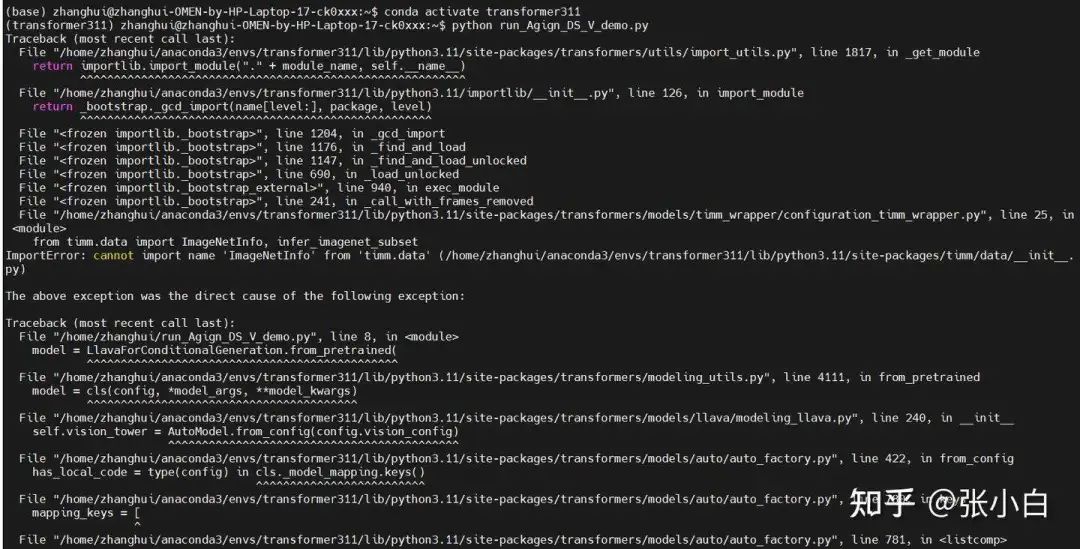
查找答案,需要 pip install timm==1.0.13
github.com/comfyanonymous/ComfyUI/issues/6429
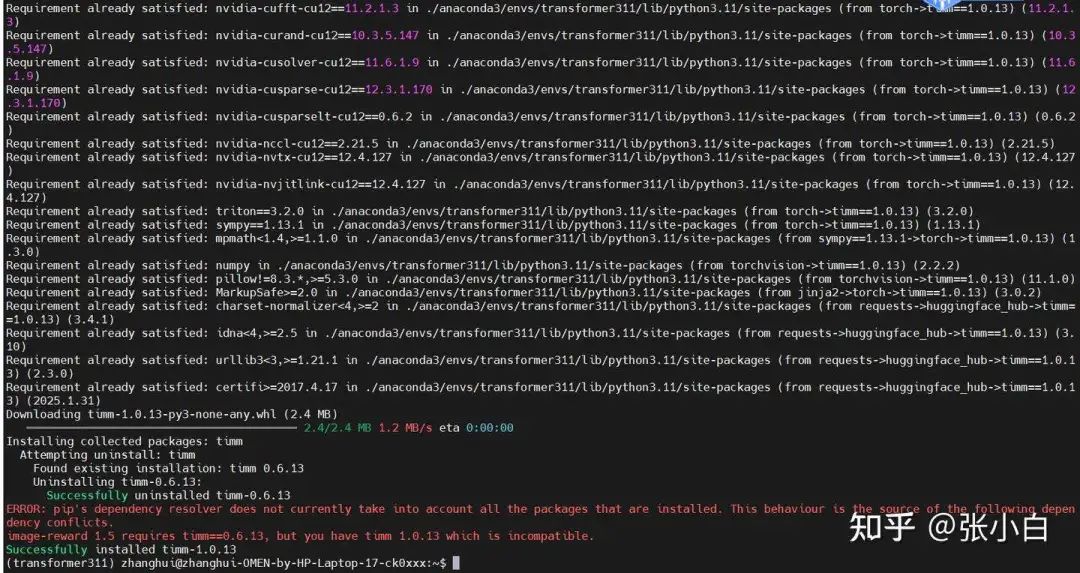
再来python run_Align_DS_V_demo.py
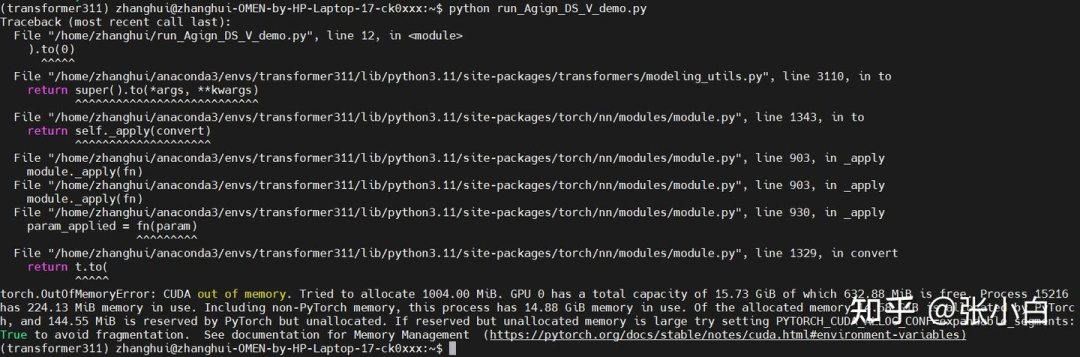
显存不足。
幸好张小白早有准备,上4090,打开显卡坞,重启电脑:
nvidia-smi
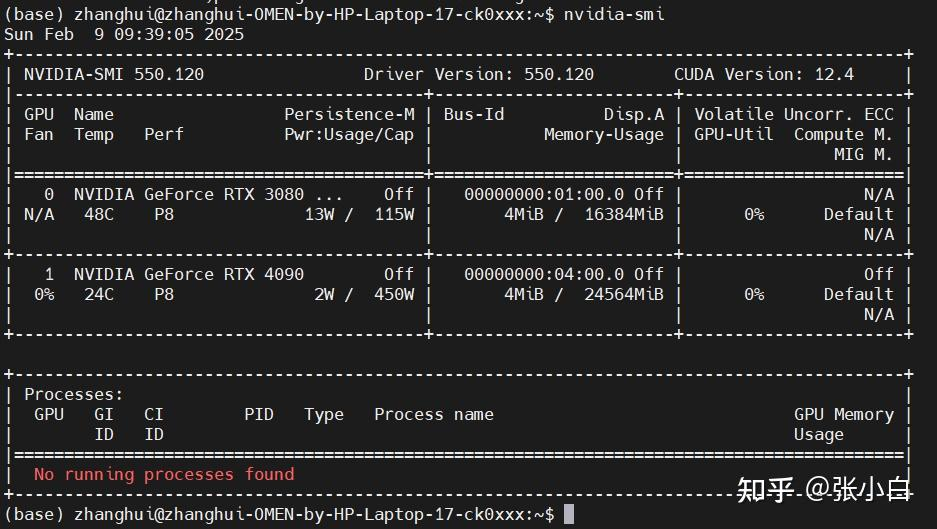
conda activate transformer311
python run_Align_DS_V_demo.py

python run_Align_DS_V_demo.py
Using a slow image processor as `use_fast` is unset and a slow processor was saved with this model. `use_fast=True` will be the default behavior in v4.48, even if the model was saved with a slow processor. This will result in minor differences in outputs. You'll still be able to use a slow processor with `use_fast=False`.
<|User|>What is the result of this problem?<|Assistant|><think>To solve the problem, I will first interpret the image to understand what mathematical operation is being represented. Then, I will perform the calculation based on the numbers provided in the image and confirm the result.
The image shows a chalkboard with the equation \(18 + 23 = 41\) written on it. The numbers 18 and 23 are in light blue, and the result 41 is in light green.
The equation \(18 + 23 = 41\) is presented on the chalkboard. To solve this, I will add the two numbers on the left side of the equation: 18 and 23. Adding these together, \(18 + 23\), I calculate that the sum is 41. This matches the number on the right side of the equation, confirming its correctness.</think>41
(transformer311) zhanghui@zhanghui-OMEN-by-HP-Laptop-17-ck0xxx:~$
看样子确实跟deepseek的 深度思考 模式好像!
原图片如下:

在跑的过程中查看显卡占用:
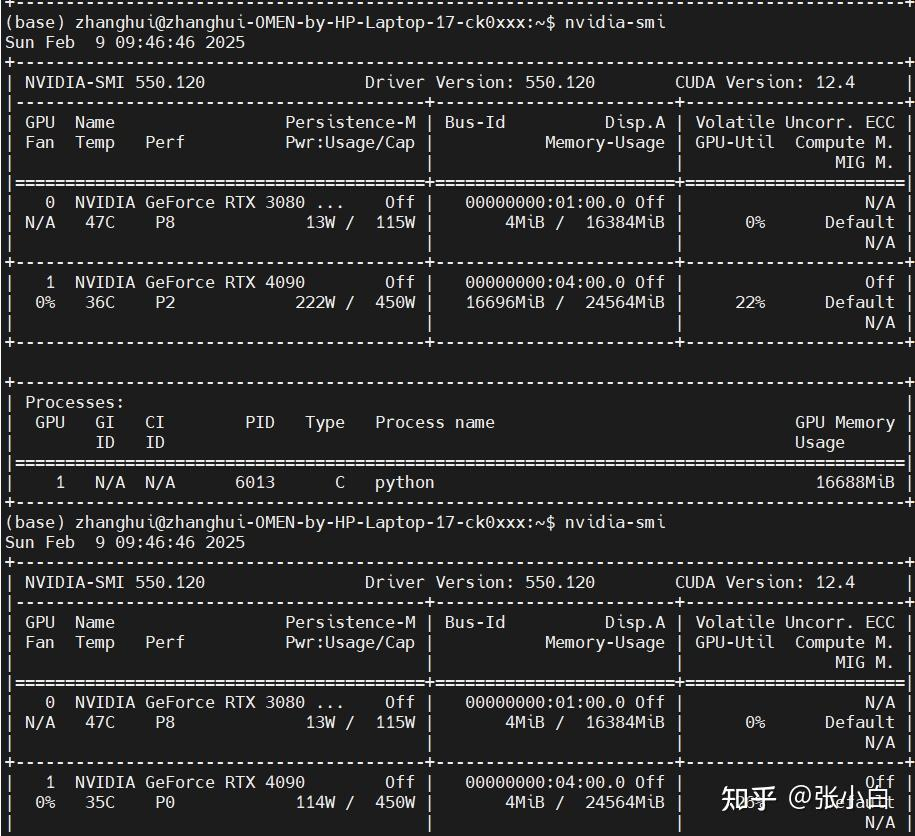
最大的时候16.7G左右,刚刚好比16G的3080多那么一点点。所以只能请上4090了。
后面再找一个web demo的例子试试就可以了。
(未完待续)
① 自动驾驶论文辅导来啦

② 国内首个自动驾驶学习社区
『自动驾驶之心知识星球』近4000人的交流社区,已得到大多数自动驾驶公司的认可!涉及30+自动驾驶技术栈学习路线,从0到一带你入门自动驾驶感知(端到端自动驾驶、世界模型、仿真闭环、2D/3D检测、语义分割、车道线、BEV感知、Occupancy、多传感器融合、多传感器标定、目标跟踪)、自动驾驶定位建图(SLAM、高精地图、局部在线地图)、自动驾驶规划控制/轨迹预测等领域技术方案、大模型,更有行业动态和岗位发布!欢迎扫描加入

③全网独家视频课程
端到端自动驾驶、仿真测试、自动驾驶C++、BEV感知、BEV模型部署、BEV目标跟踪、毫米波雷达视觉融合、多传感器标定、多传感器融合、多模态3D目标检测、车道线检测、轨迹预测、在线高精地图、世界模型、点云3D目标检测、目标跟踪、Occupancy、CUDA与TensorRT模型部署、大模型与自动驾驶、NeRF、语义分割、自动驾驶仿真、传感器部署、决策规划、轨迹预测等多个方向学习视频(扫码即可学习)

④【自动驾驶之心】全平台矩阵


 2110
2110

 被折叠的 条评论
为什么被折叠?
被折叠的 条评论
为什么被折叠?
 到【灌水乐园】发言


